How to create, run, and print a routing form
about 7 minutes
A routing form sends work to an org-board post. Each run records who confirmed its steps. A manager can use it to track a review and keep a completed record.
Before you start
Have a post on an org board with a user assigned under Held by (users). Our example uses the Office Manager post on the Operations board, held by Test Owner. See Build your org board and Post details and people for that setup.
Step 1 — Open Routing forms
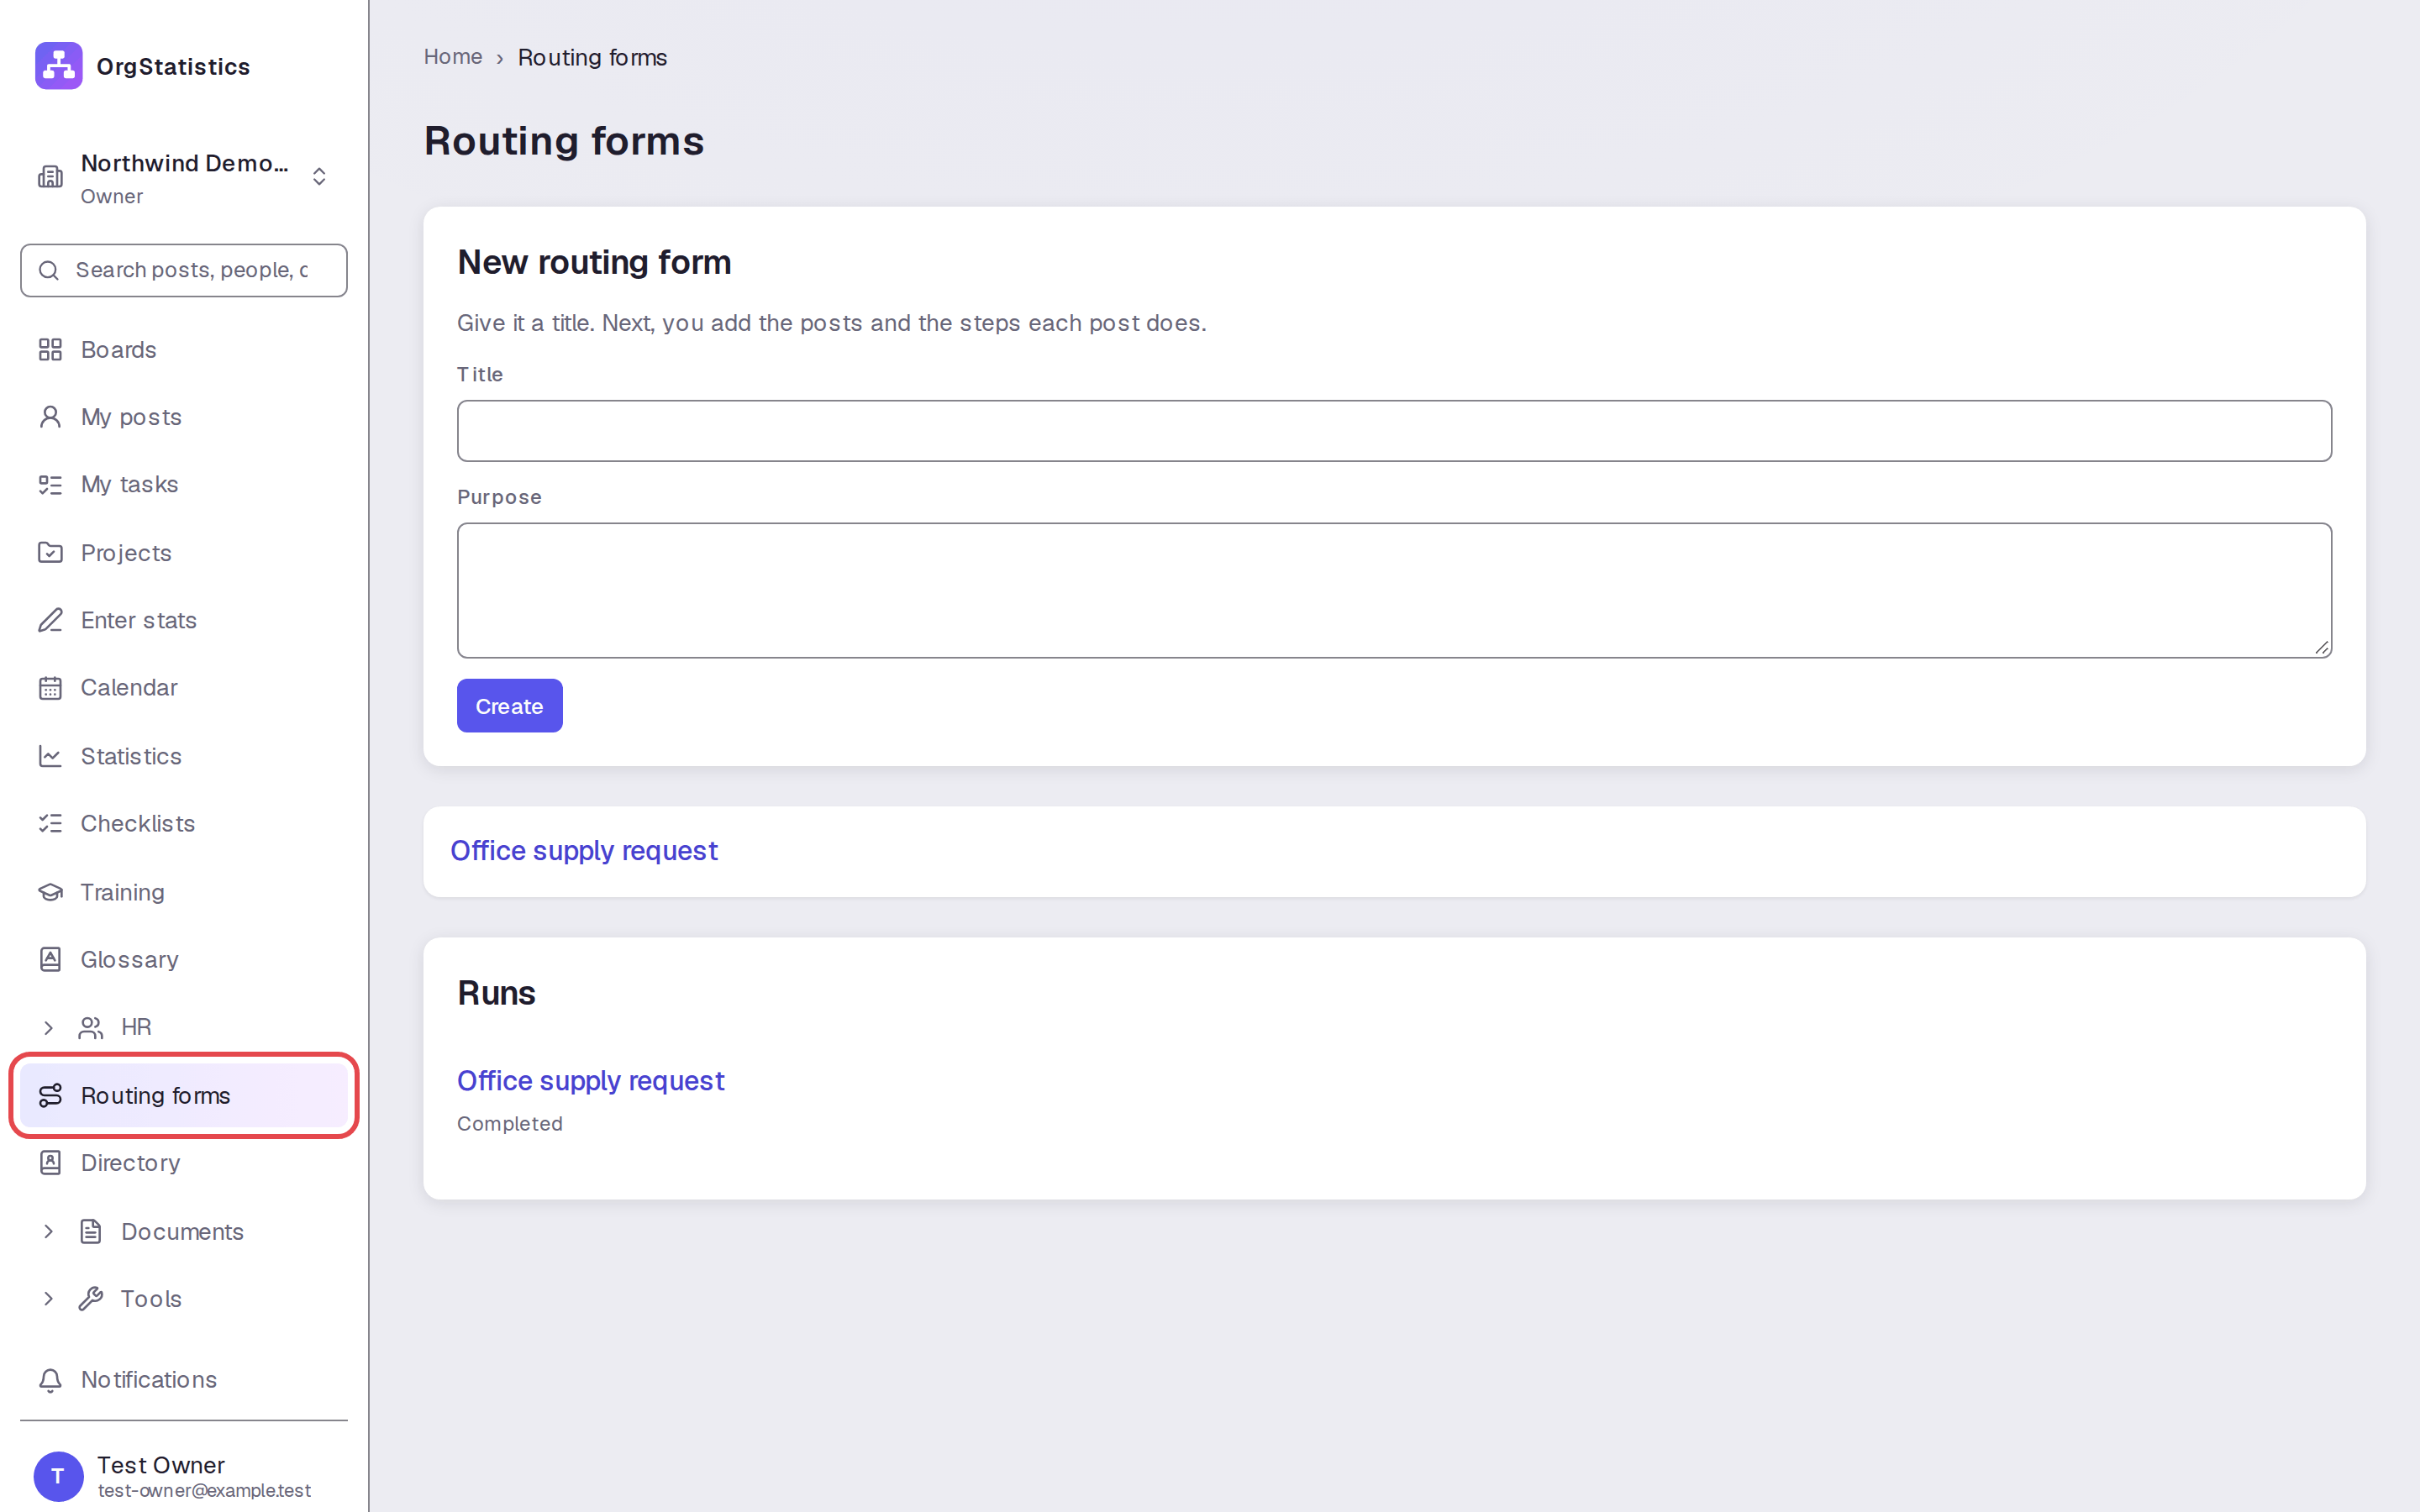
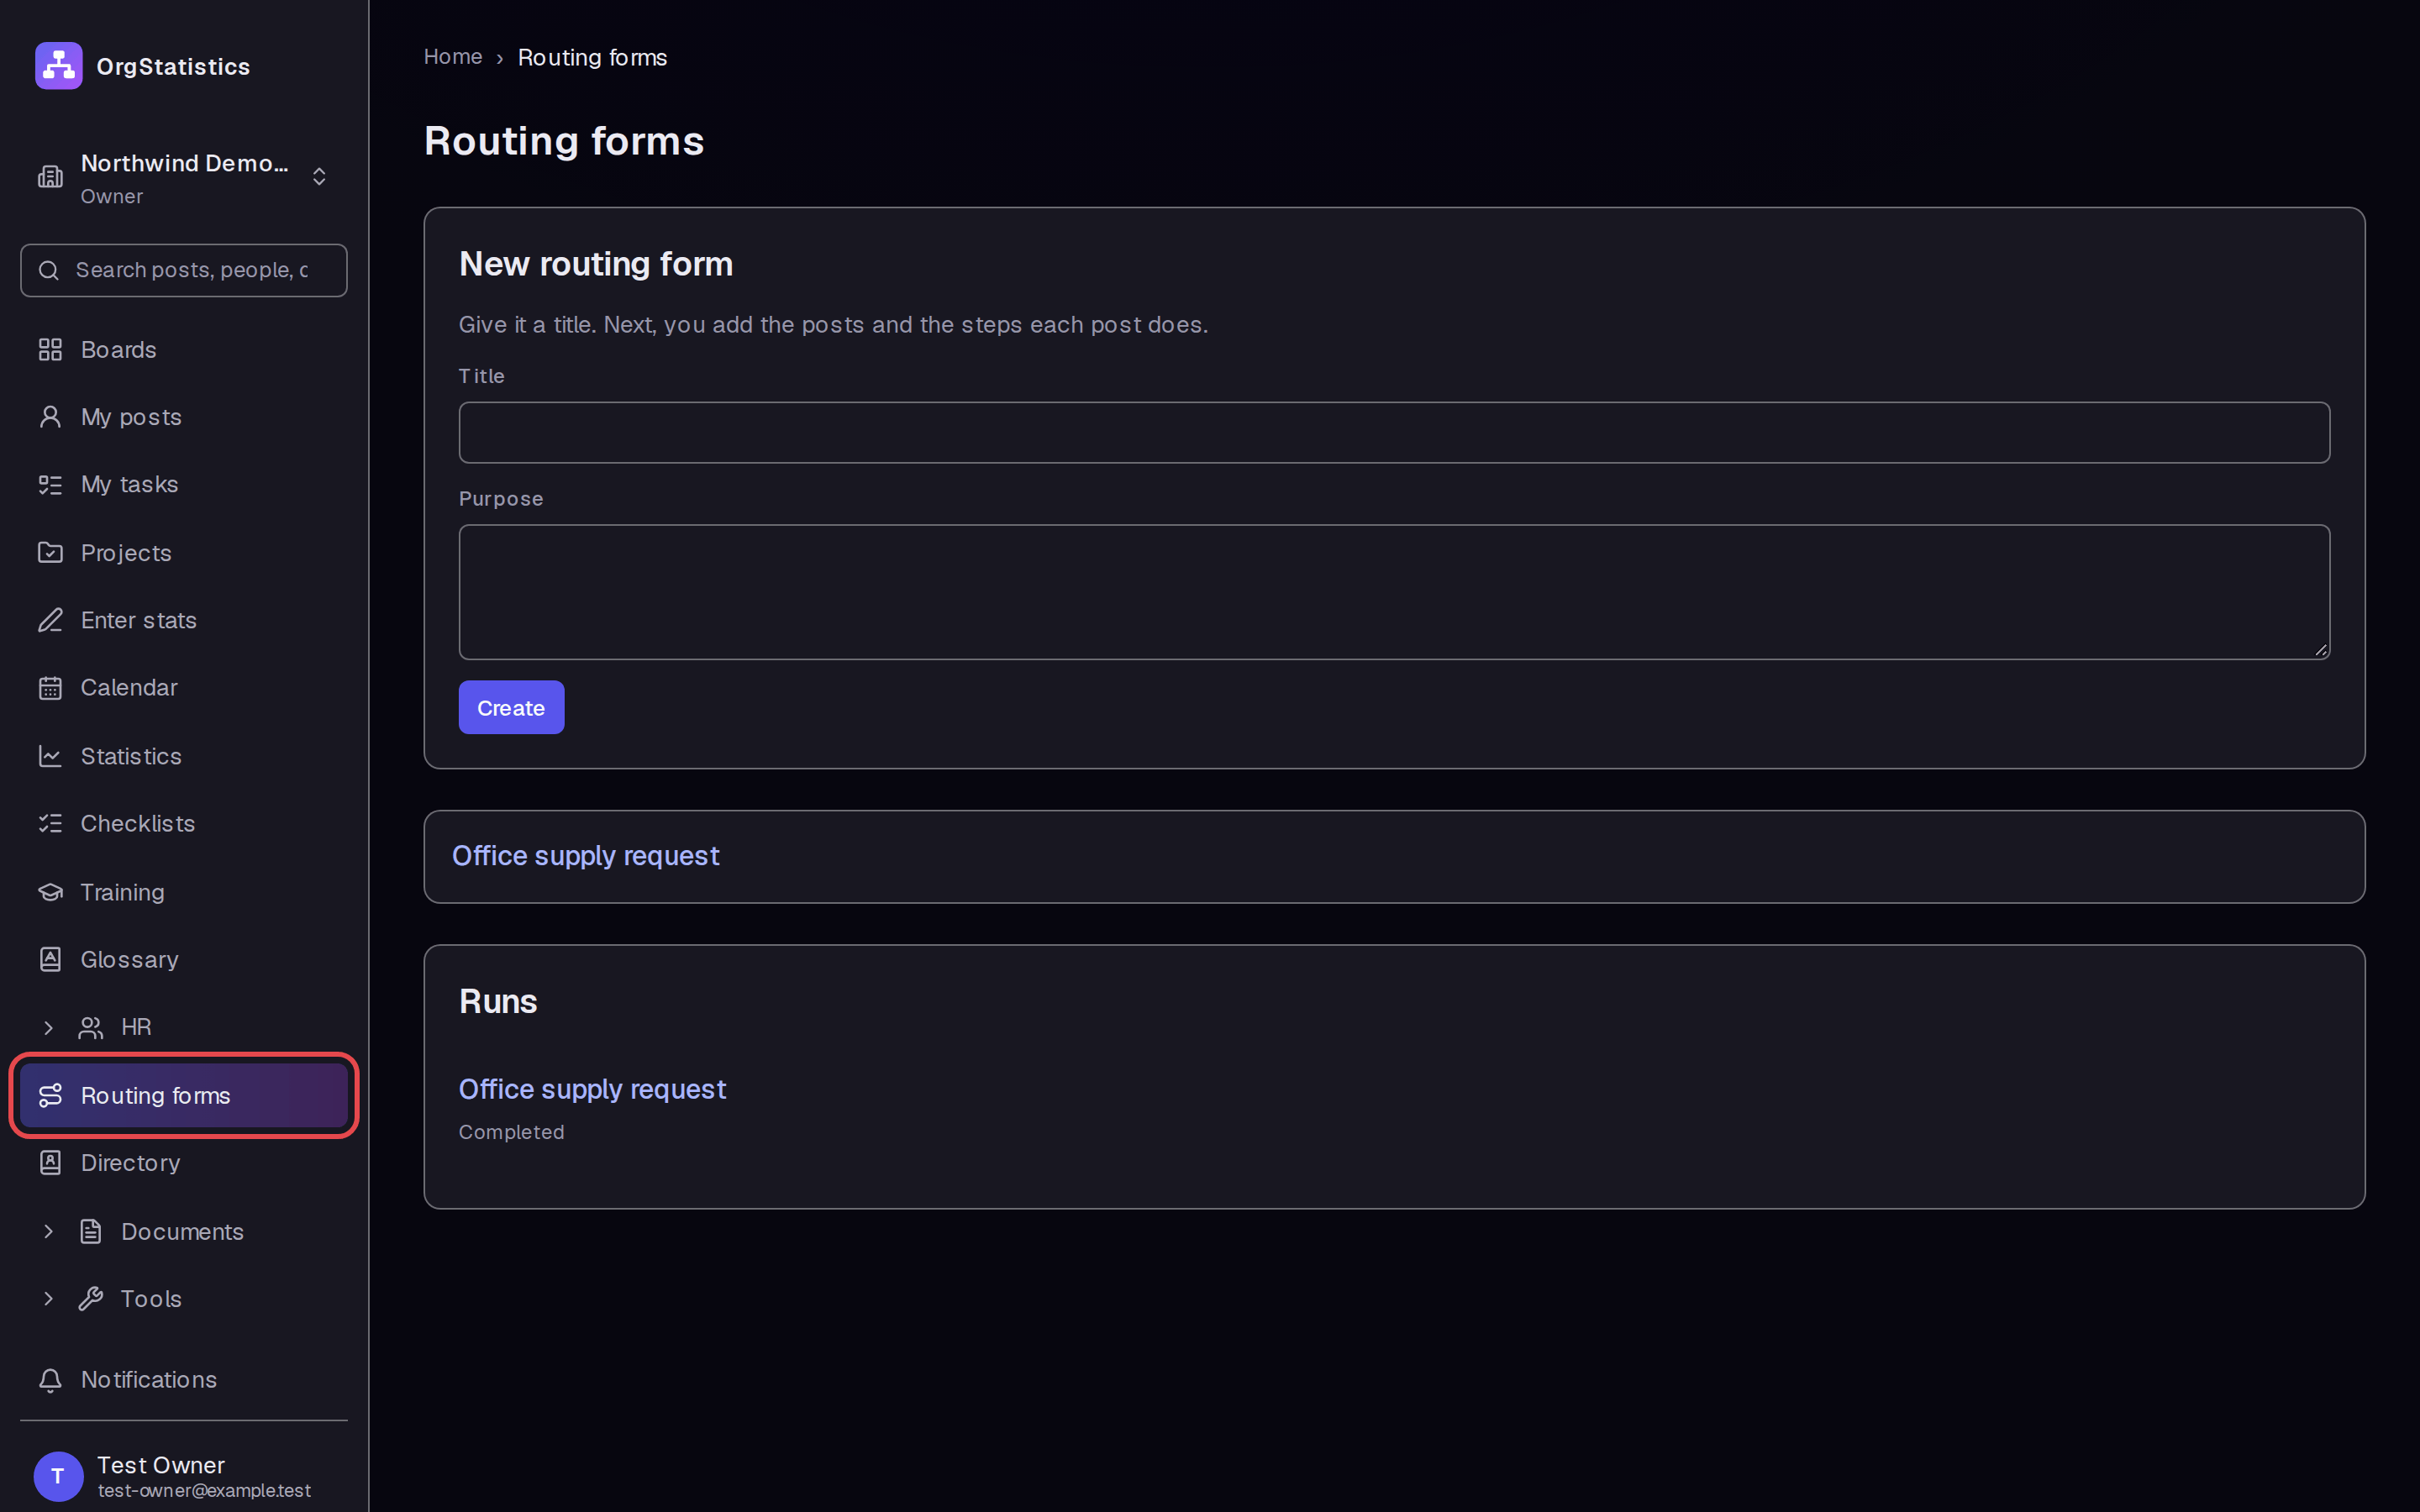
Click Routing forms in the sidebar. The page has a New routing form section.
Step 2 — Create the form
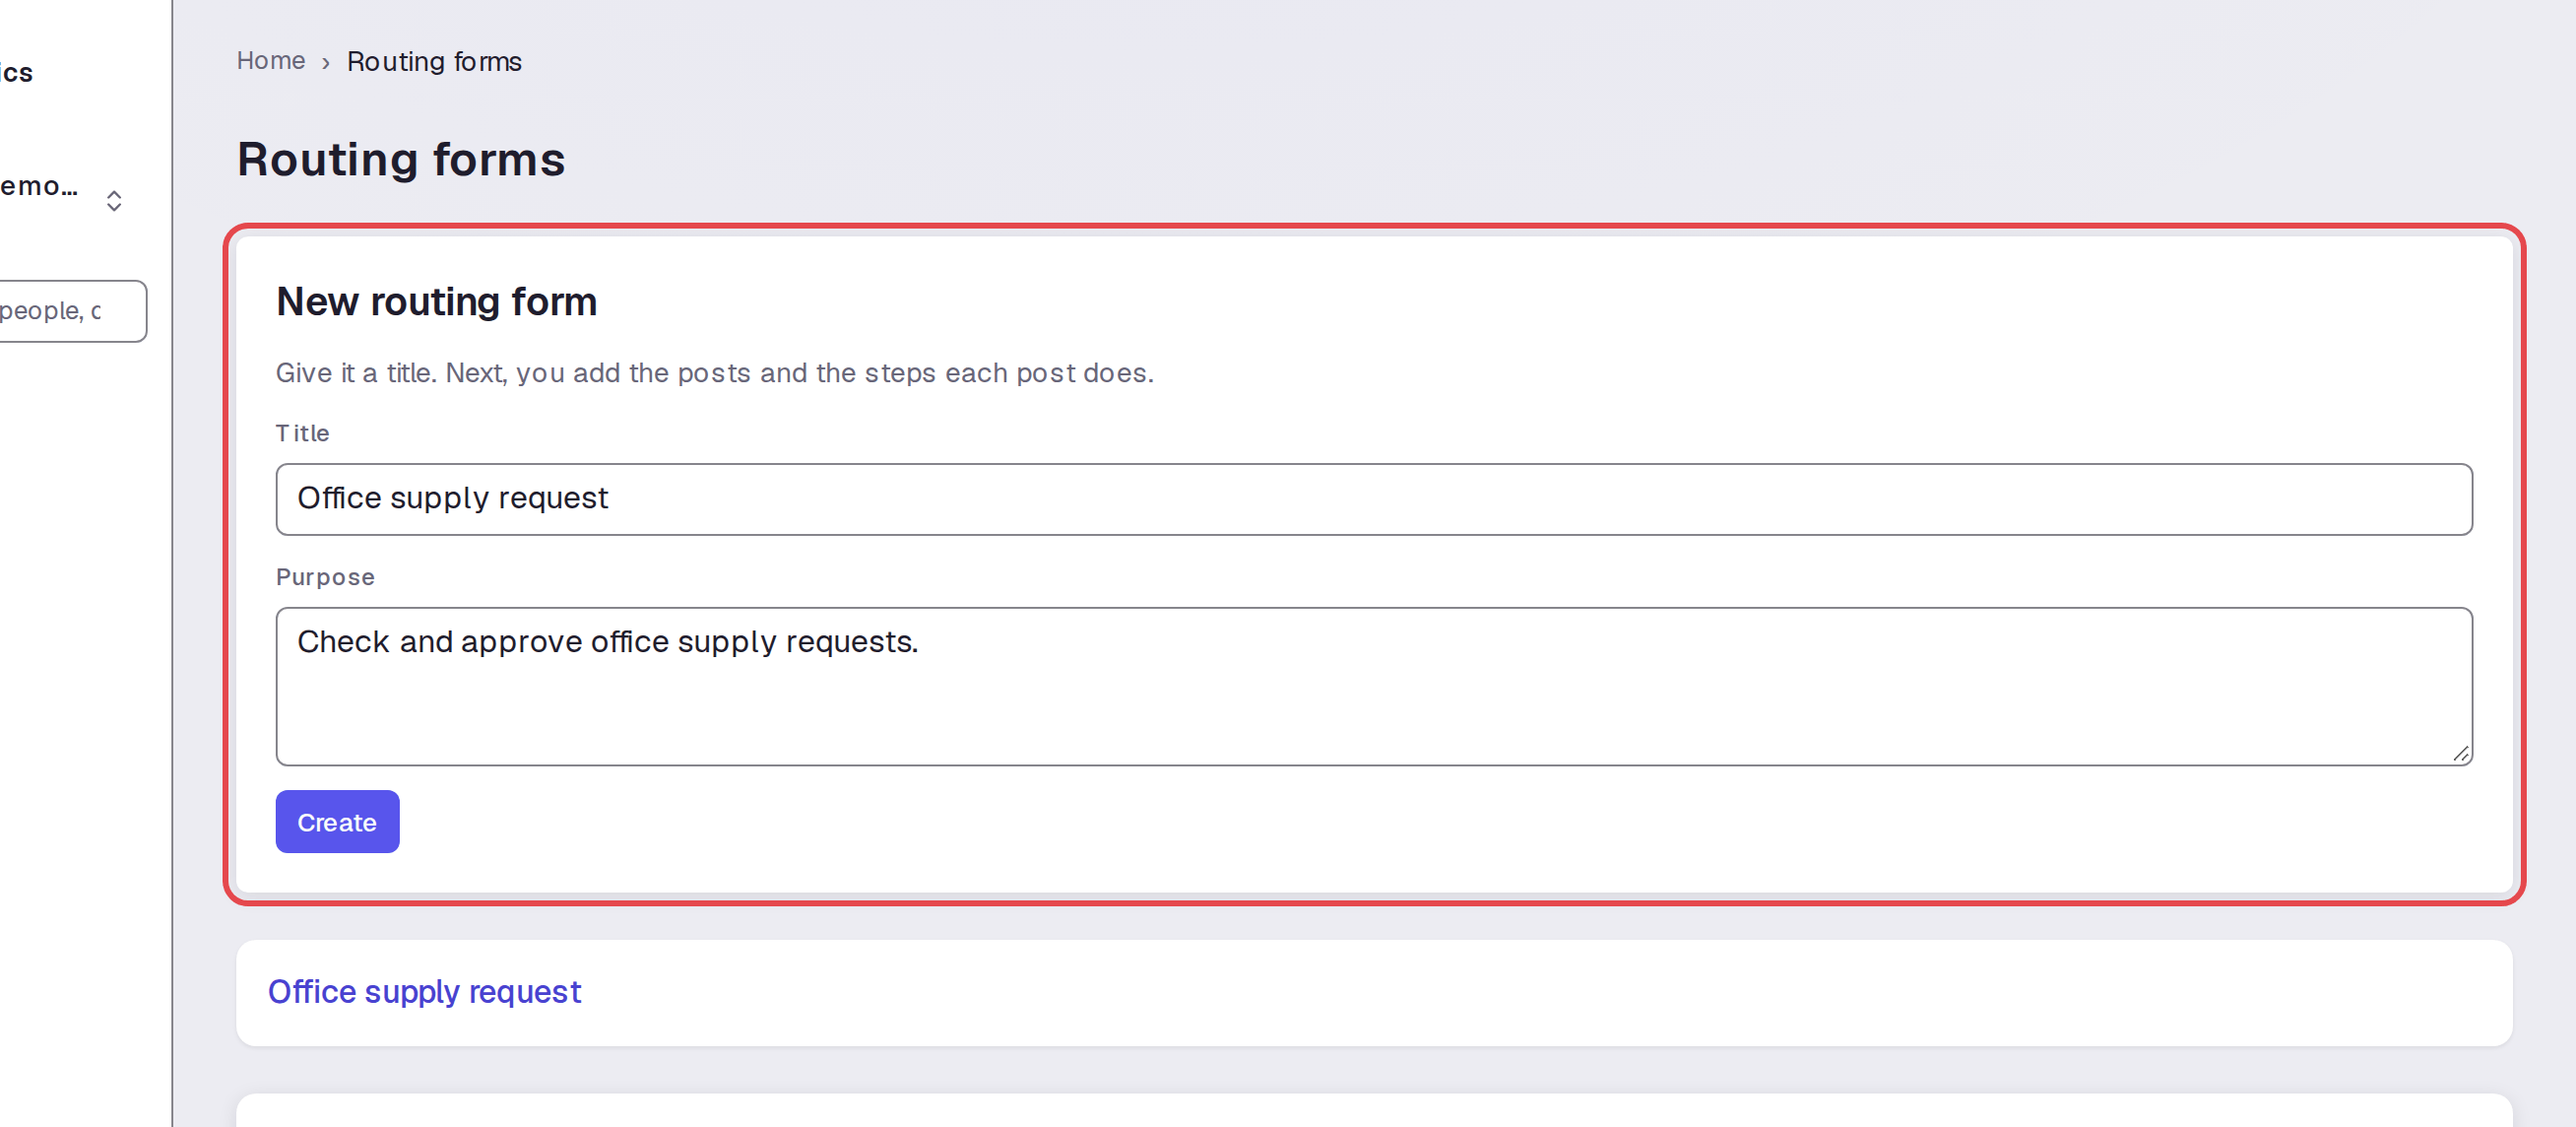
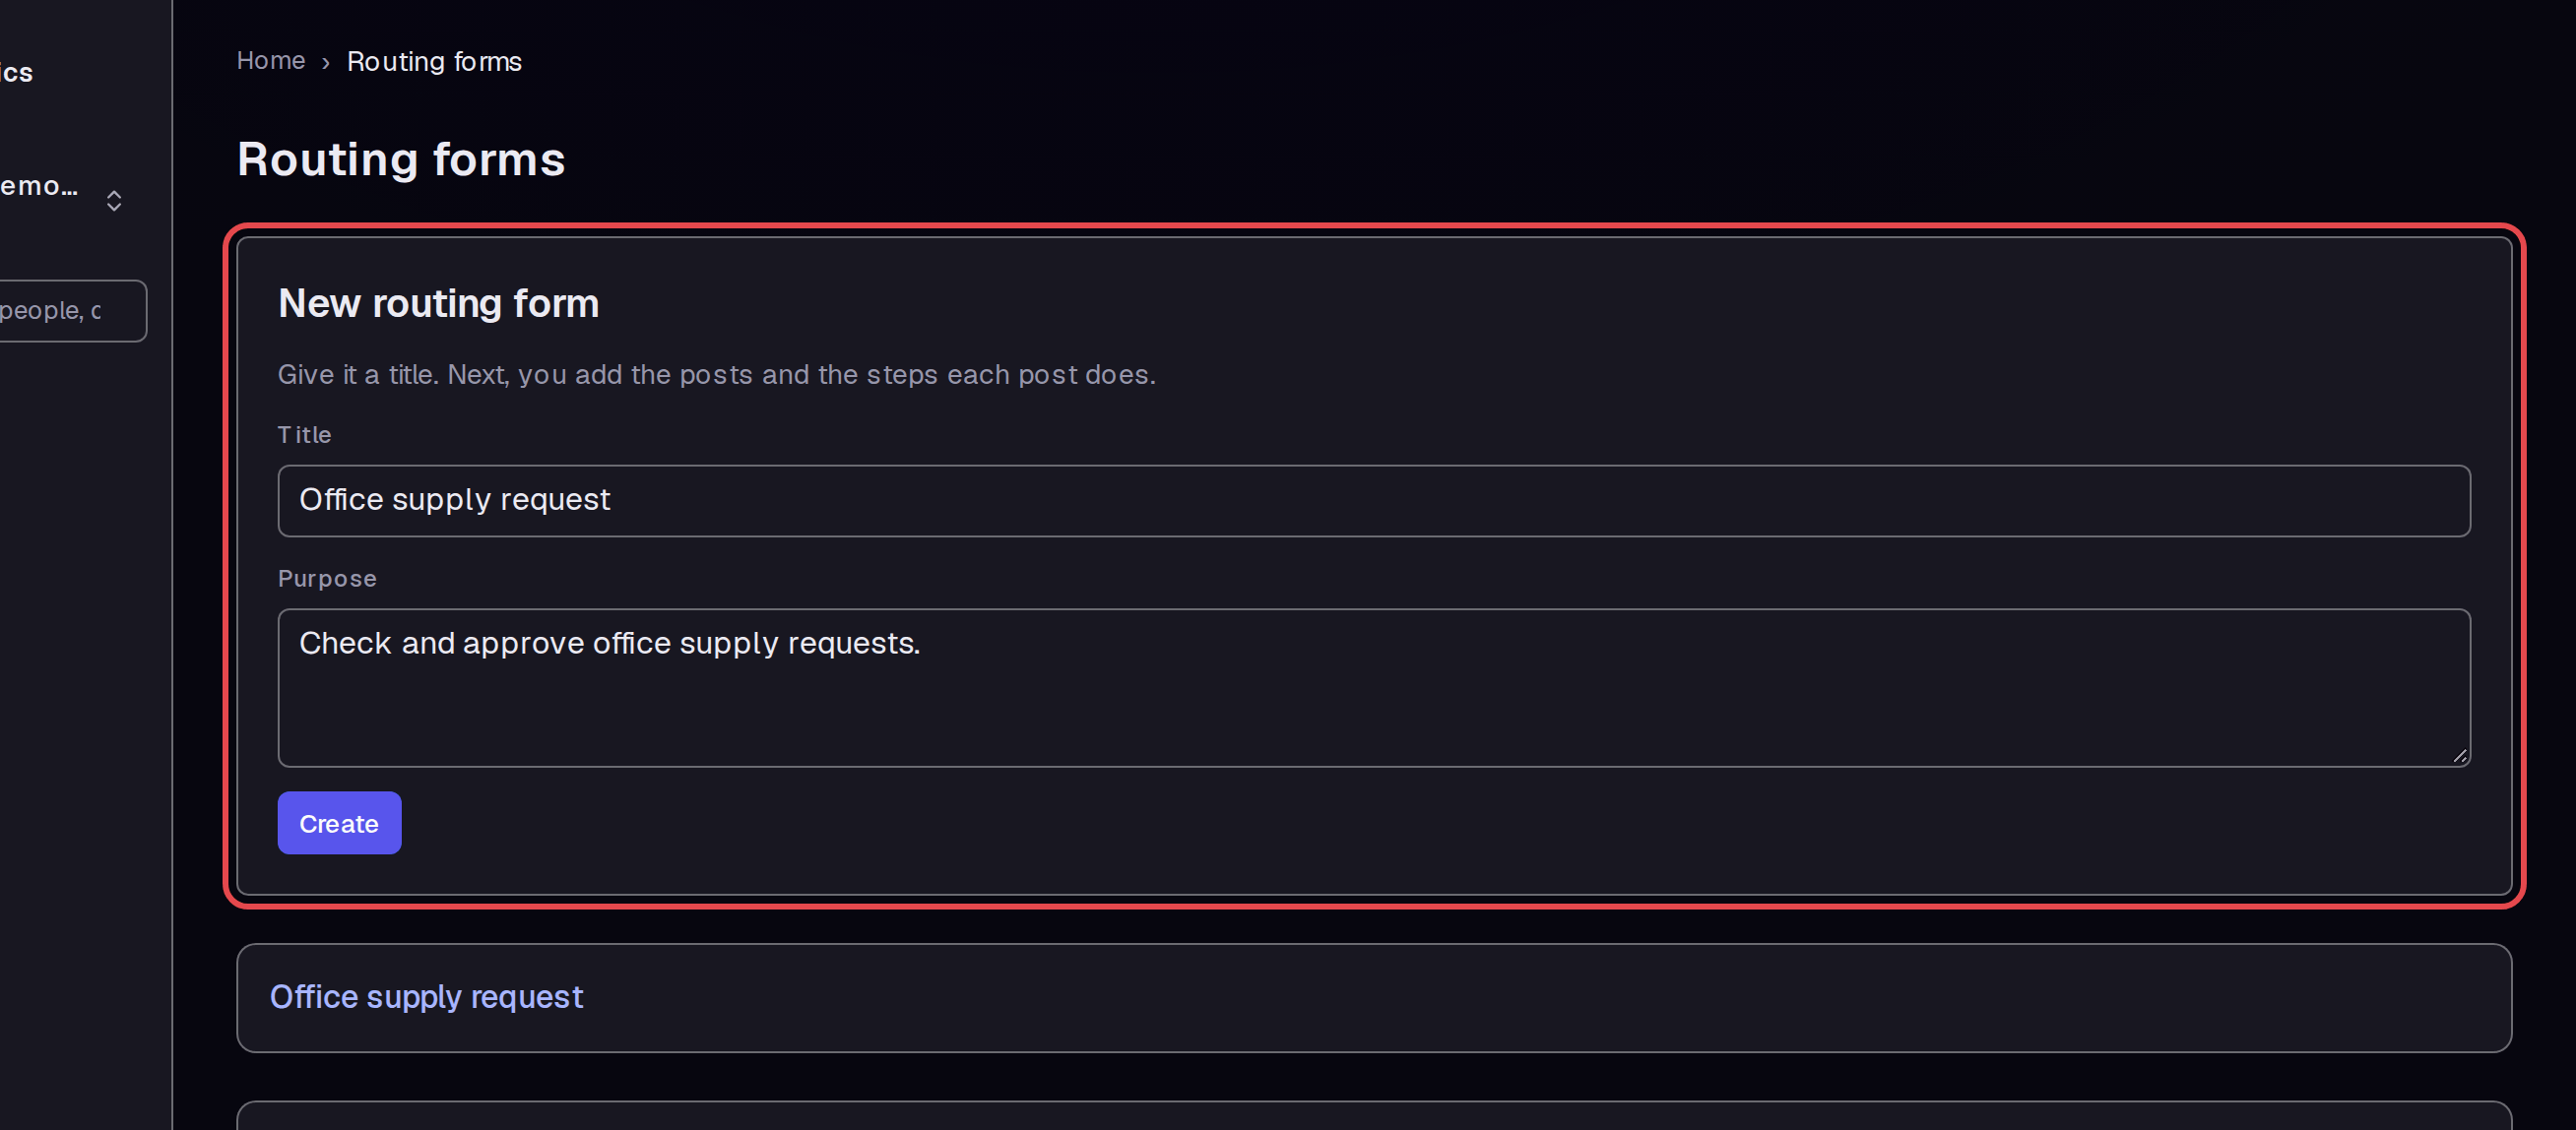
Enter a Title and Purpose. We used Office supply request. Click Create to open the form editor.
Step 3 — Choose the post
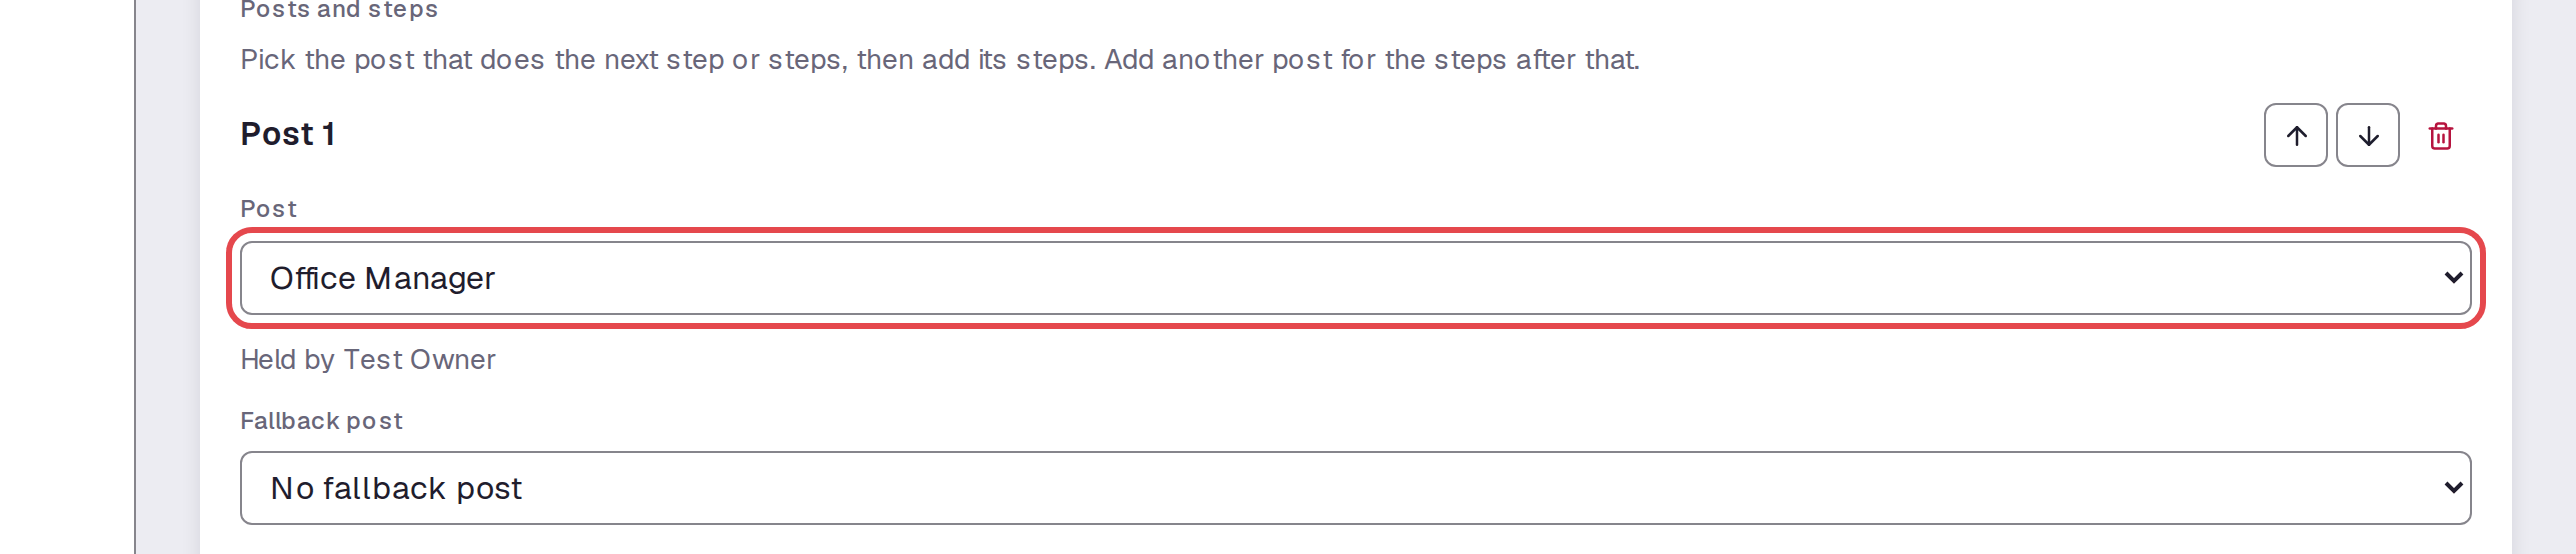
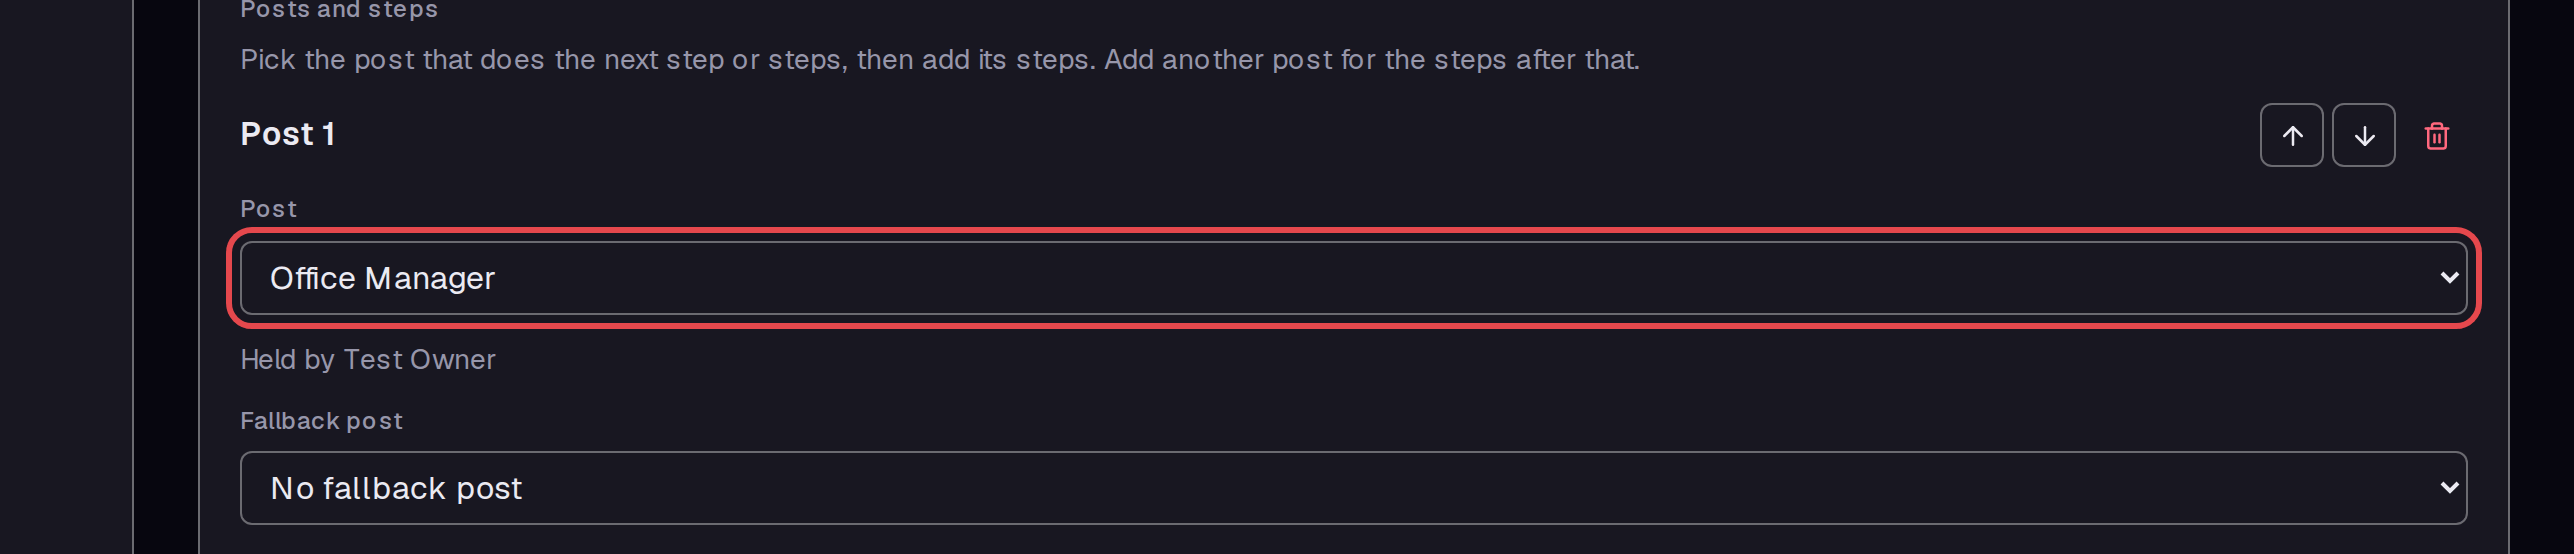
Under Post 1, choose Office Manager from Post. Check the Held by Test Owner text. This identifies the user who can do the work in our example.
Step 4 — Write the step
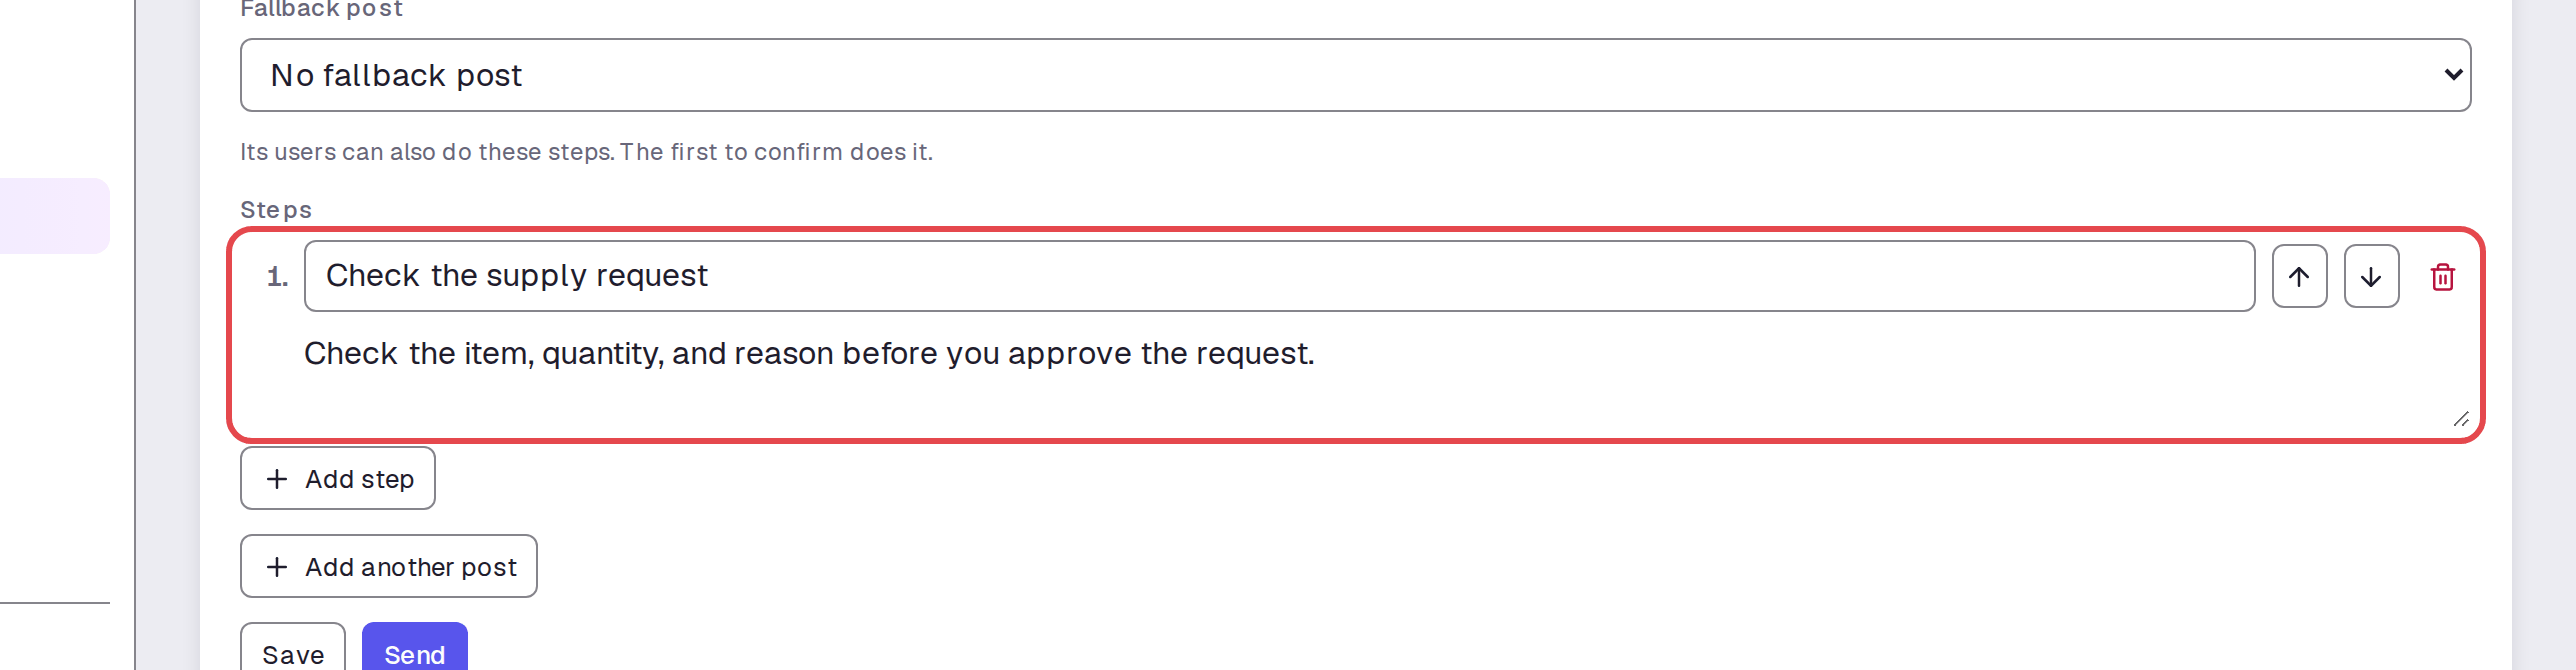
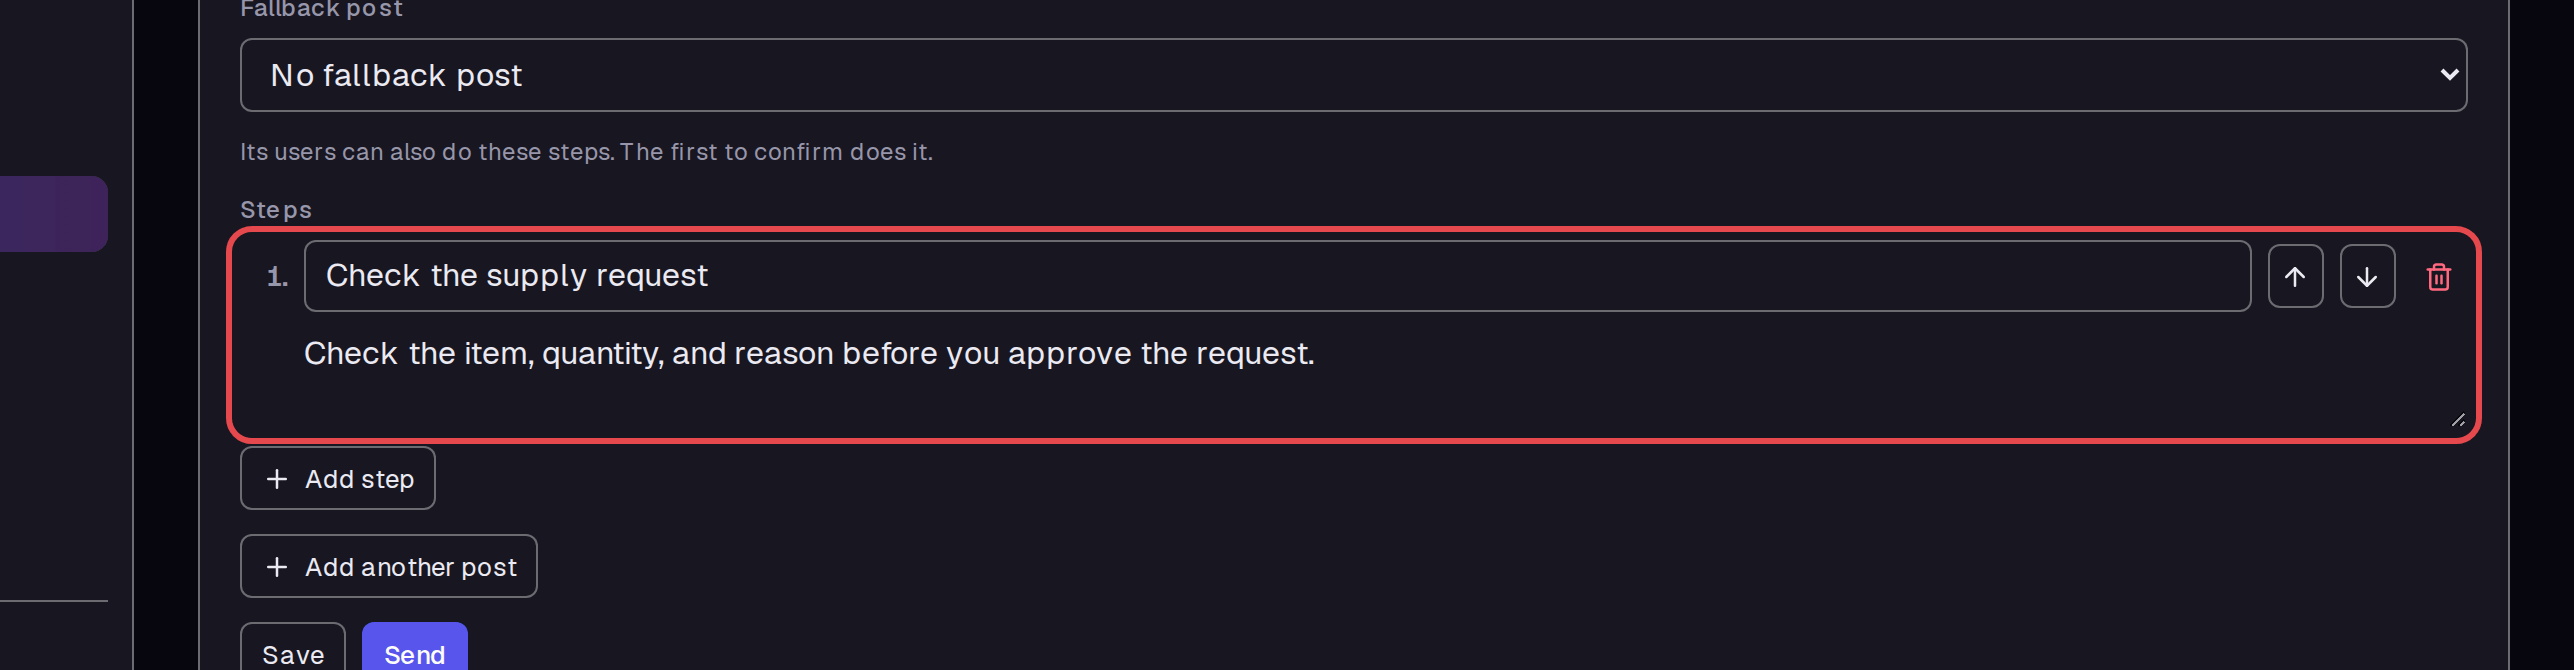
Under Steps, enter the step title in the first box. Enter the instructions in the box below it. We entered Check the supply request and a short review instruction.
Step 5 — Save and send
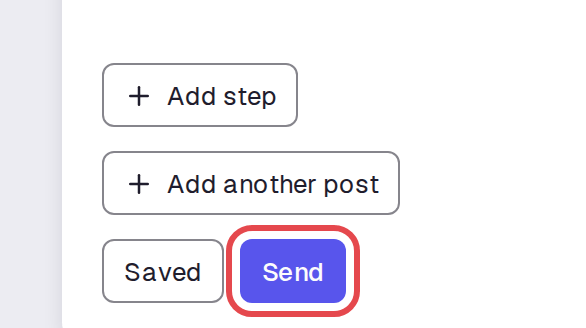
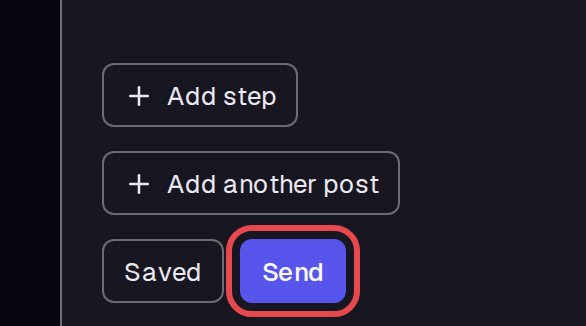
Click Save and wait for Saved. Click Send. The app opens a run of this form.
Step 6 — Review your assigned step
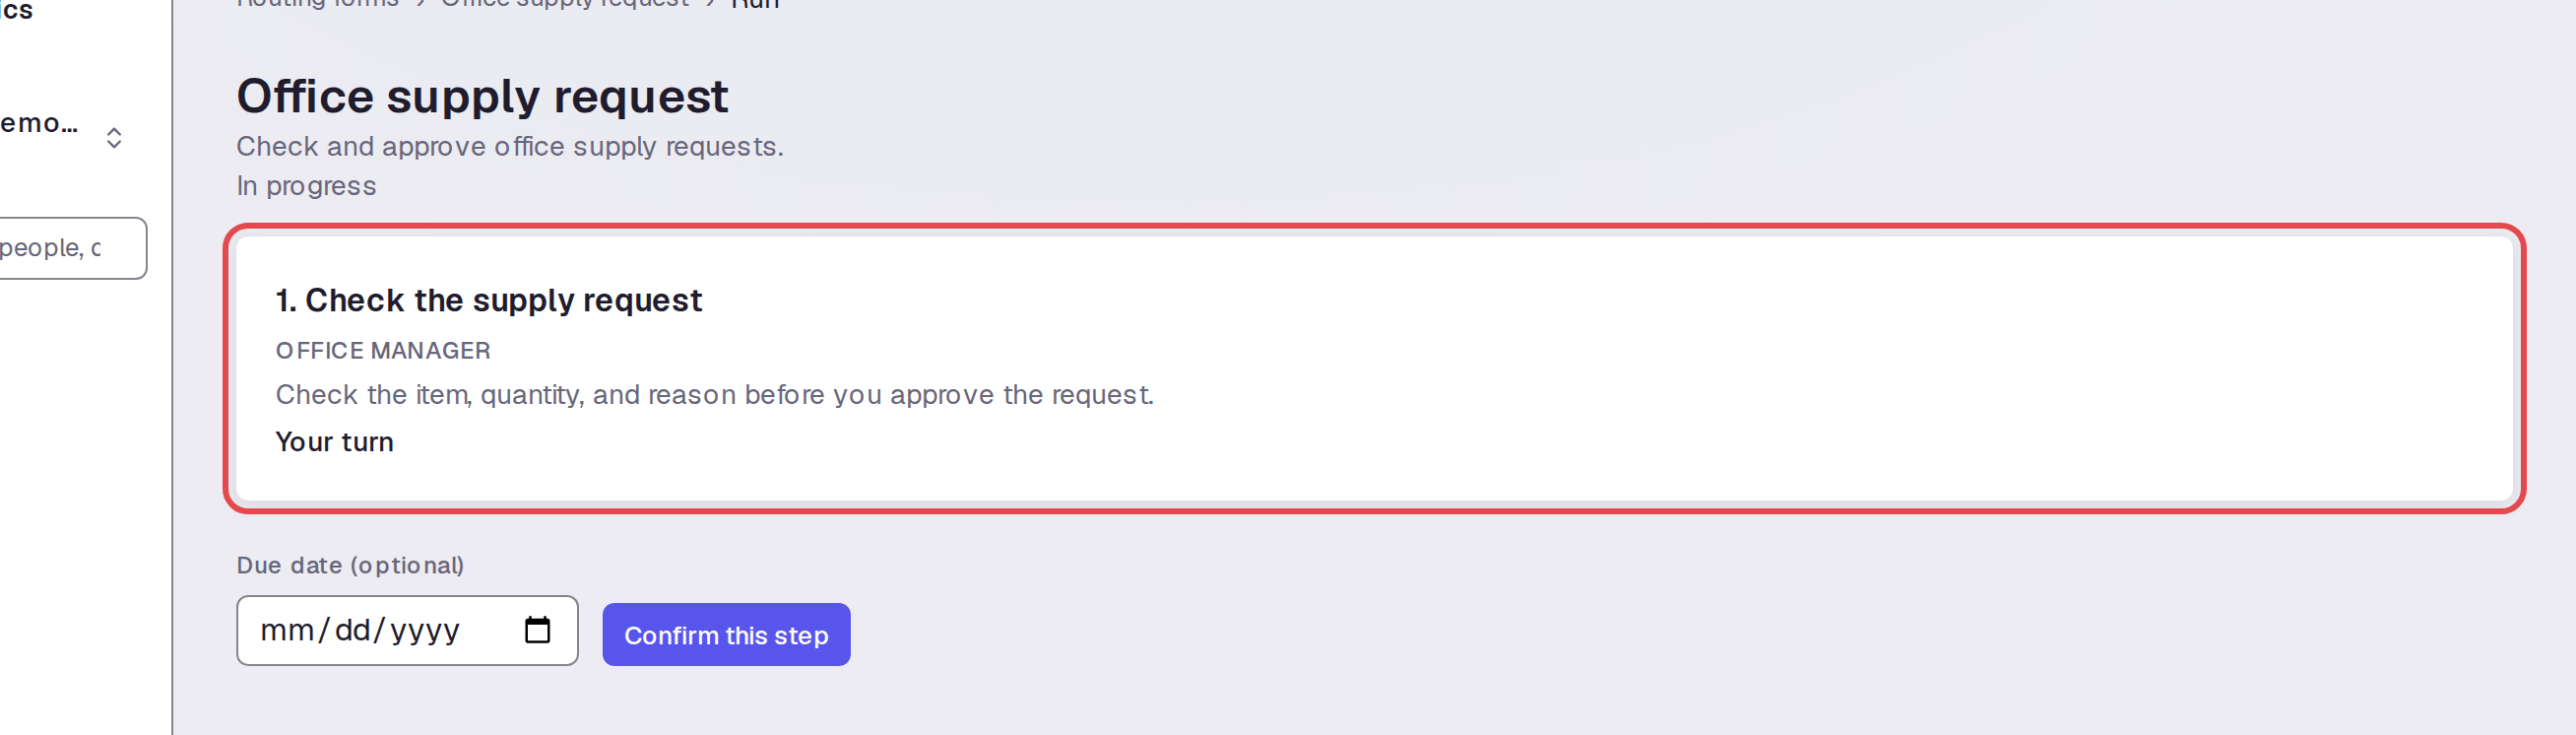
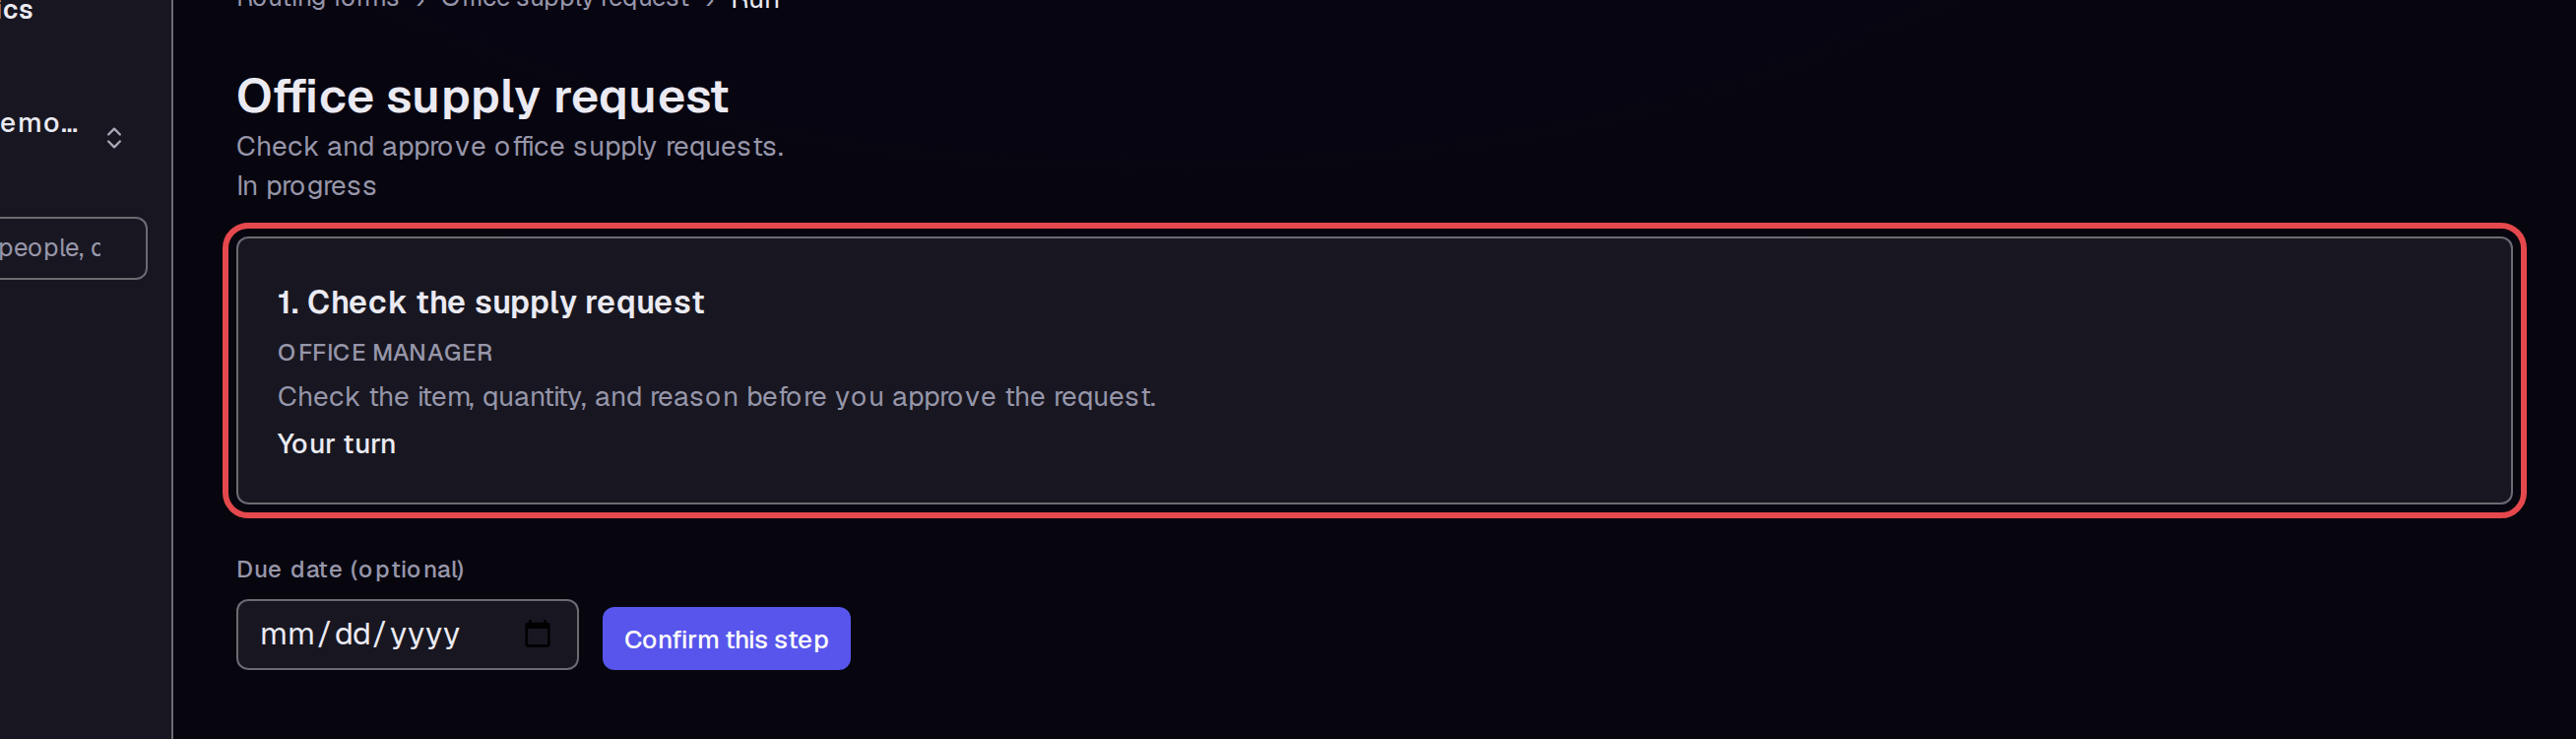
Check that the run says In progress. Read the instructions for the step marked Your turn. Complete the stated work before you confirm it.
Step 7 — Enter an optional due date
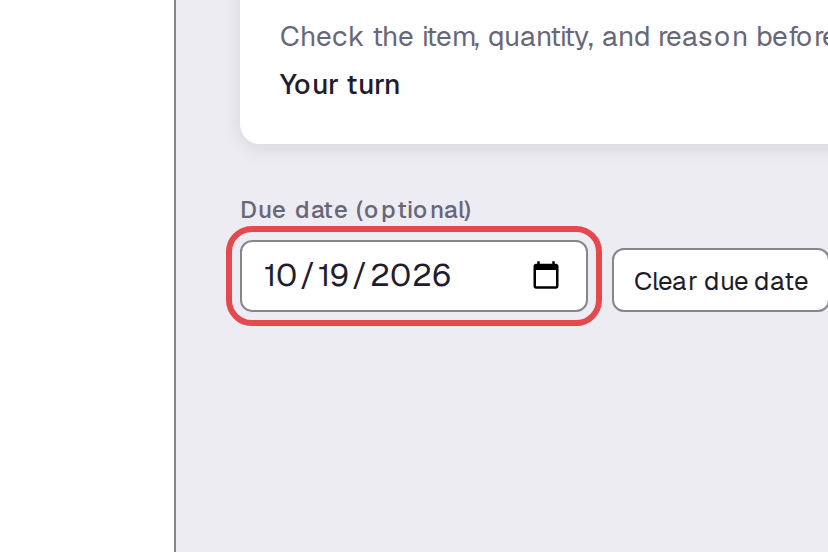
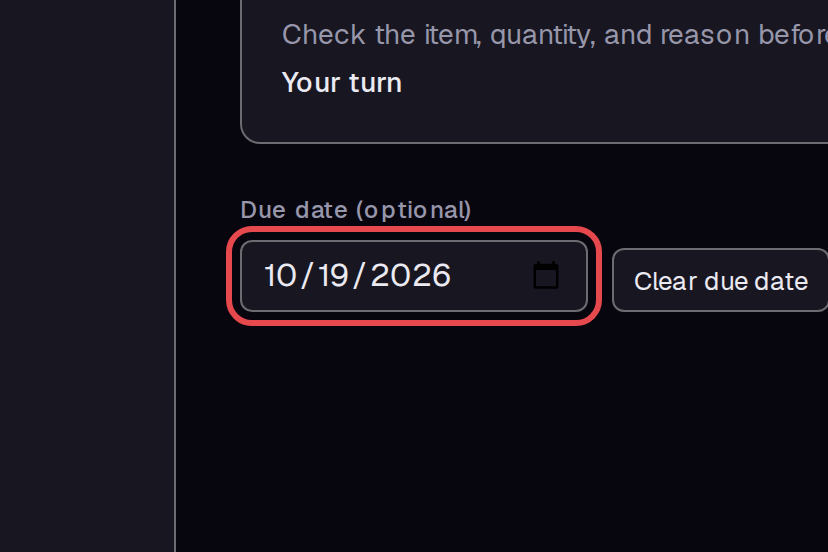
Enter a date in Due date (optional) if needed. We used October 19, 2026.
Step 8 — Confirm the step
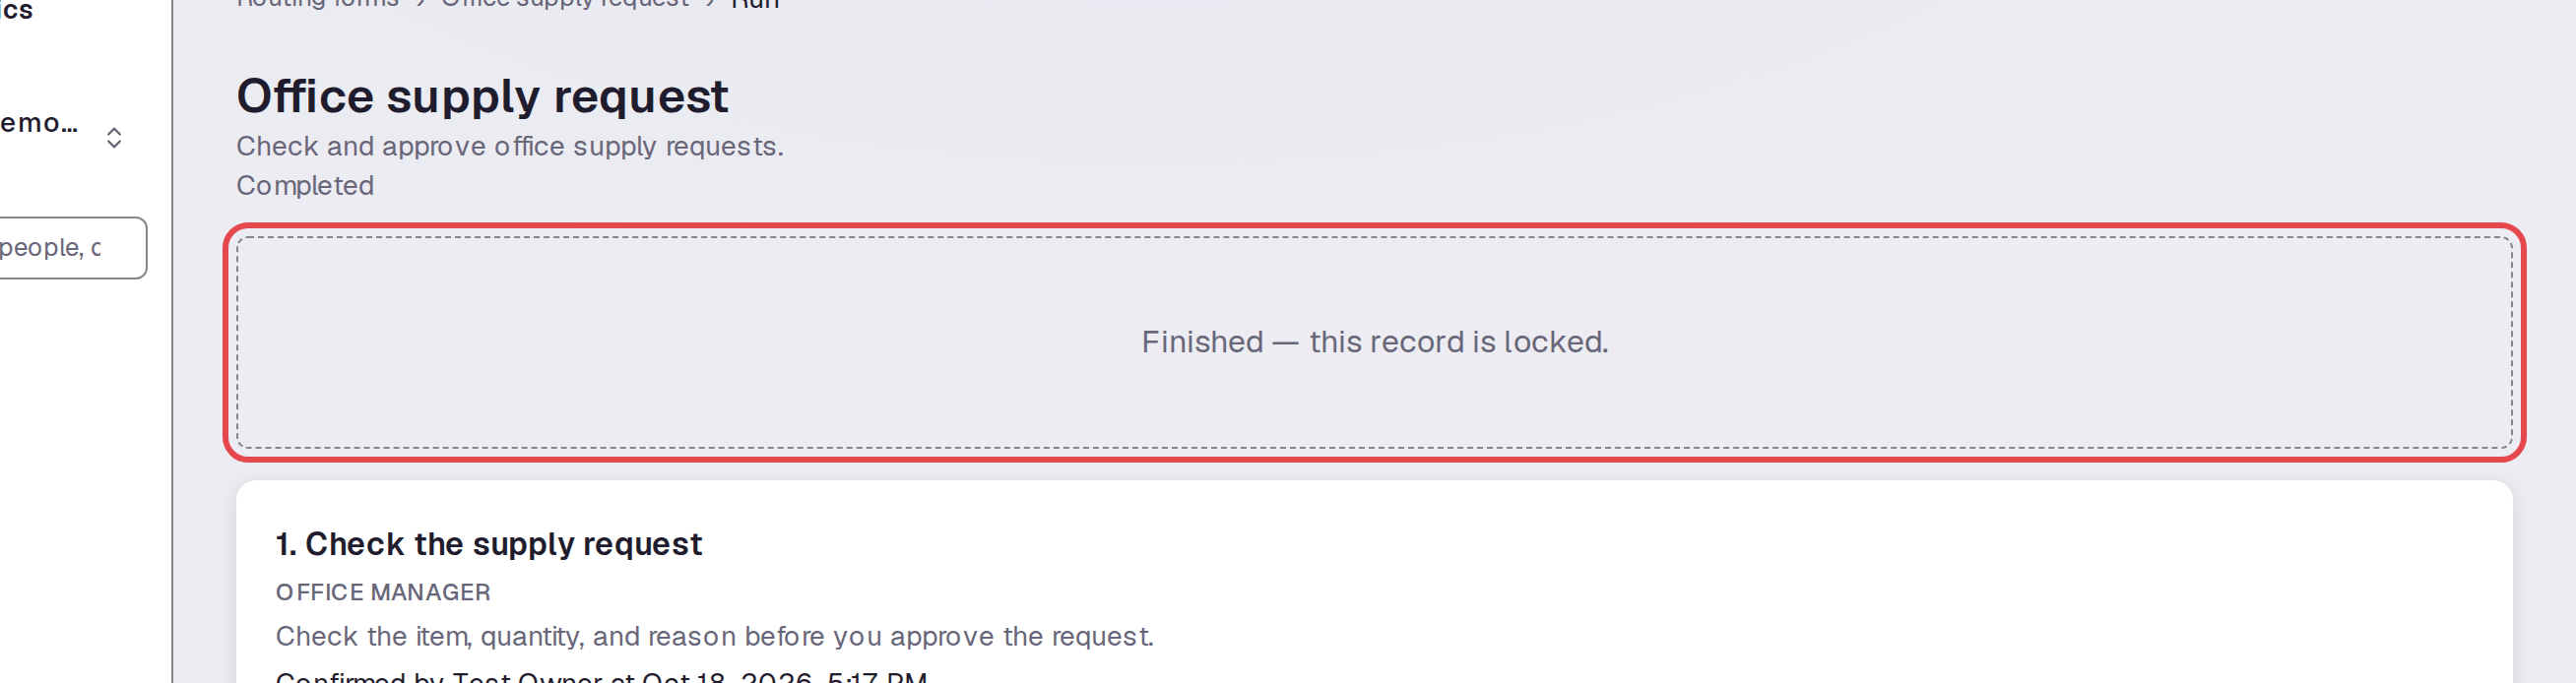
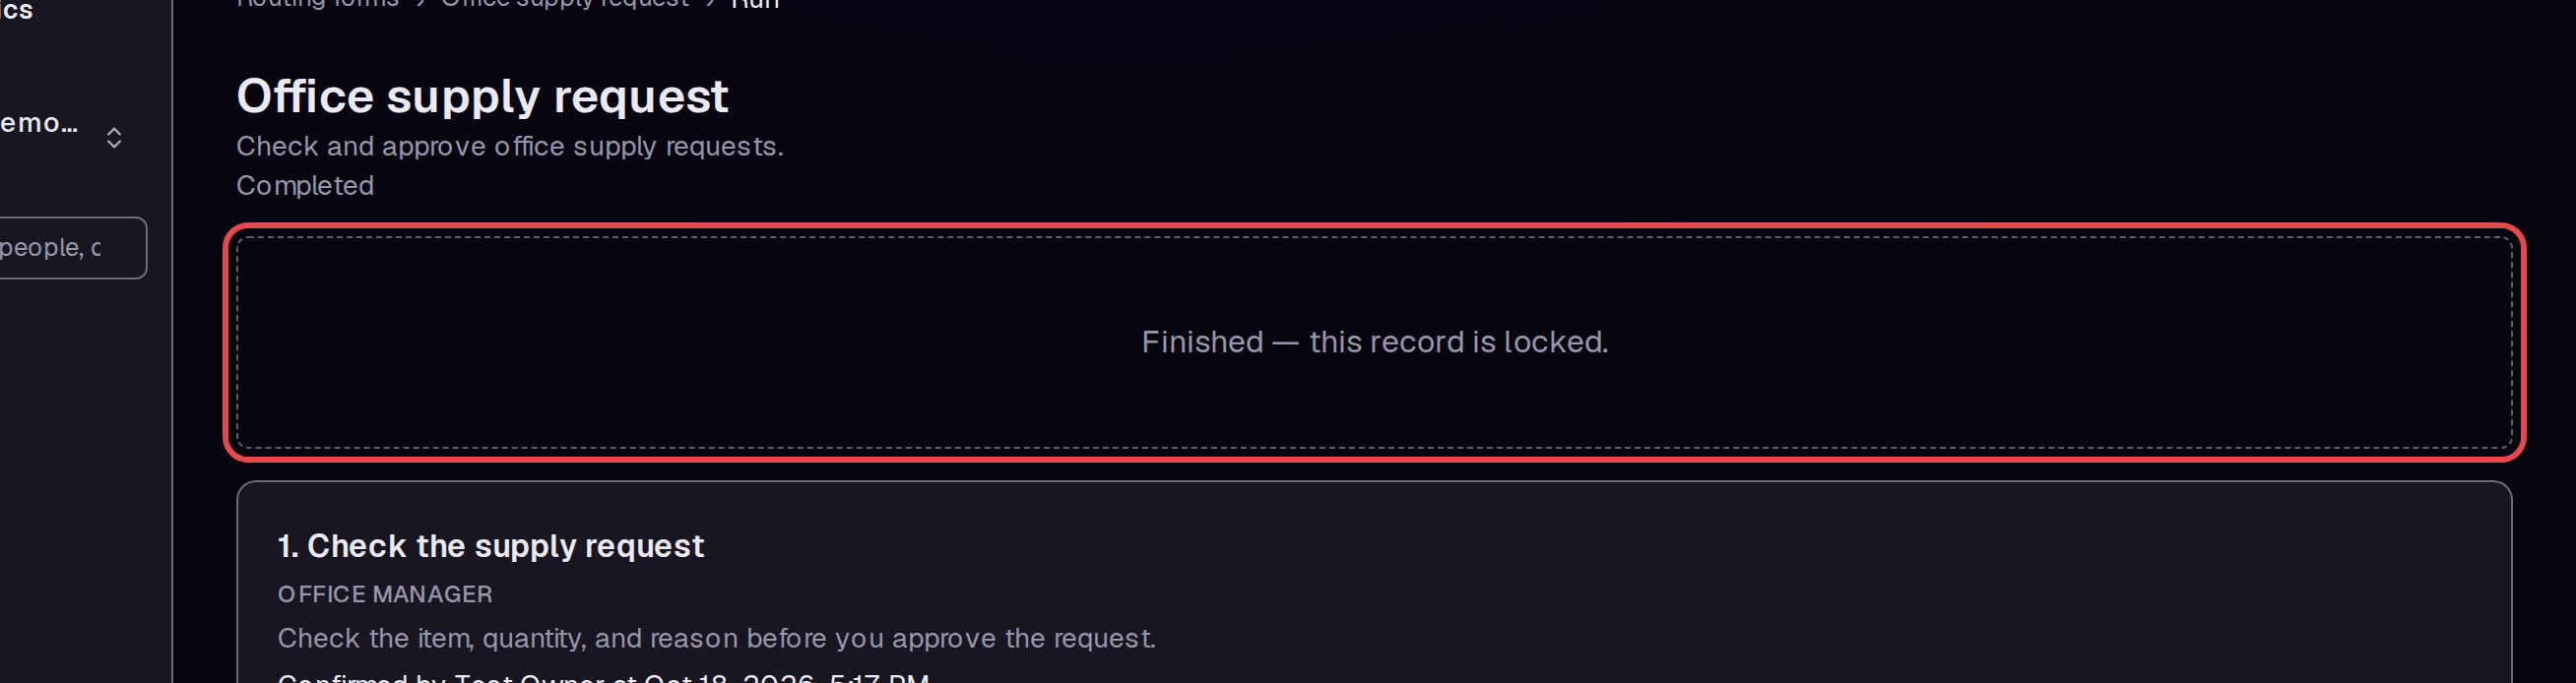
Click Confirm this step. Our one-step run changes to Completed and shows Finished — this record is locked. It also records Test Owner and the confirmation time.
Step 9 — Open the print view
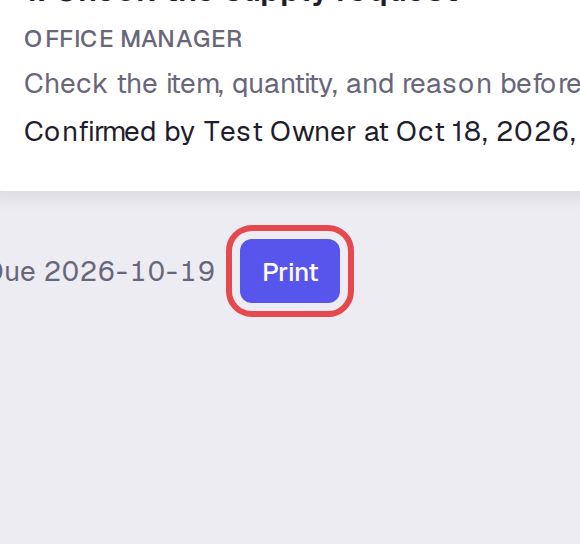
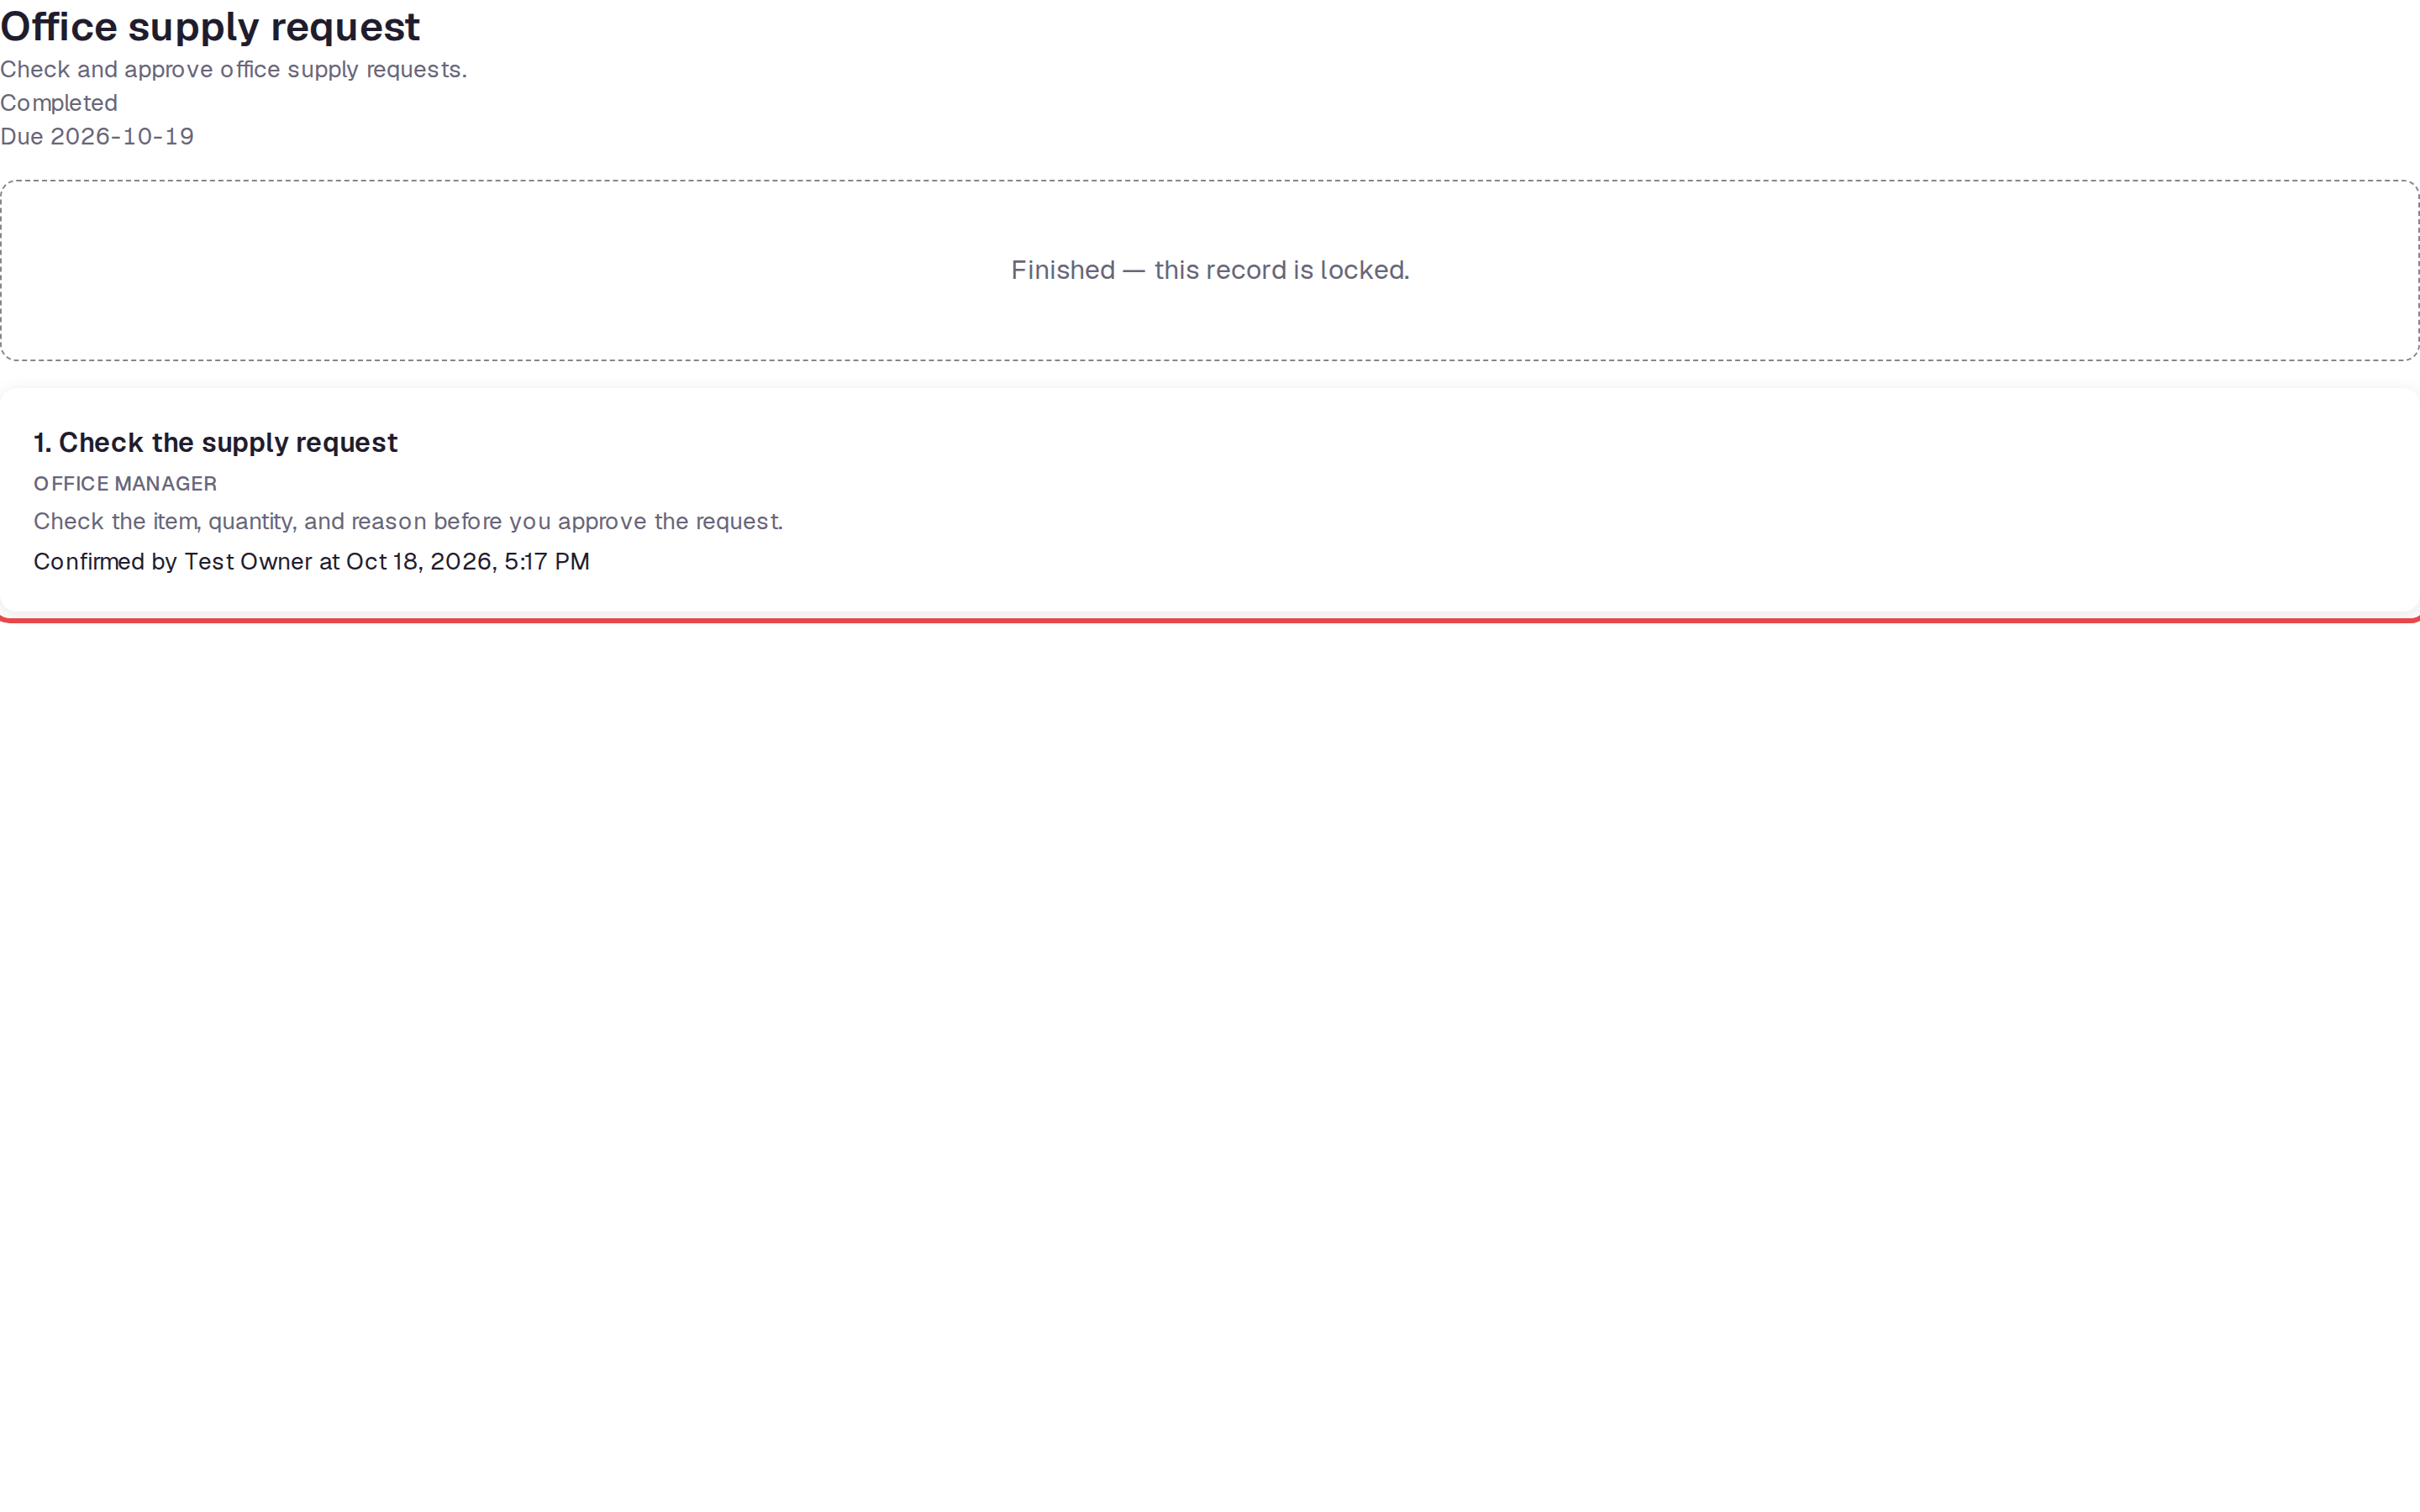
Click Print on the completed run. The app opens a page without the workspace sidebar.
Step 10 — Print the record
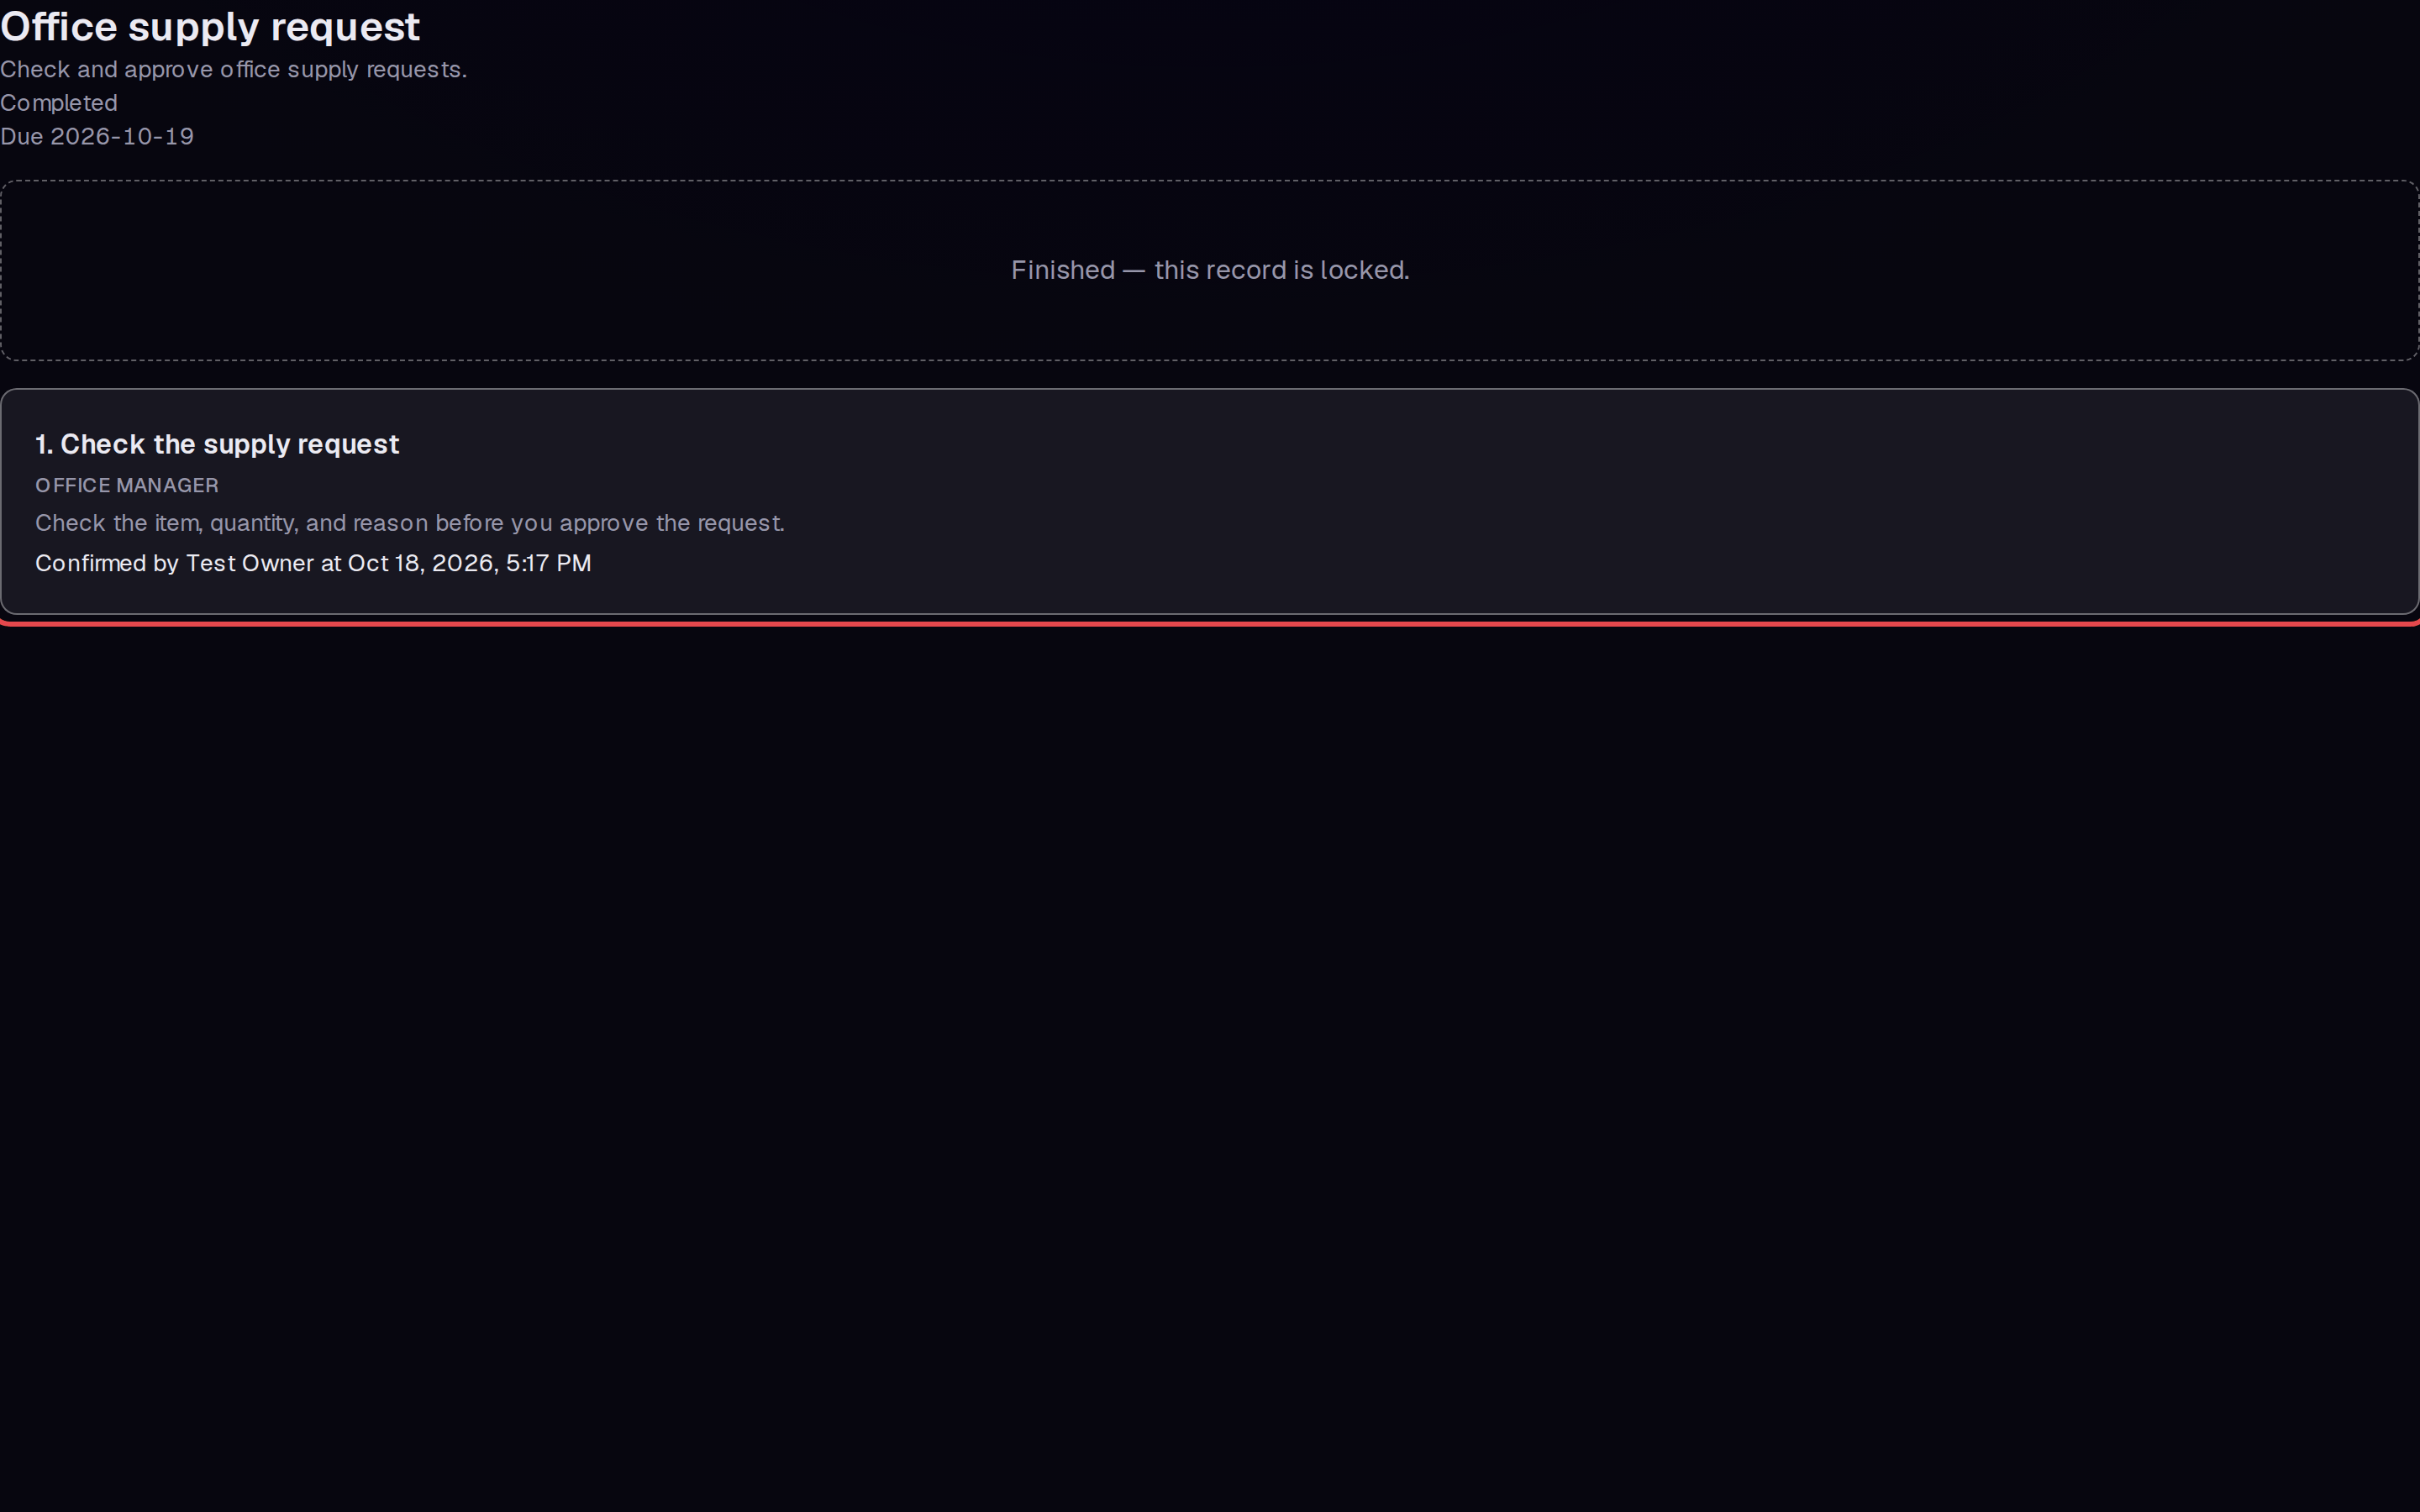
Check the form title, due date, step, and confirmation in the print view. Use your browser's print command to print the page or save a PDF. We verified PDF output for this record.
Tips
- The editor shows Add step and Add another post for longer forms.
- Fallback post lets its users do the same steps; the editor says the first person to confirm does the step.
- Completed runs show that their records are locked.
- The due date appears on the completed run and in its print view.