How to arrange and print your board
about 7 minutes
Use the board view controls to make an organization chart easier to read. You can change the zoom, line up divisions, and move a line bend to make more room between boxes.
Before you start
Use a board with at least two divisions and a connecting line. Our example has Operations and Administration divisions. If you need to add the structure first, see Build your org board.
Step 1 — Open the board controls
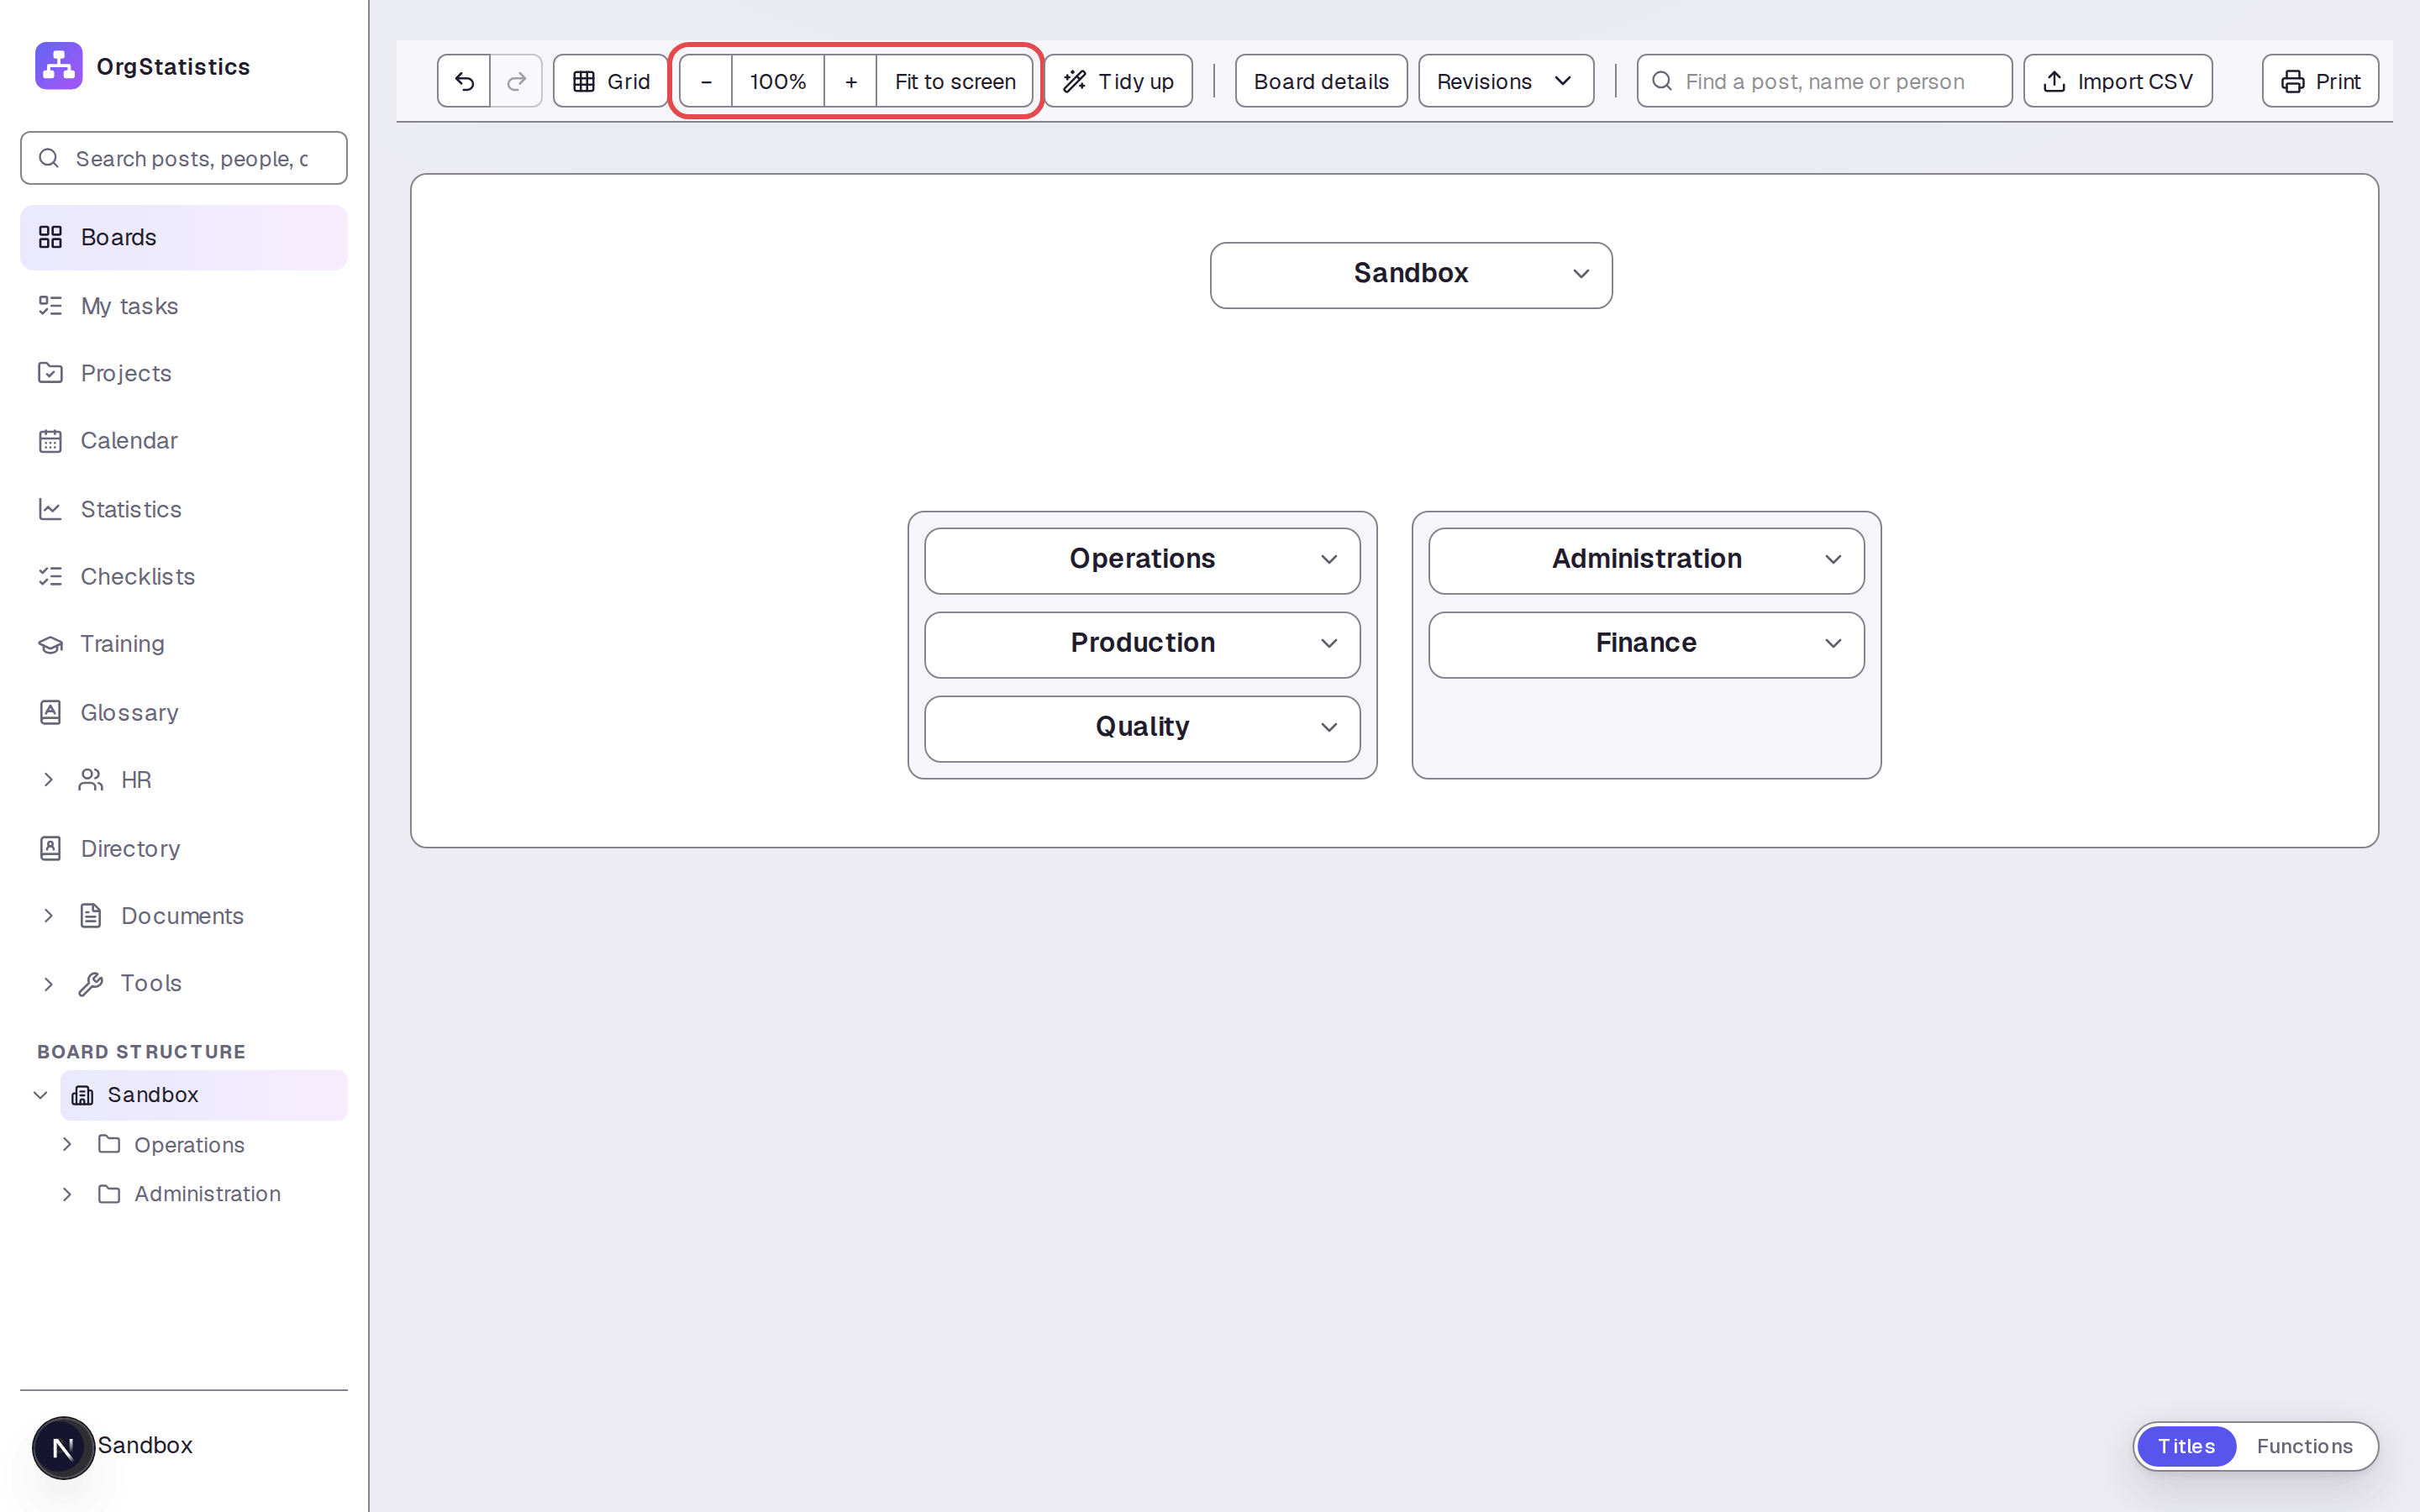
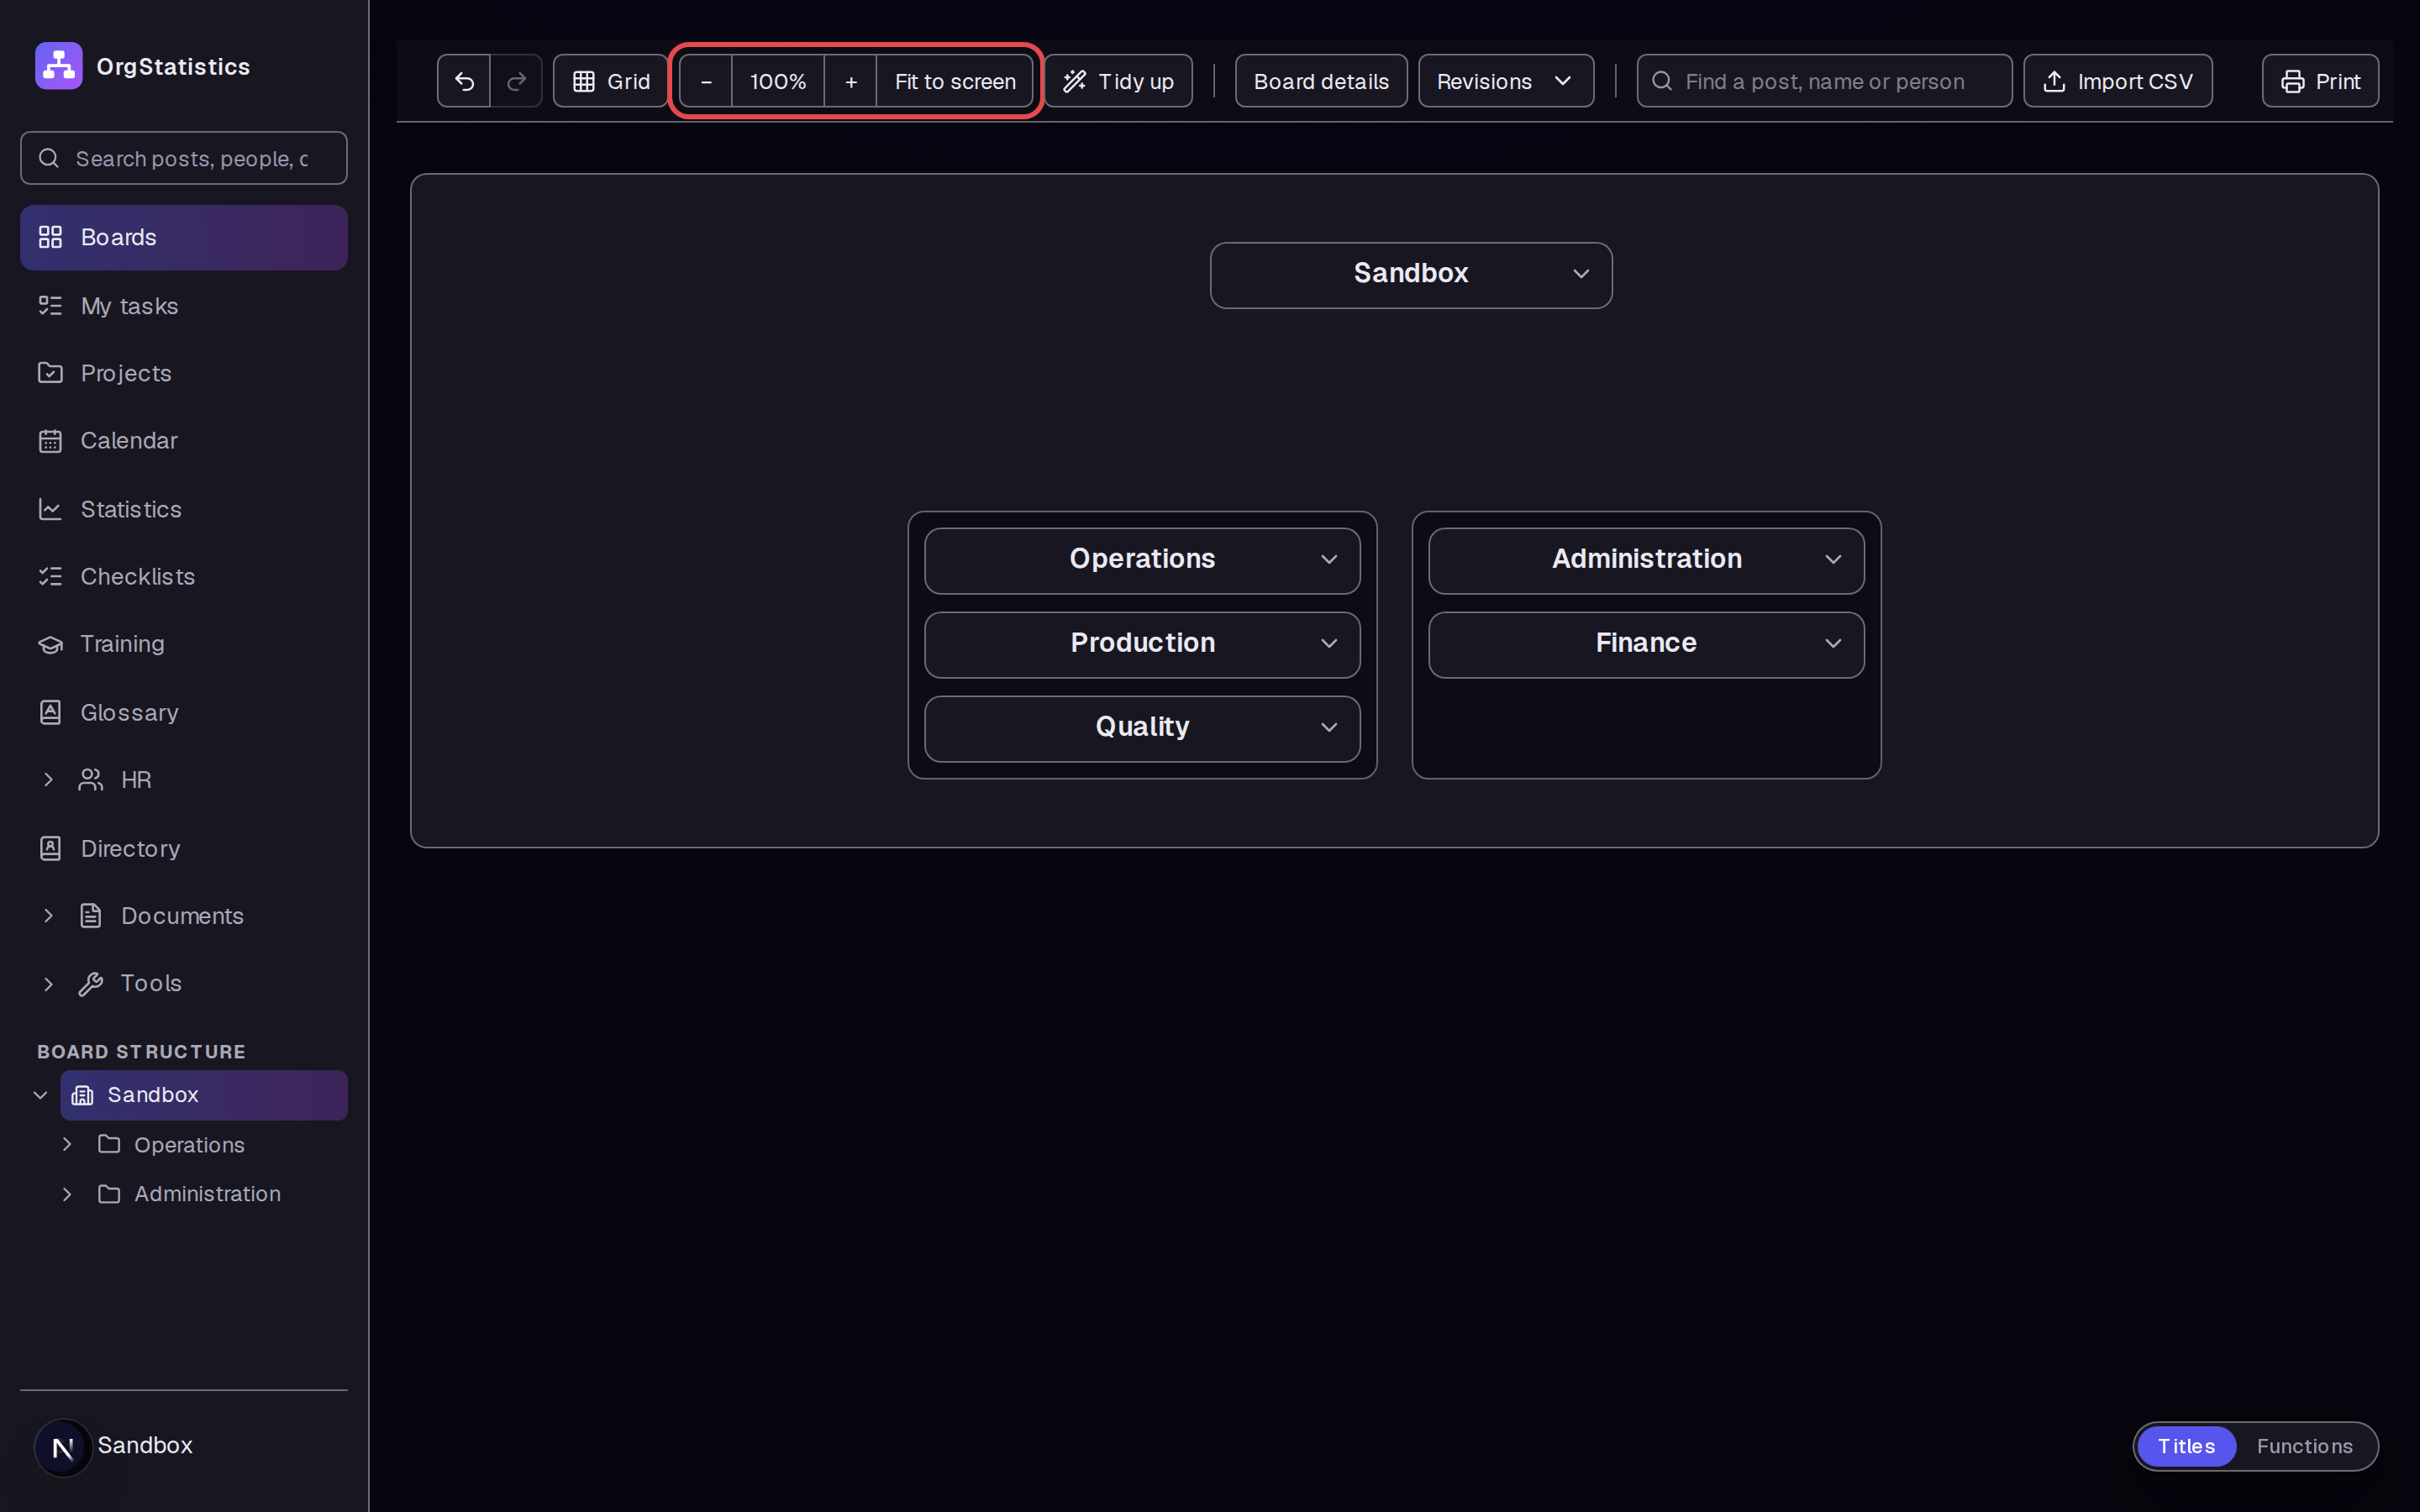
Click Boards in the sidebar. Find the zoom controls at the top of the board.
Step 2 — Zoom out
Click the − button to show the board at a smaller size. We clicked it twice. The percentage changes with the view.
Step 3 — Zoom in
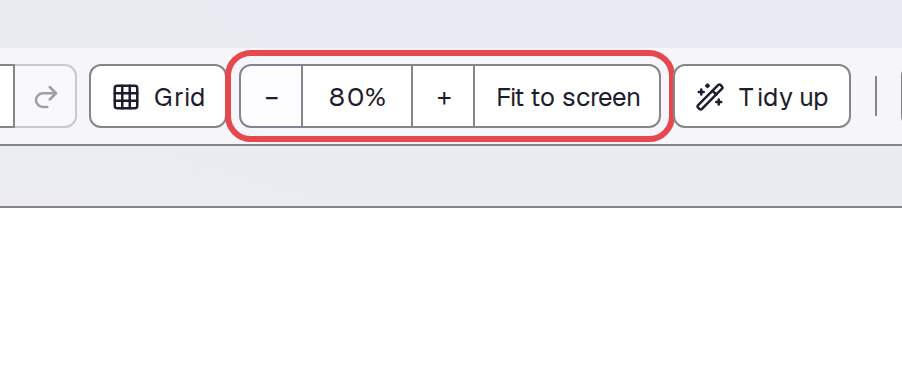
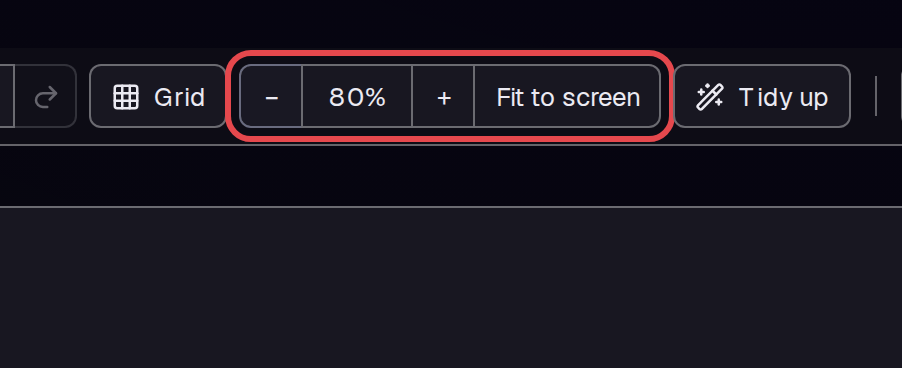
Click the + button to make the boxes larger. We clicked it once.
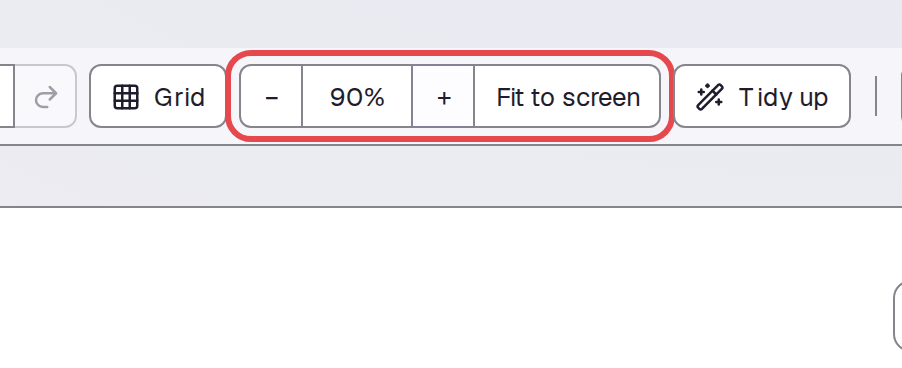
Step 4 — Fit the board to the screen
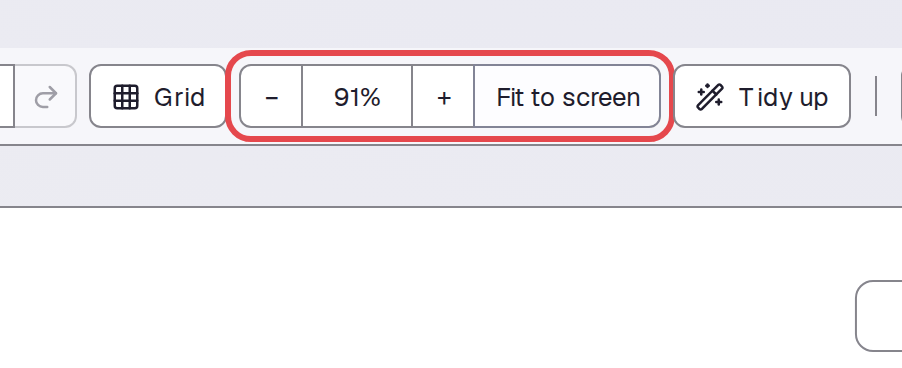
Click Fit to screen. The app sets a zoom level for the available board area.
Step 5 — Show the grid
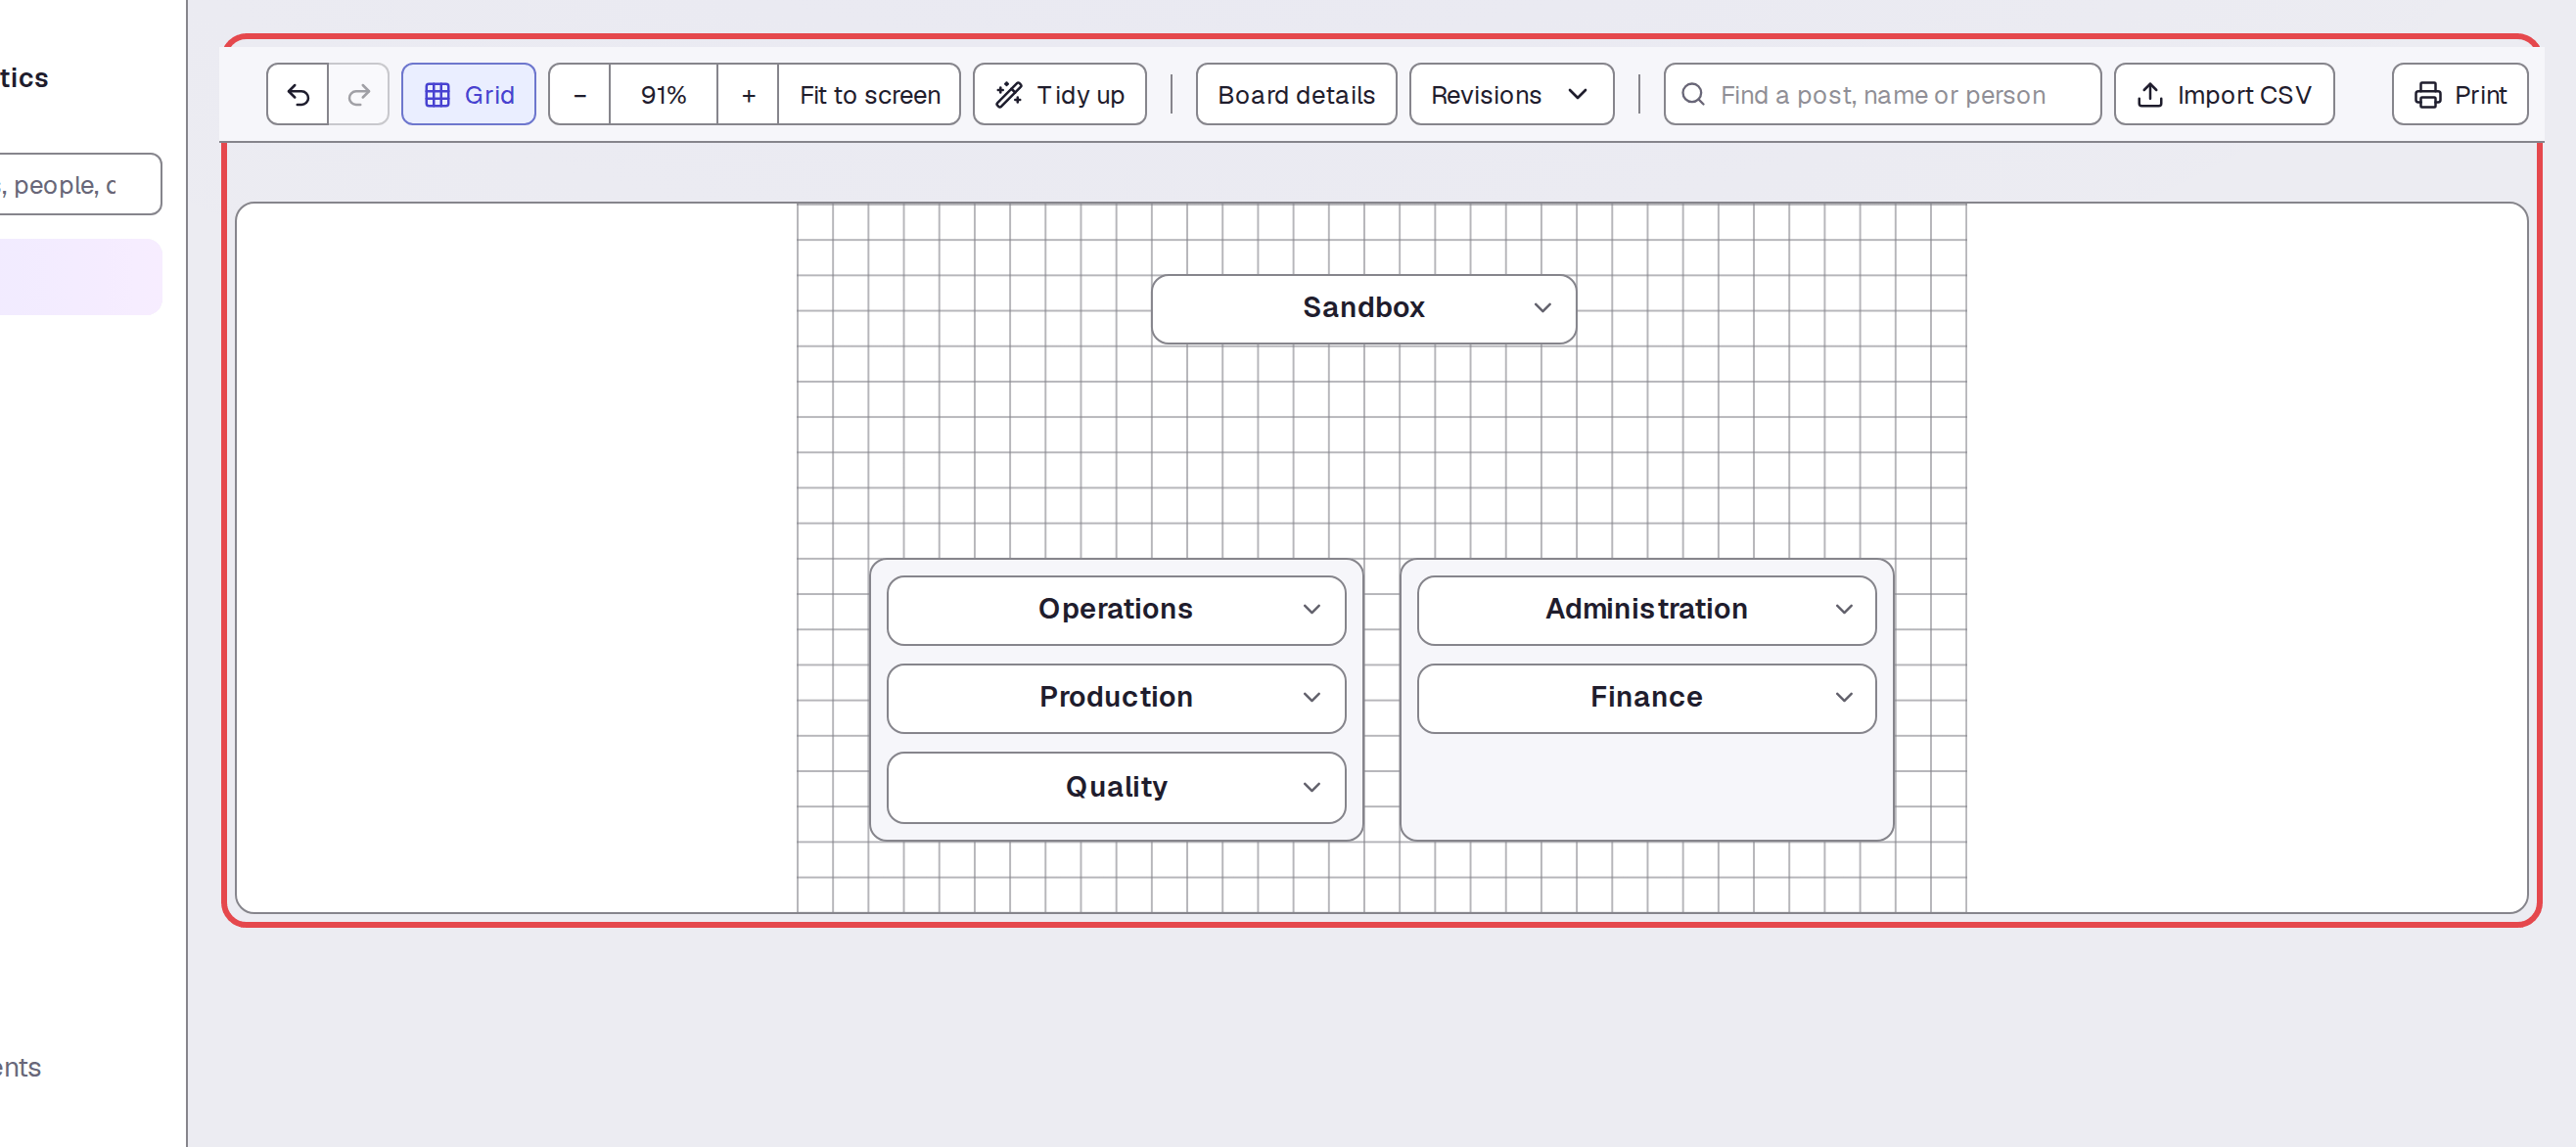
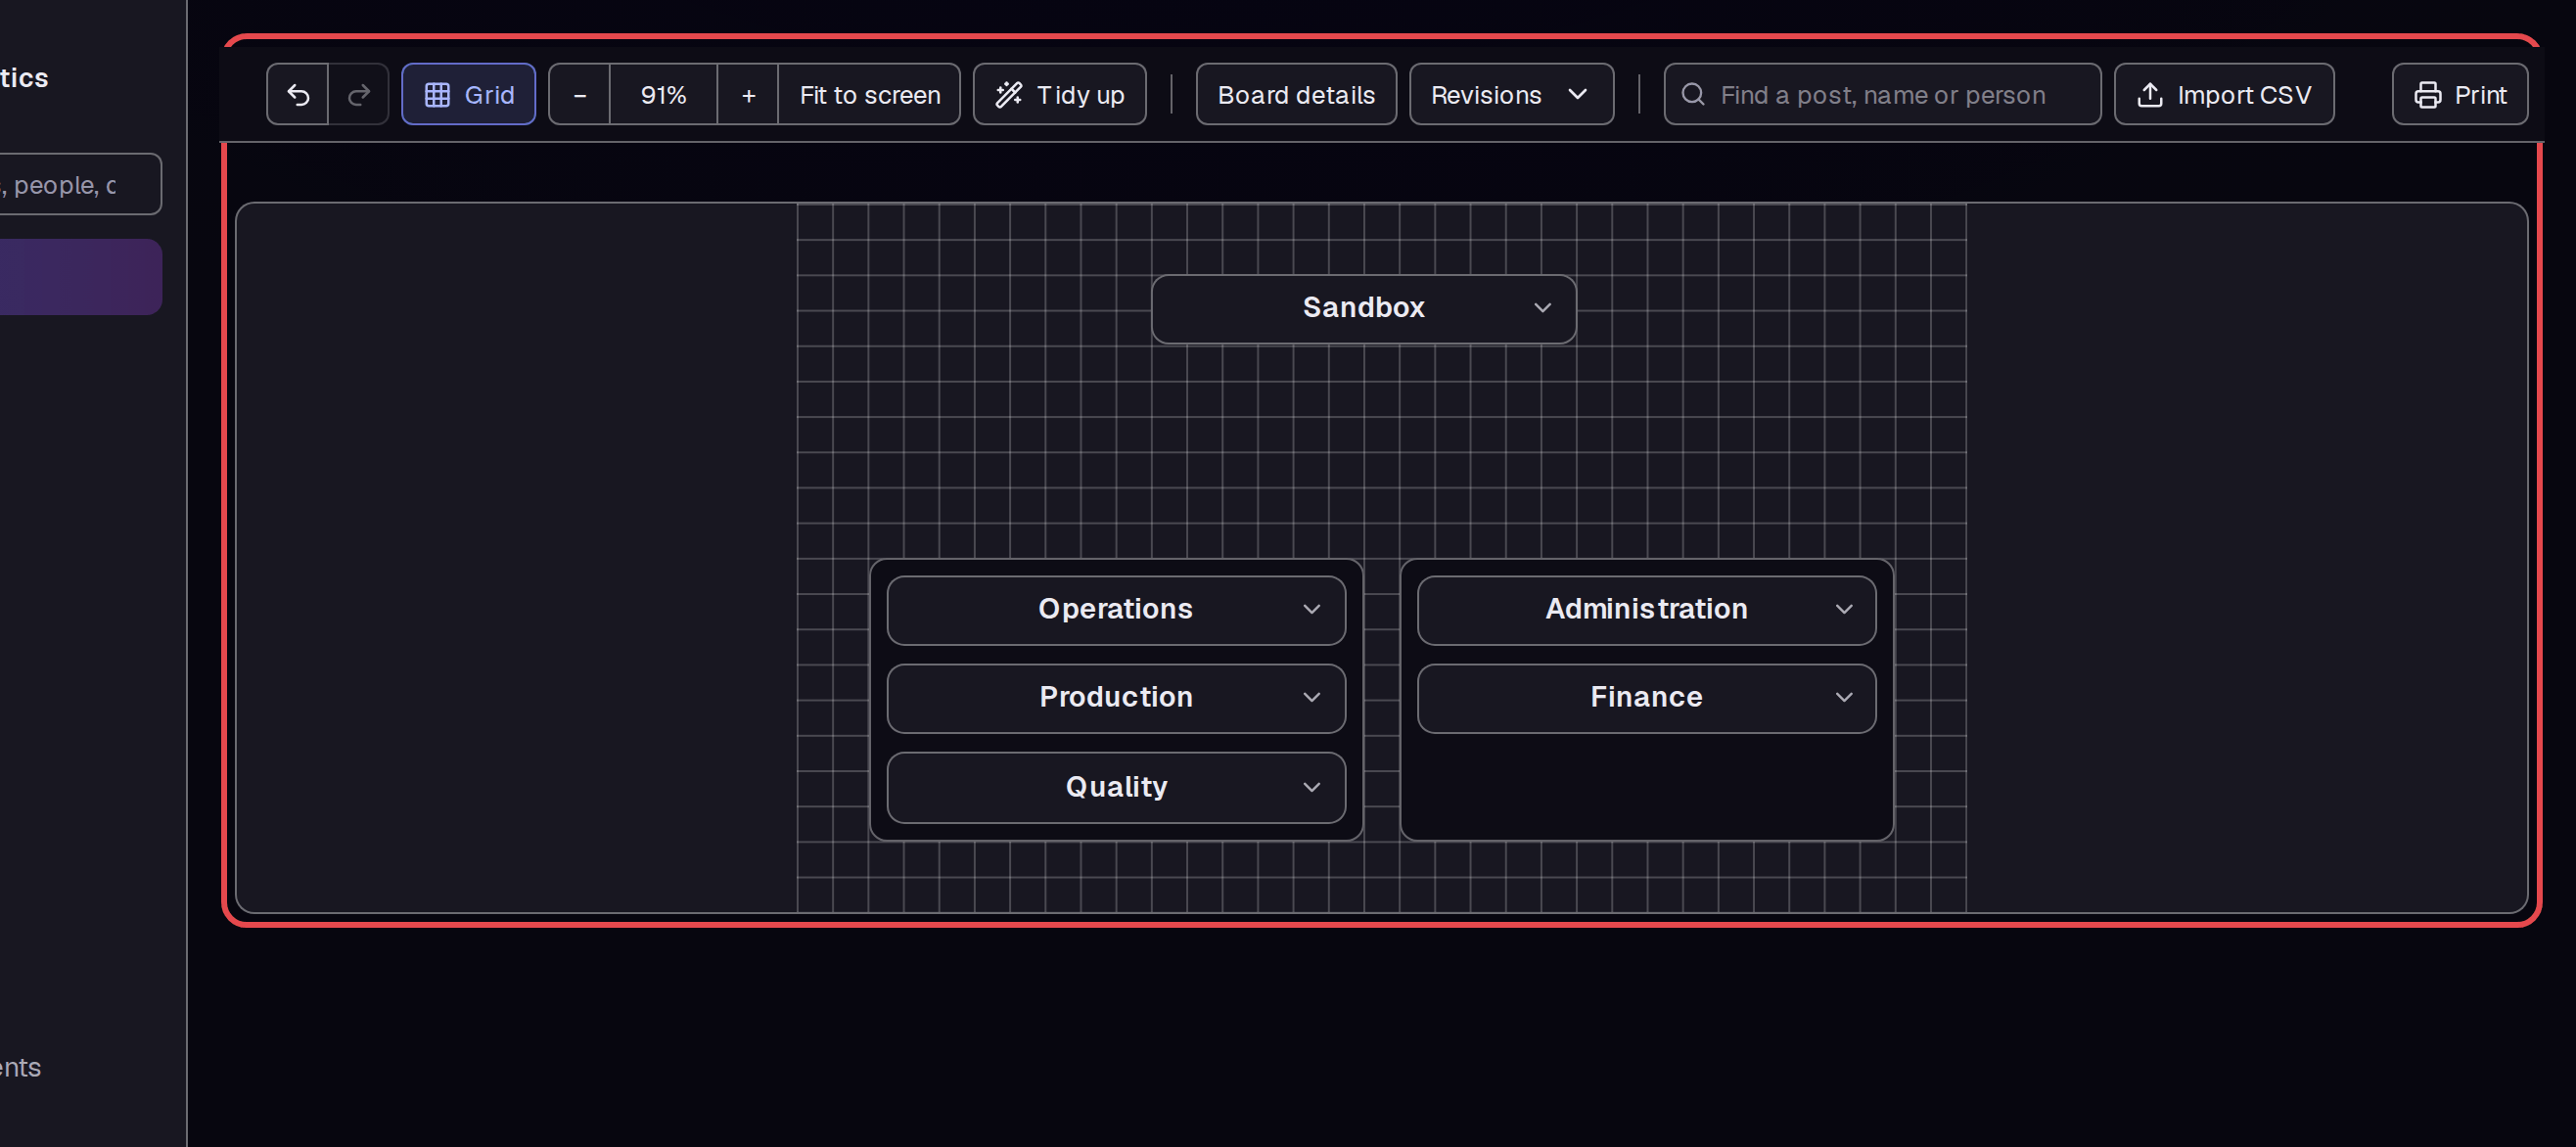
Click Grid. Grid lines appear behind the boxes to help you compare their positions.
Step 6 — Align a division while you drag it
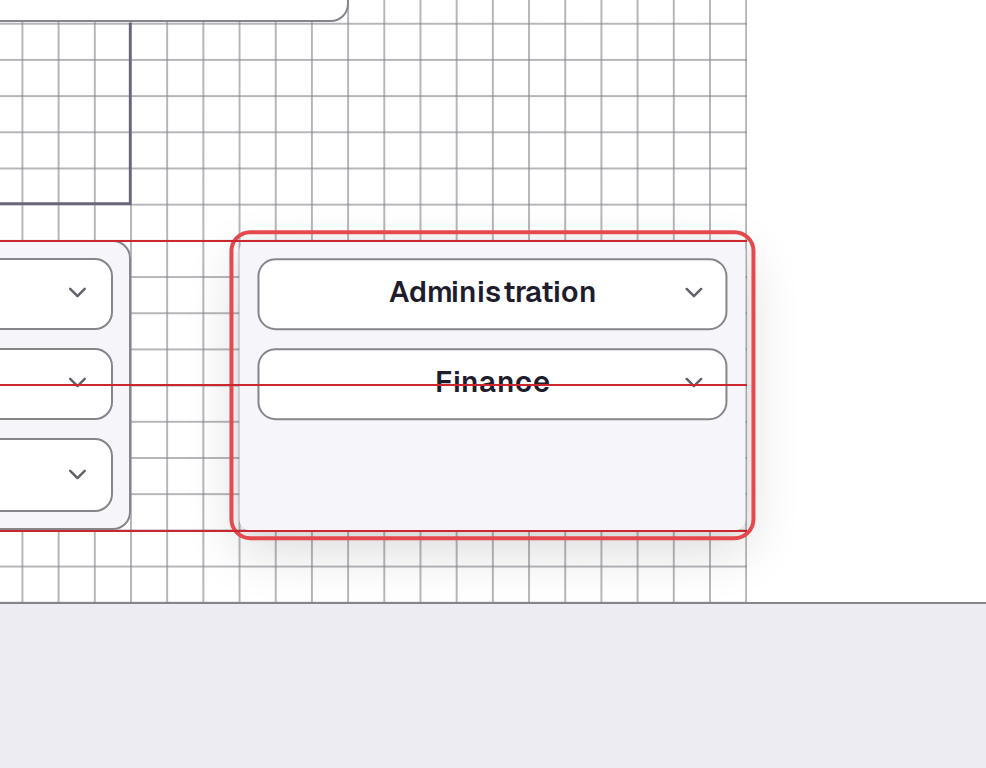
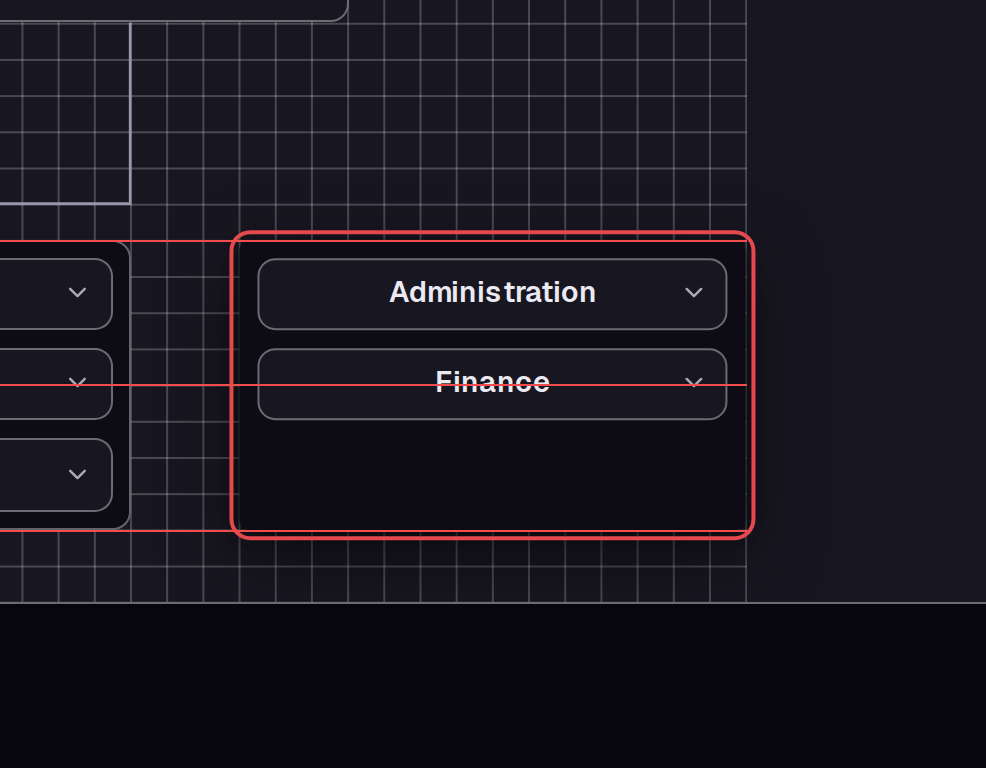
Drag the empty area near the bottom of a division container. Move it until red alignment guides appear across the divisions. Release the mouse to place it.
Step 7 — Select a connecting line
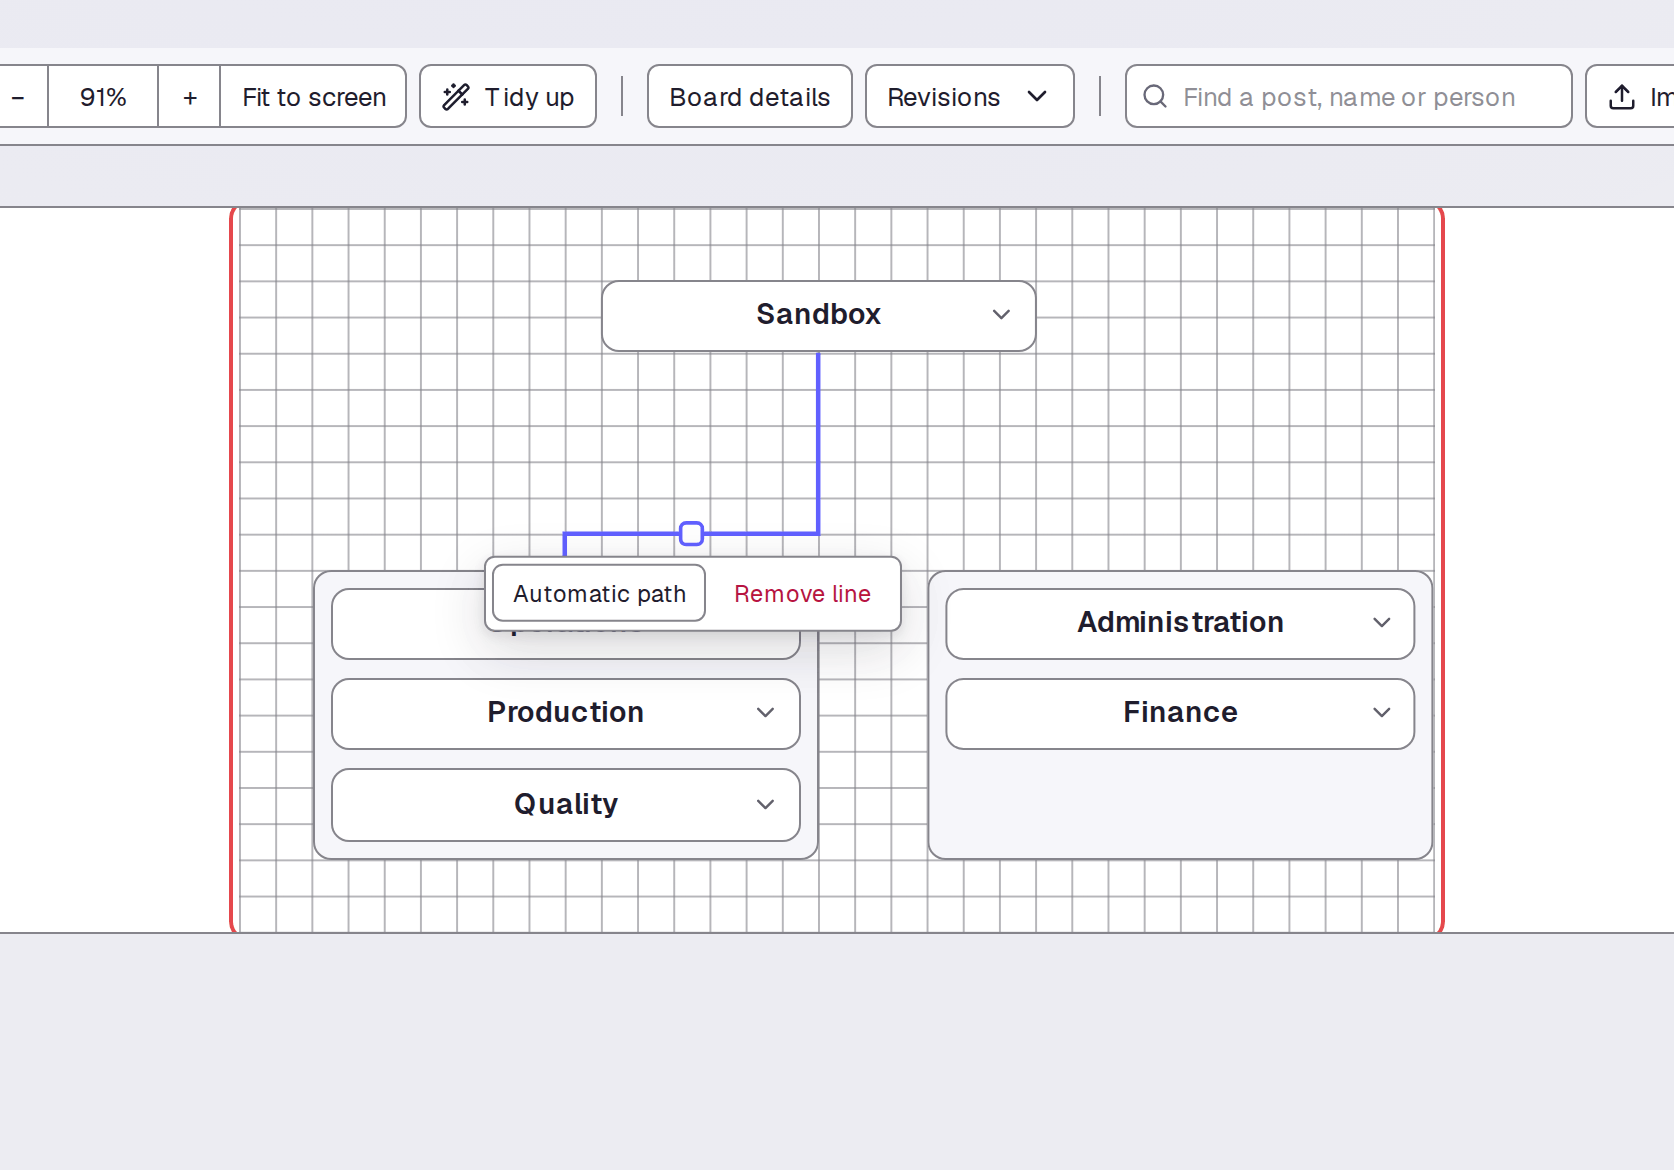
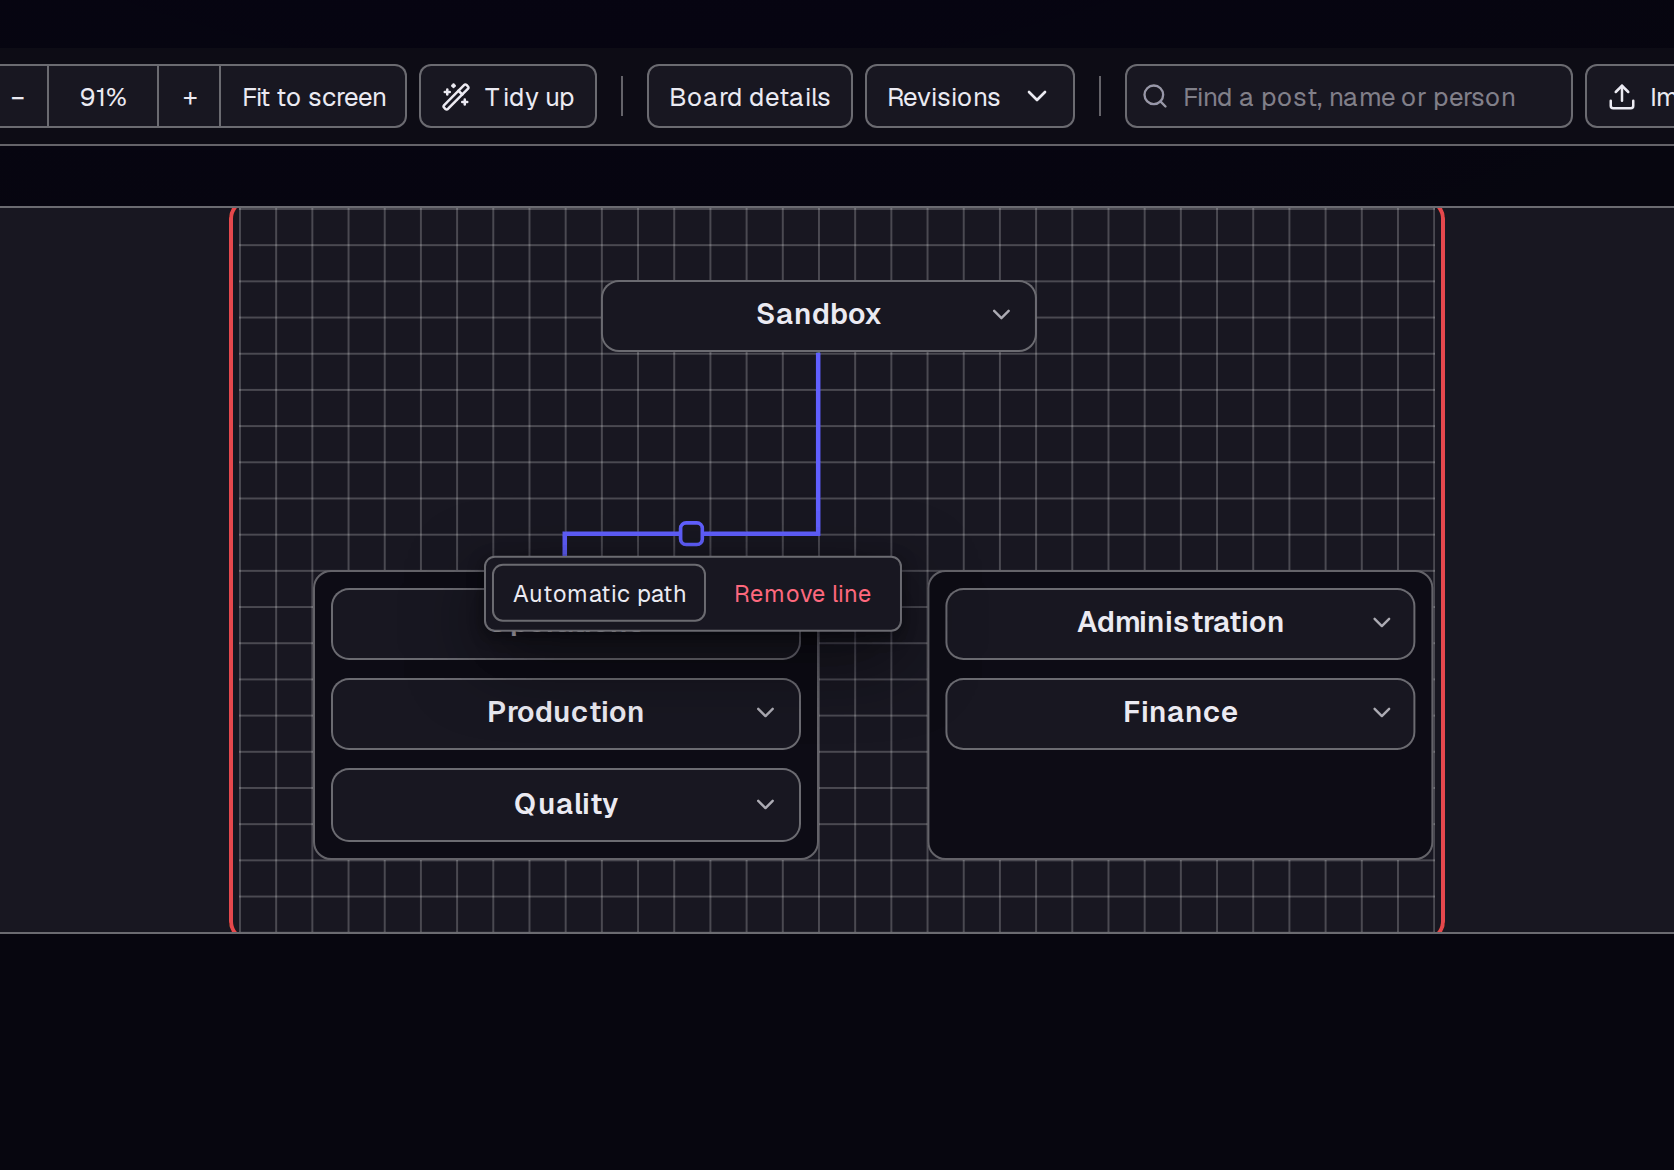
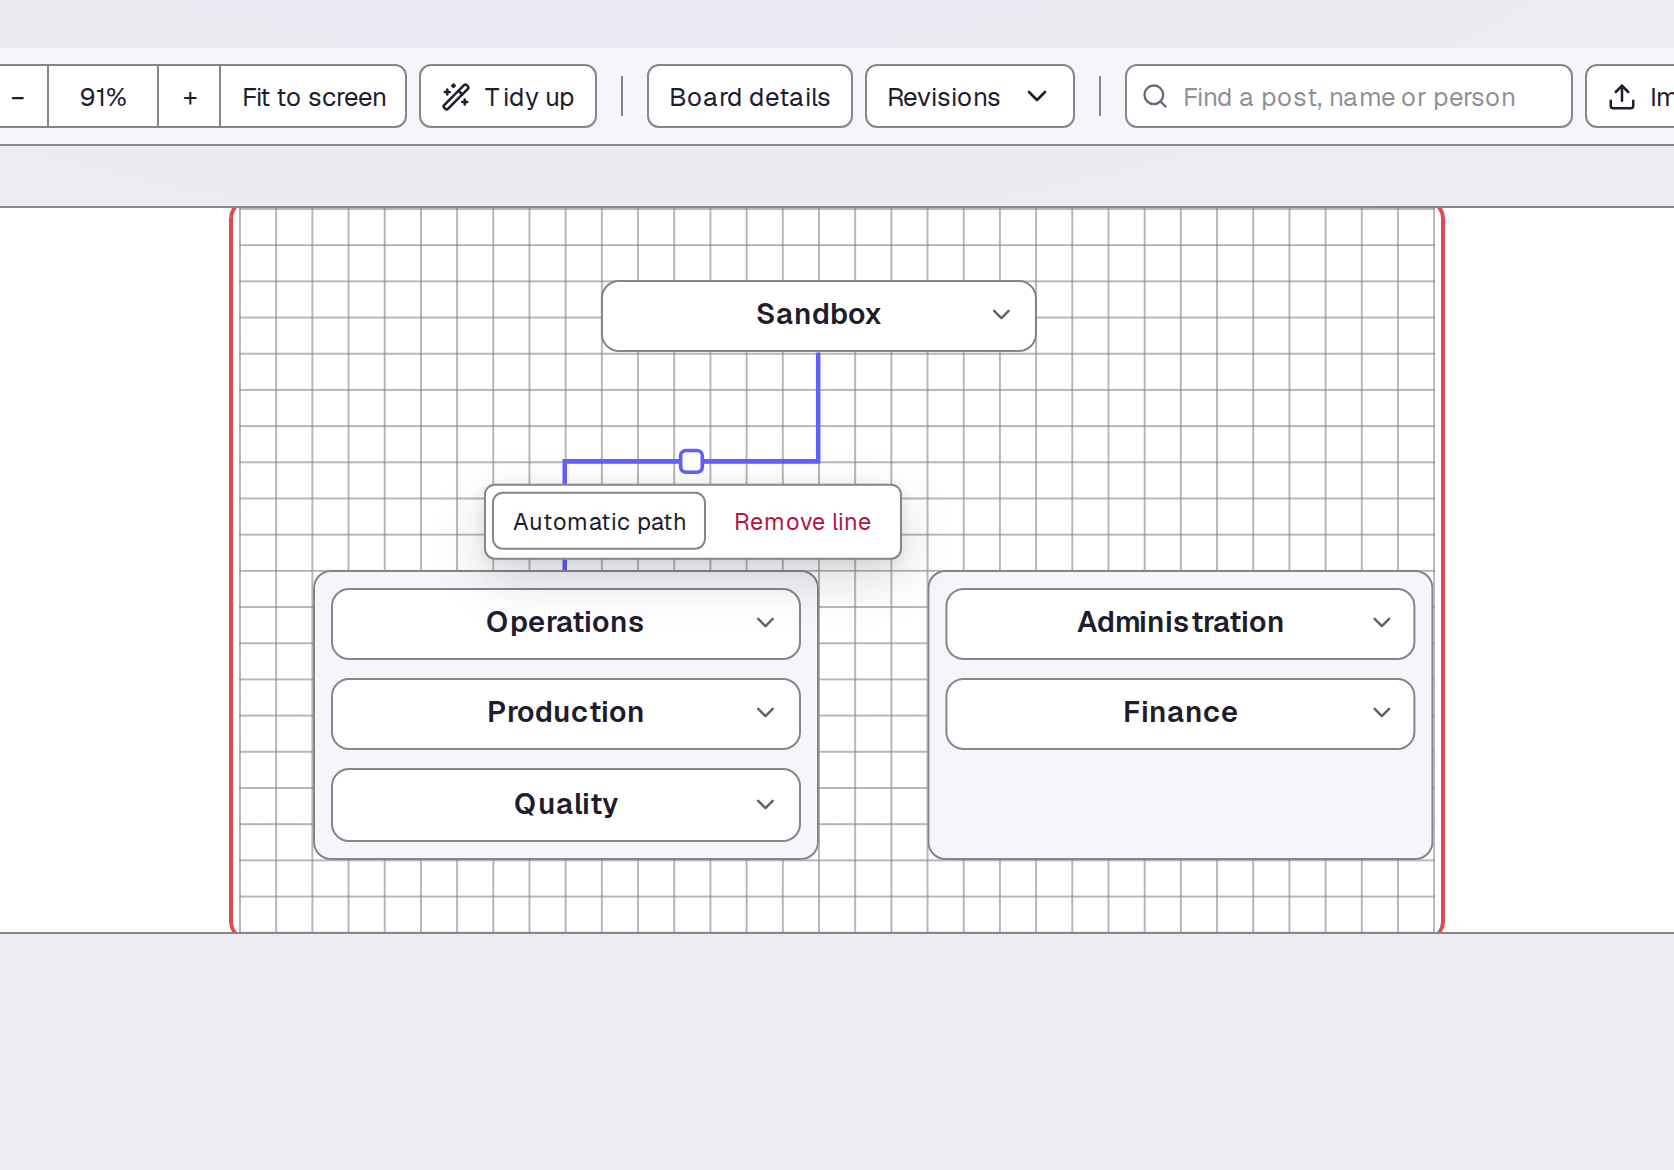
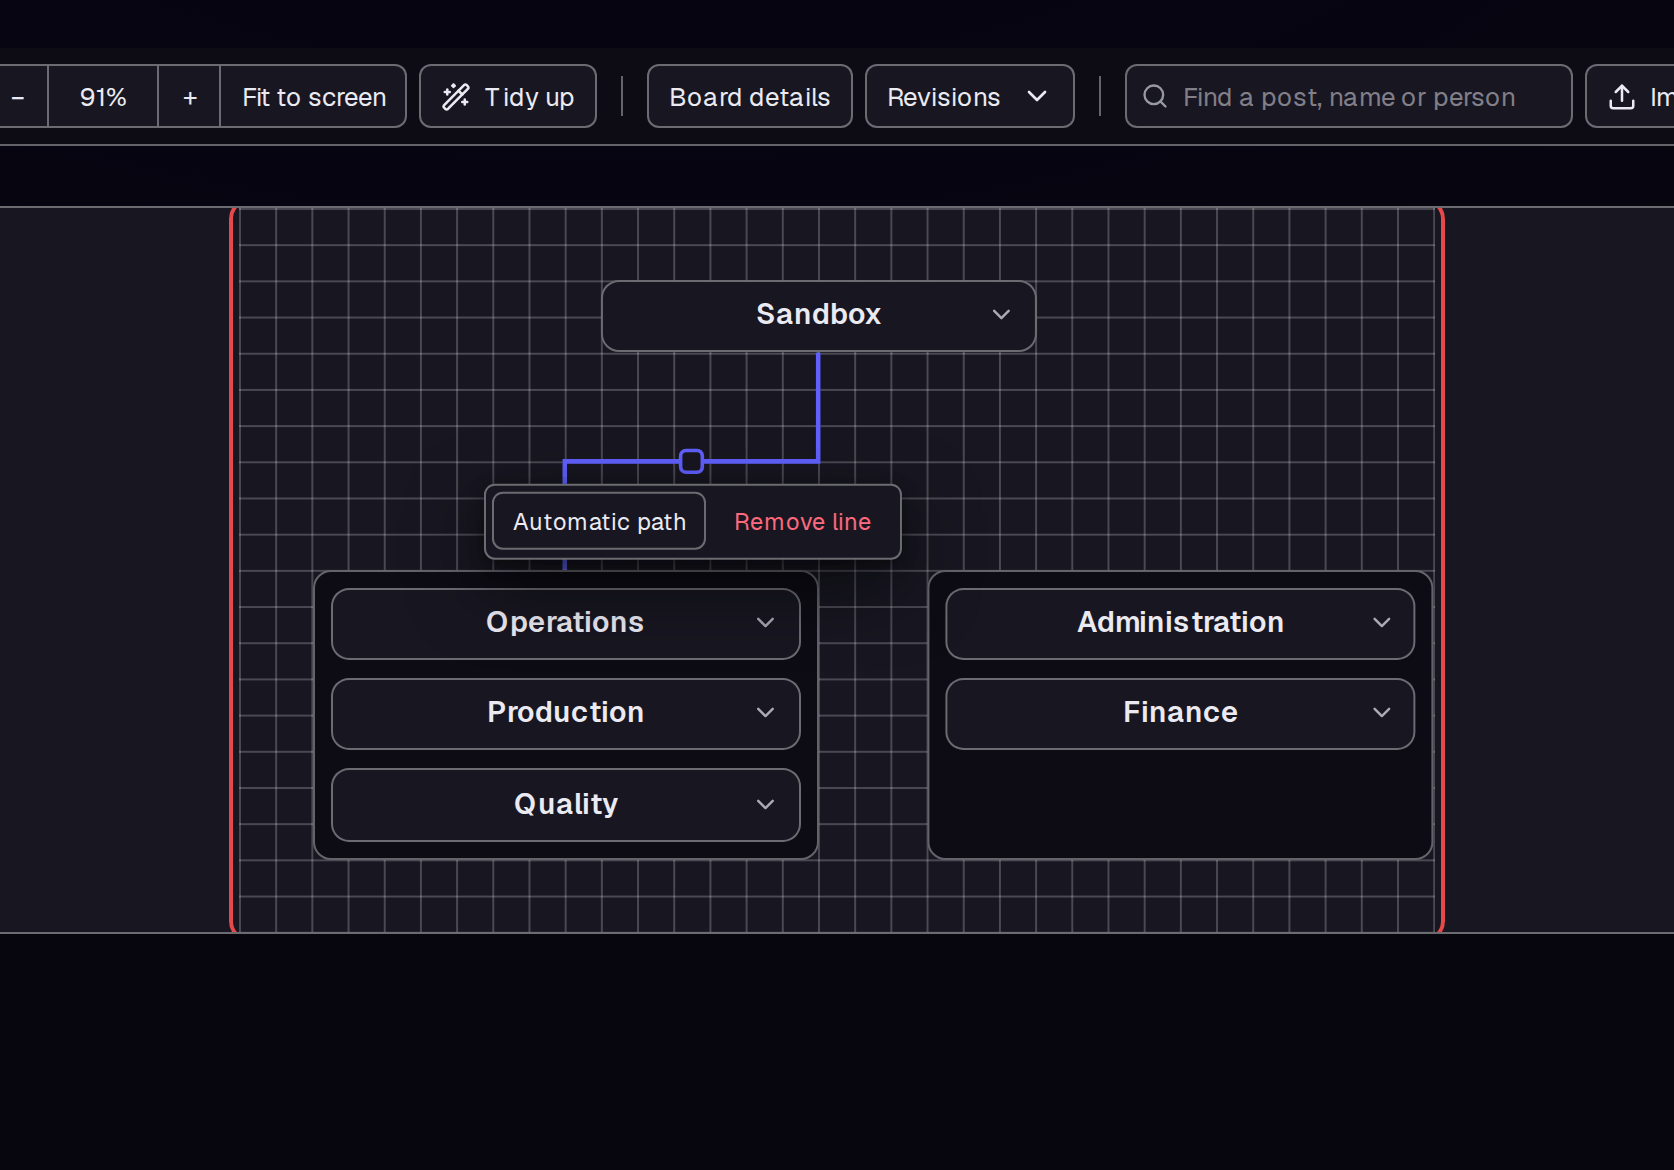
Click a connecting line between boxes. A square handle appears on its bend. The line editor also shows Automatic path and Remove line.
Step 8 — Move the line bend
Drag the square handle up or down. Release it when the line has the space you need.
Step 9 — Open a division page
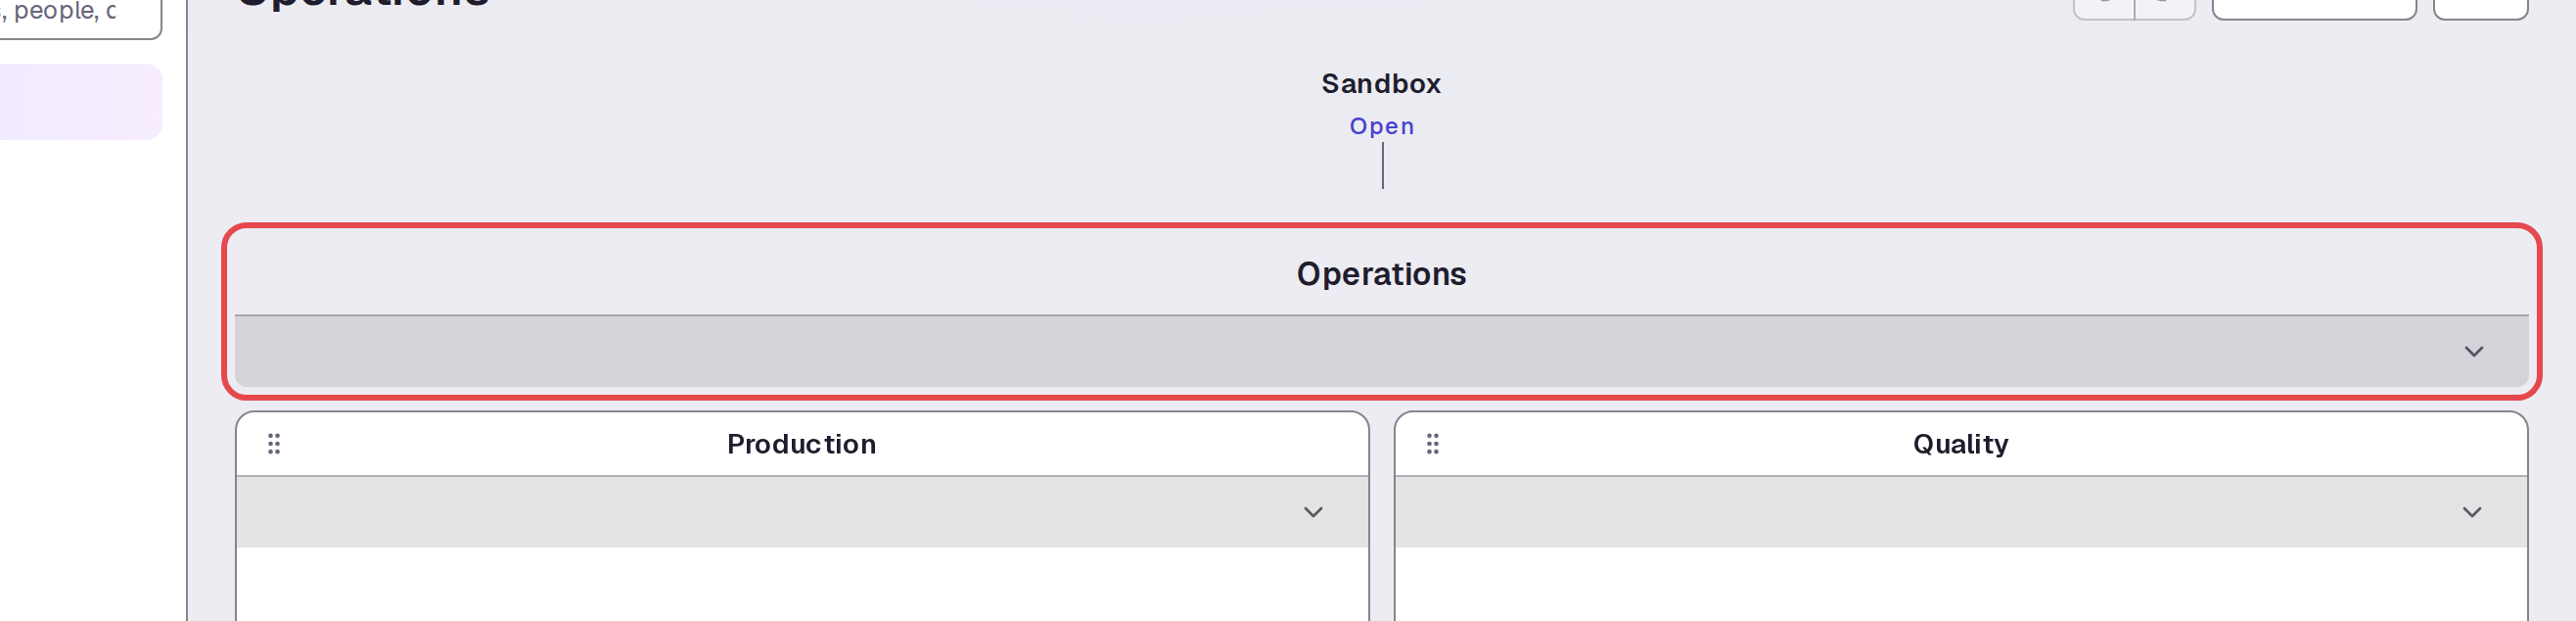
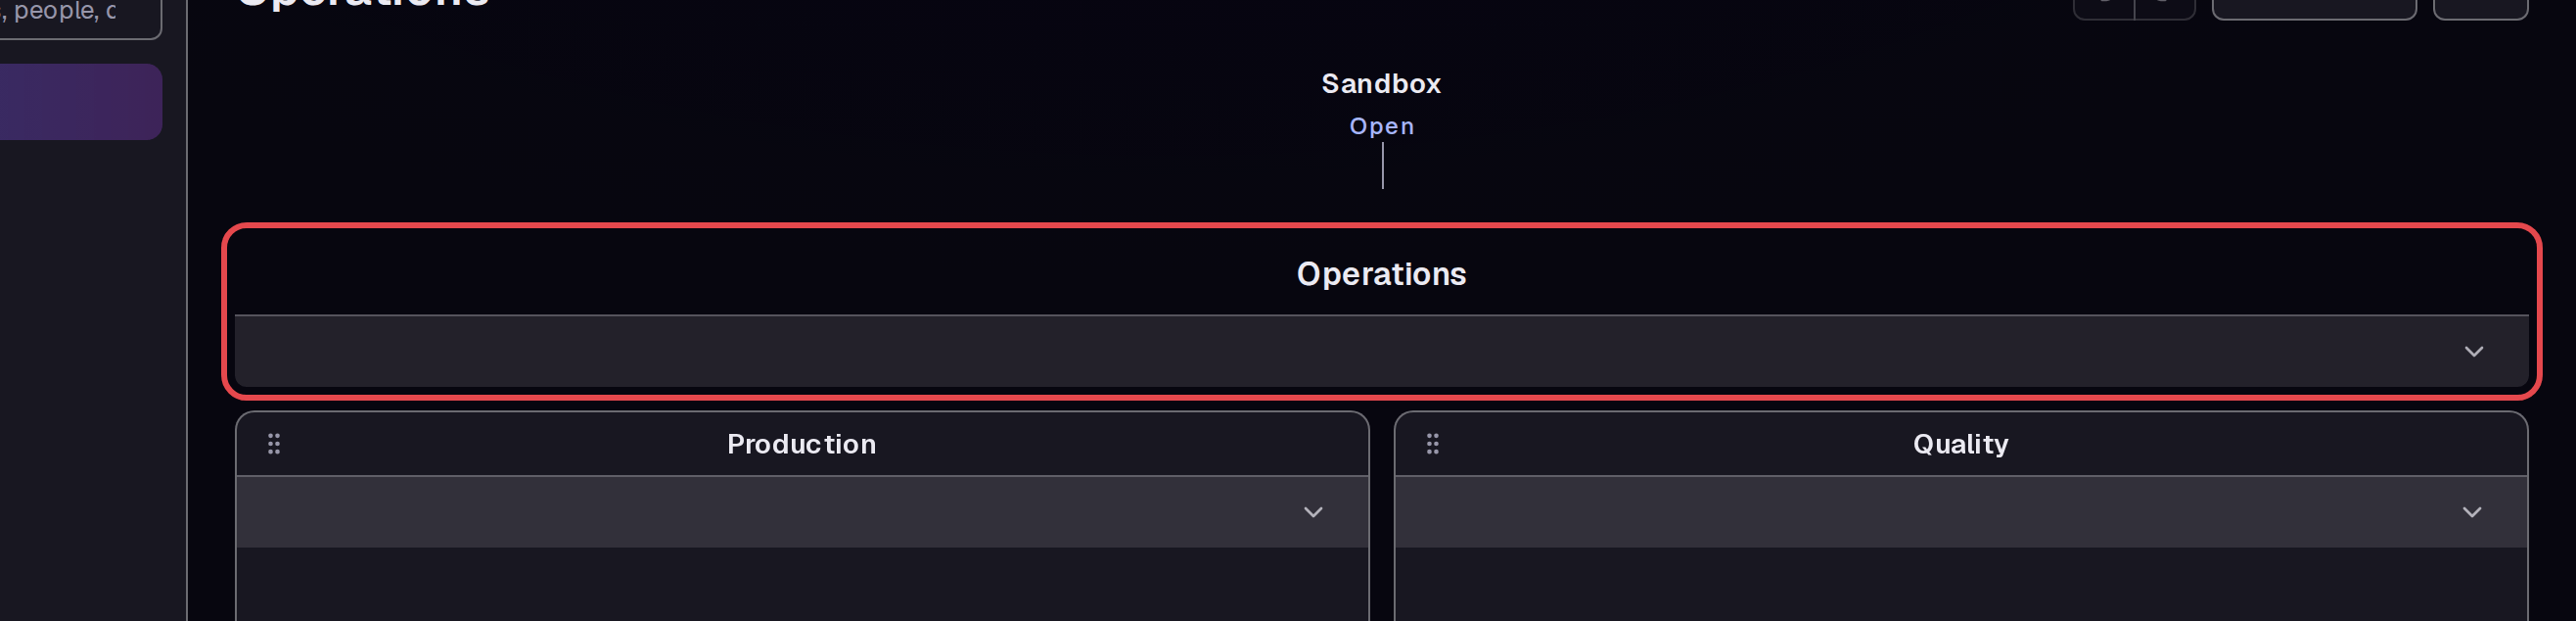
Click Grid again to turn it off. Under BOARD STRUCTURE in the sidebar, click the division name, such as Operations. The division page shows its departments.
Step 10 — Open the board print view
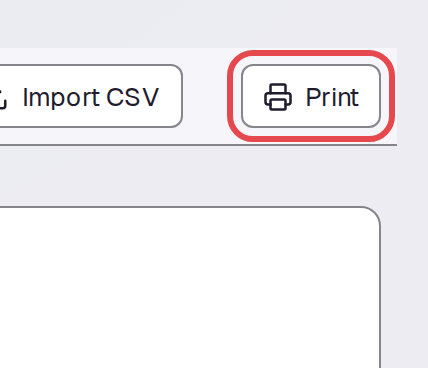
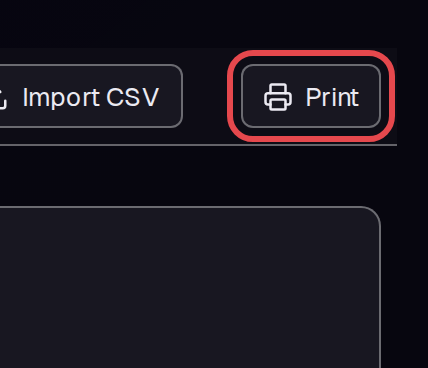
Click Print at the top right. The board print view shows the board boxes and lines without the sidebar. Click Print on the print view to open the print dialog of your browser.
Tips
- Click the zoom percentage to return to 100%.
- Drag a division from its empty container area. The round dots on a box are line controls.
- Use the division link in the sidebar to open its page. Click Print on the division page to open a print view of that division.