How to create, update, and share company policies
about 10 minutes
A policy is a written company rule, for example how to sign in visitors. The Policies area keeps all your rules in one list. Use it to write a rule once, keep it up to date, and give staff one place to read it.
Step 1 — Open Policies
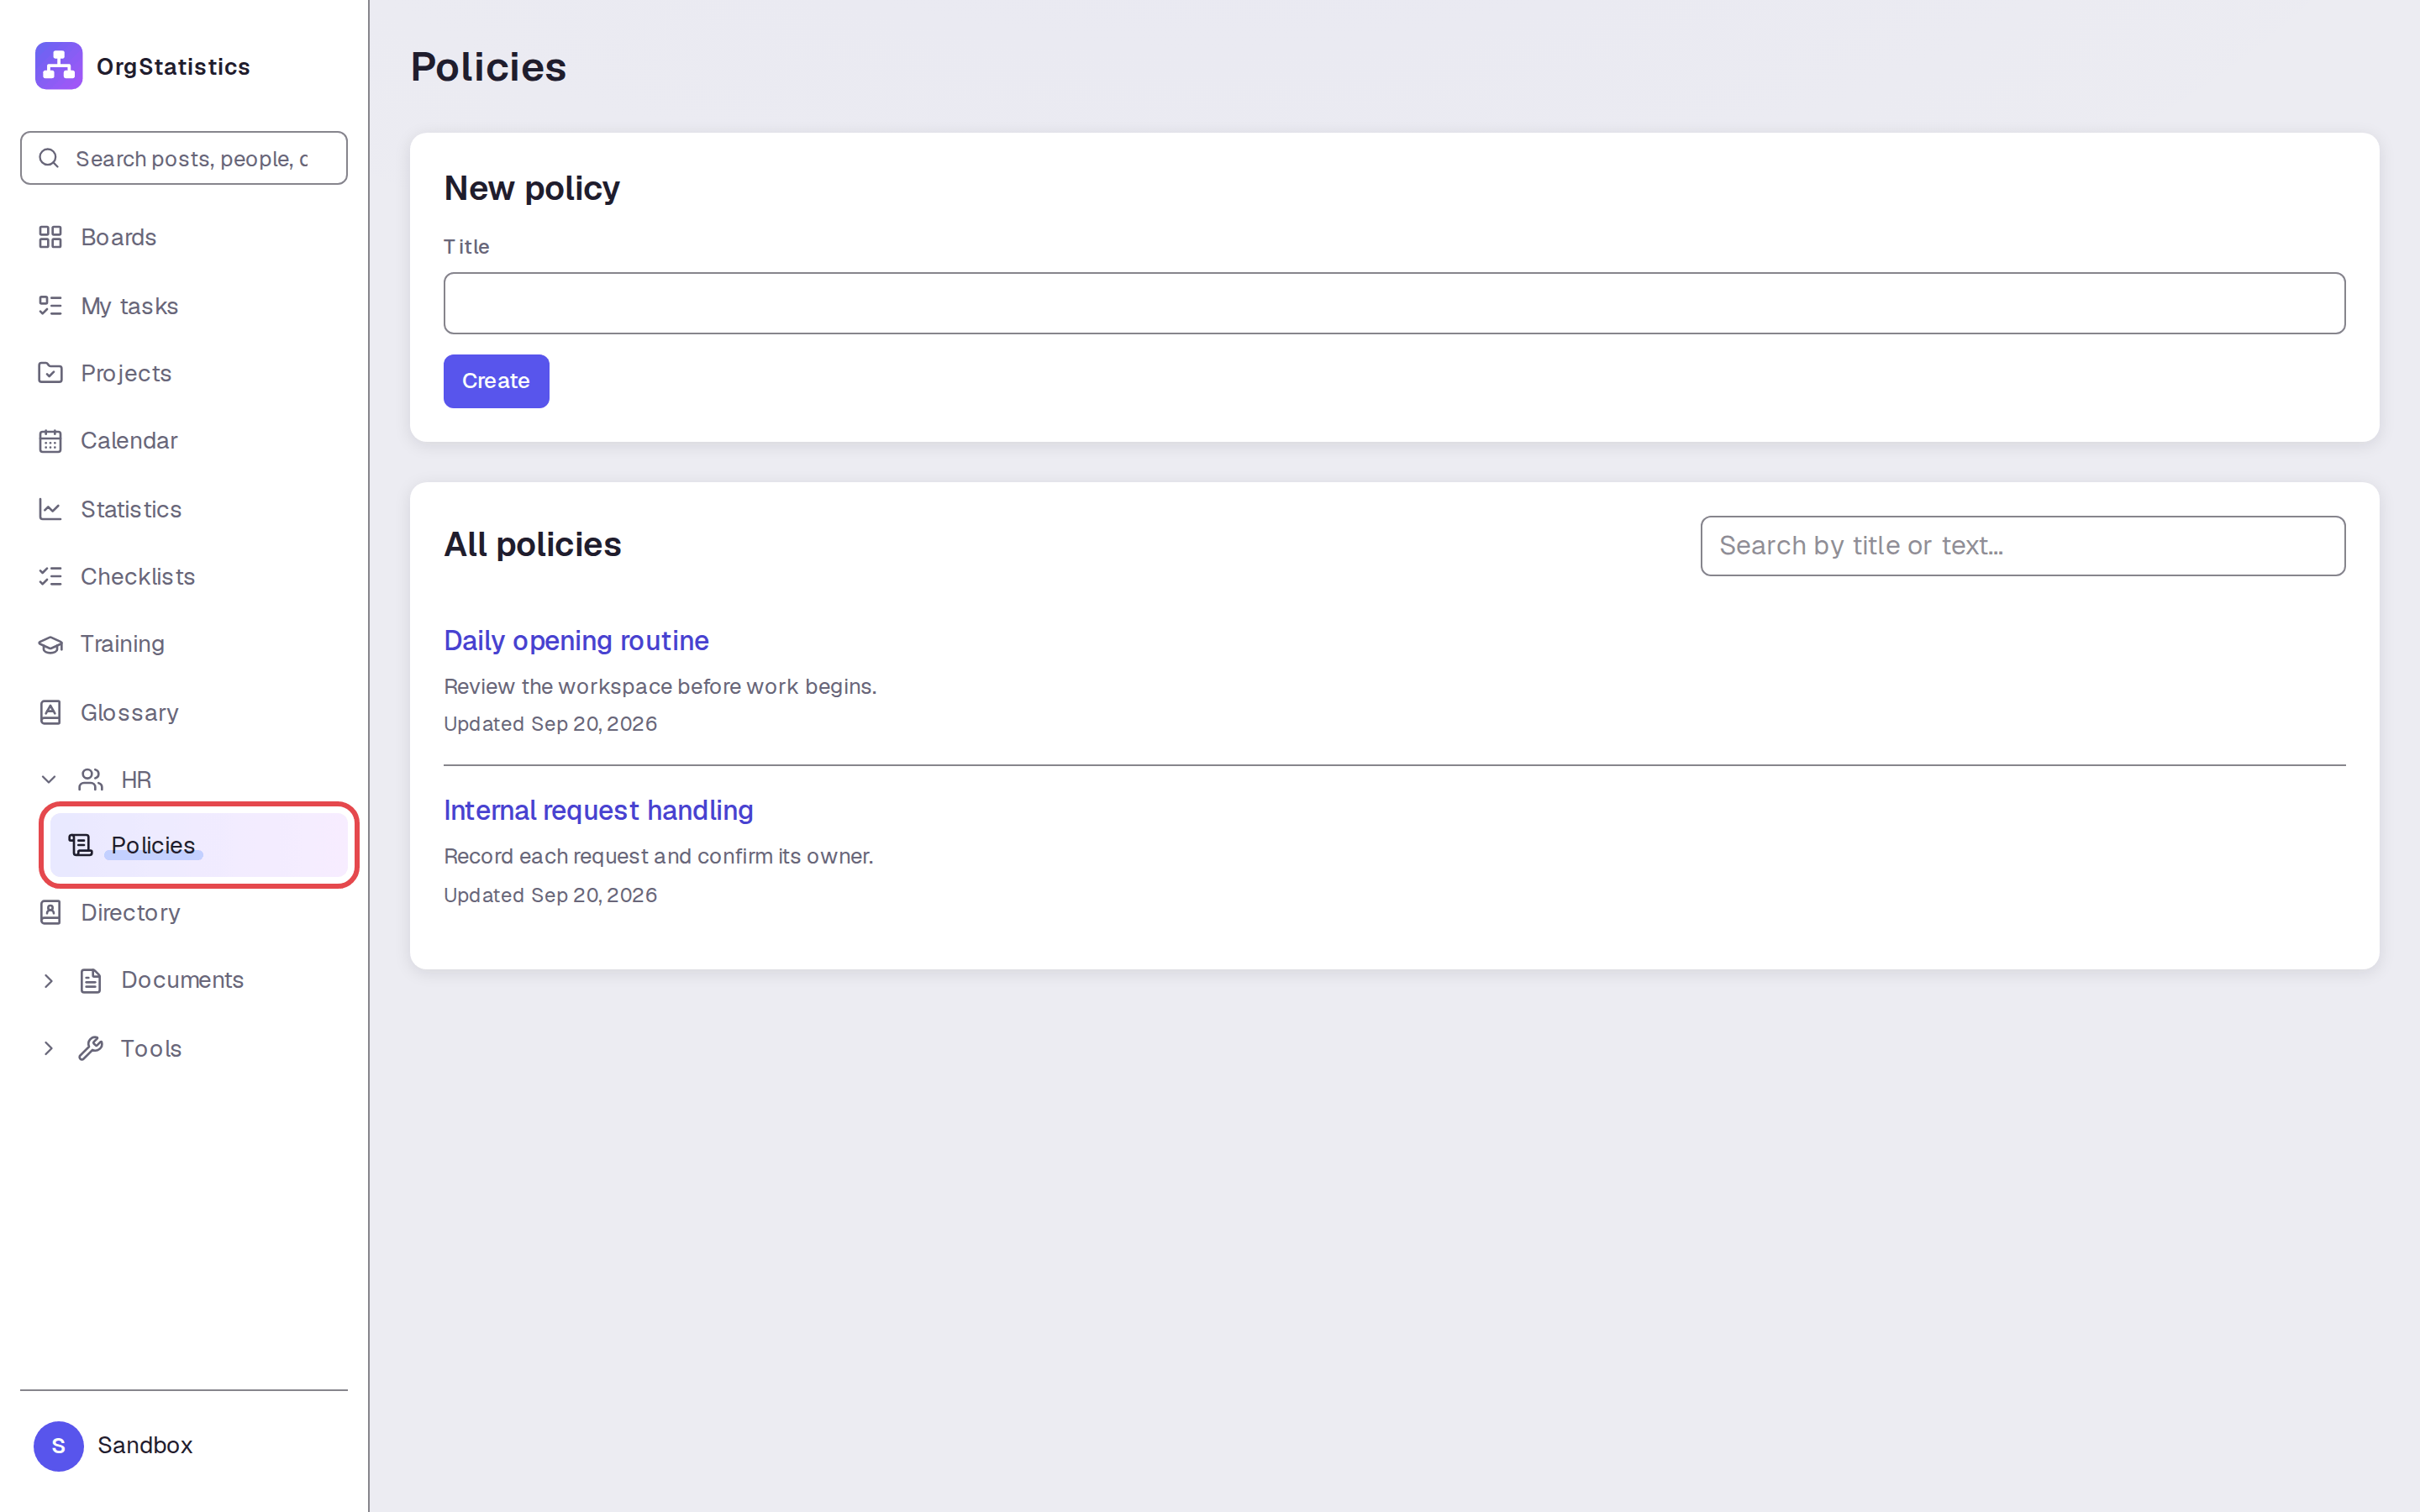
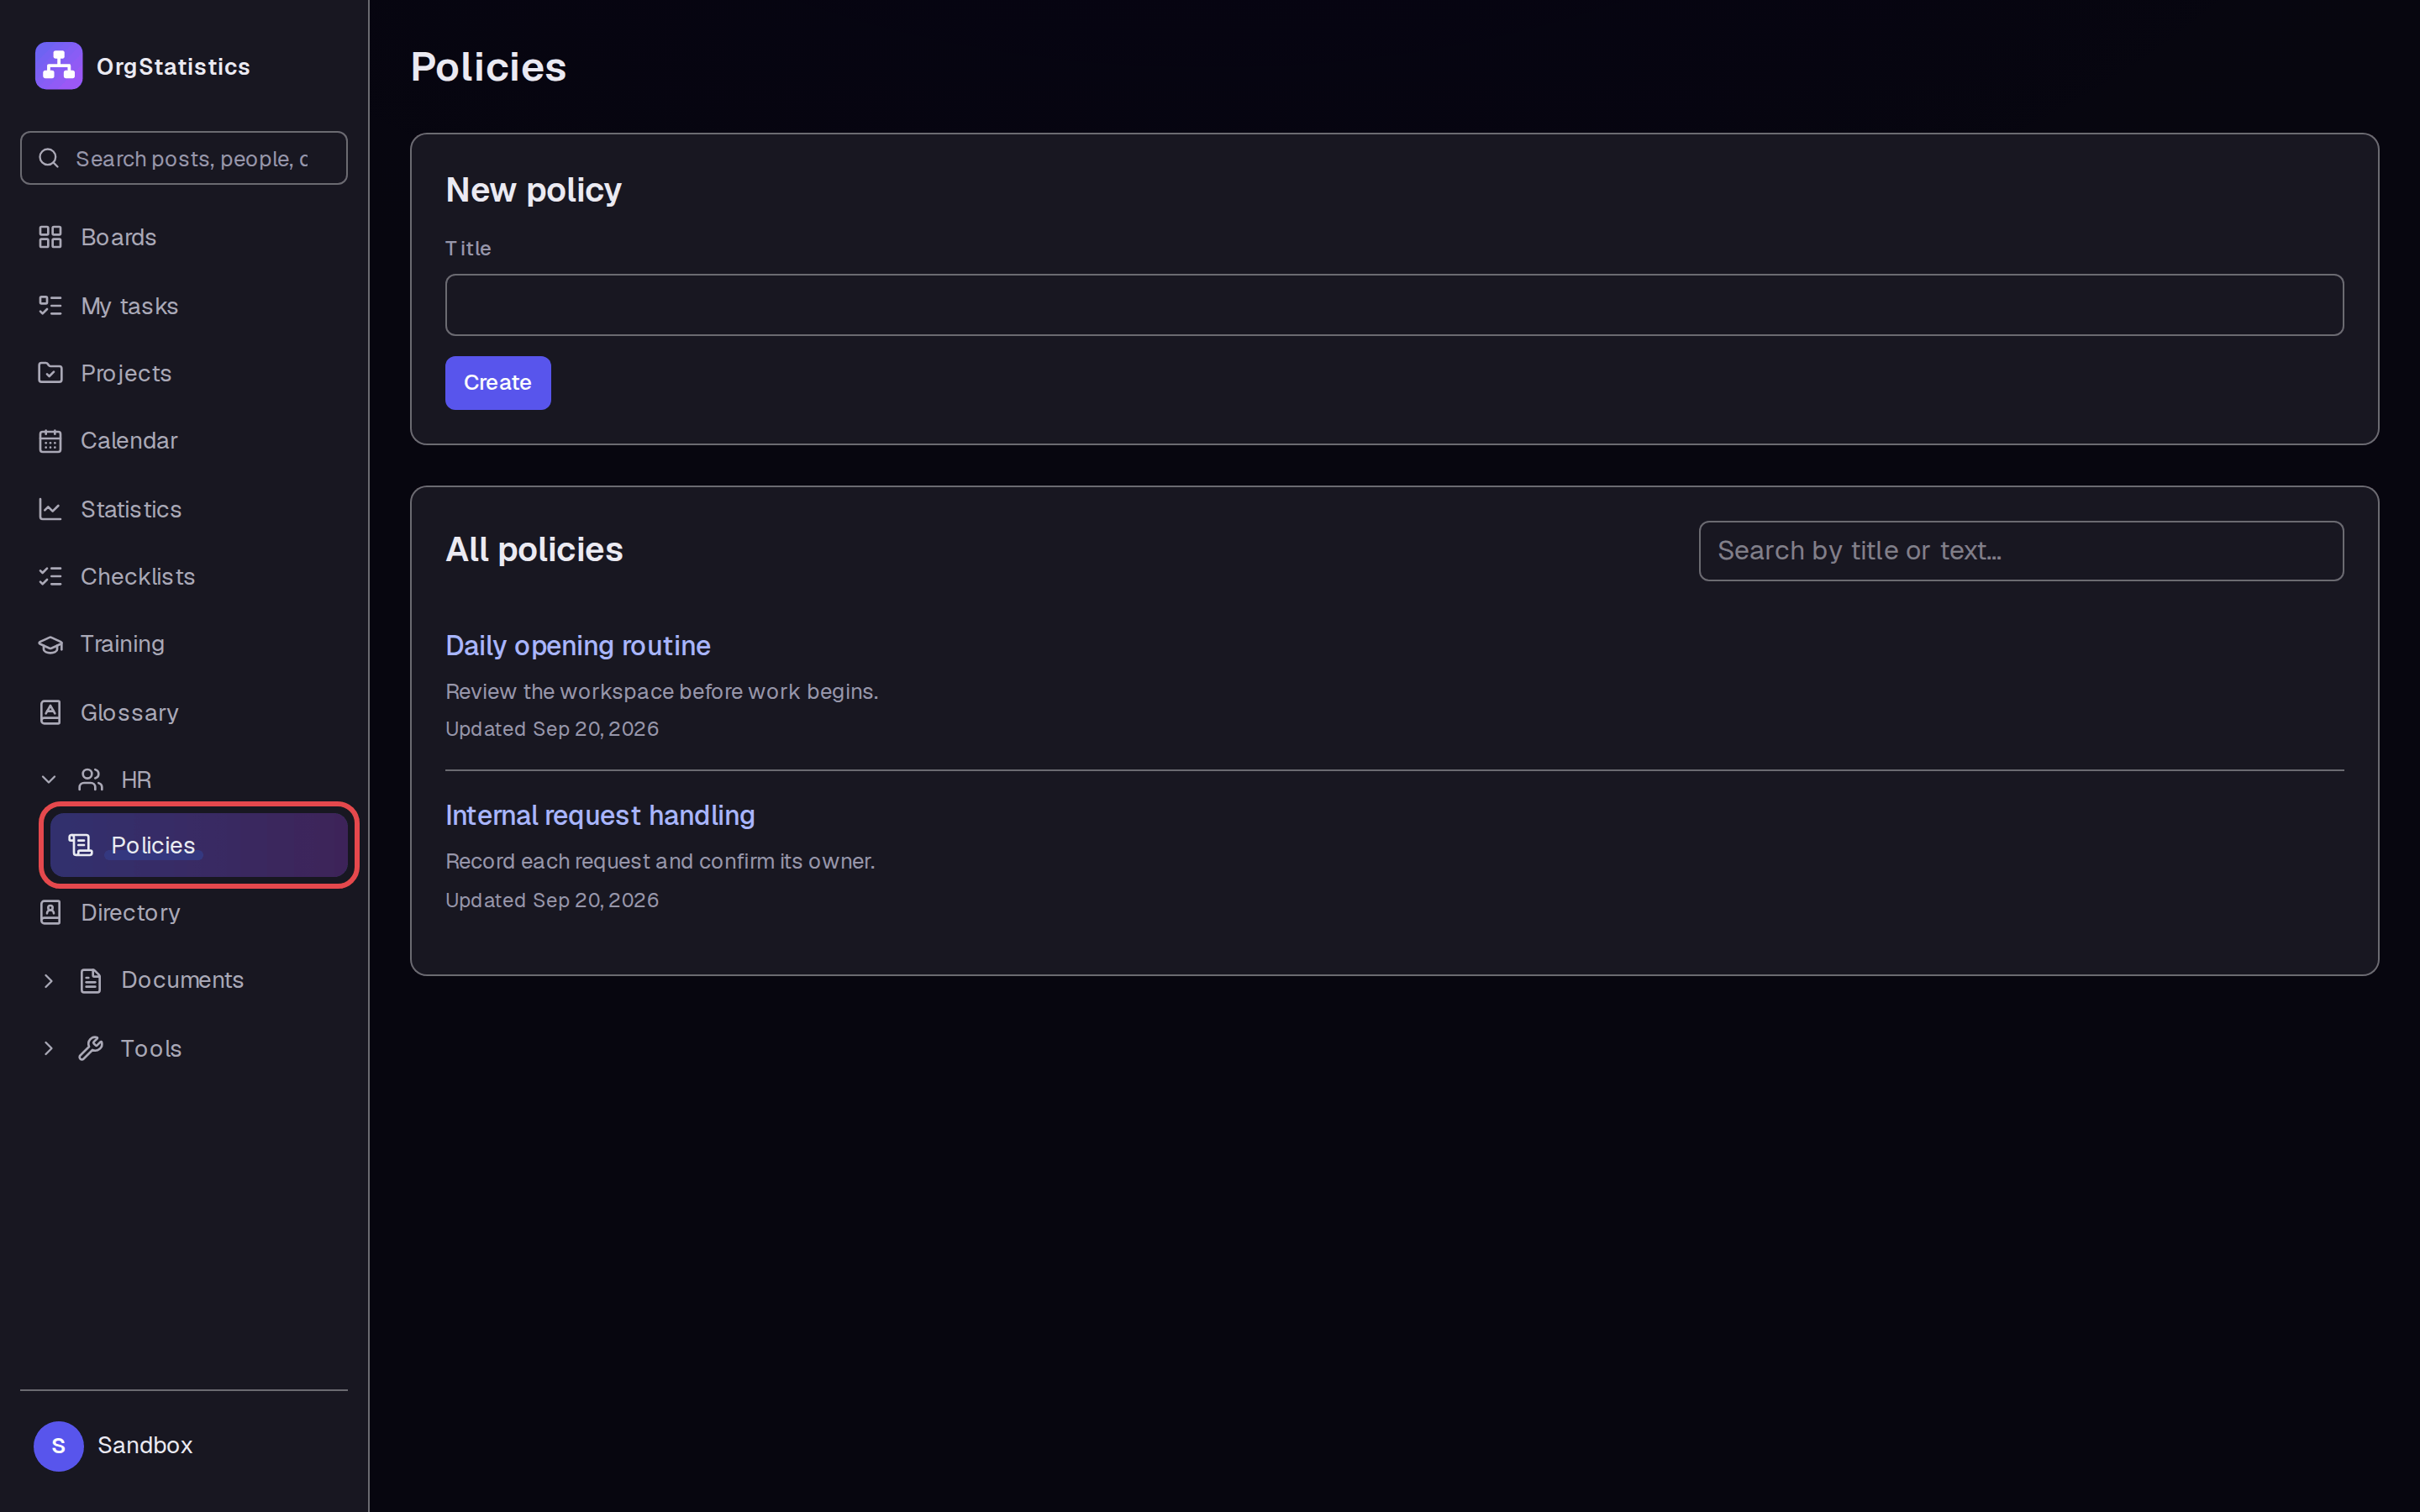
In the left menu, click HR. Then click Policies. The page shows the New policy form and the All policies list.
Step 2 — Create a policy
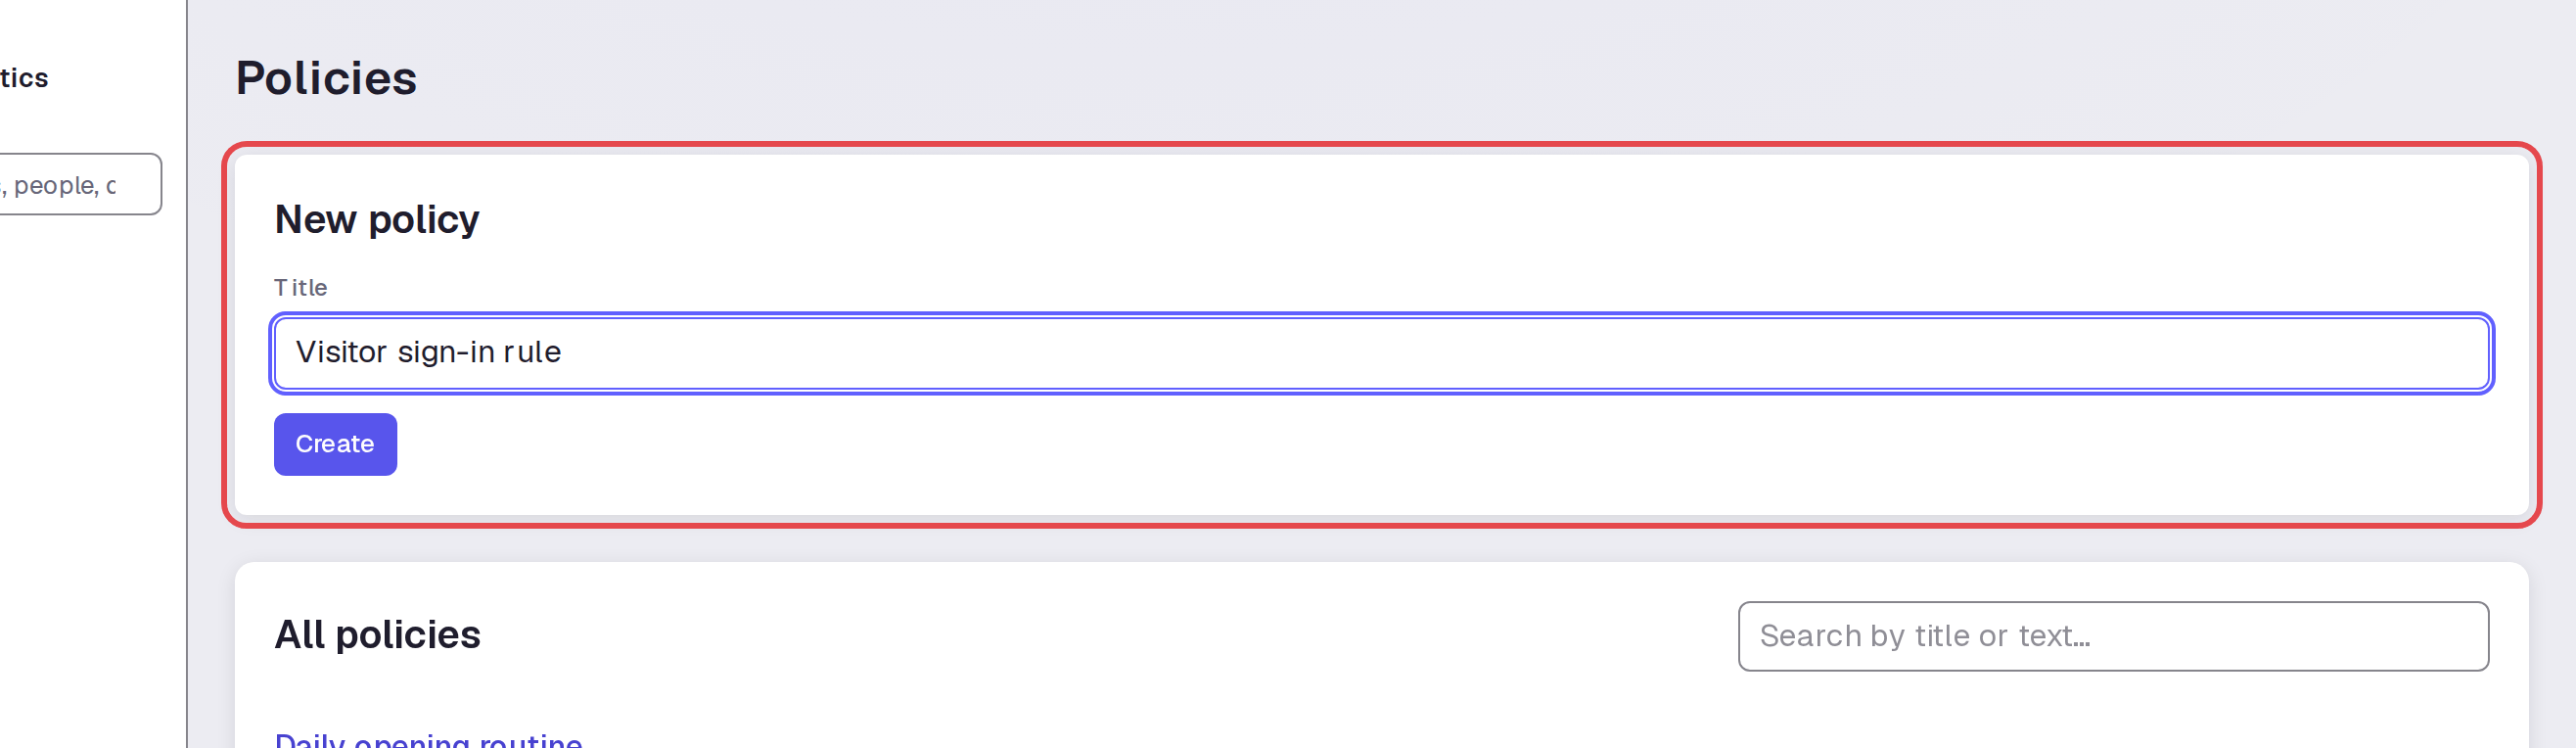
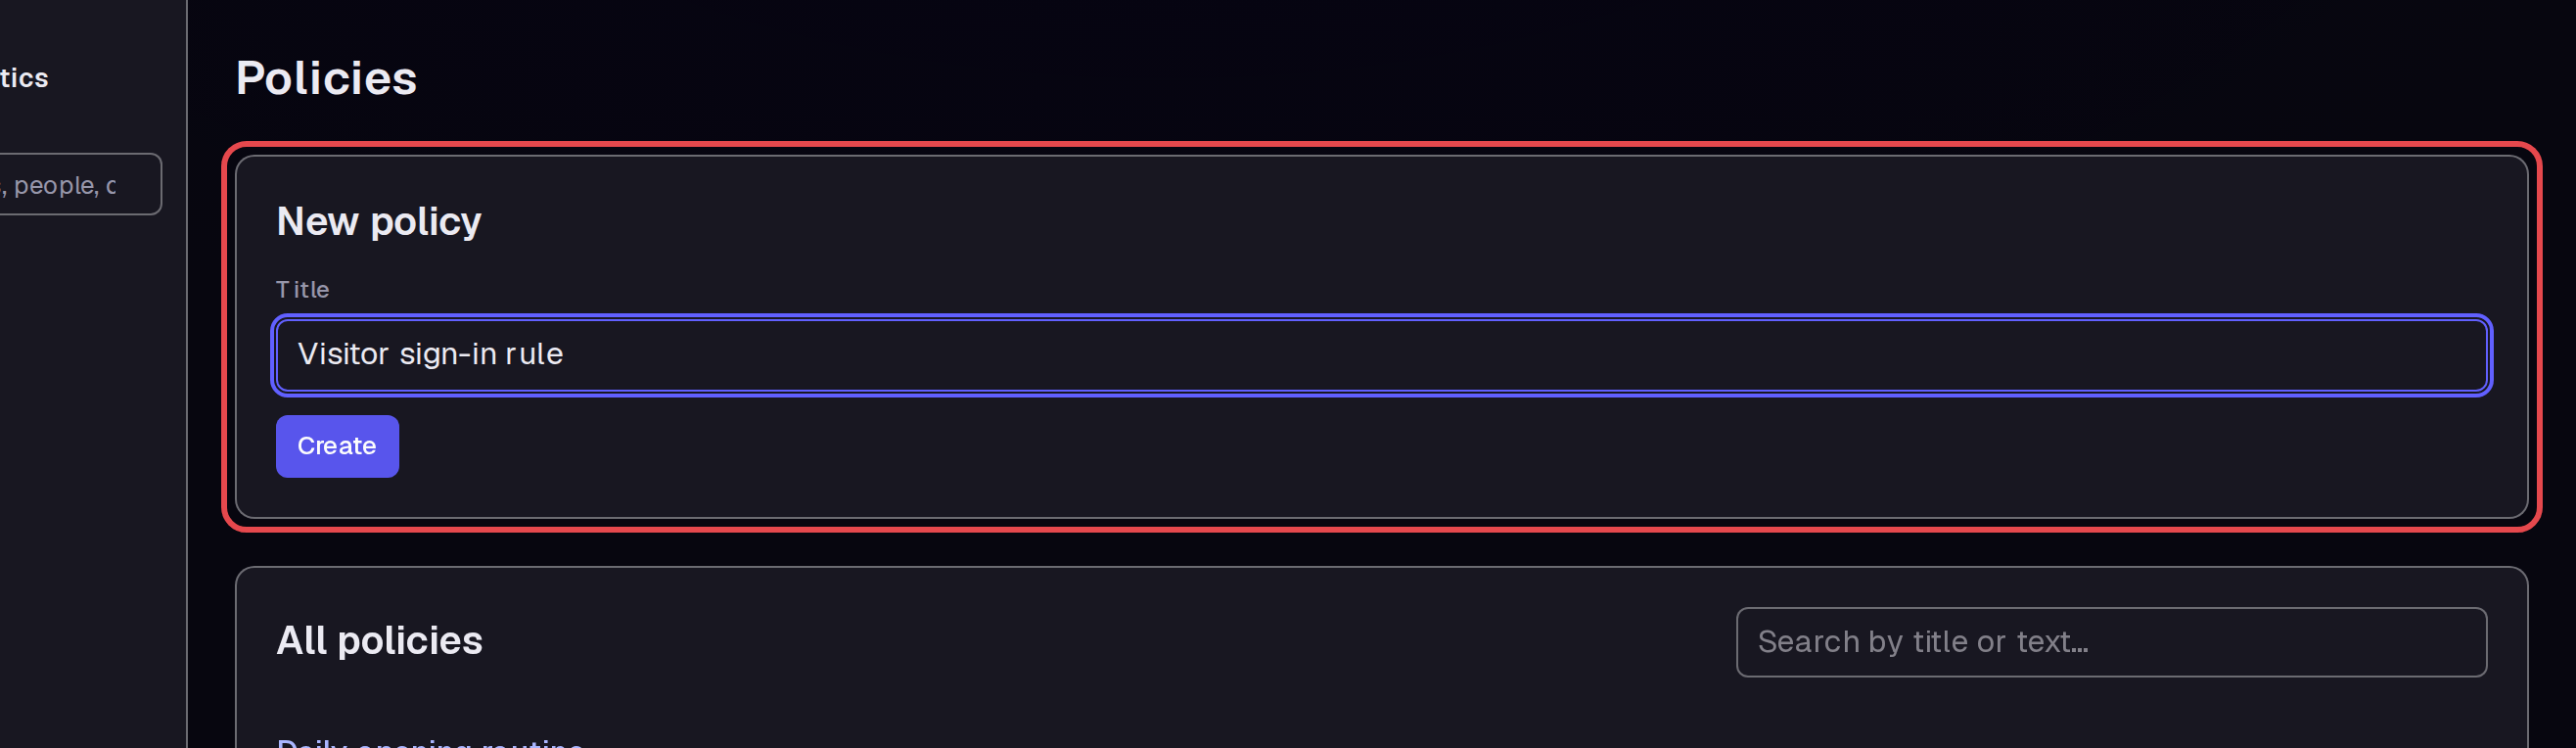
Under New policy, type the policy name in Title. This example uses “Visitor sign-in rule”. Click Create.
Step 3 — Open the new policy
The new policy opens in the editor as soon as you click Create. Check its name at the top of the page.


Step 4 — Write the policy
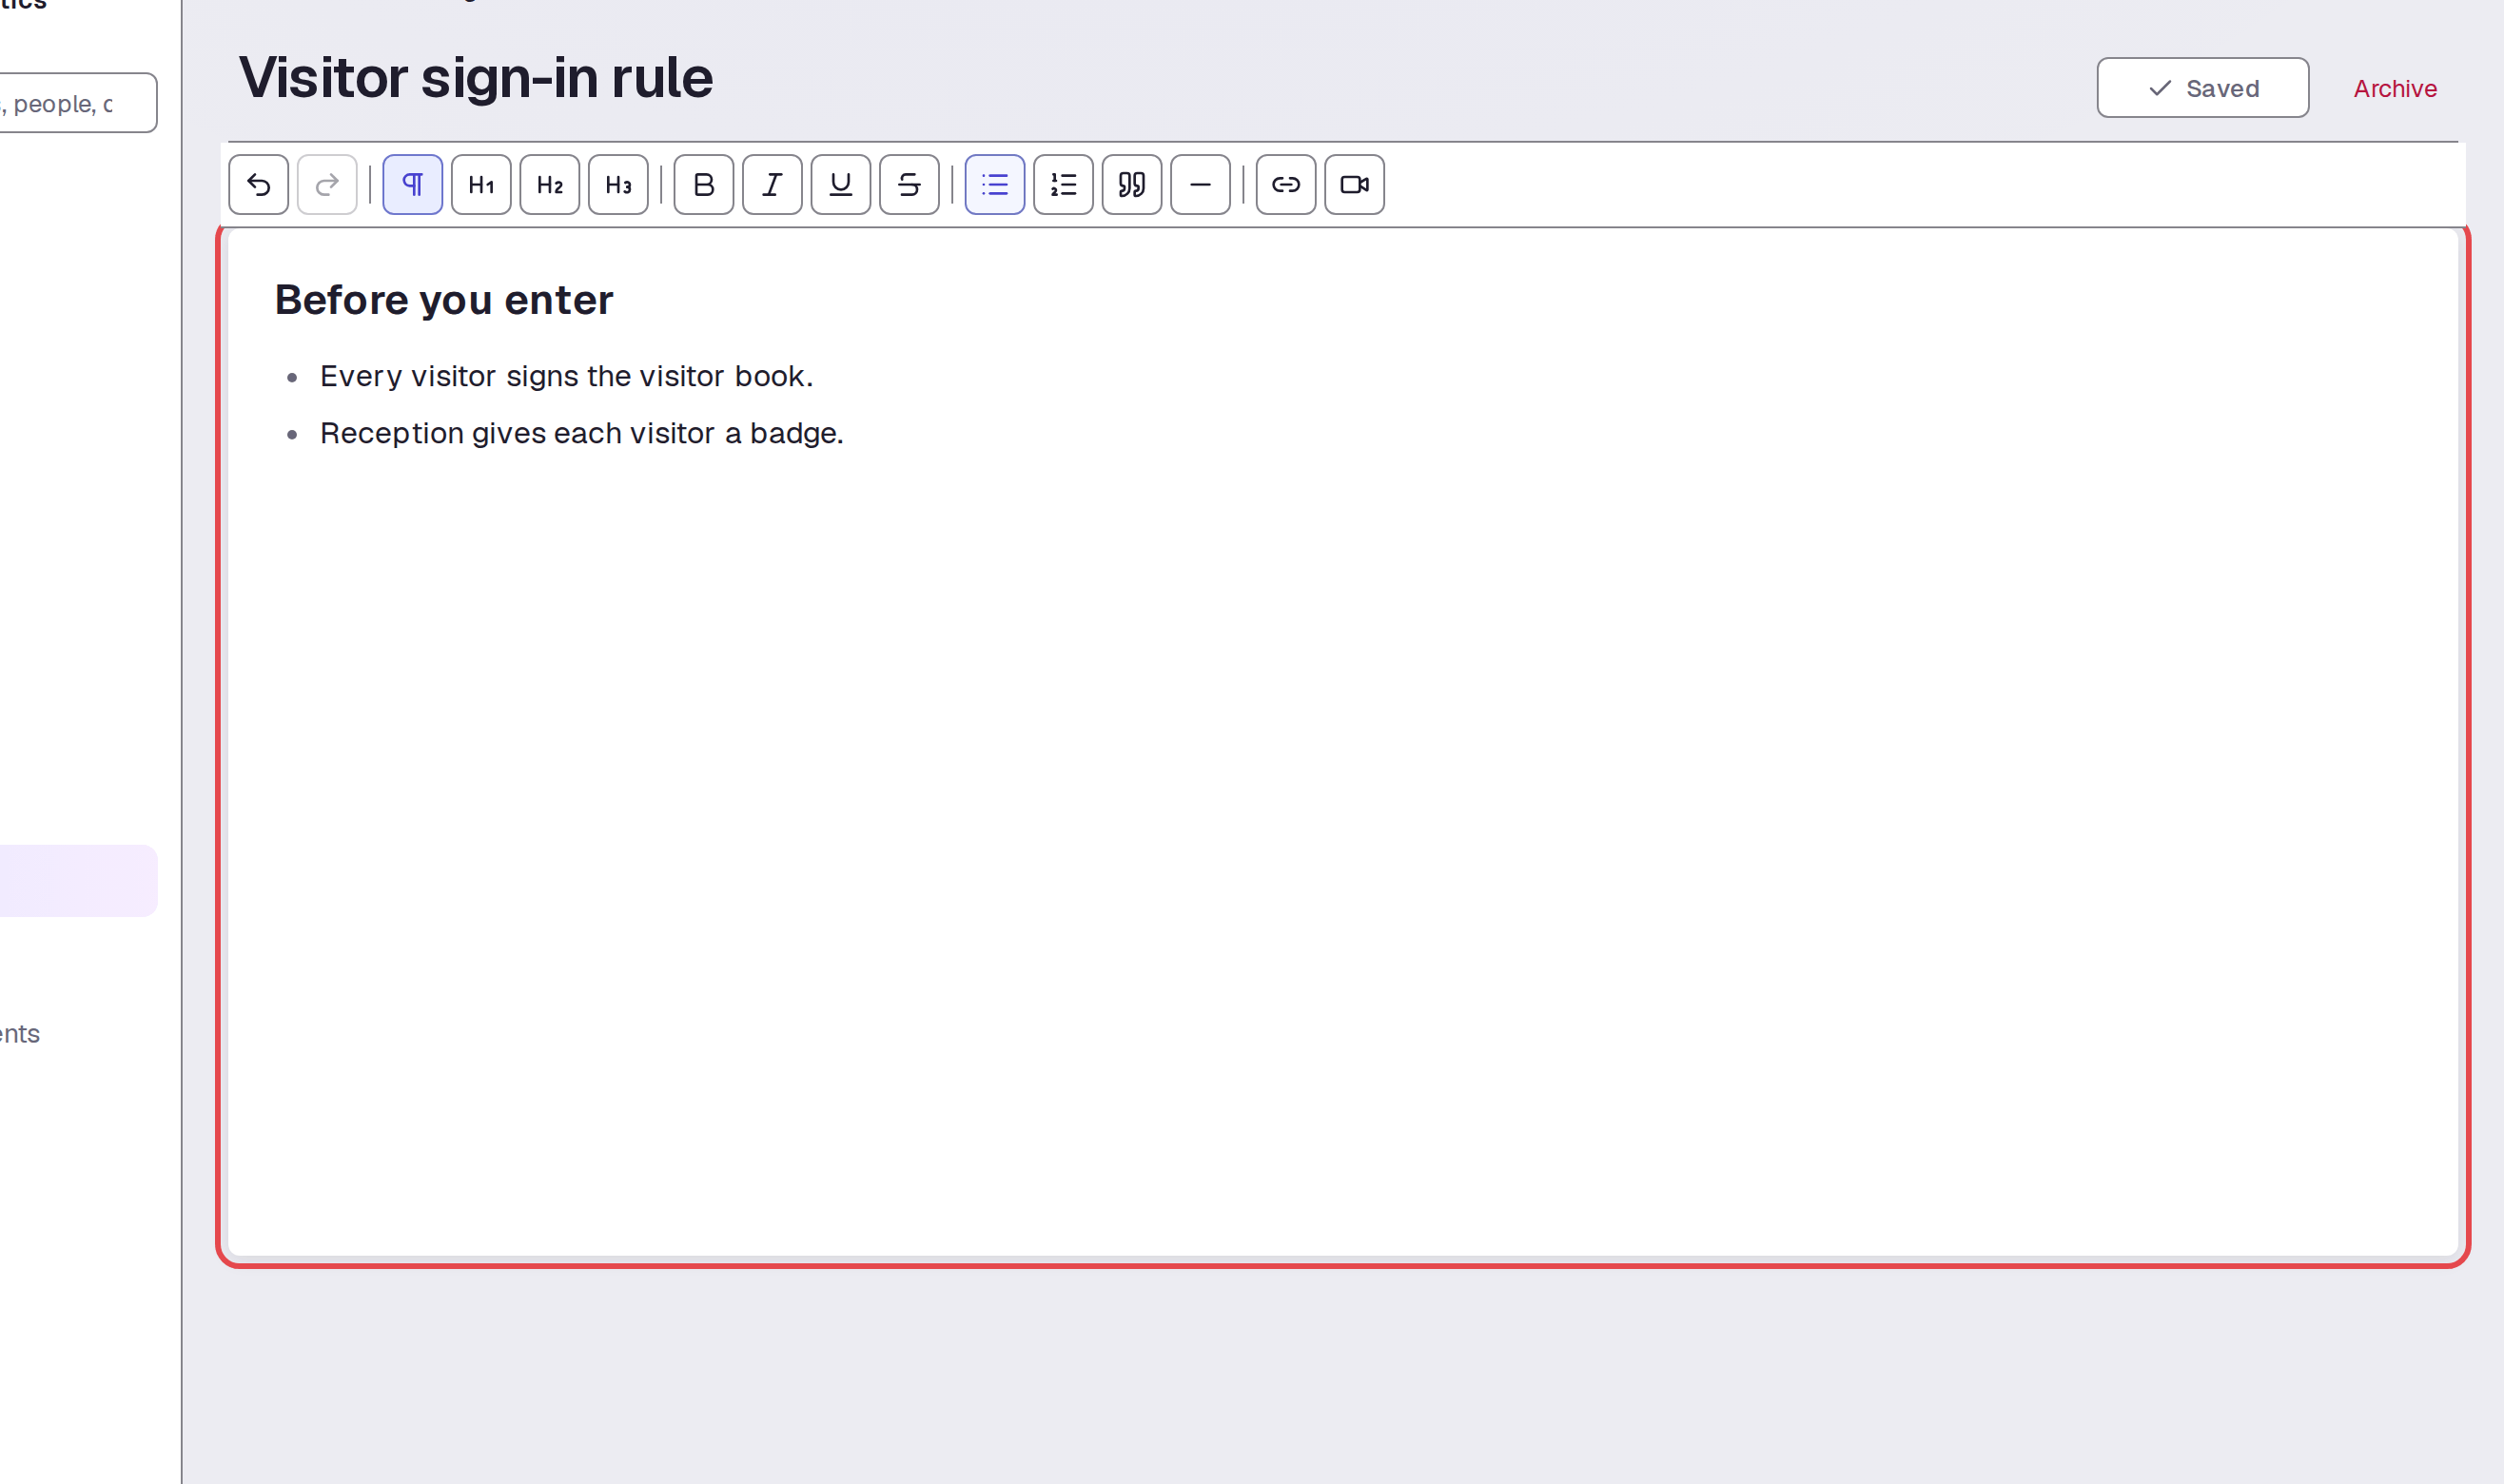
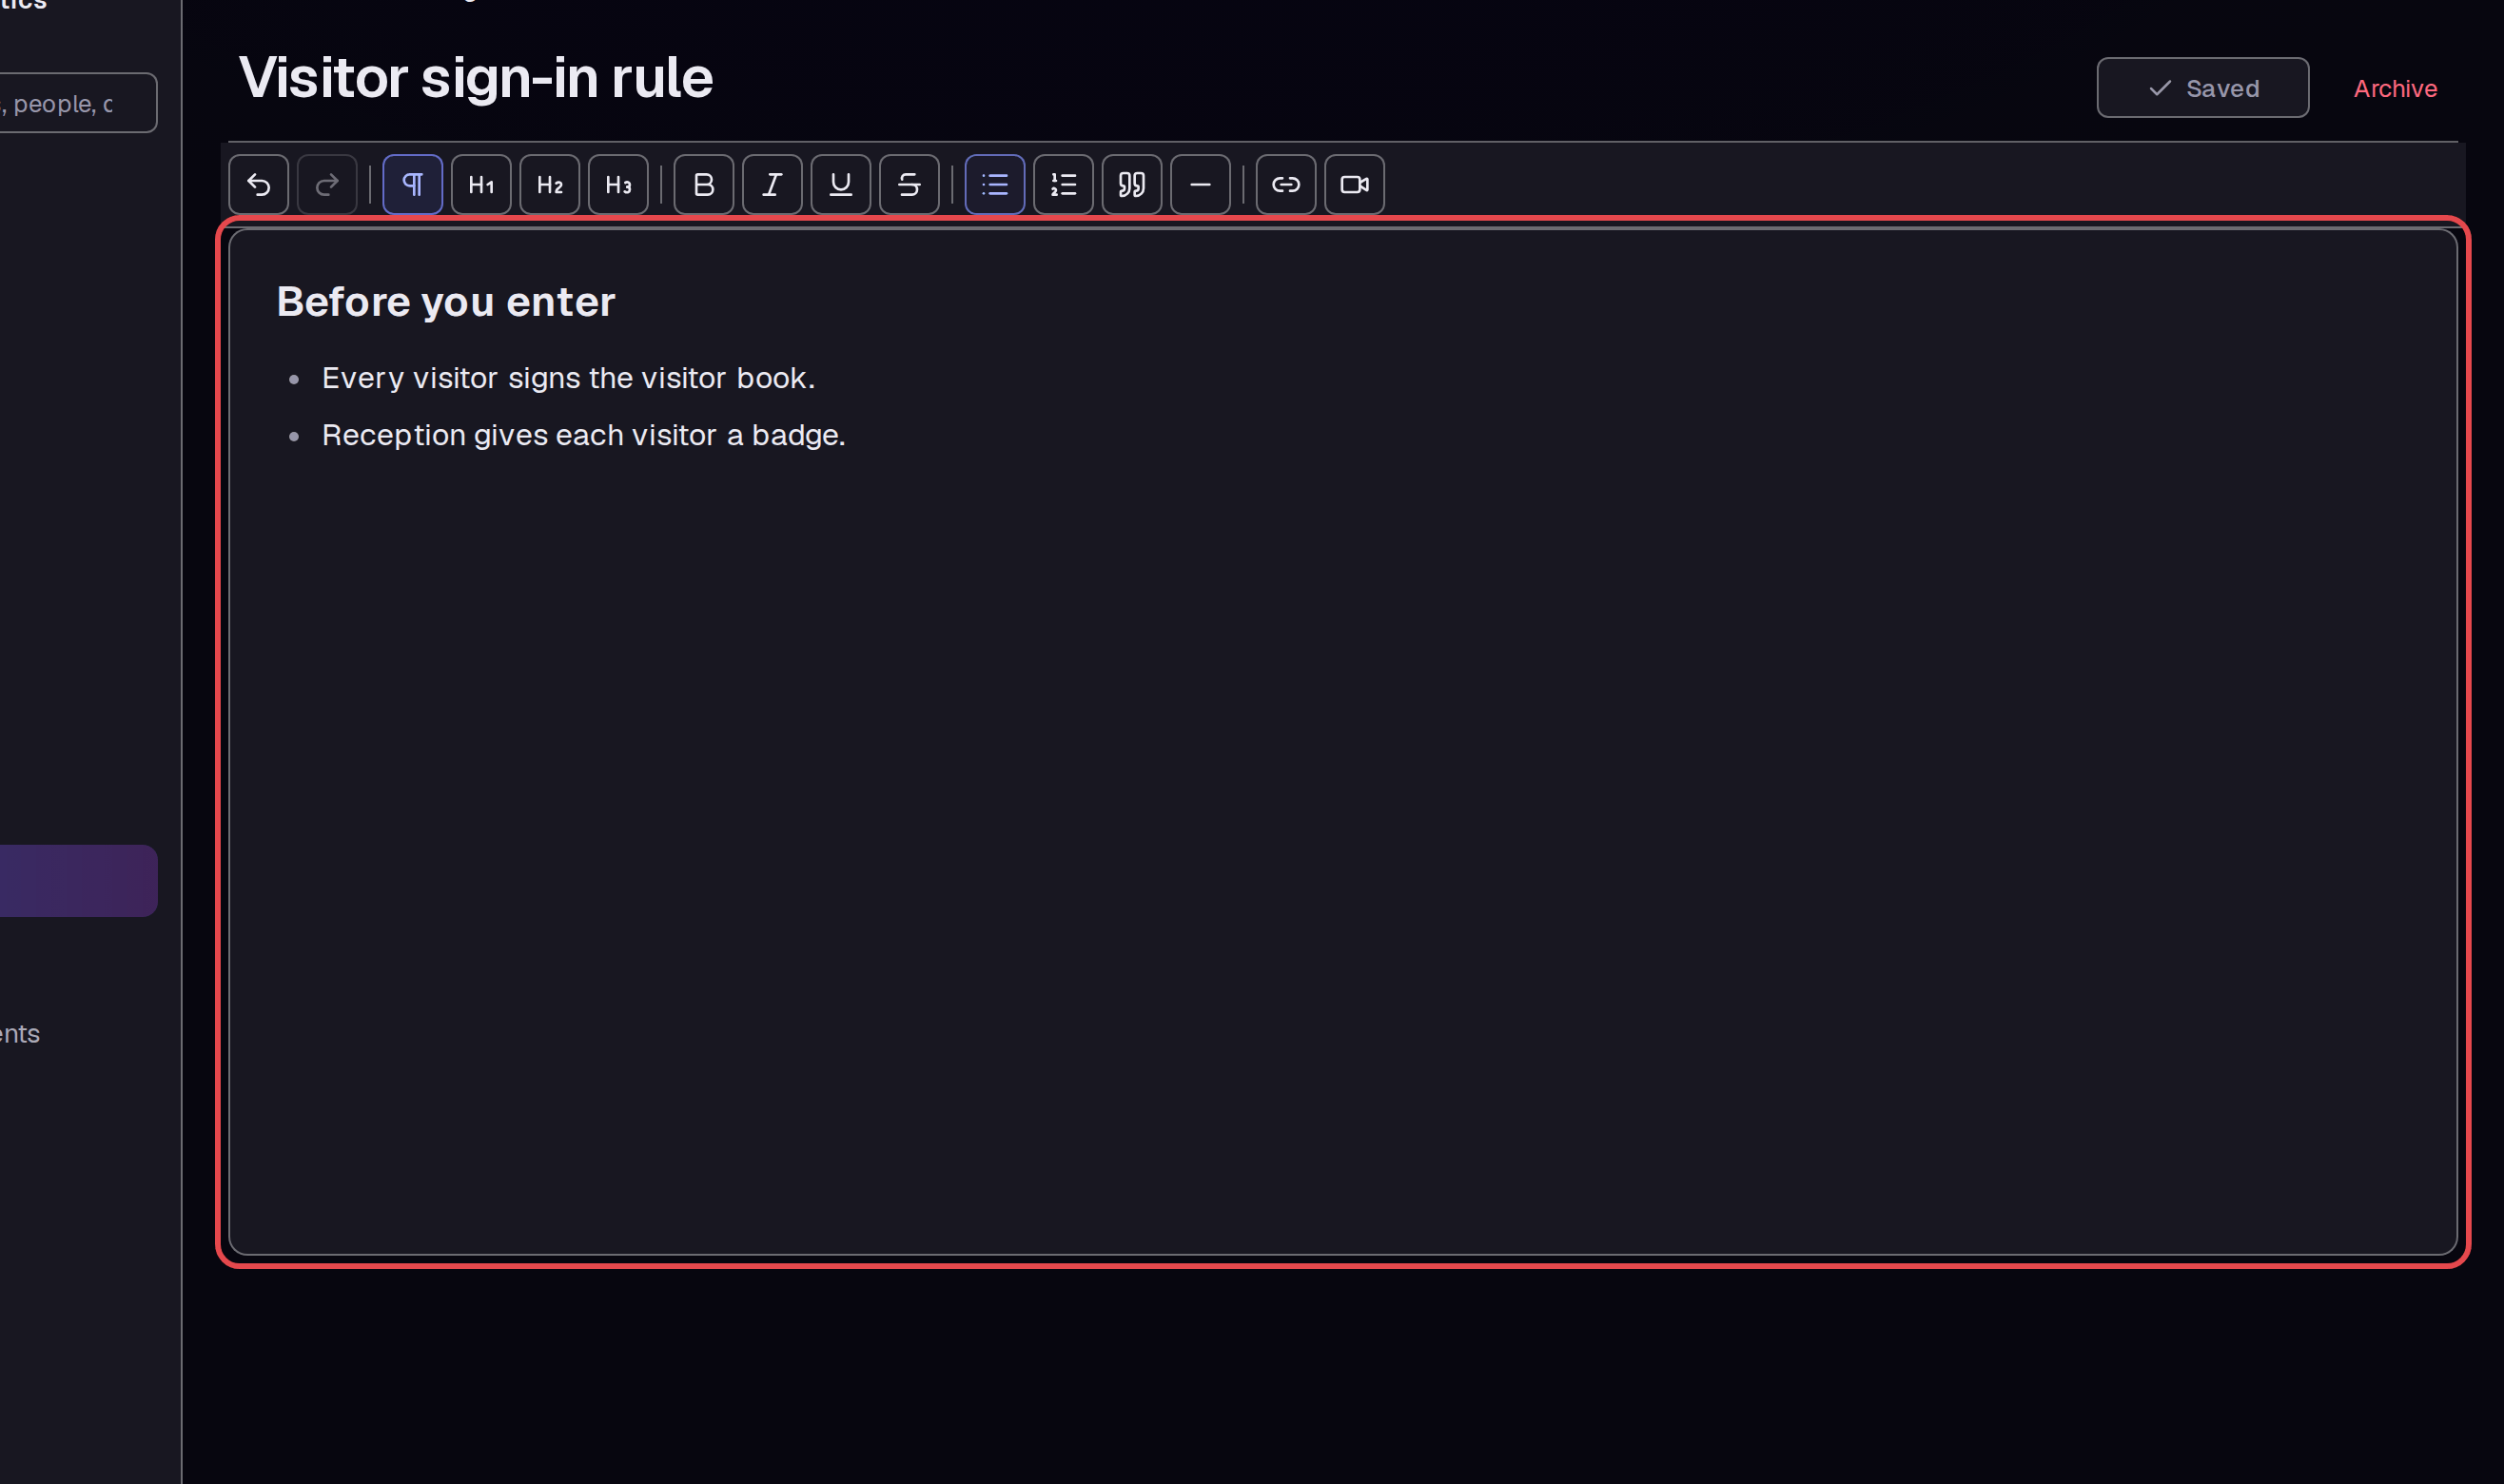
Click in the large text area and type the rule. Use the toolbar to format the text. This example uses Heading 2 for “Before you enter” and Bulleted list for the two rules.
Step 5 — Check that it is saved
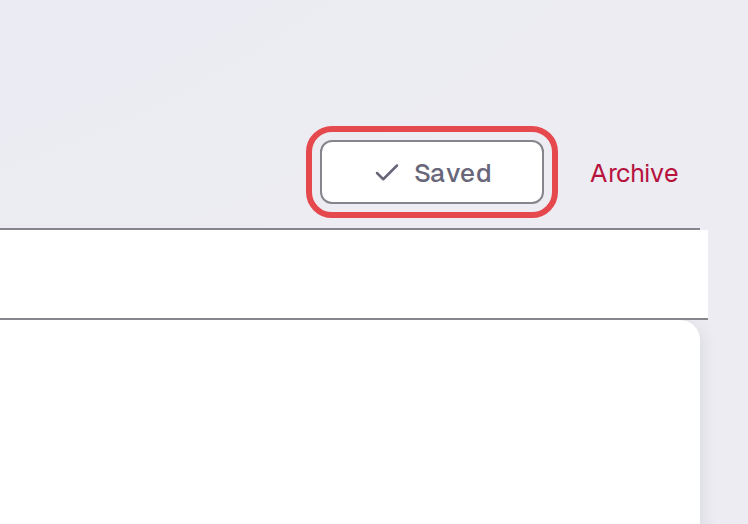
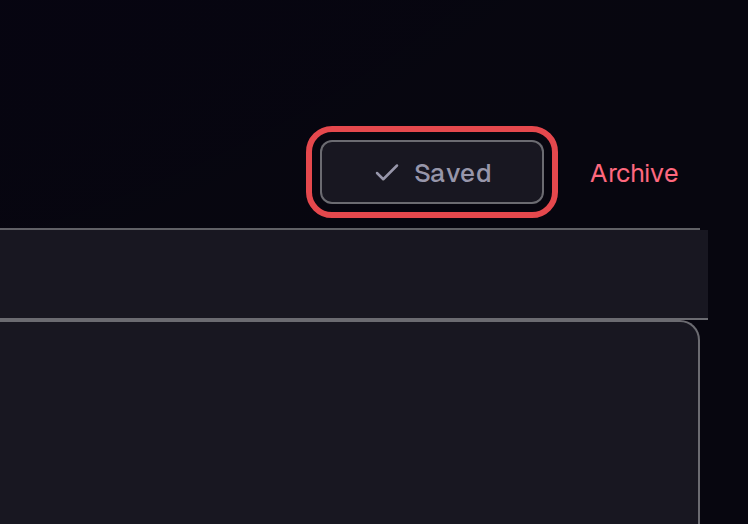
Look at the button at the top right. Wait until it shows Saved. The text and formatting stayed after a page reload.
Step 6 — Rename the policy
Click the policy name at the top of the page. Change the text. This example changes it to “Visitor sign-in policy”. The new name stayed after a page reload.


Step 7 — Search the policy list
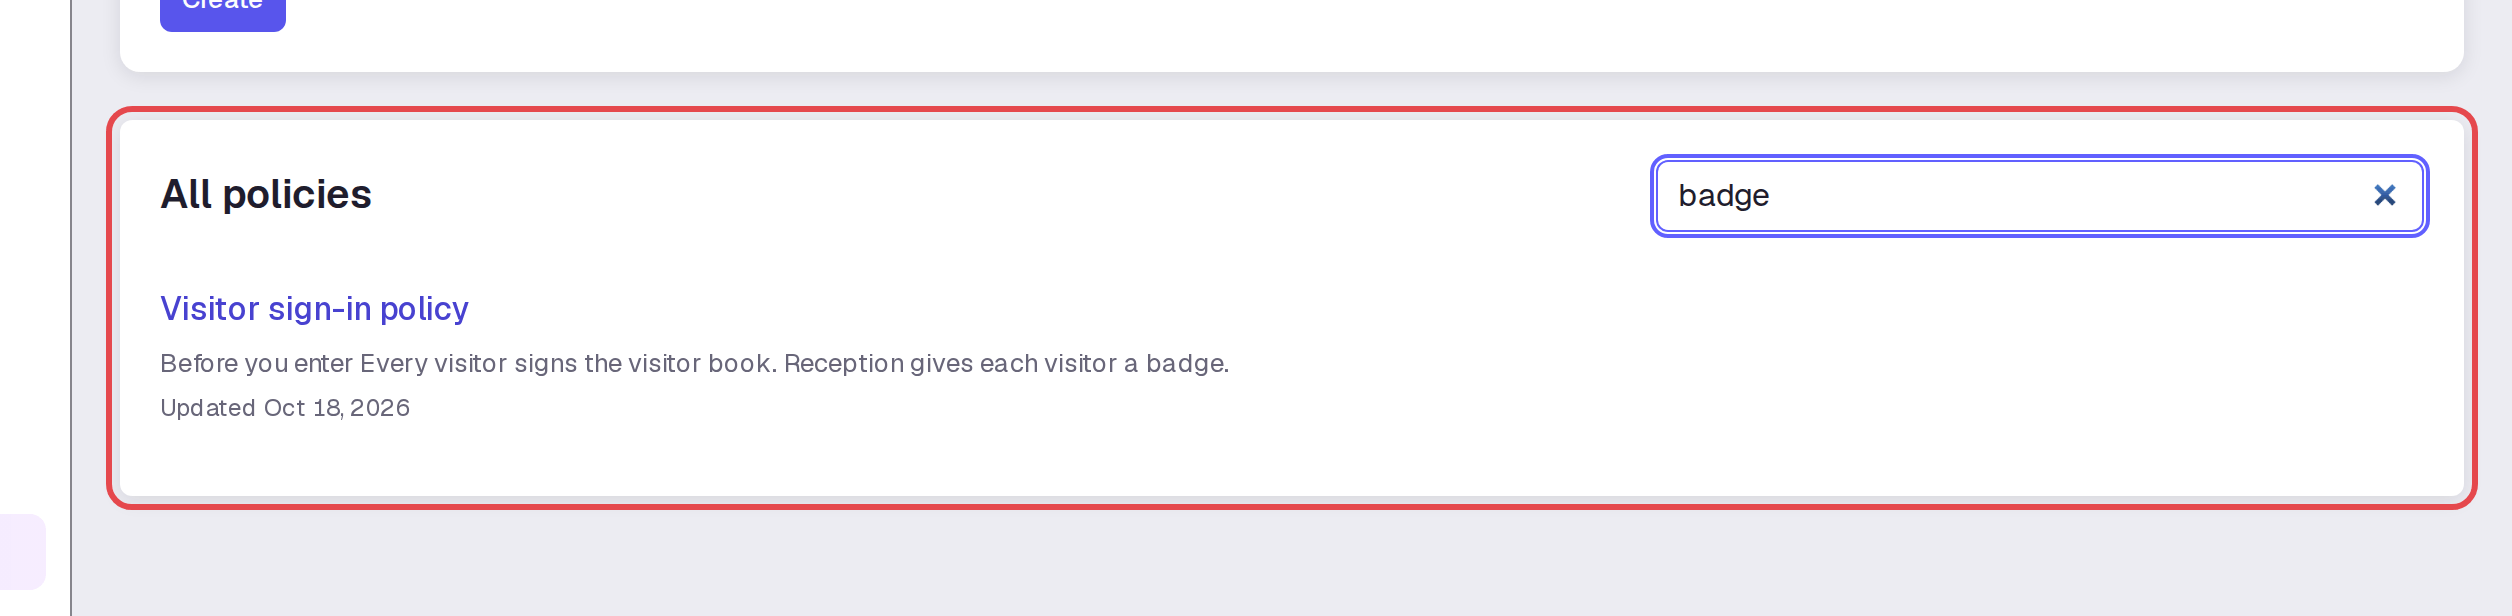
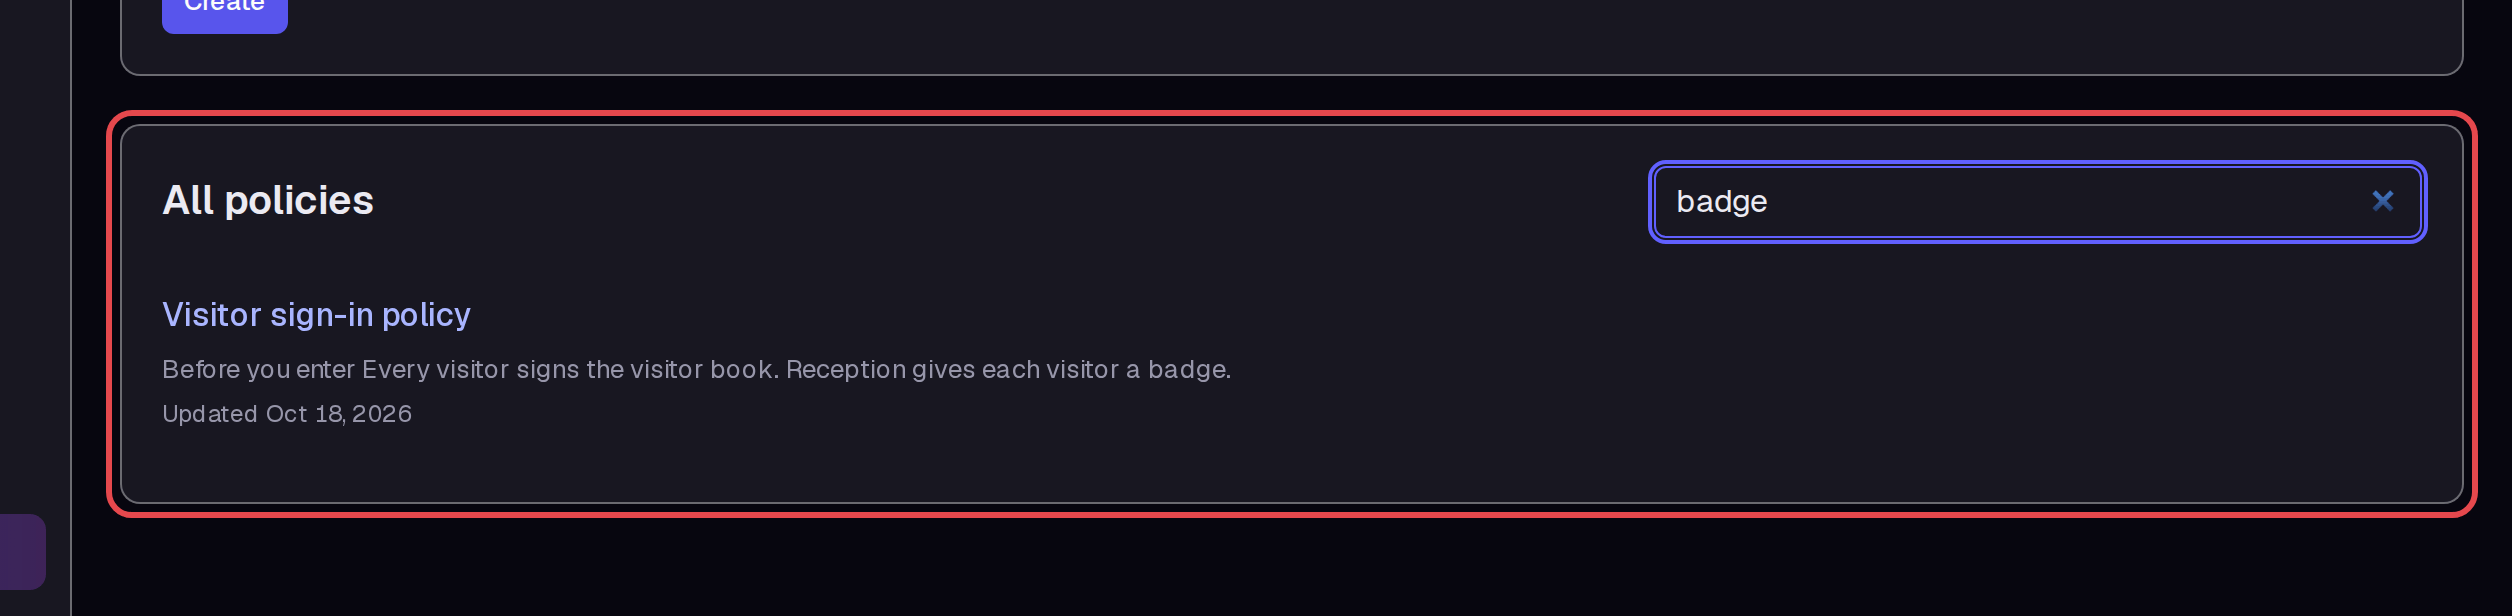
Click Policies in the left menu to go back to the list. Type a word in the search box beside All policies. The search looks in the policy text too: “badge” found the visitor policy.
Step 8 — Find a policy from any page
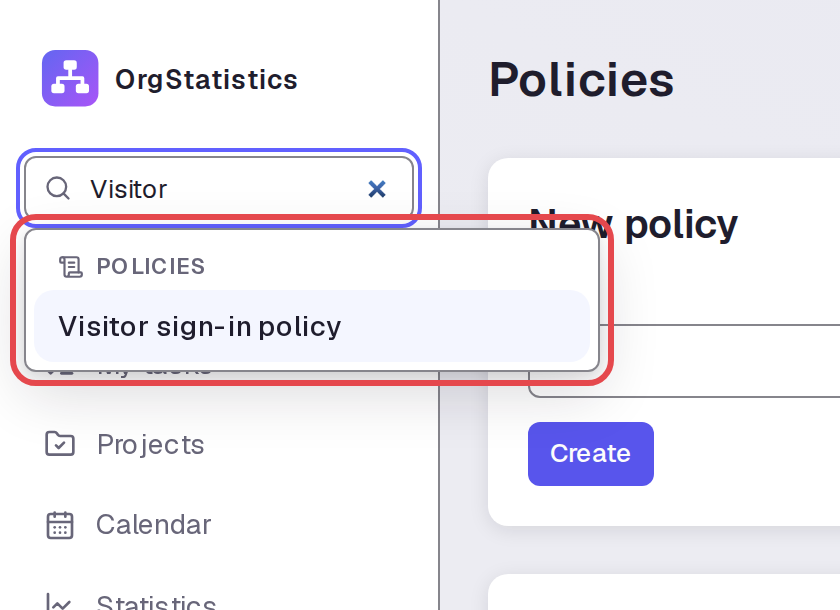
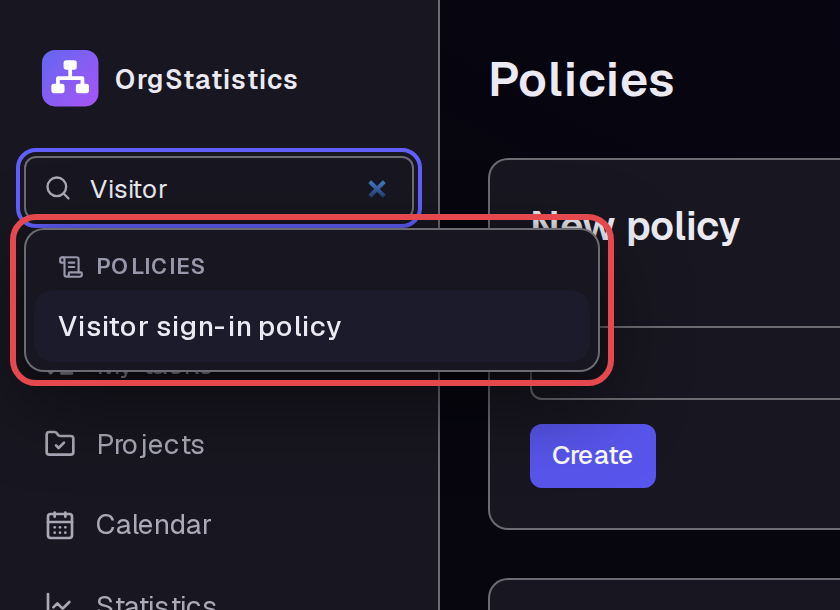
Staff can also use the search box at the top of the left menu. Type “Visitor”. The results show the policy under POLICIES. Click it to open the policy.
Step 9 — Add the policy to a training course
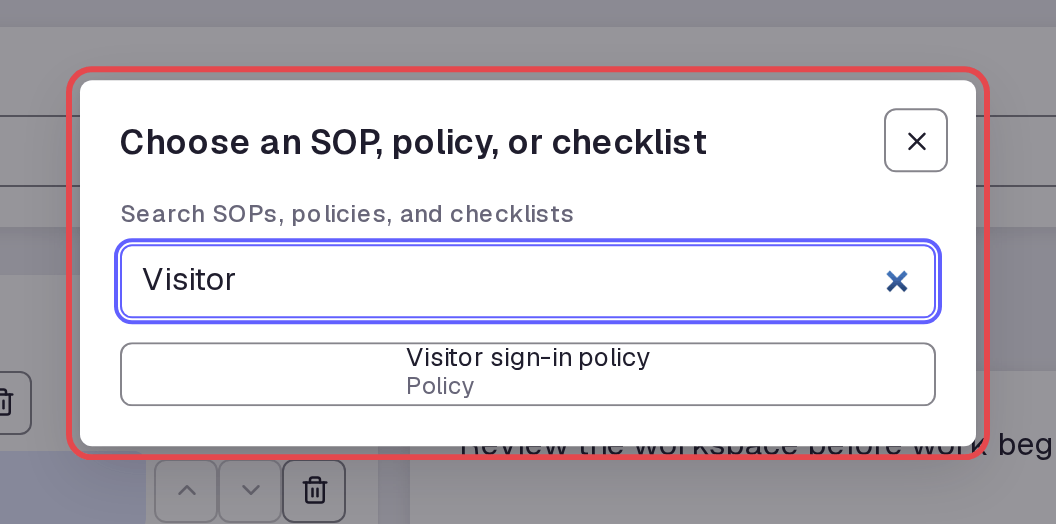
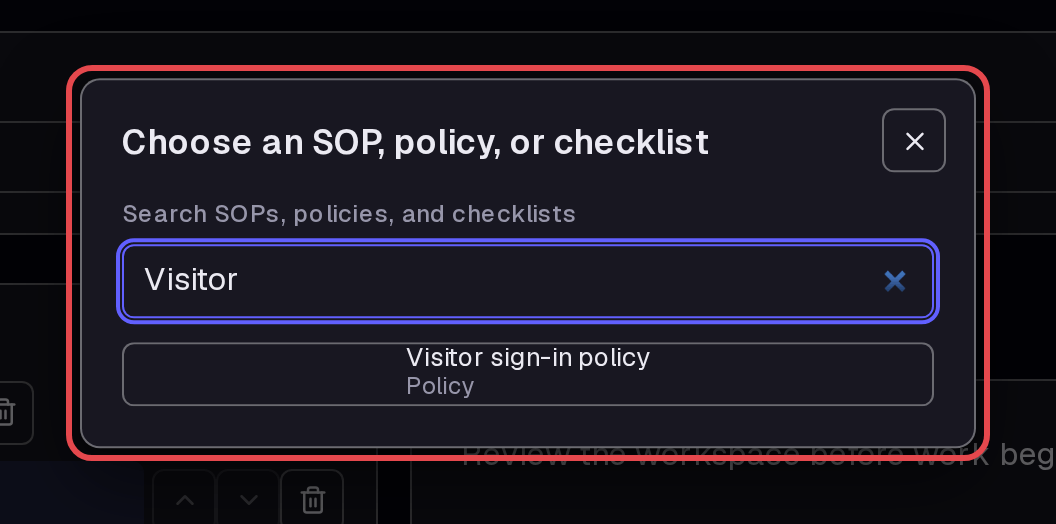
Click Training and open a course. This example uses Staff orientation. In a section, click Add SOP, policy, or checklist. Type “Visitor” and click the policy.
Step 10 — Check the policy in the course
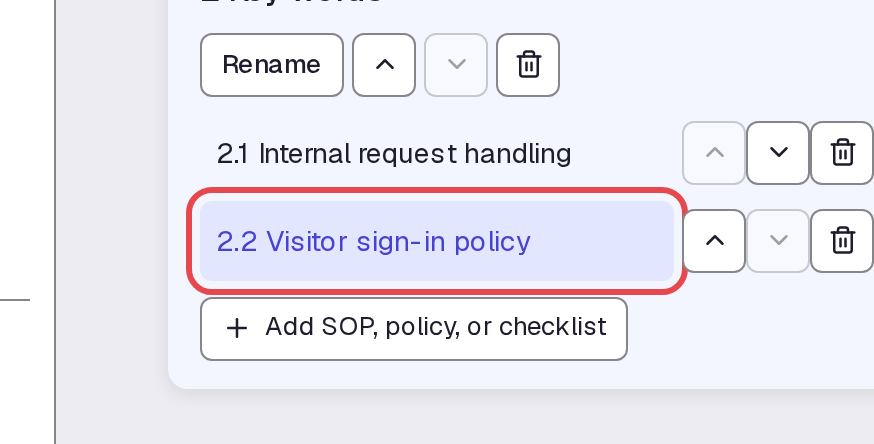
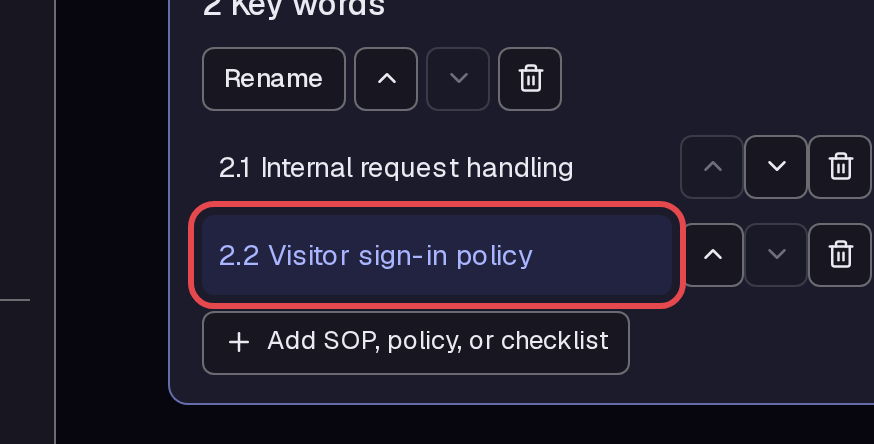
The policy is now an item in the section, here 2.2 Visitor sign-in policy. Staff read it in the course and mark it as done. See how to check training progress.
Step 11 — Archive an old policy
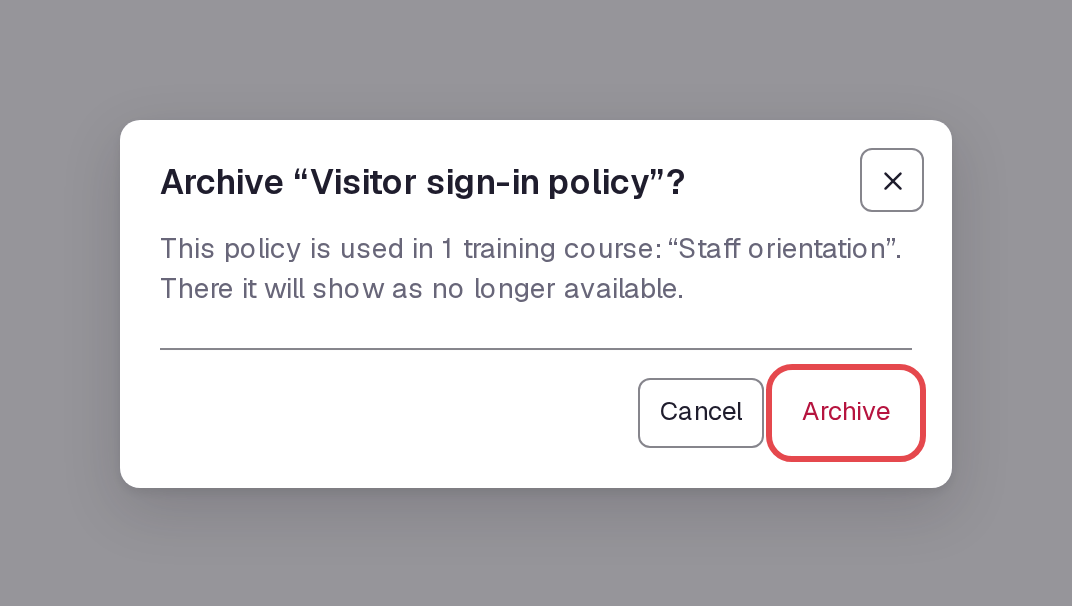
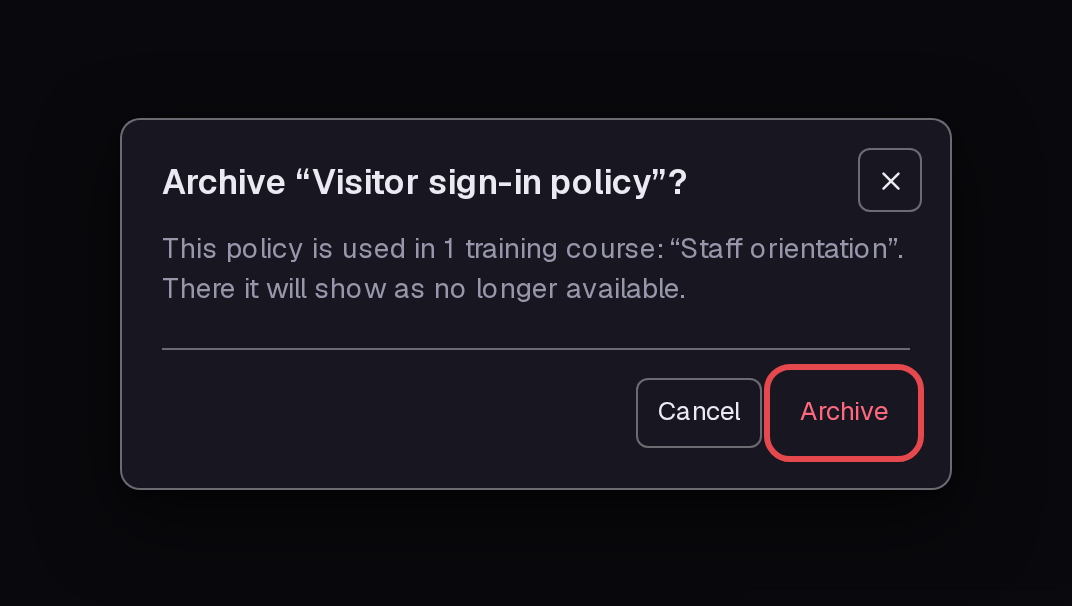
Open the policy. Click Archive at the top right. A box asks you to confirm and names any courses that use the policy, here Staff orientation. Click Archive again. The policy page then shows “This policy was archived”.
Step 12 — Restore a policy
Archived policies move to an Archived part at the bottom of the Policies page. Click Restore to put the policy back in the main list.


Tips
- After you click Create, the new policy opens in the editor automatically.
- The policy search finds words in the policy text, not only in the title.
- If you archive a policy that is in a course, the course shows “This item is no longer available” in its place. When you restore the policy, it shows again in the course.
- Wait for Saved before you leave the editor.
What next
- Put policies into a course and follow up: check training progress.
- Find and reuse procedures: find and reuse SOPs.
- Write documents and post SOPs: write SOPs and documents.
- Build a course and a glossary: training and glossary.