How to build your org board
about 10 minutes
An org board shows the parts of your company and the posts in it. Use it to show a team structure and who reports to whom. This example builds a small practice board with fictional names.
Step 1 — Open your org board
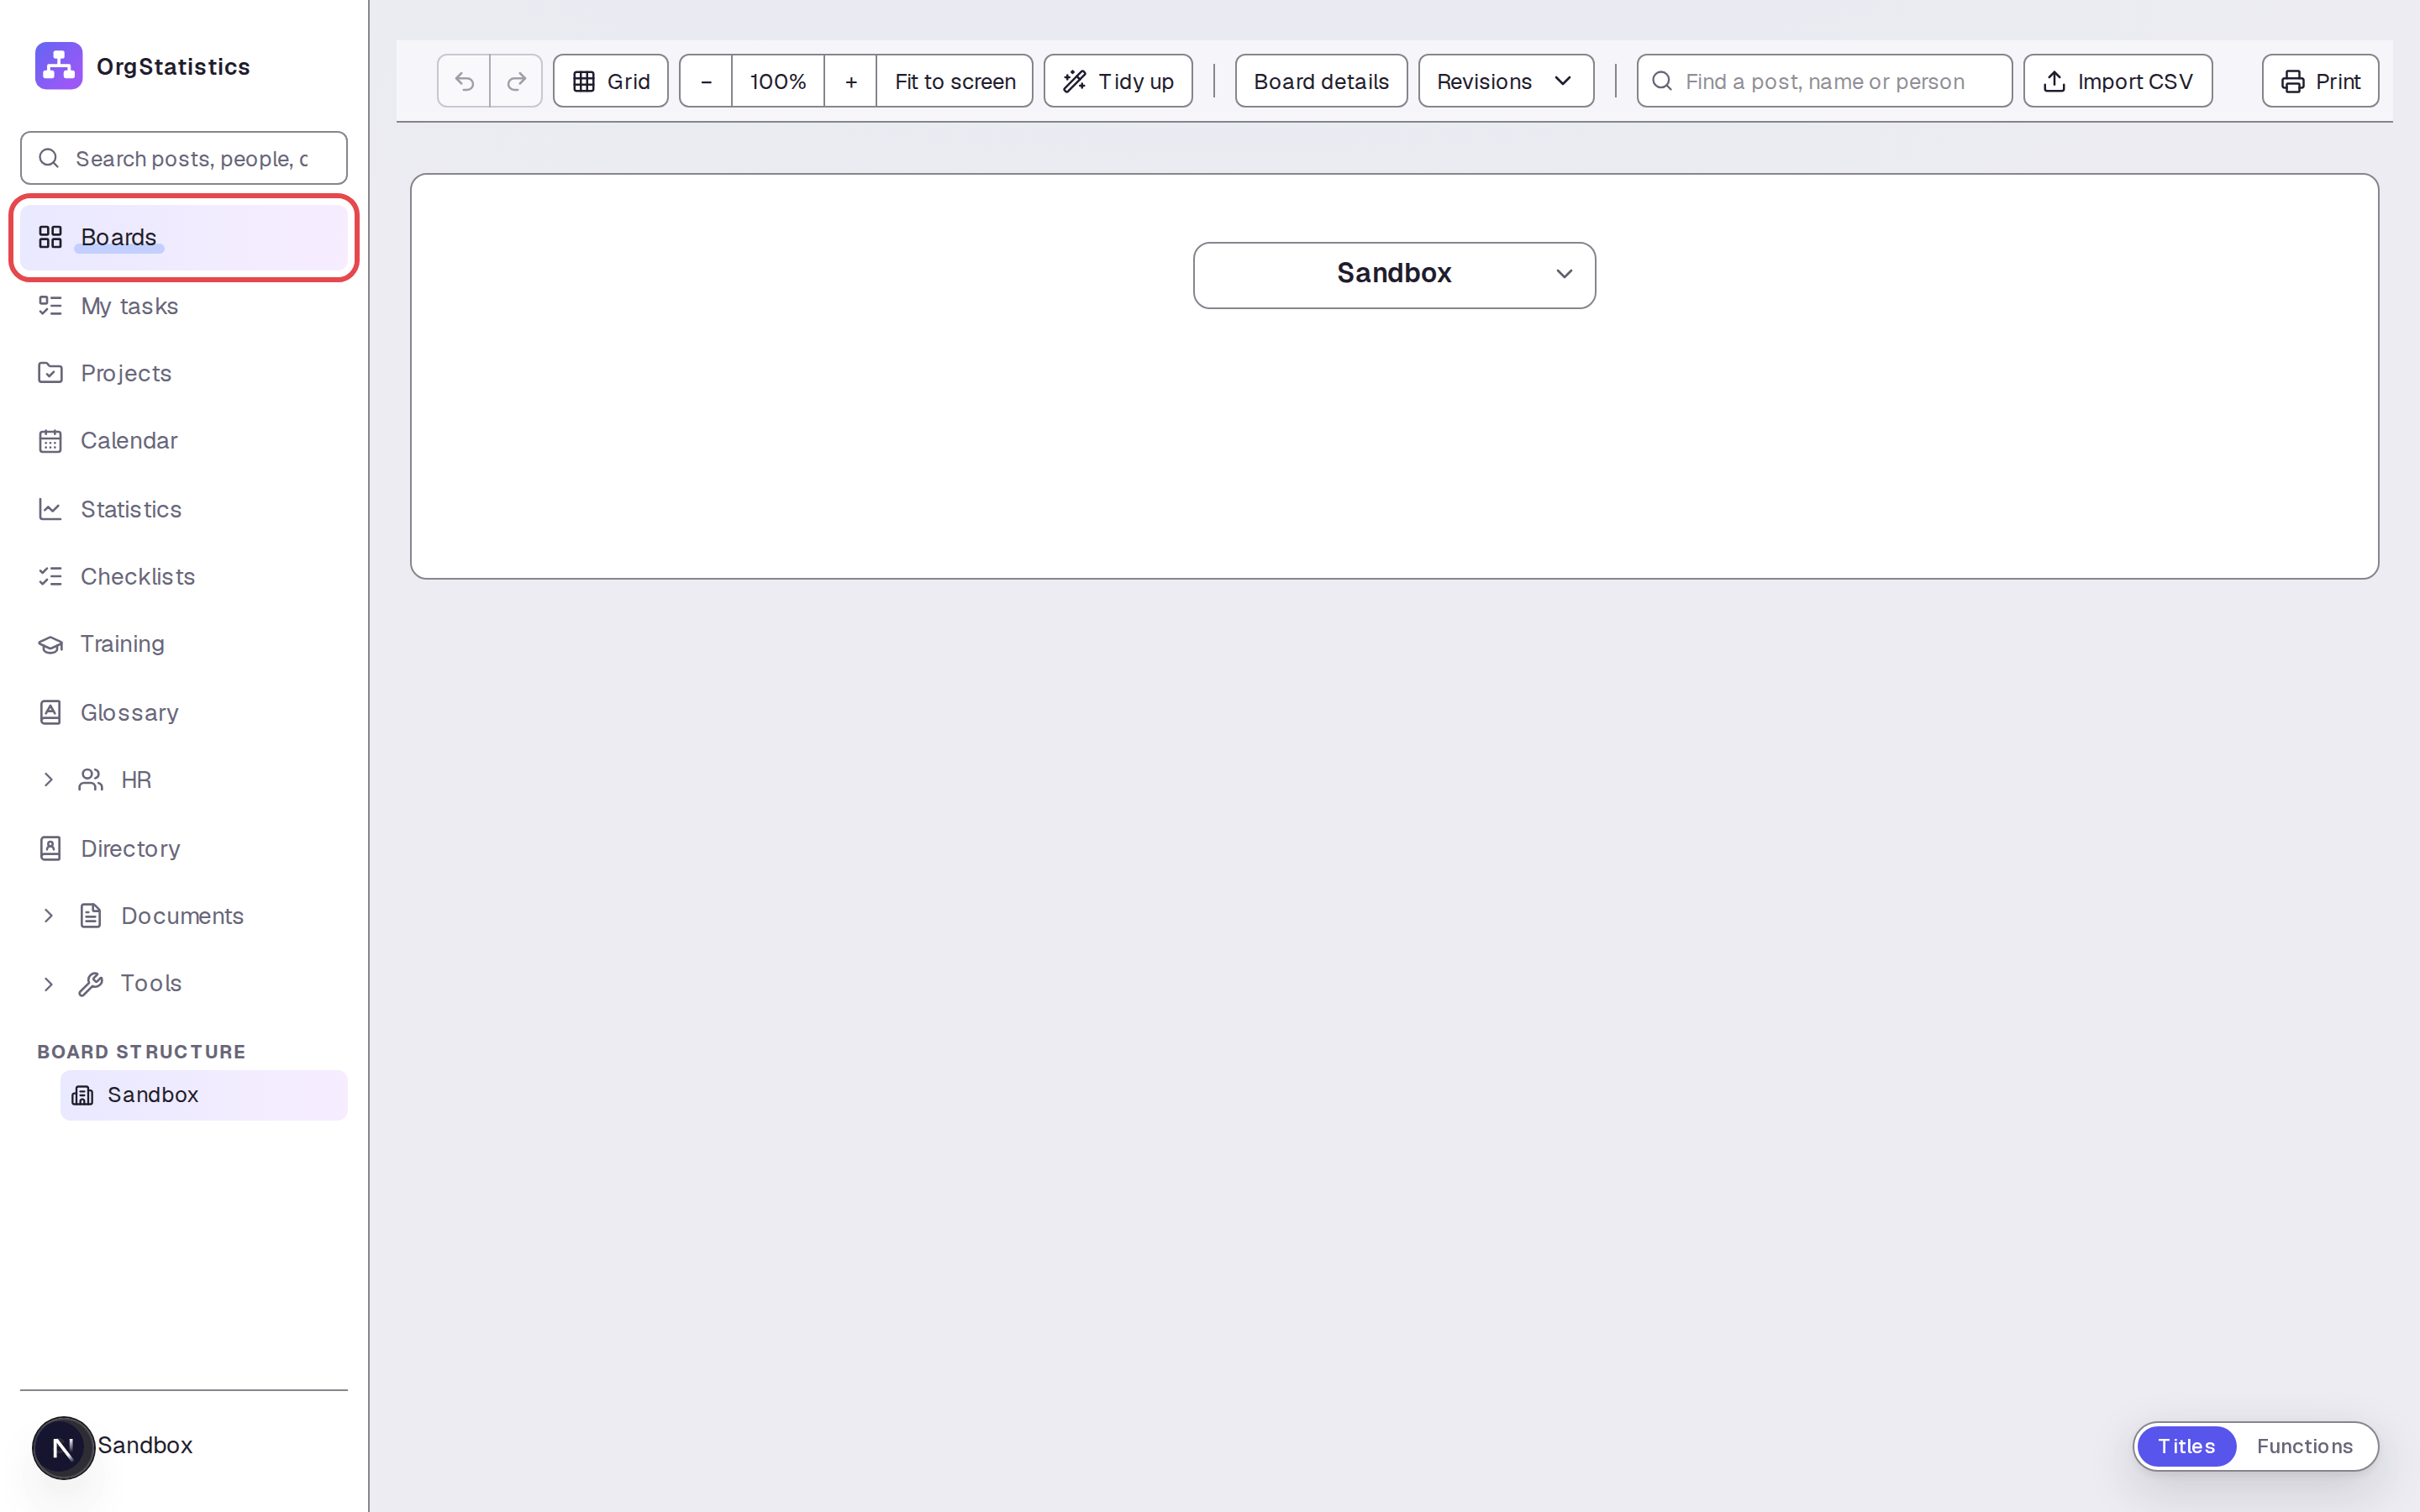
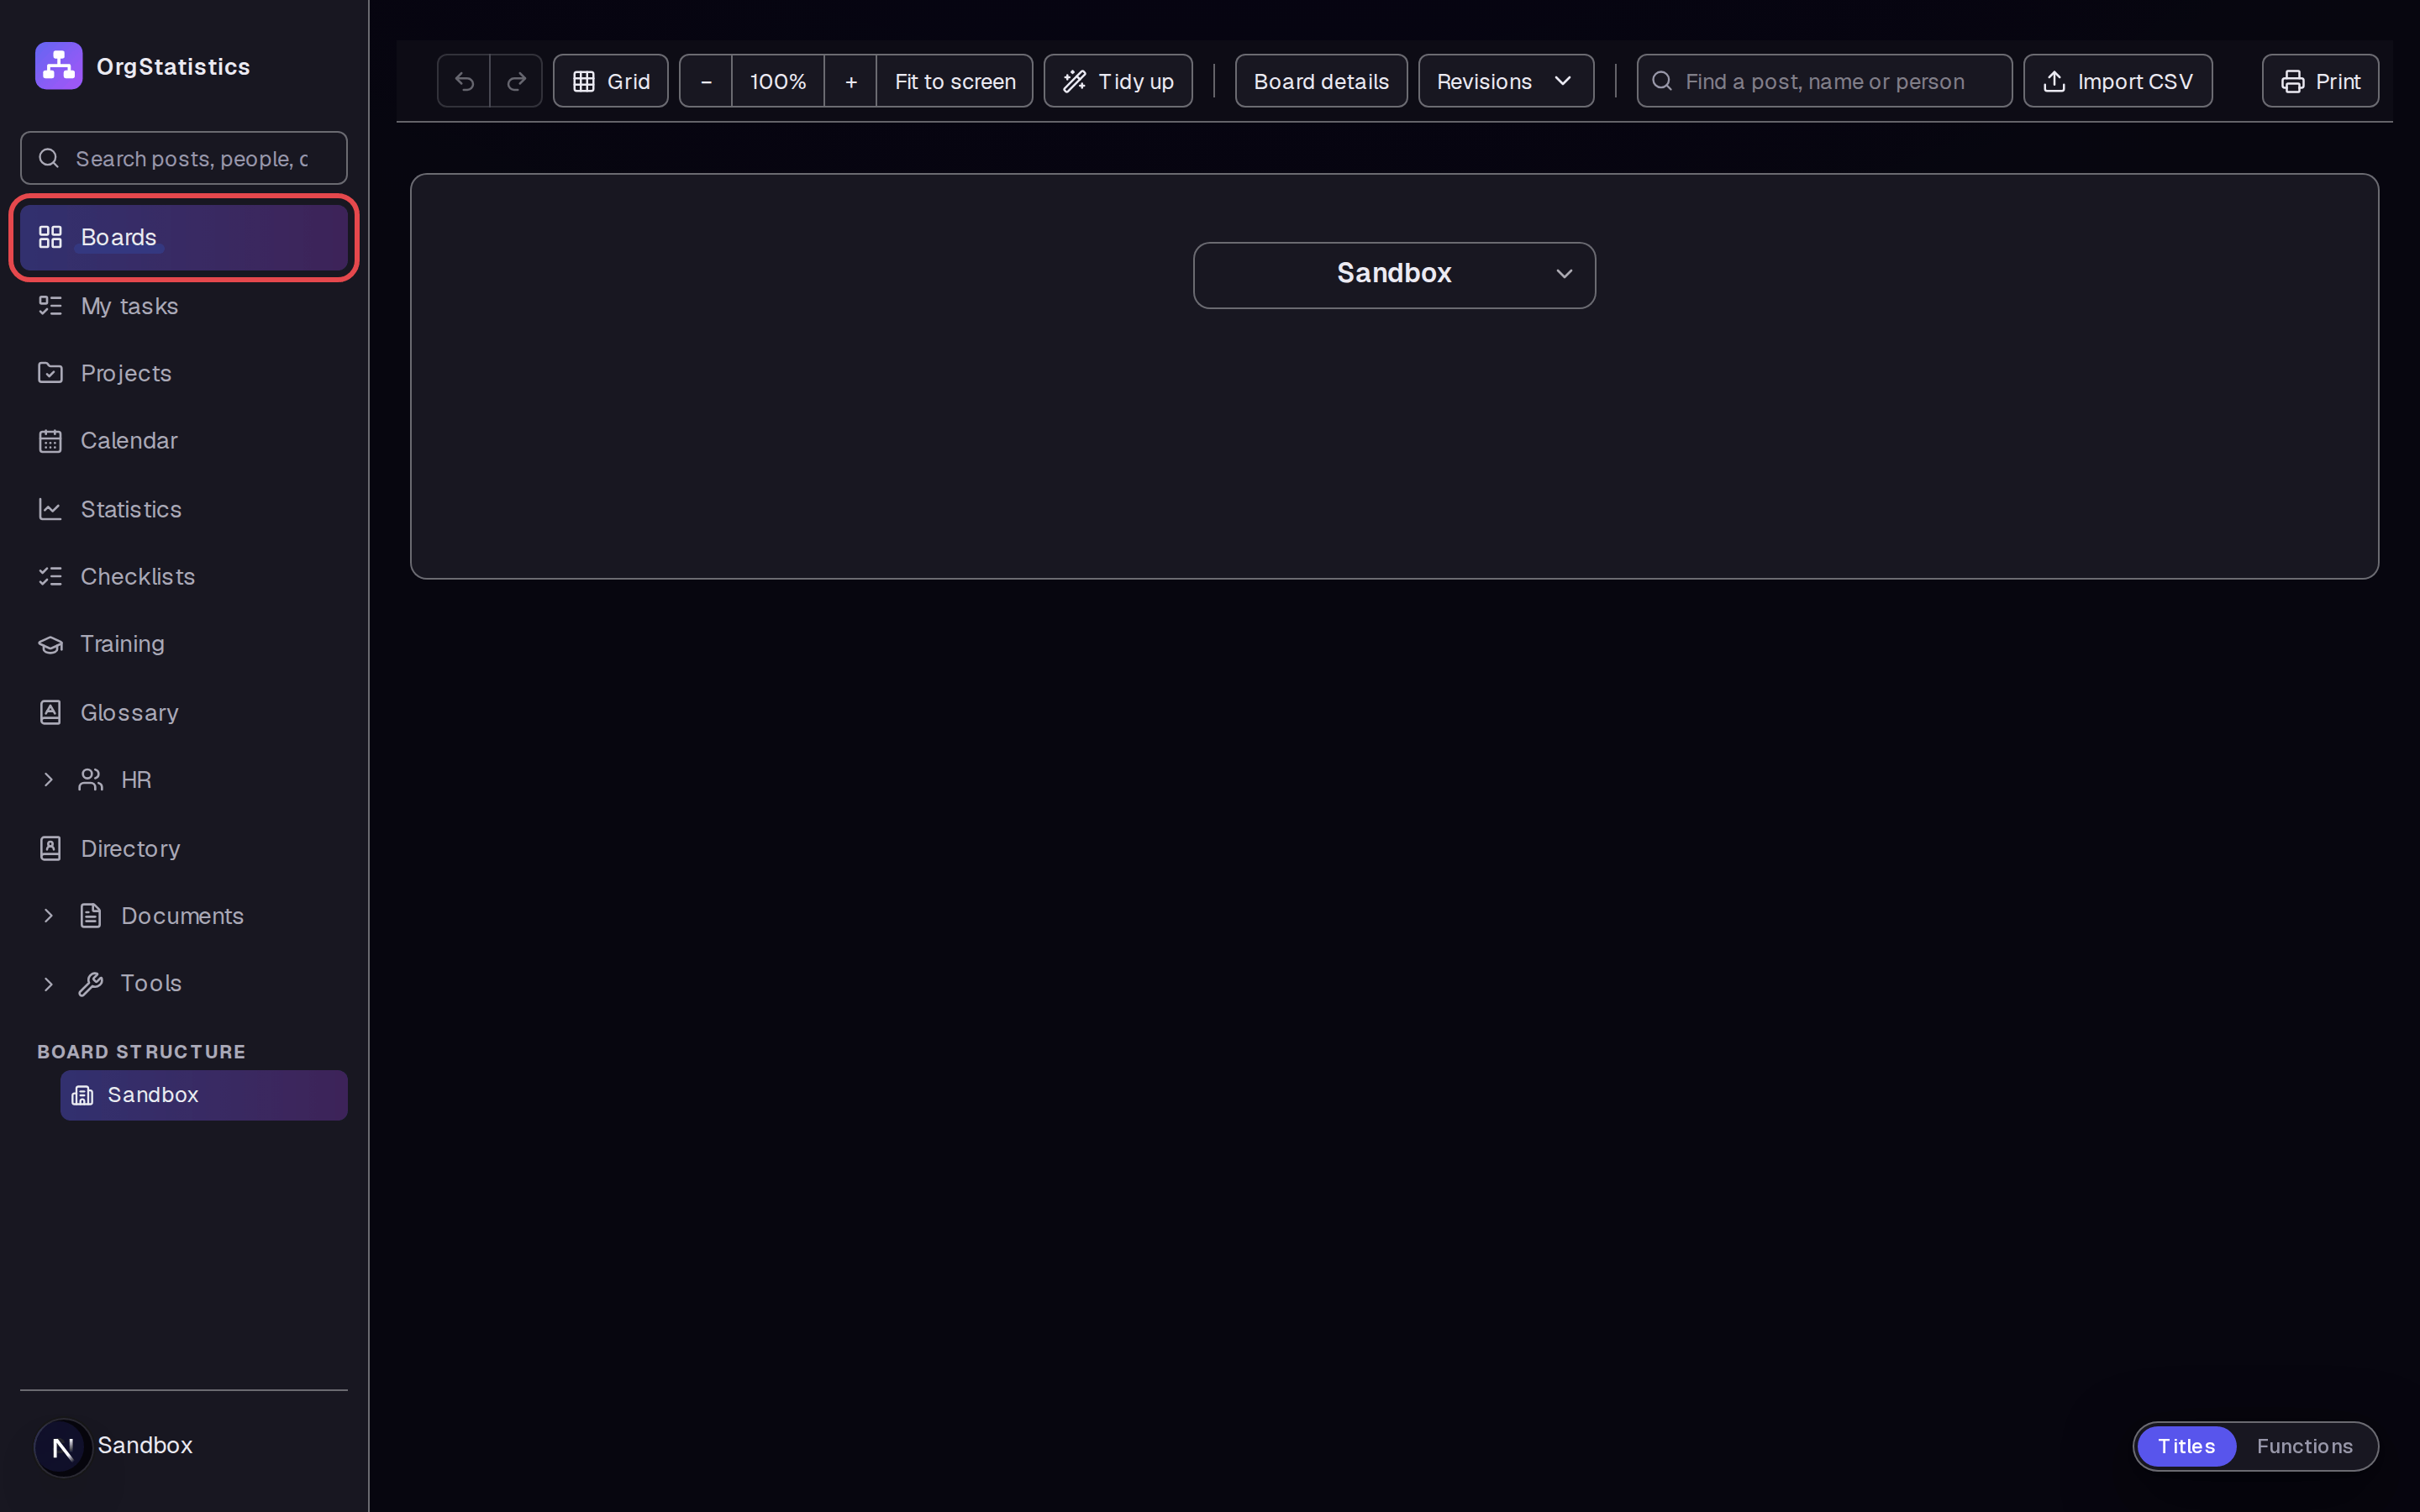
Click Boards in the sidebar. This example starts with one top box.
Step 2 — Rename the top box
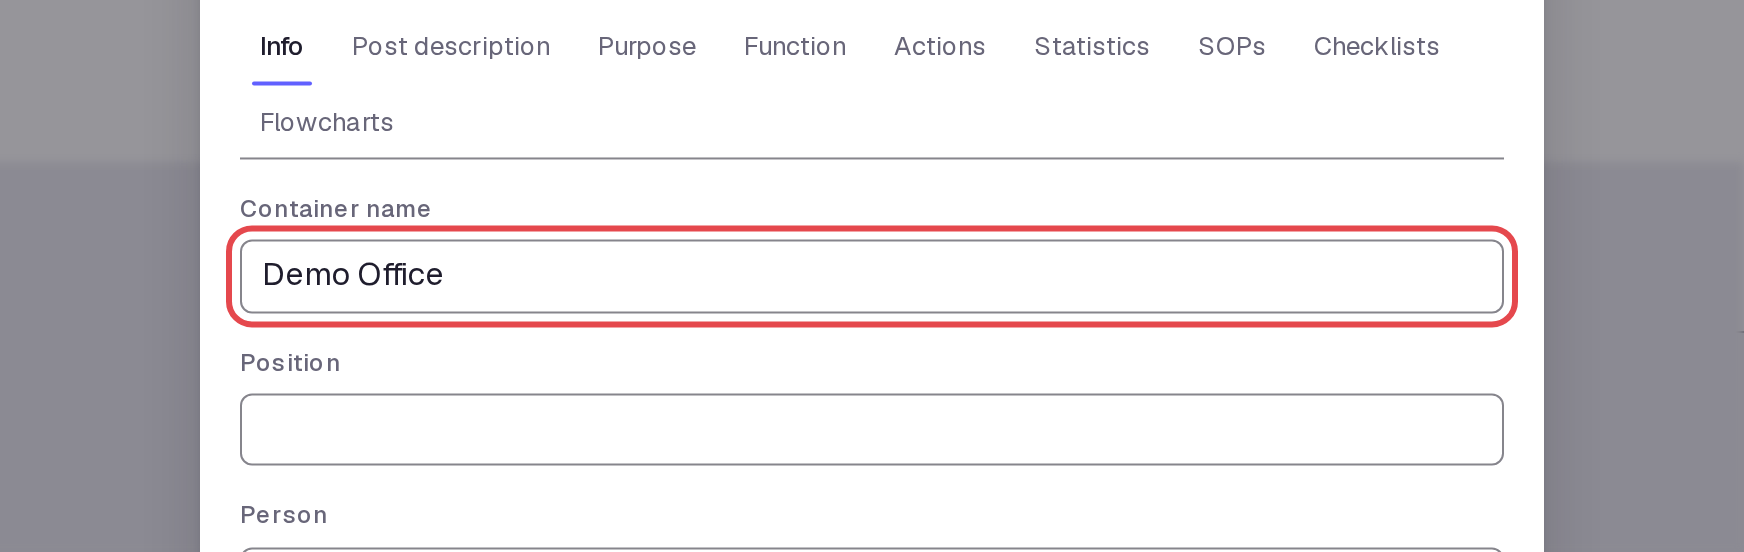
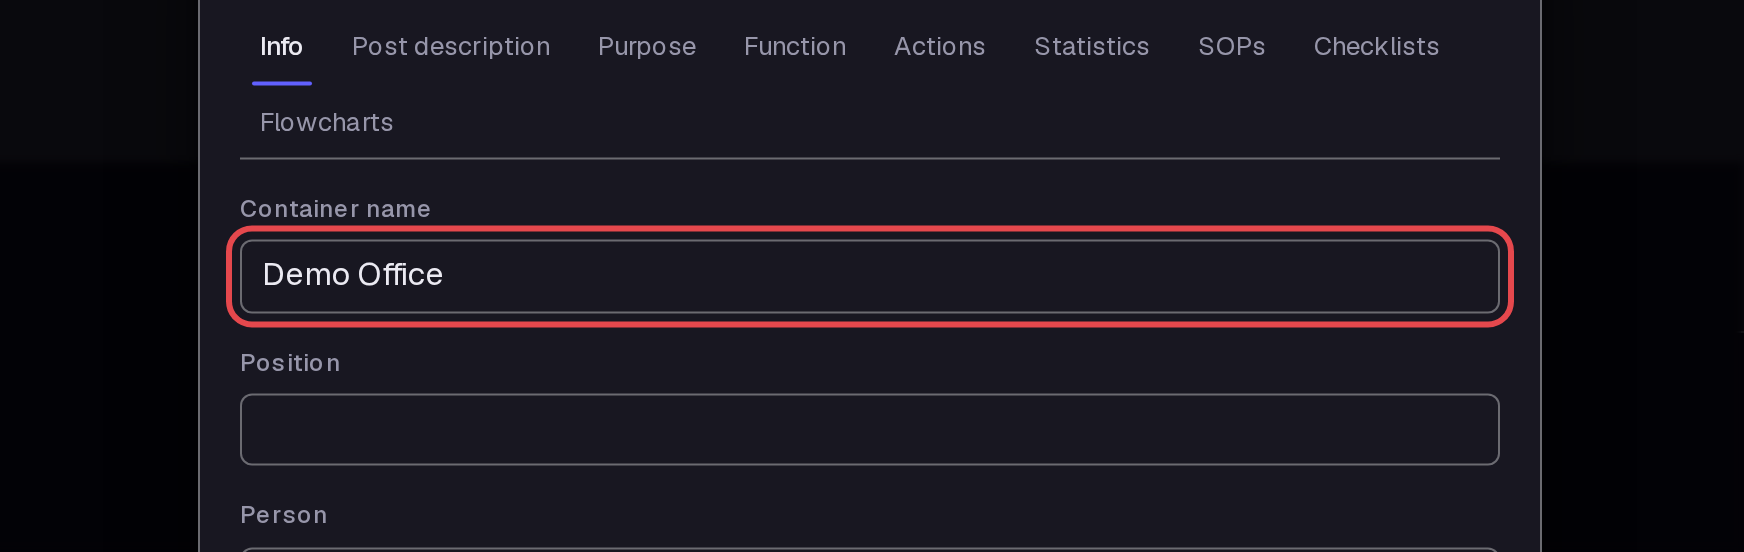
Open Edit from the top box's arrow menu. Set Container name to Demo Office. Pick a color for the box. Click Update.
Step 3 — Add a division
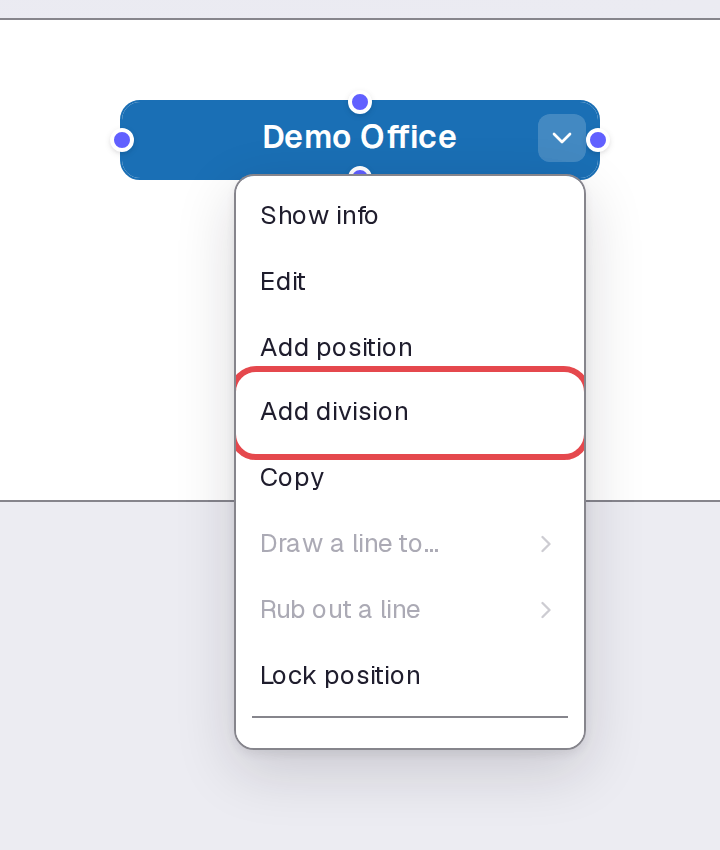
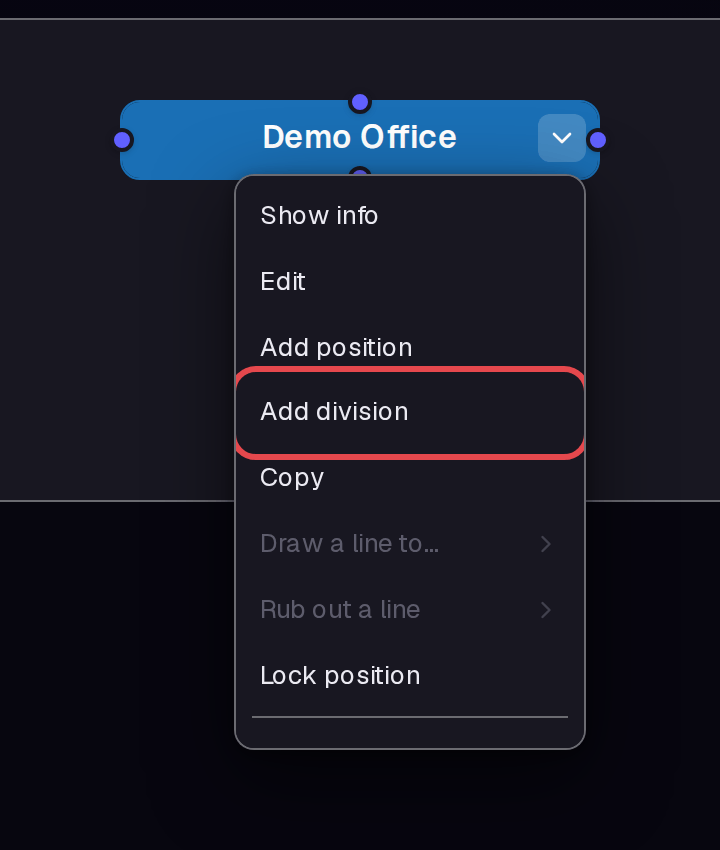
Open the arrow menu on Demo Office. Click Add division. A blank division box appears below.
Step 4 — Name the division
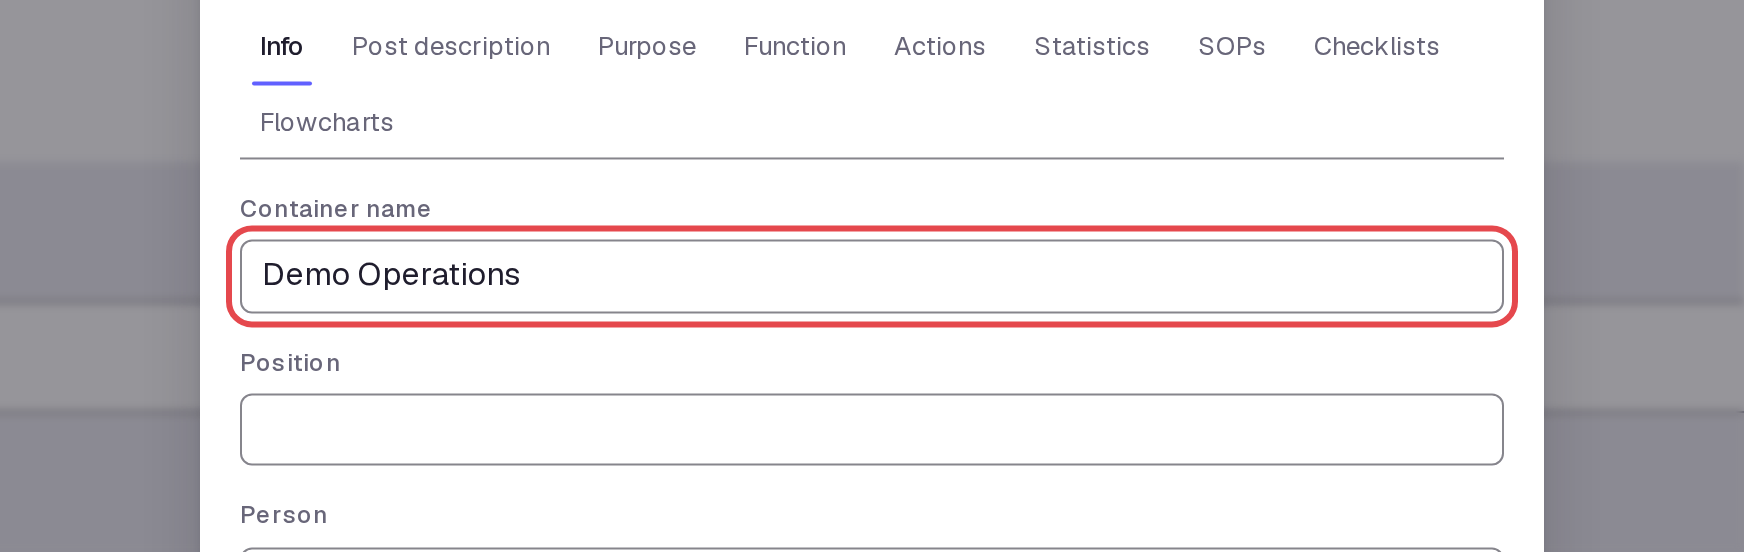
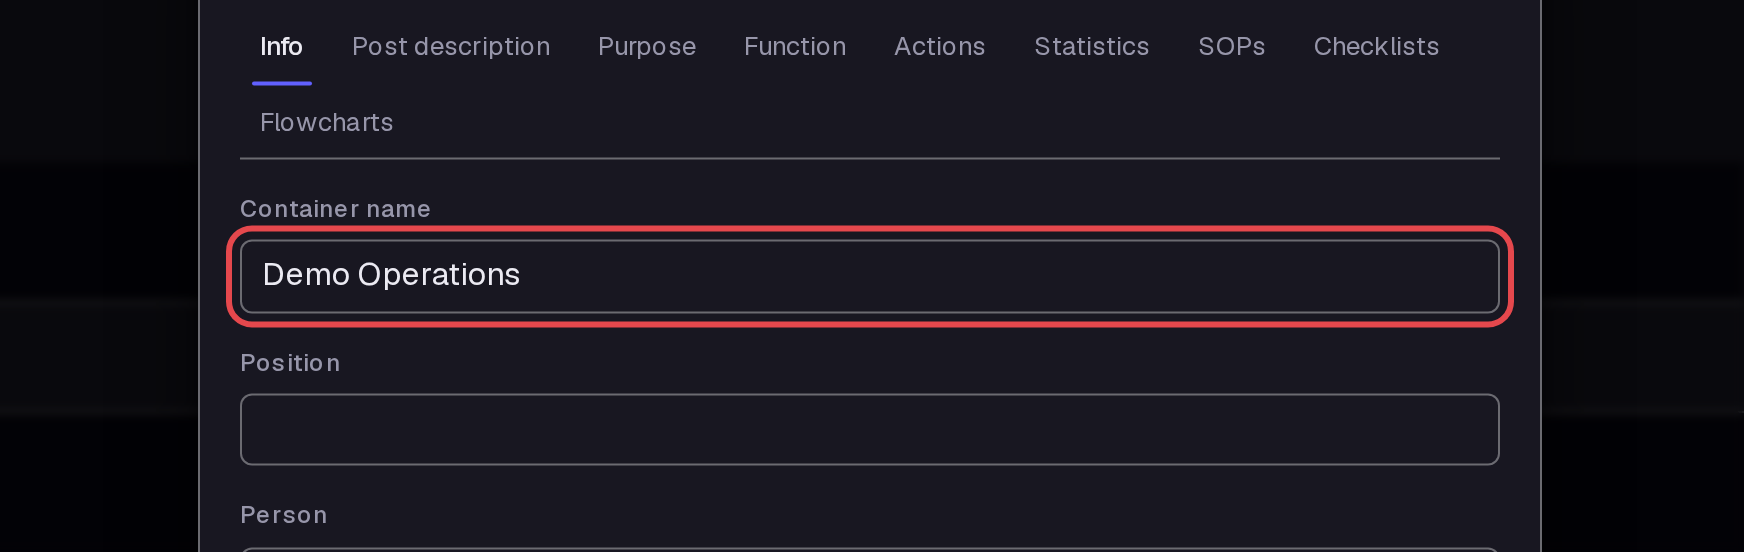
Open Edit from the blank division's arrow menu. Set Container name to Demo Operations. Pick a color for the box. Click Update.
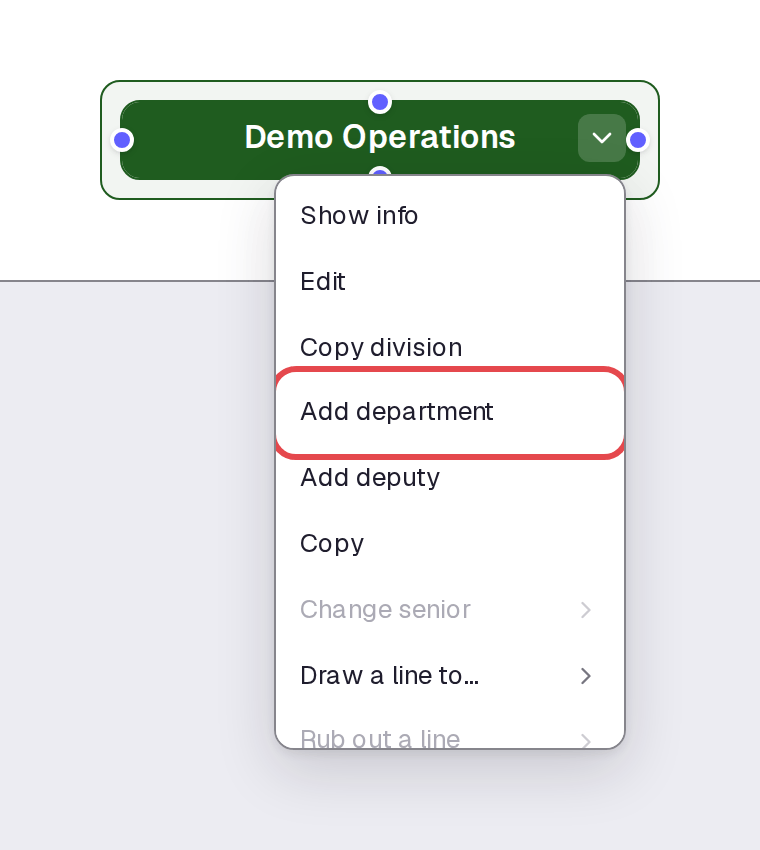
Step 5 — Add a department
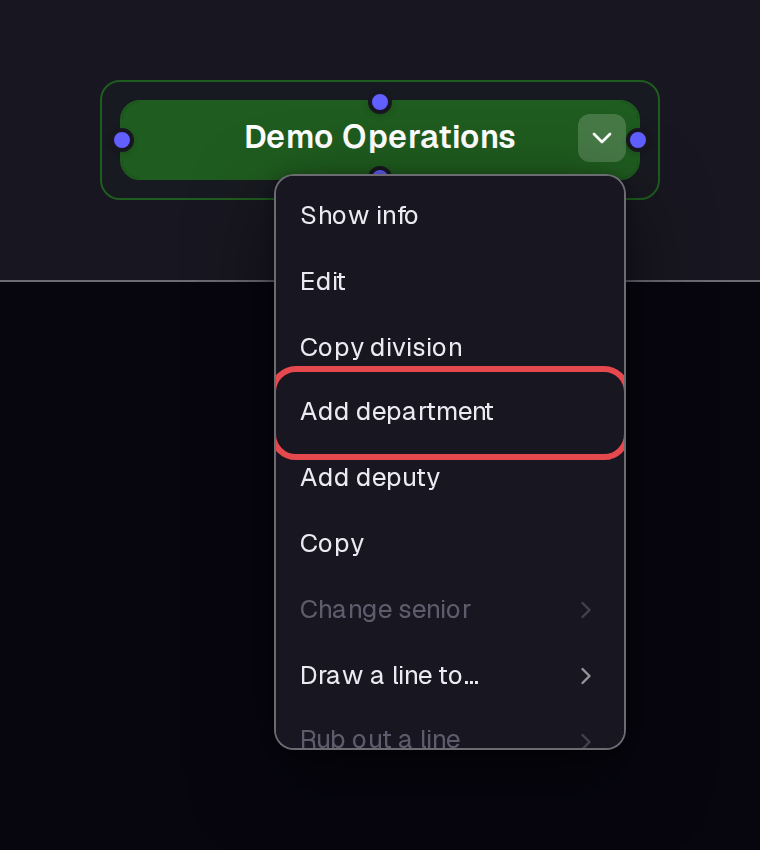
Open the arrow menu on Demo Operations. Click Add department. A blank department box appears inside the division.
Step 6 — Name the department
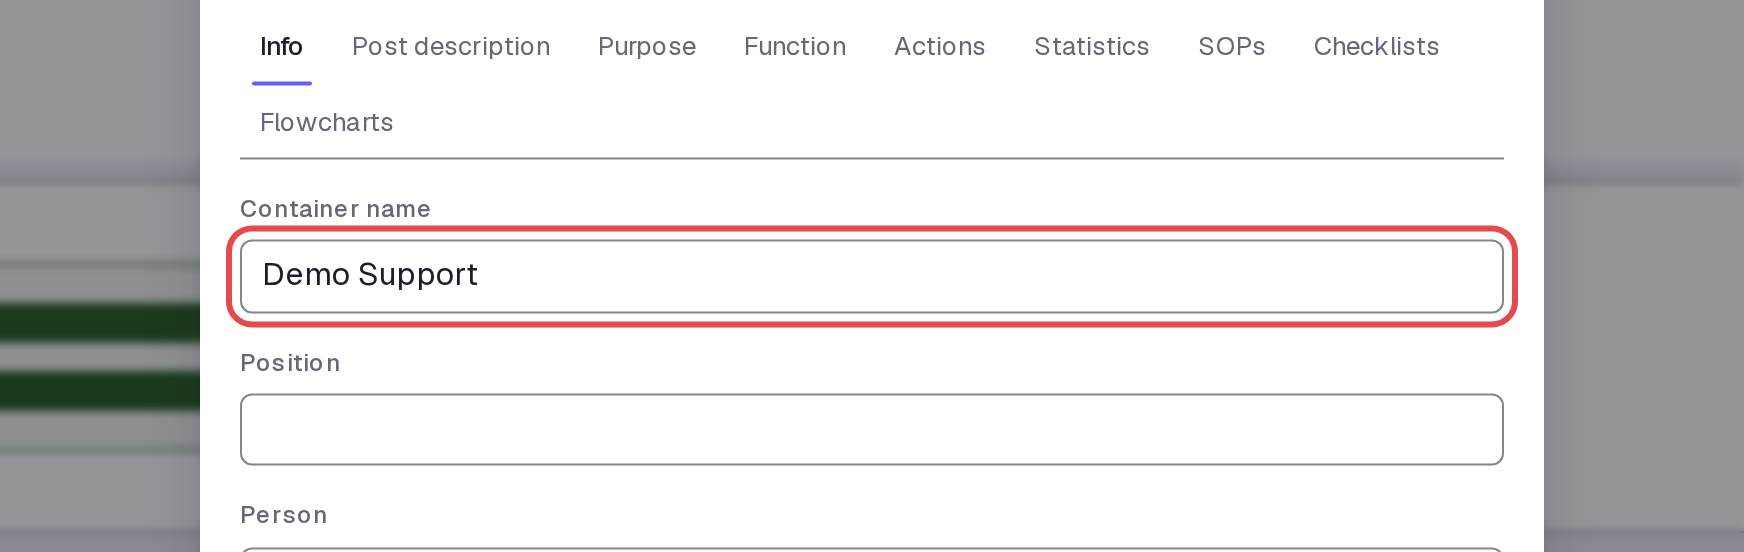
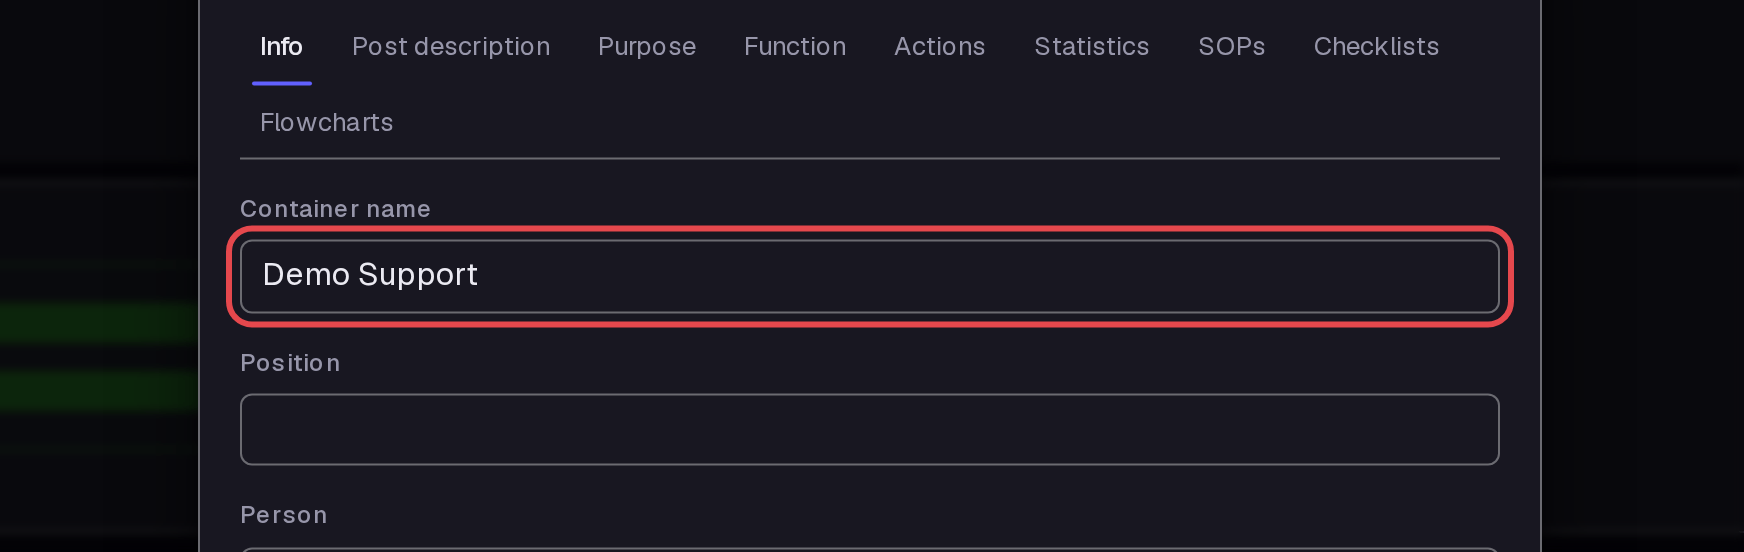
Open Edit from the blank department's arrow menu. Set Container name to Demo Support. Pick a color for the box. Click Update.
Step 7 — Add a post
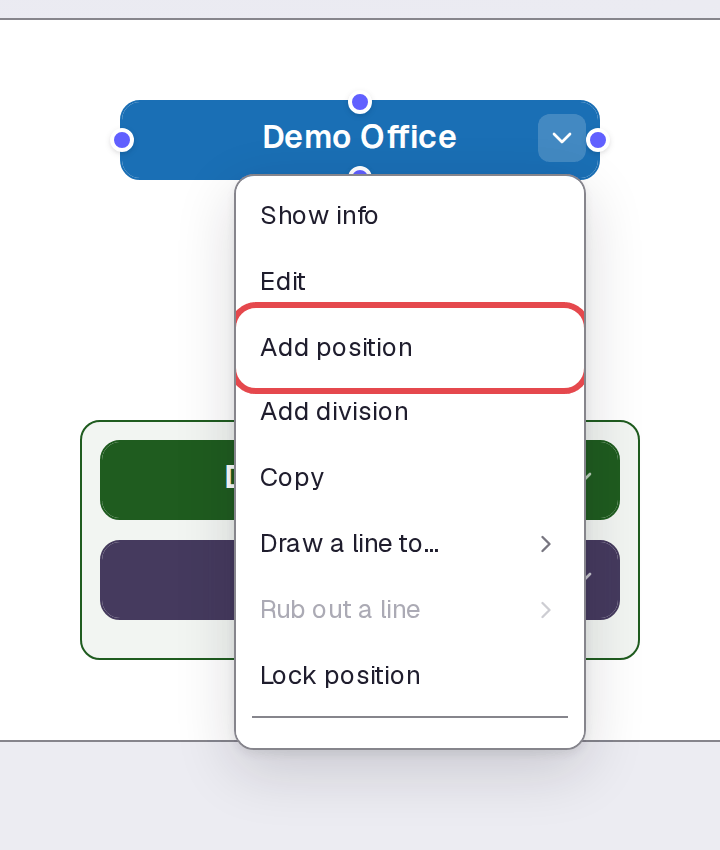
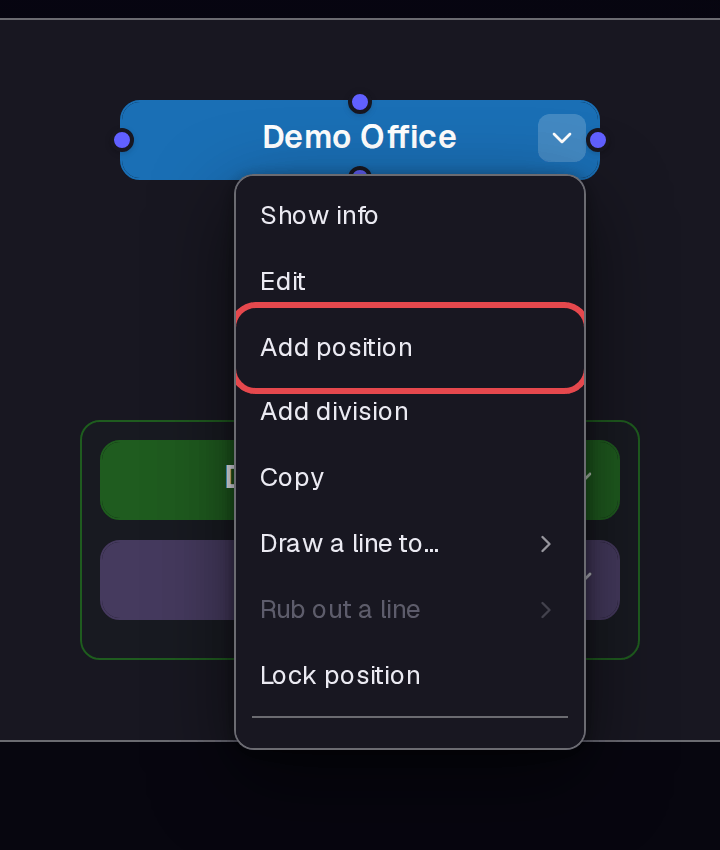
Open the arrow menu on the top box, Demo Office. Click Add position. This example adds the post below the top box; the department menu has no Add position command.
Step 8 — Name the post and its role
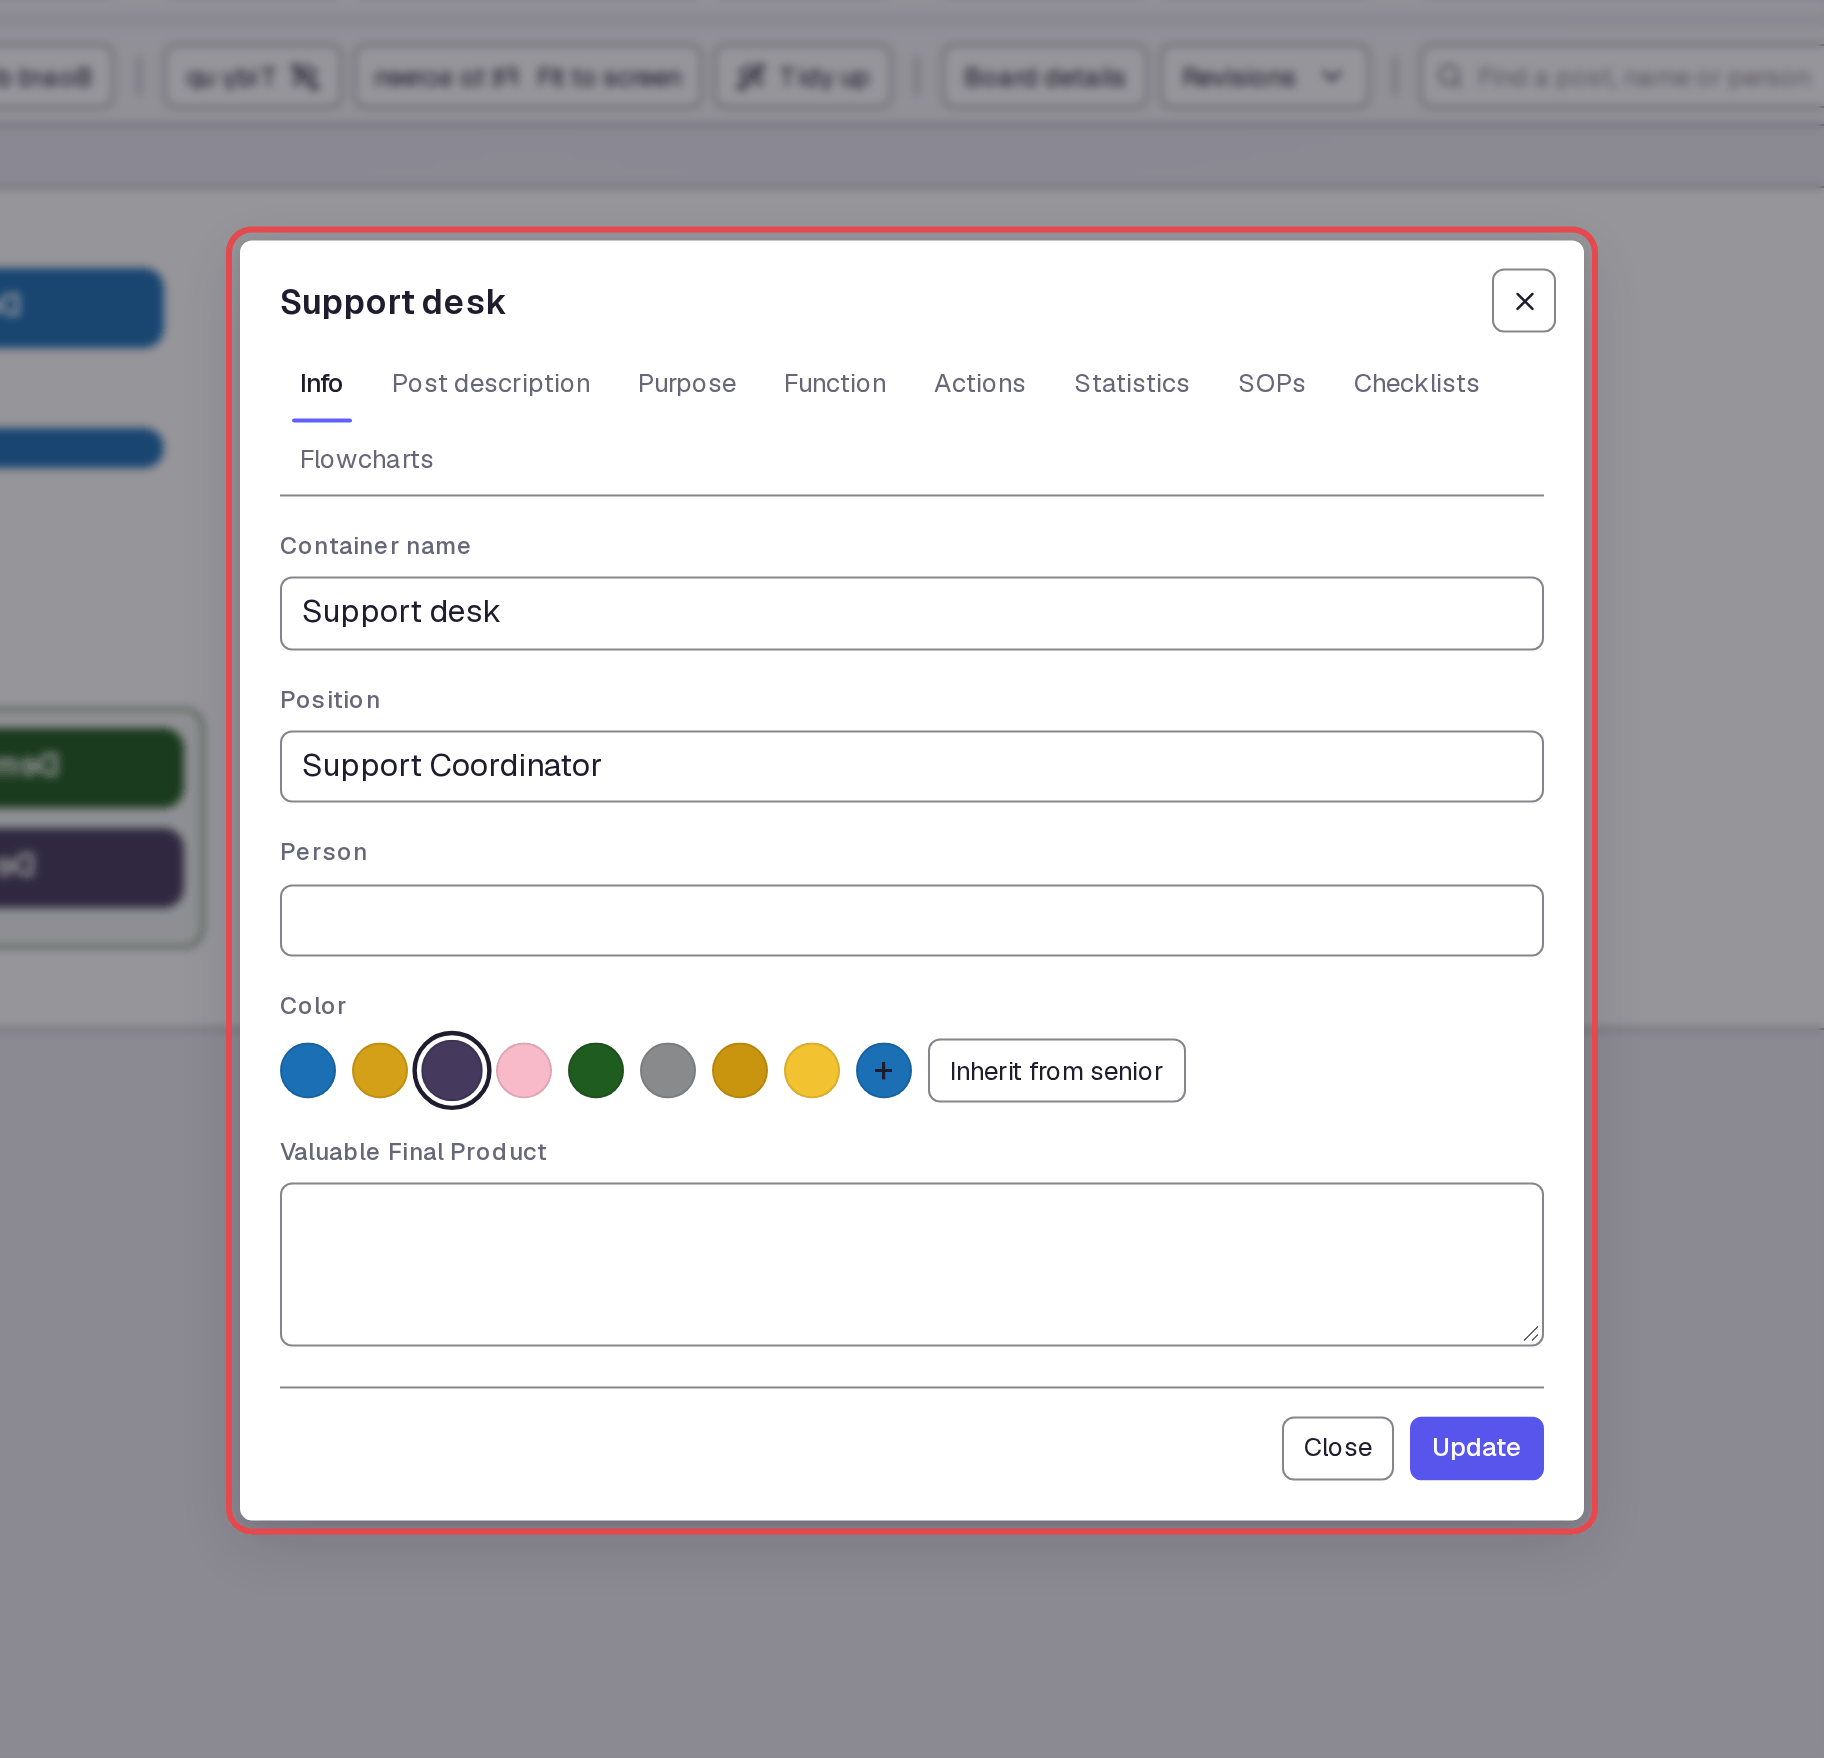
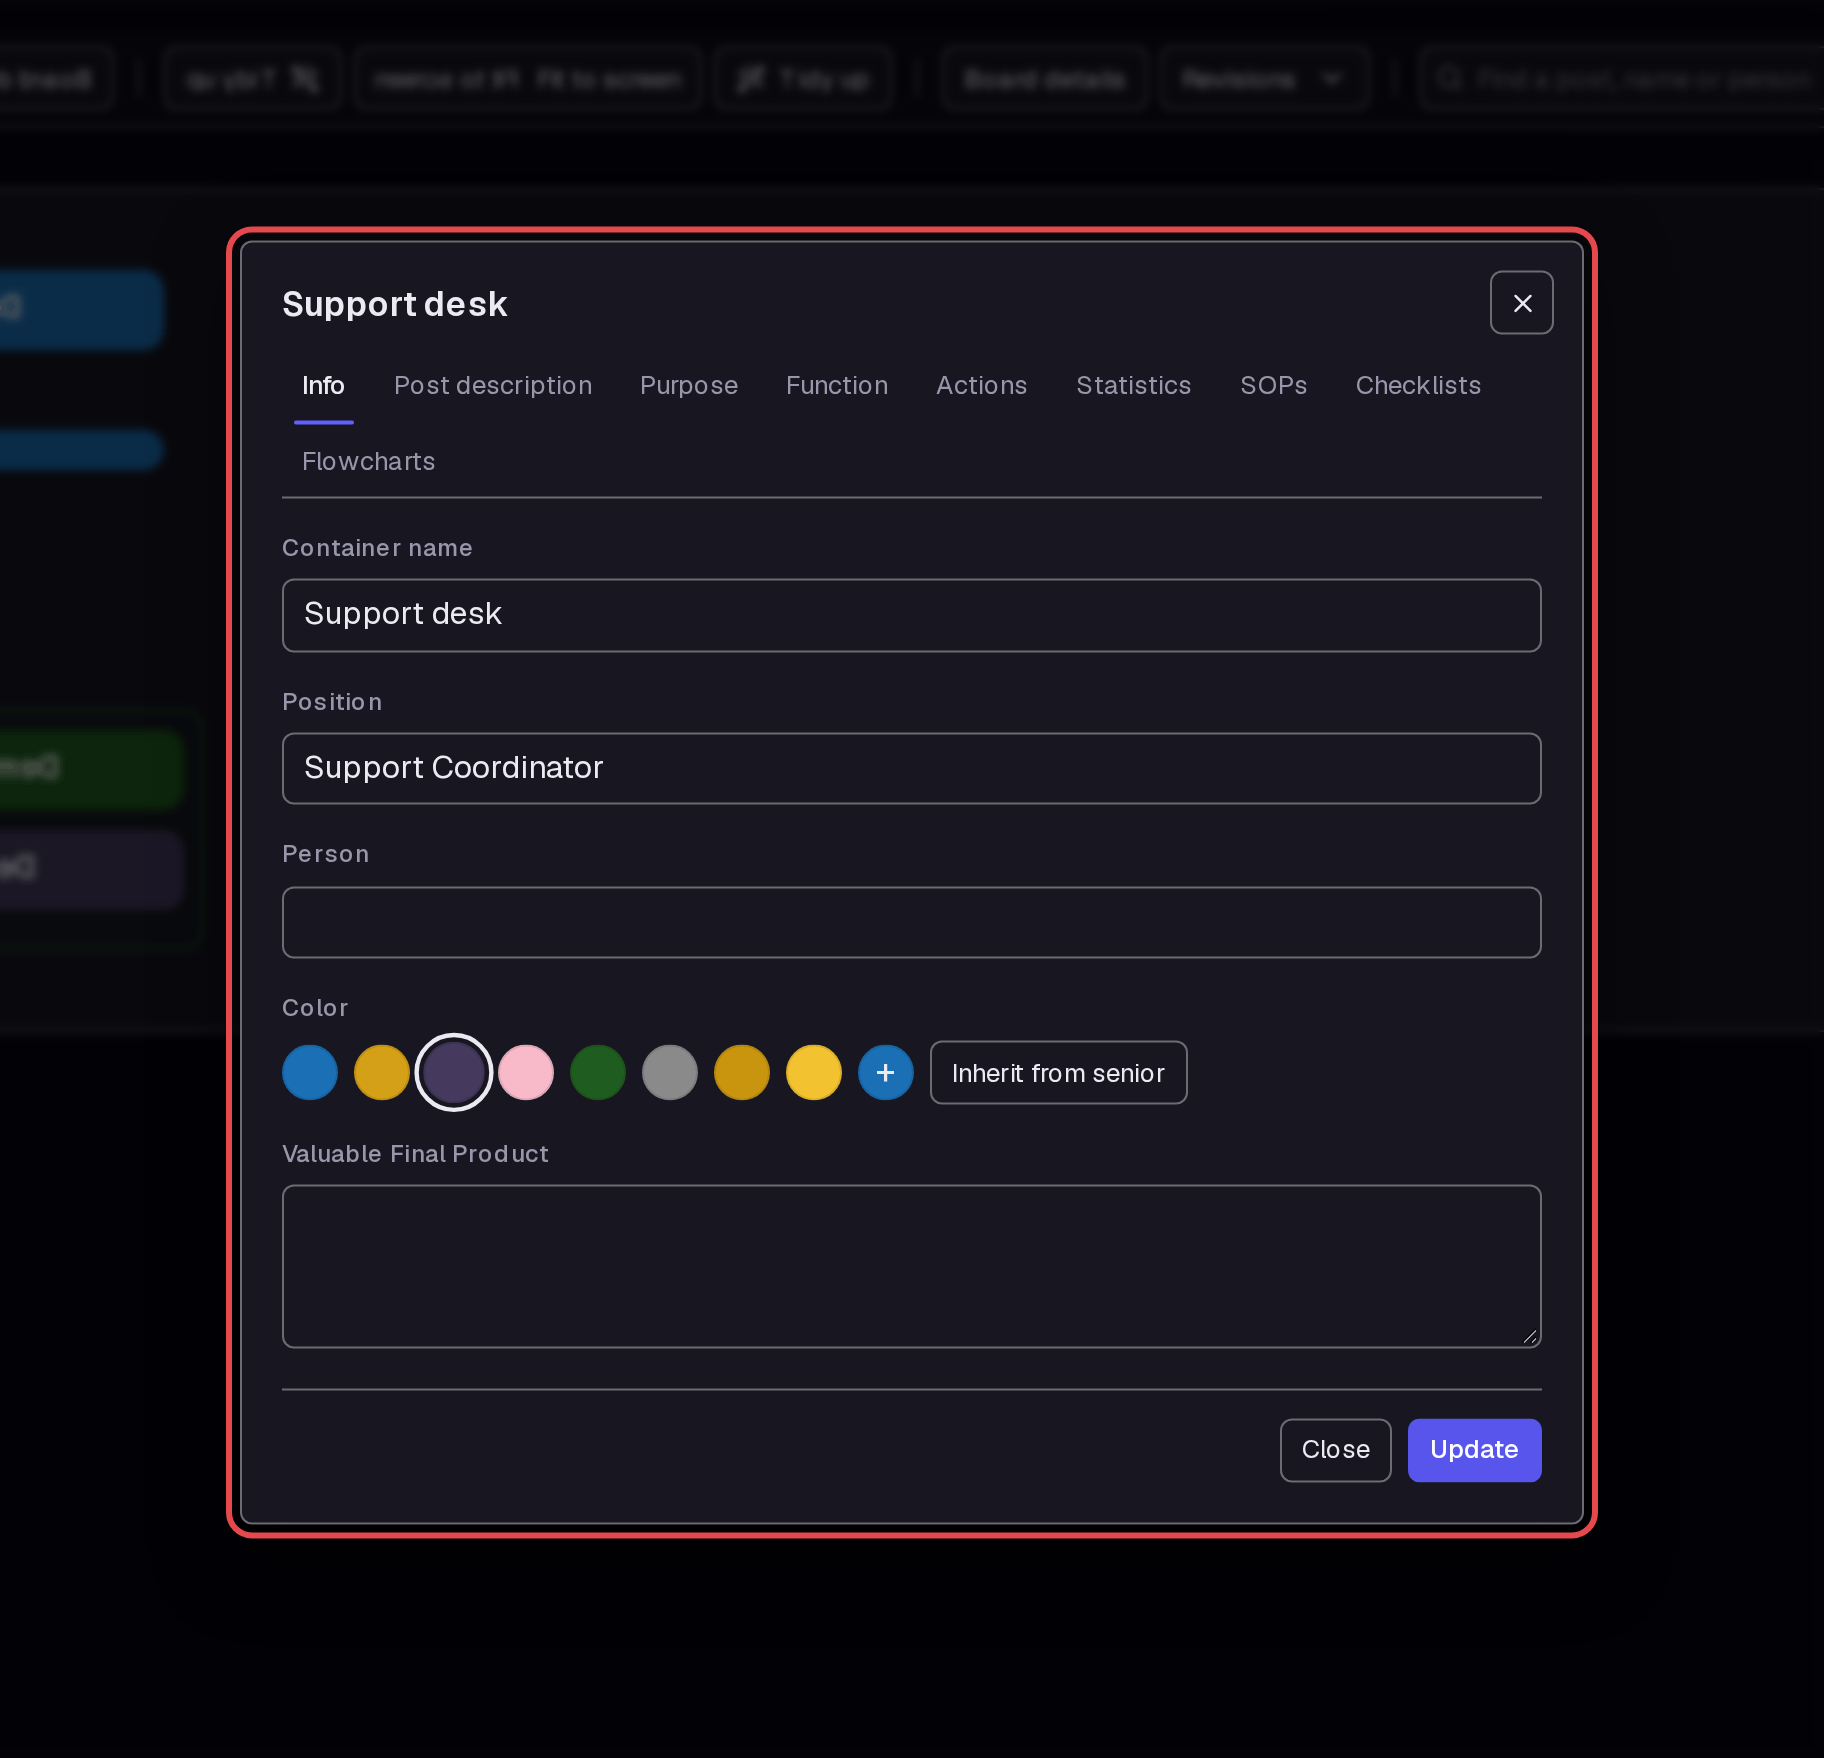
Open Edit from the new post's arrow menu. Use Support desk for Container name and Support Coordinator for Position. Pick a color for the box. Click Update.
Step 9 — Move the post
Drag the Support desk title area to the right and slightly down. Release the mouse button to place the box.
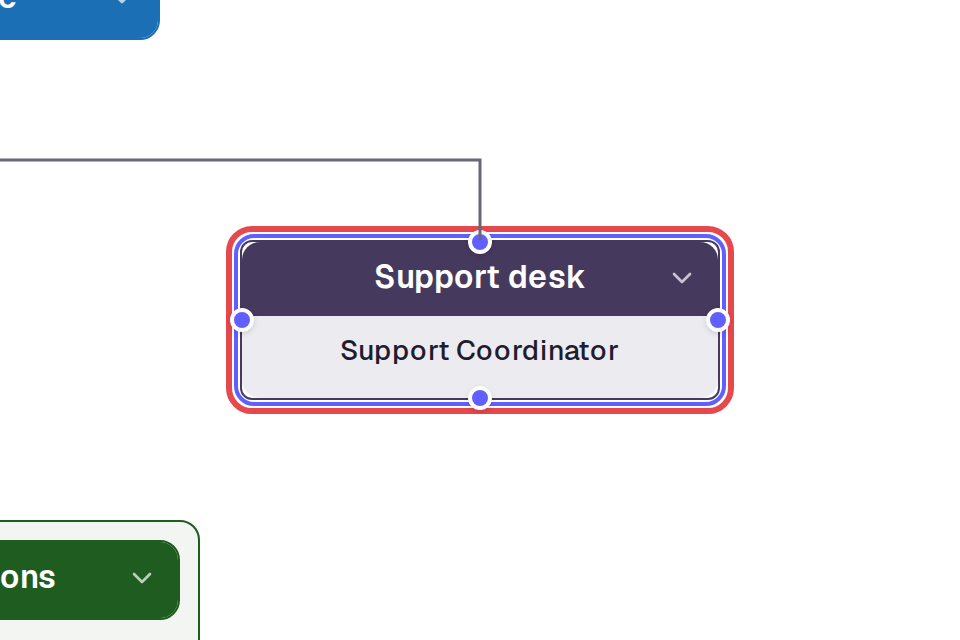
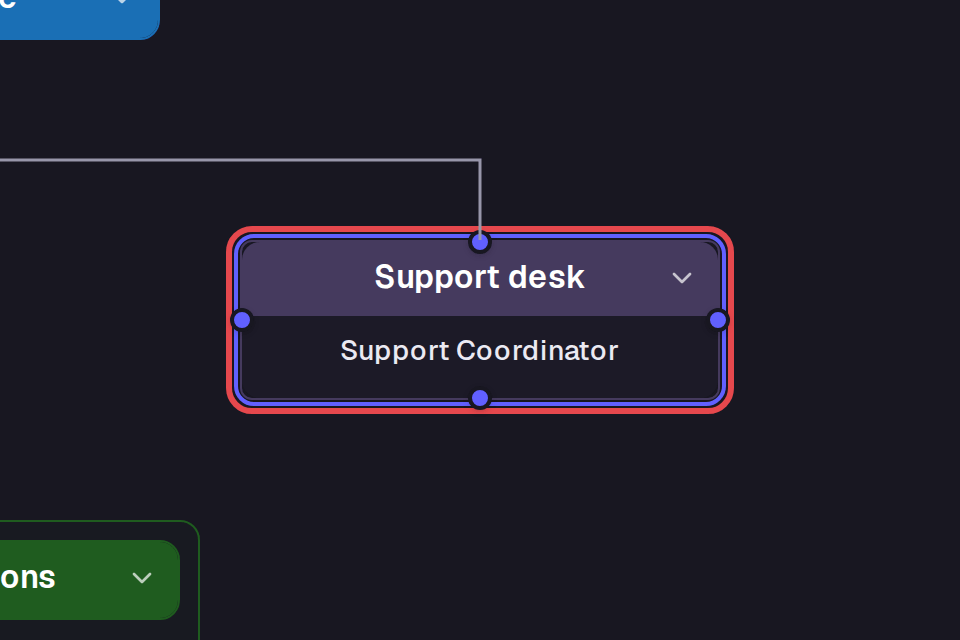
Step 10 — Show the line points
Move the pointer over Demo Office. Small connection points appear on the box edges.
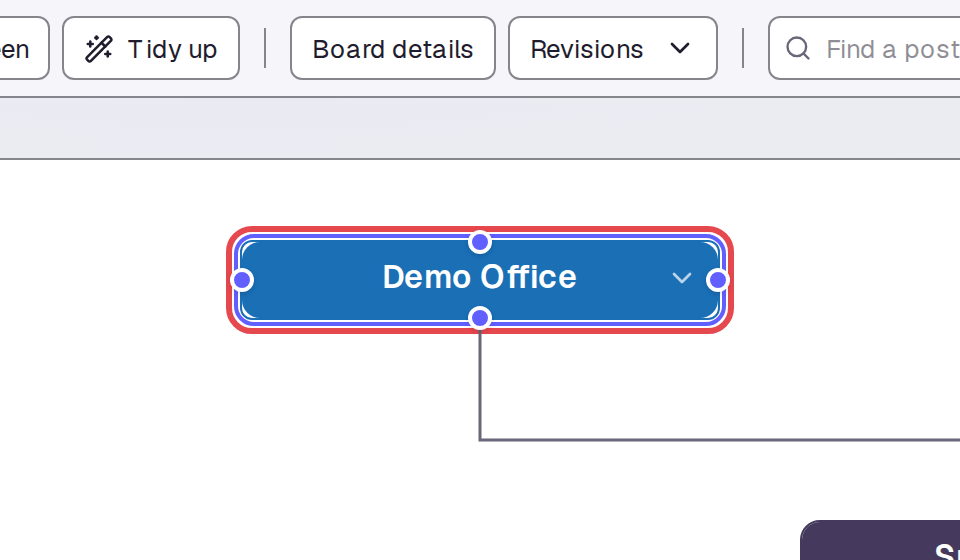
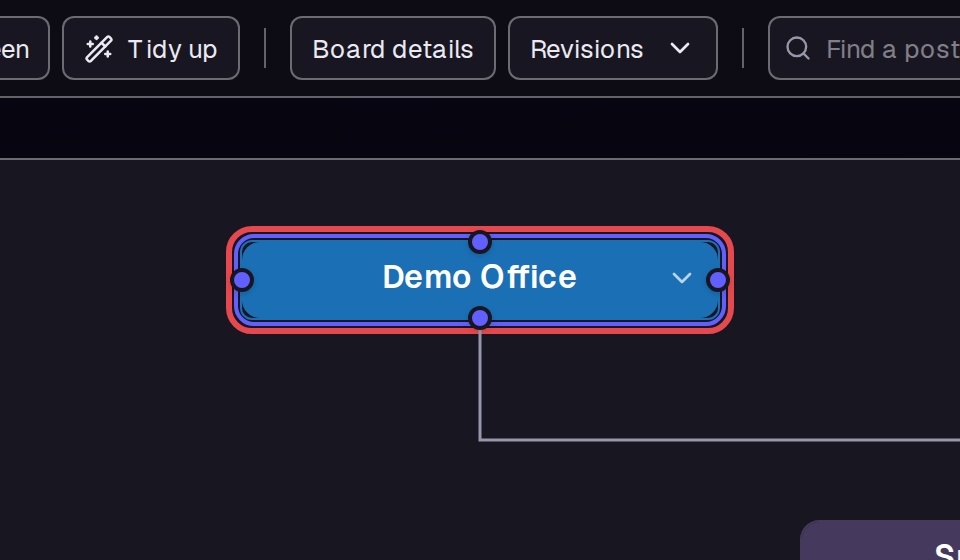
Step 11 — Draw a line to the division
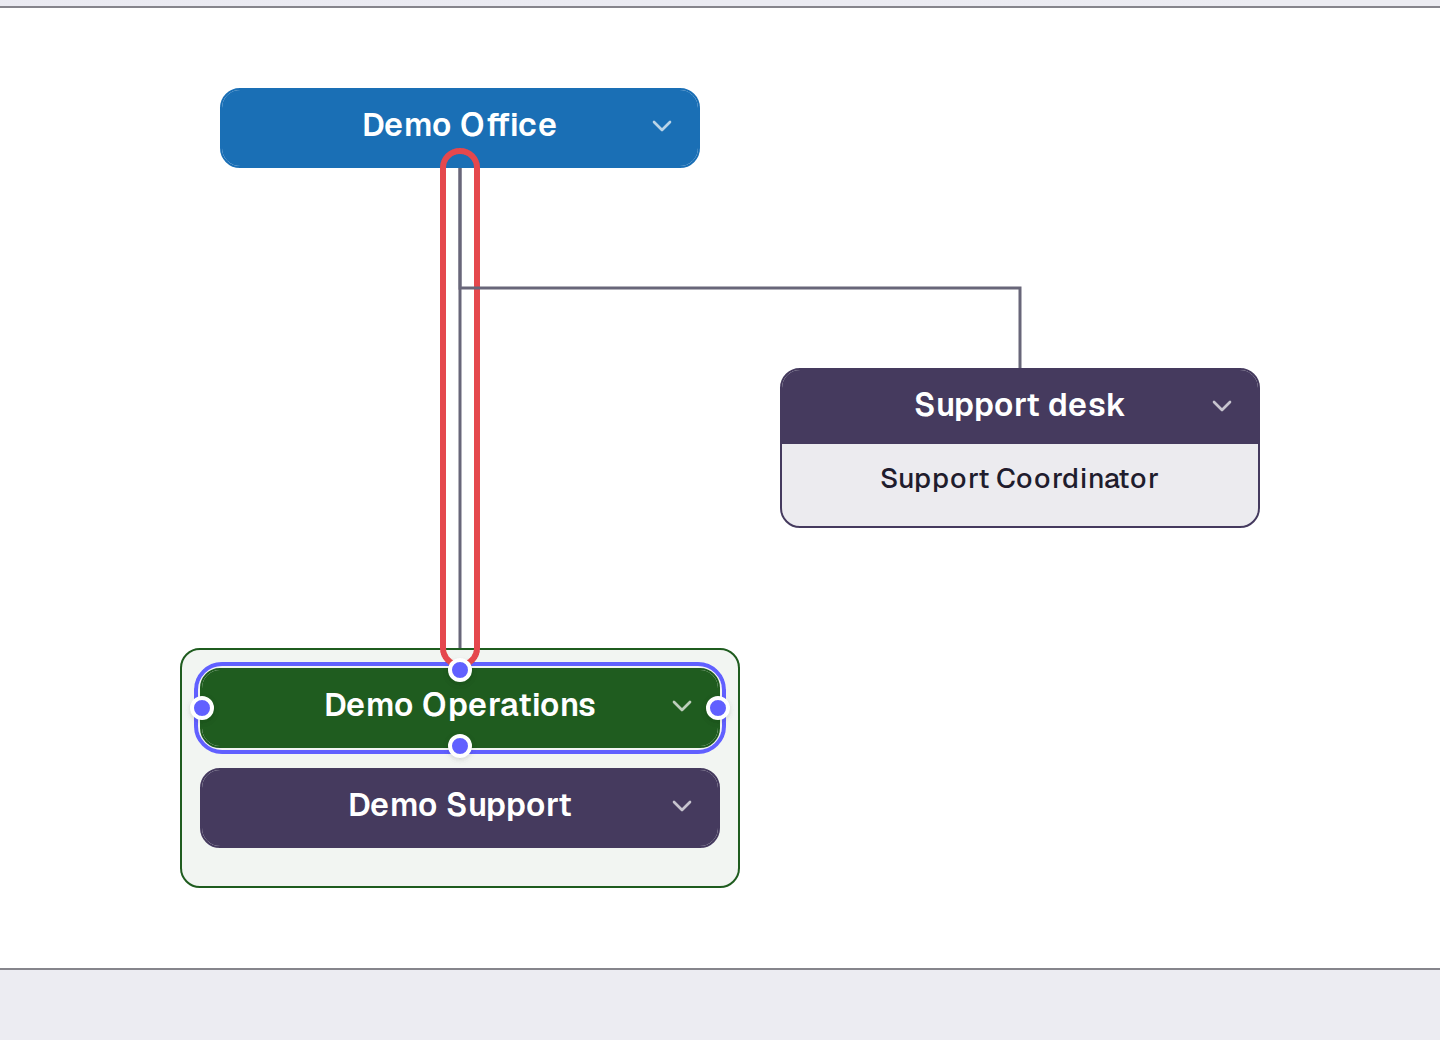
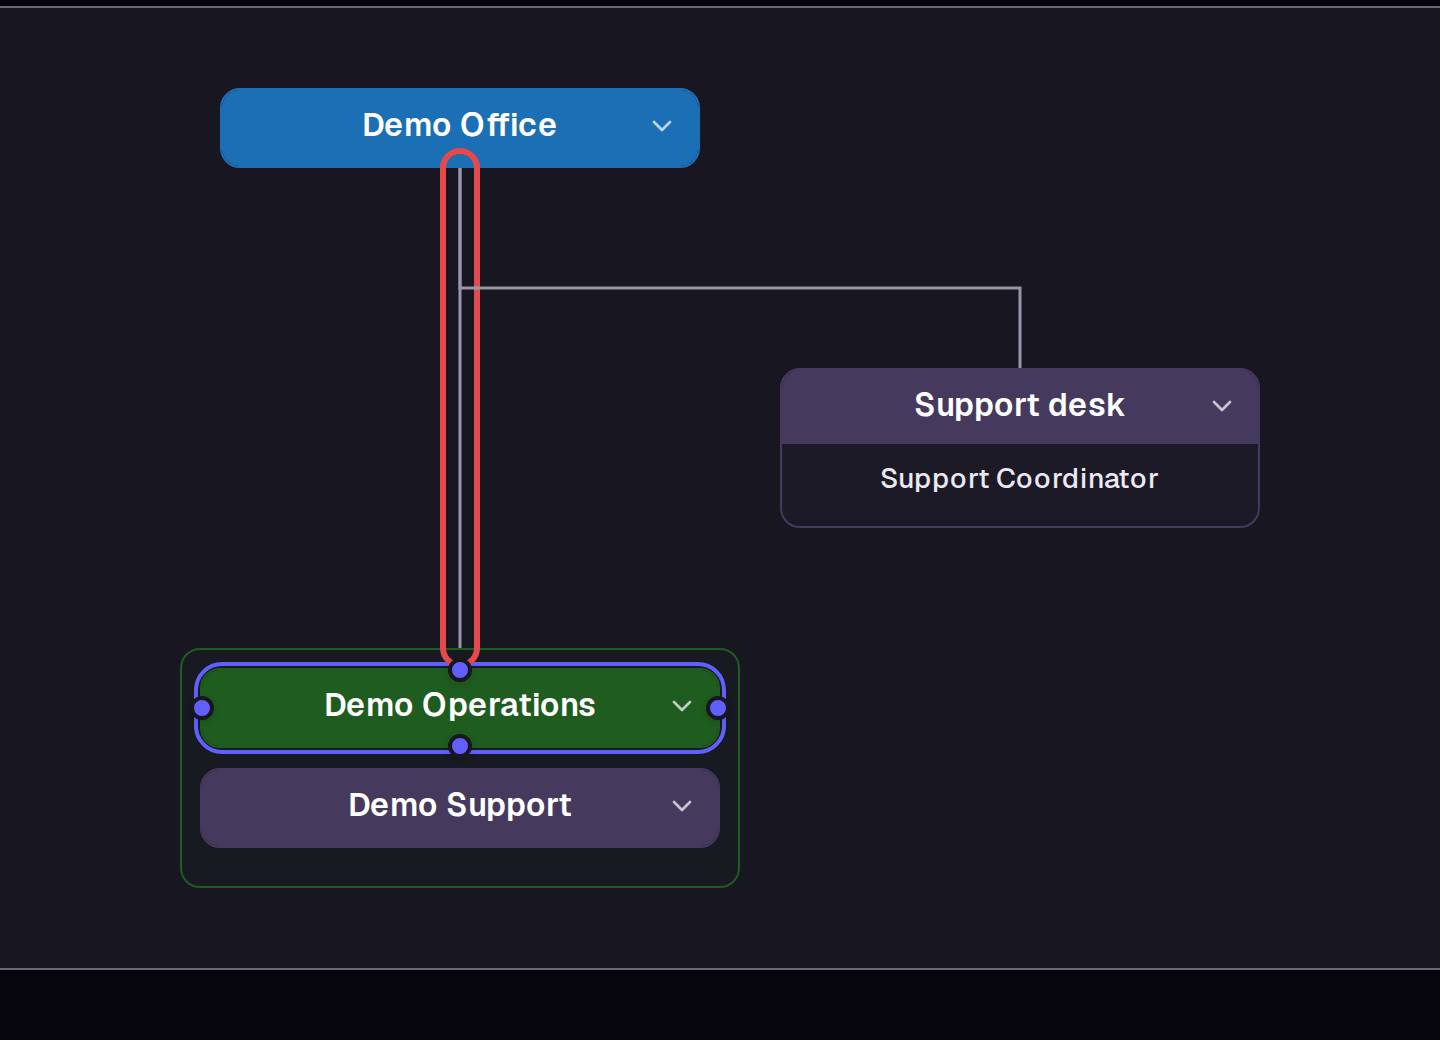
Drag the bottom connection point on Demo Office to the center of Demo Operations. Release the mouse button. A line now joins the two boxes.
Step 12 — Undo the line
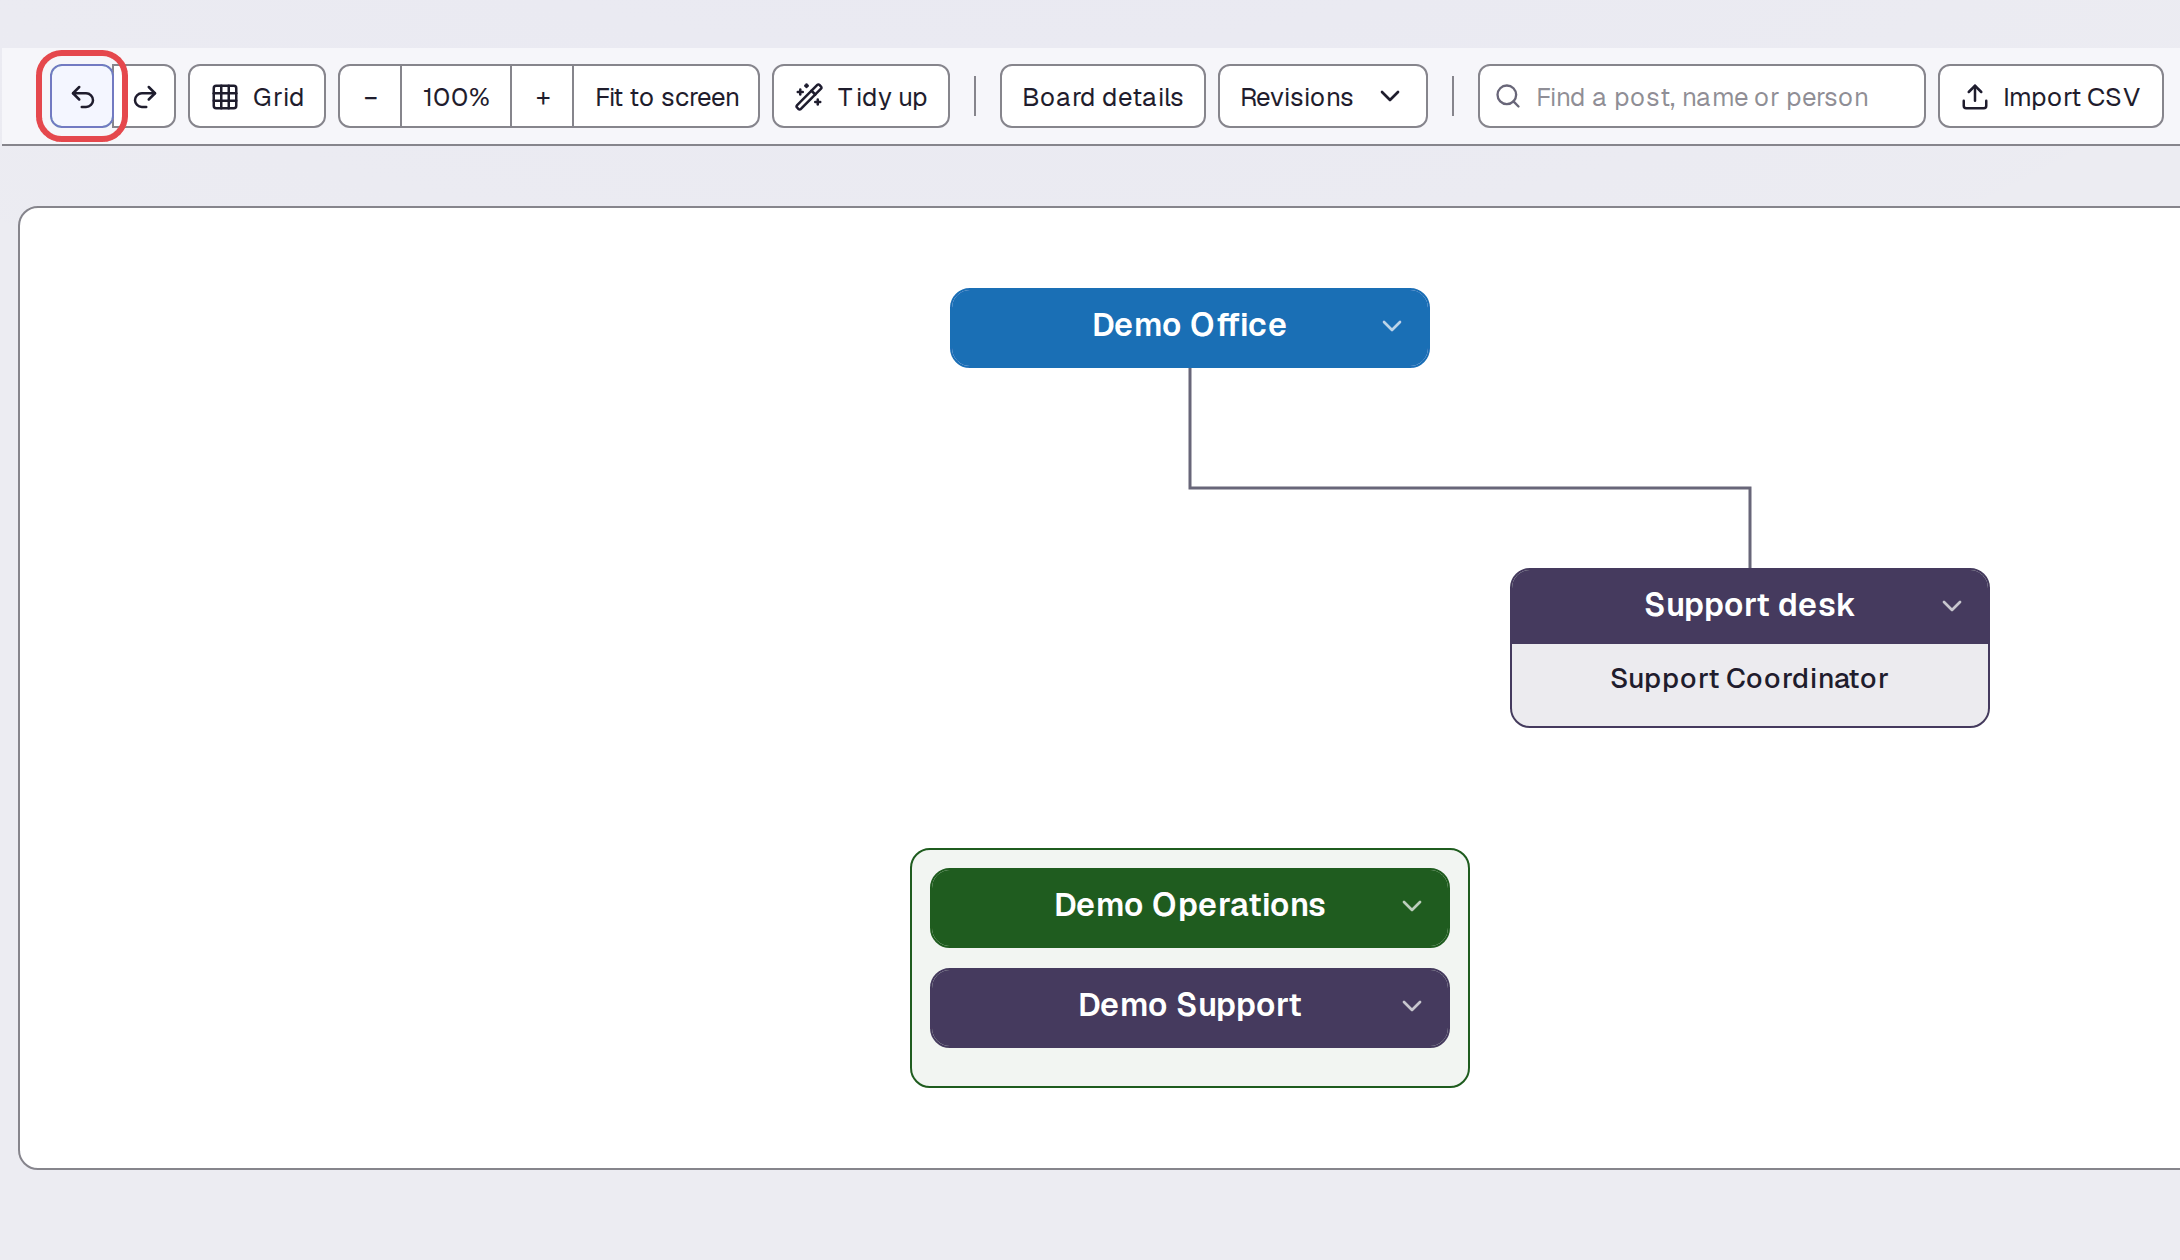
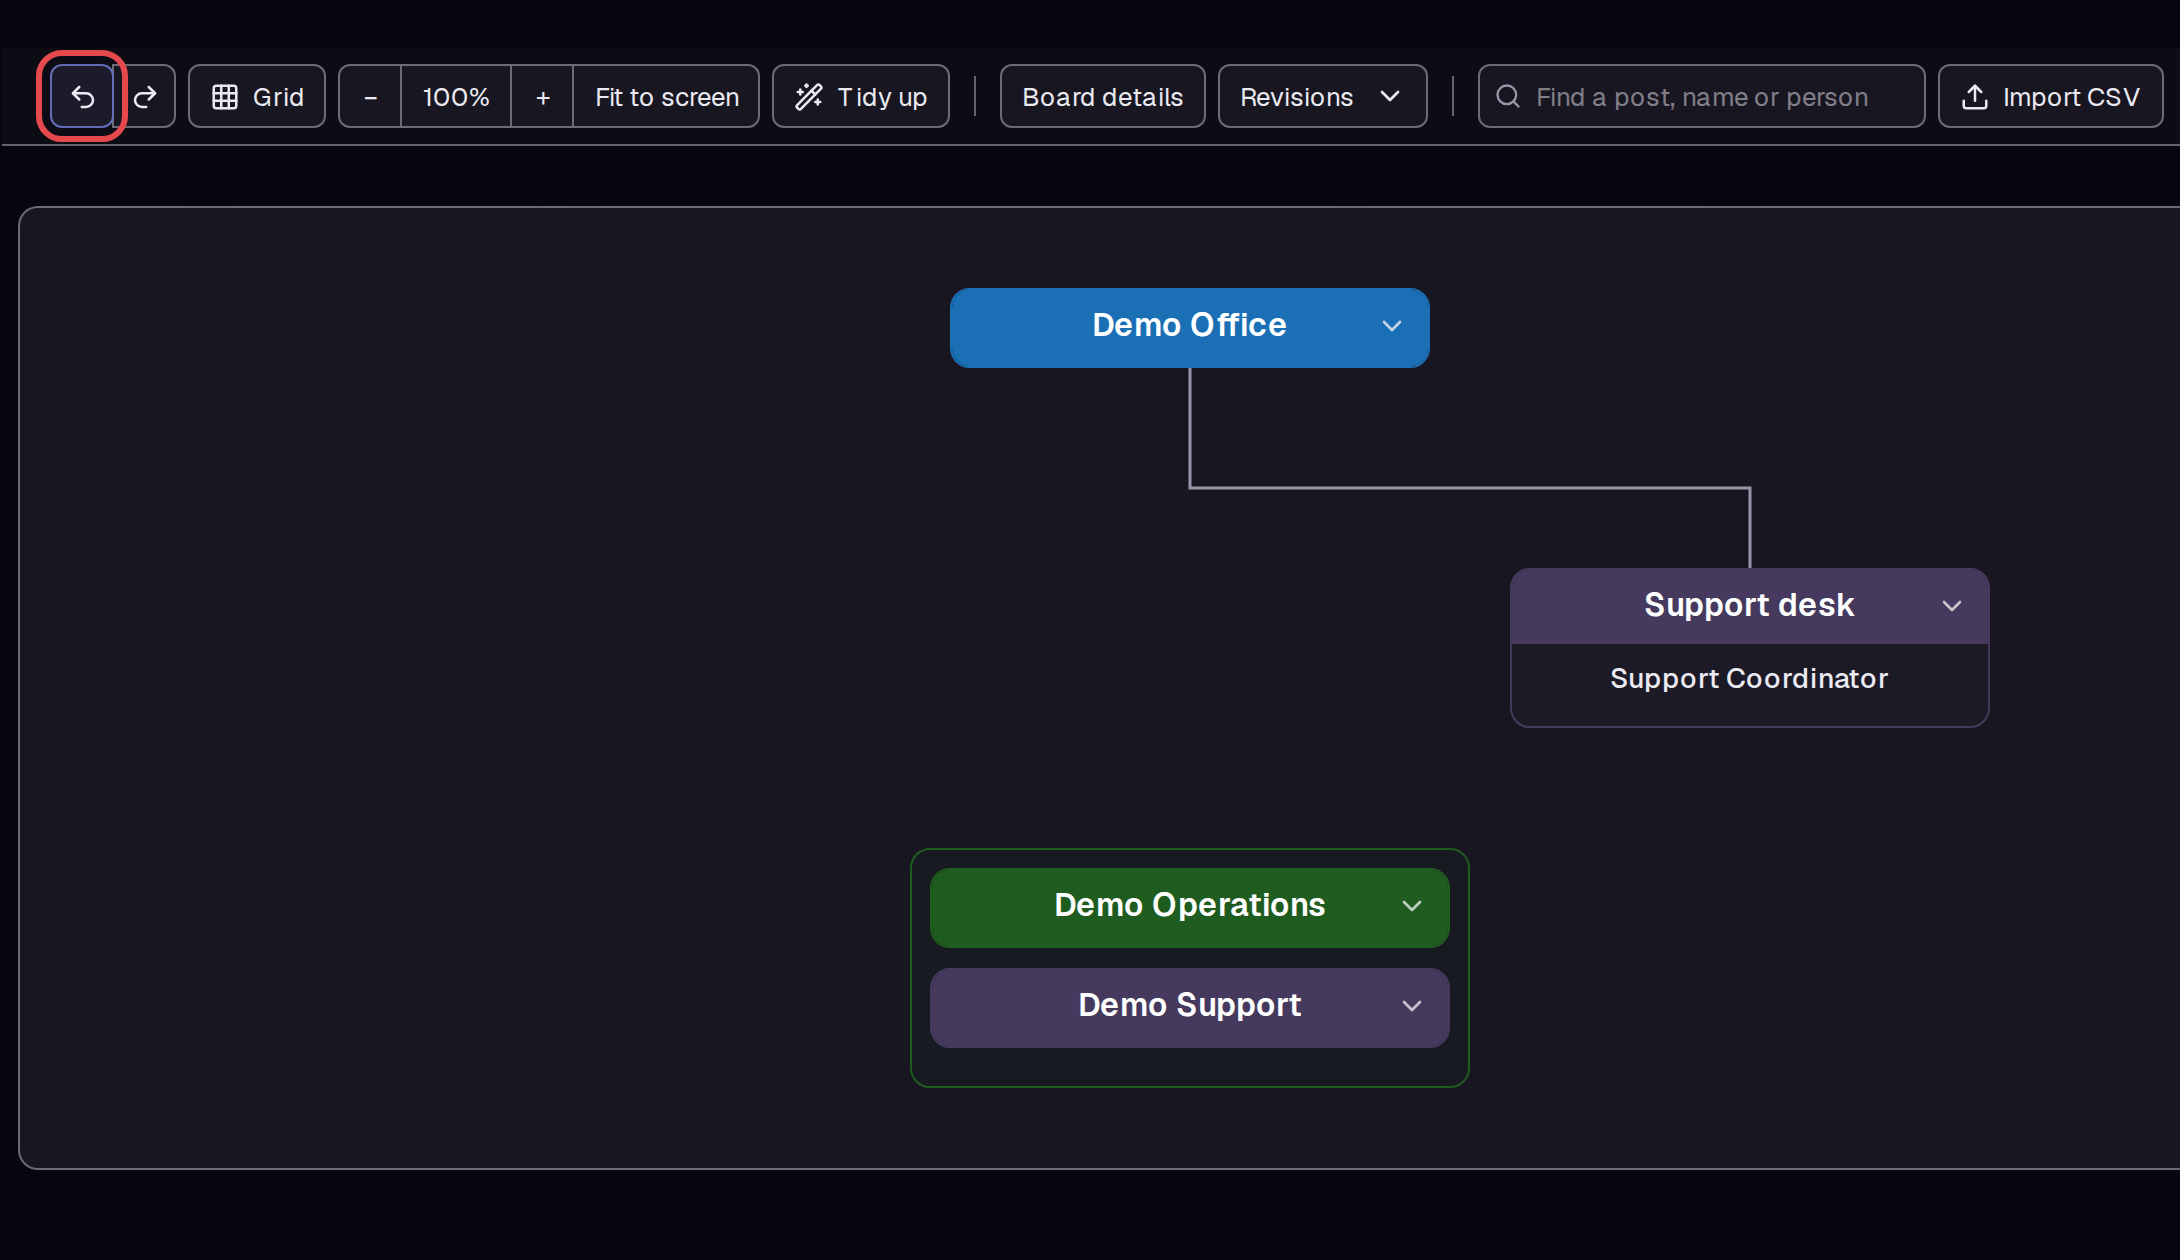
Click Undo, the left curved arrow in the board toolbar. The line you just drew disappears. The division, department, and moved post remain.
Tips
- New divisions and departments start with blank names. Name each one before adding the next box.
- Container name names the box. Position adds the role below that name.
- Undo removed the last drawn line in this example. Redo restored it when tested.
What next
Continue with How to add people and details to a post to add a holder name, duties, a statistic, and an SOP.