How to set up your workspace and check your plan
about 7 minutes
A workspace holds your company's boards, people, and documents. Set it up before you invite your team. This example uses the fictional company Northwind Demo Co.
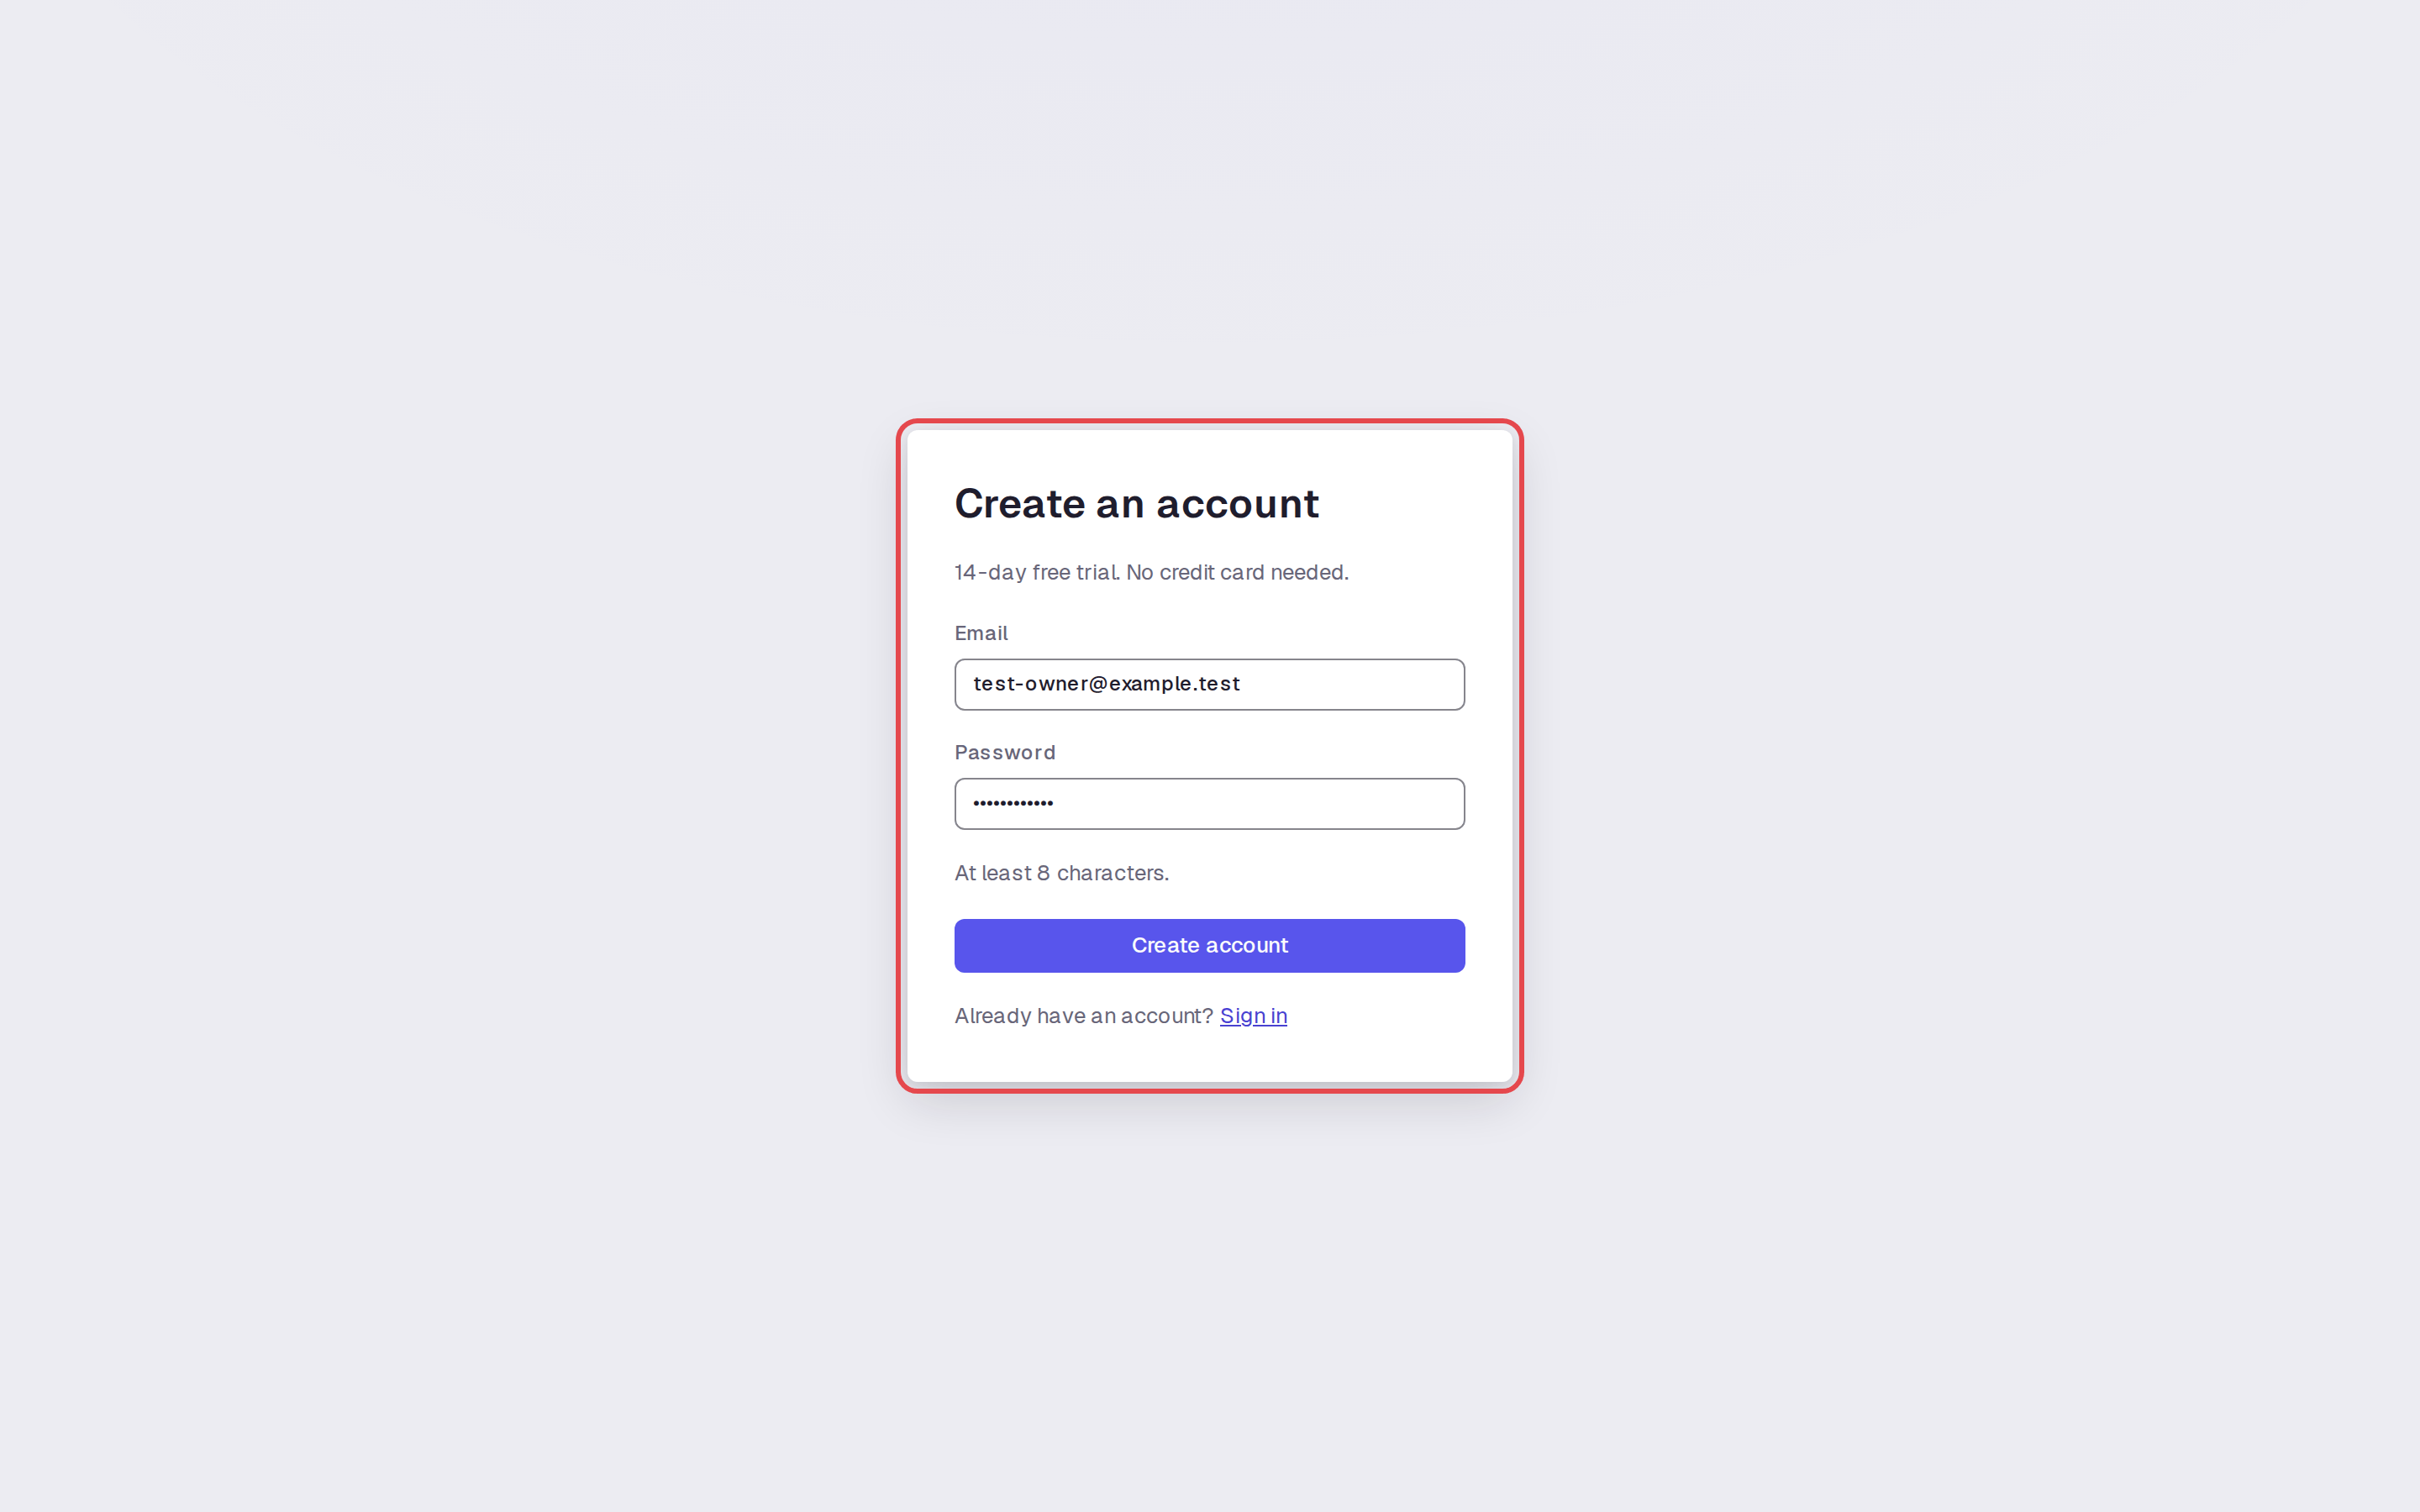
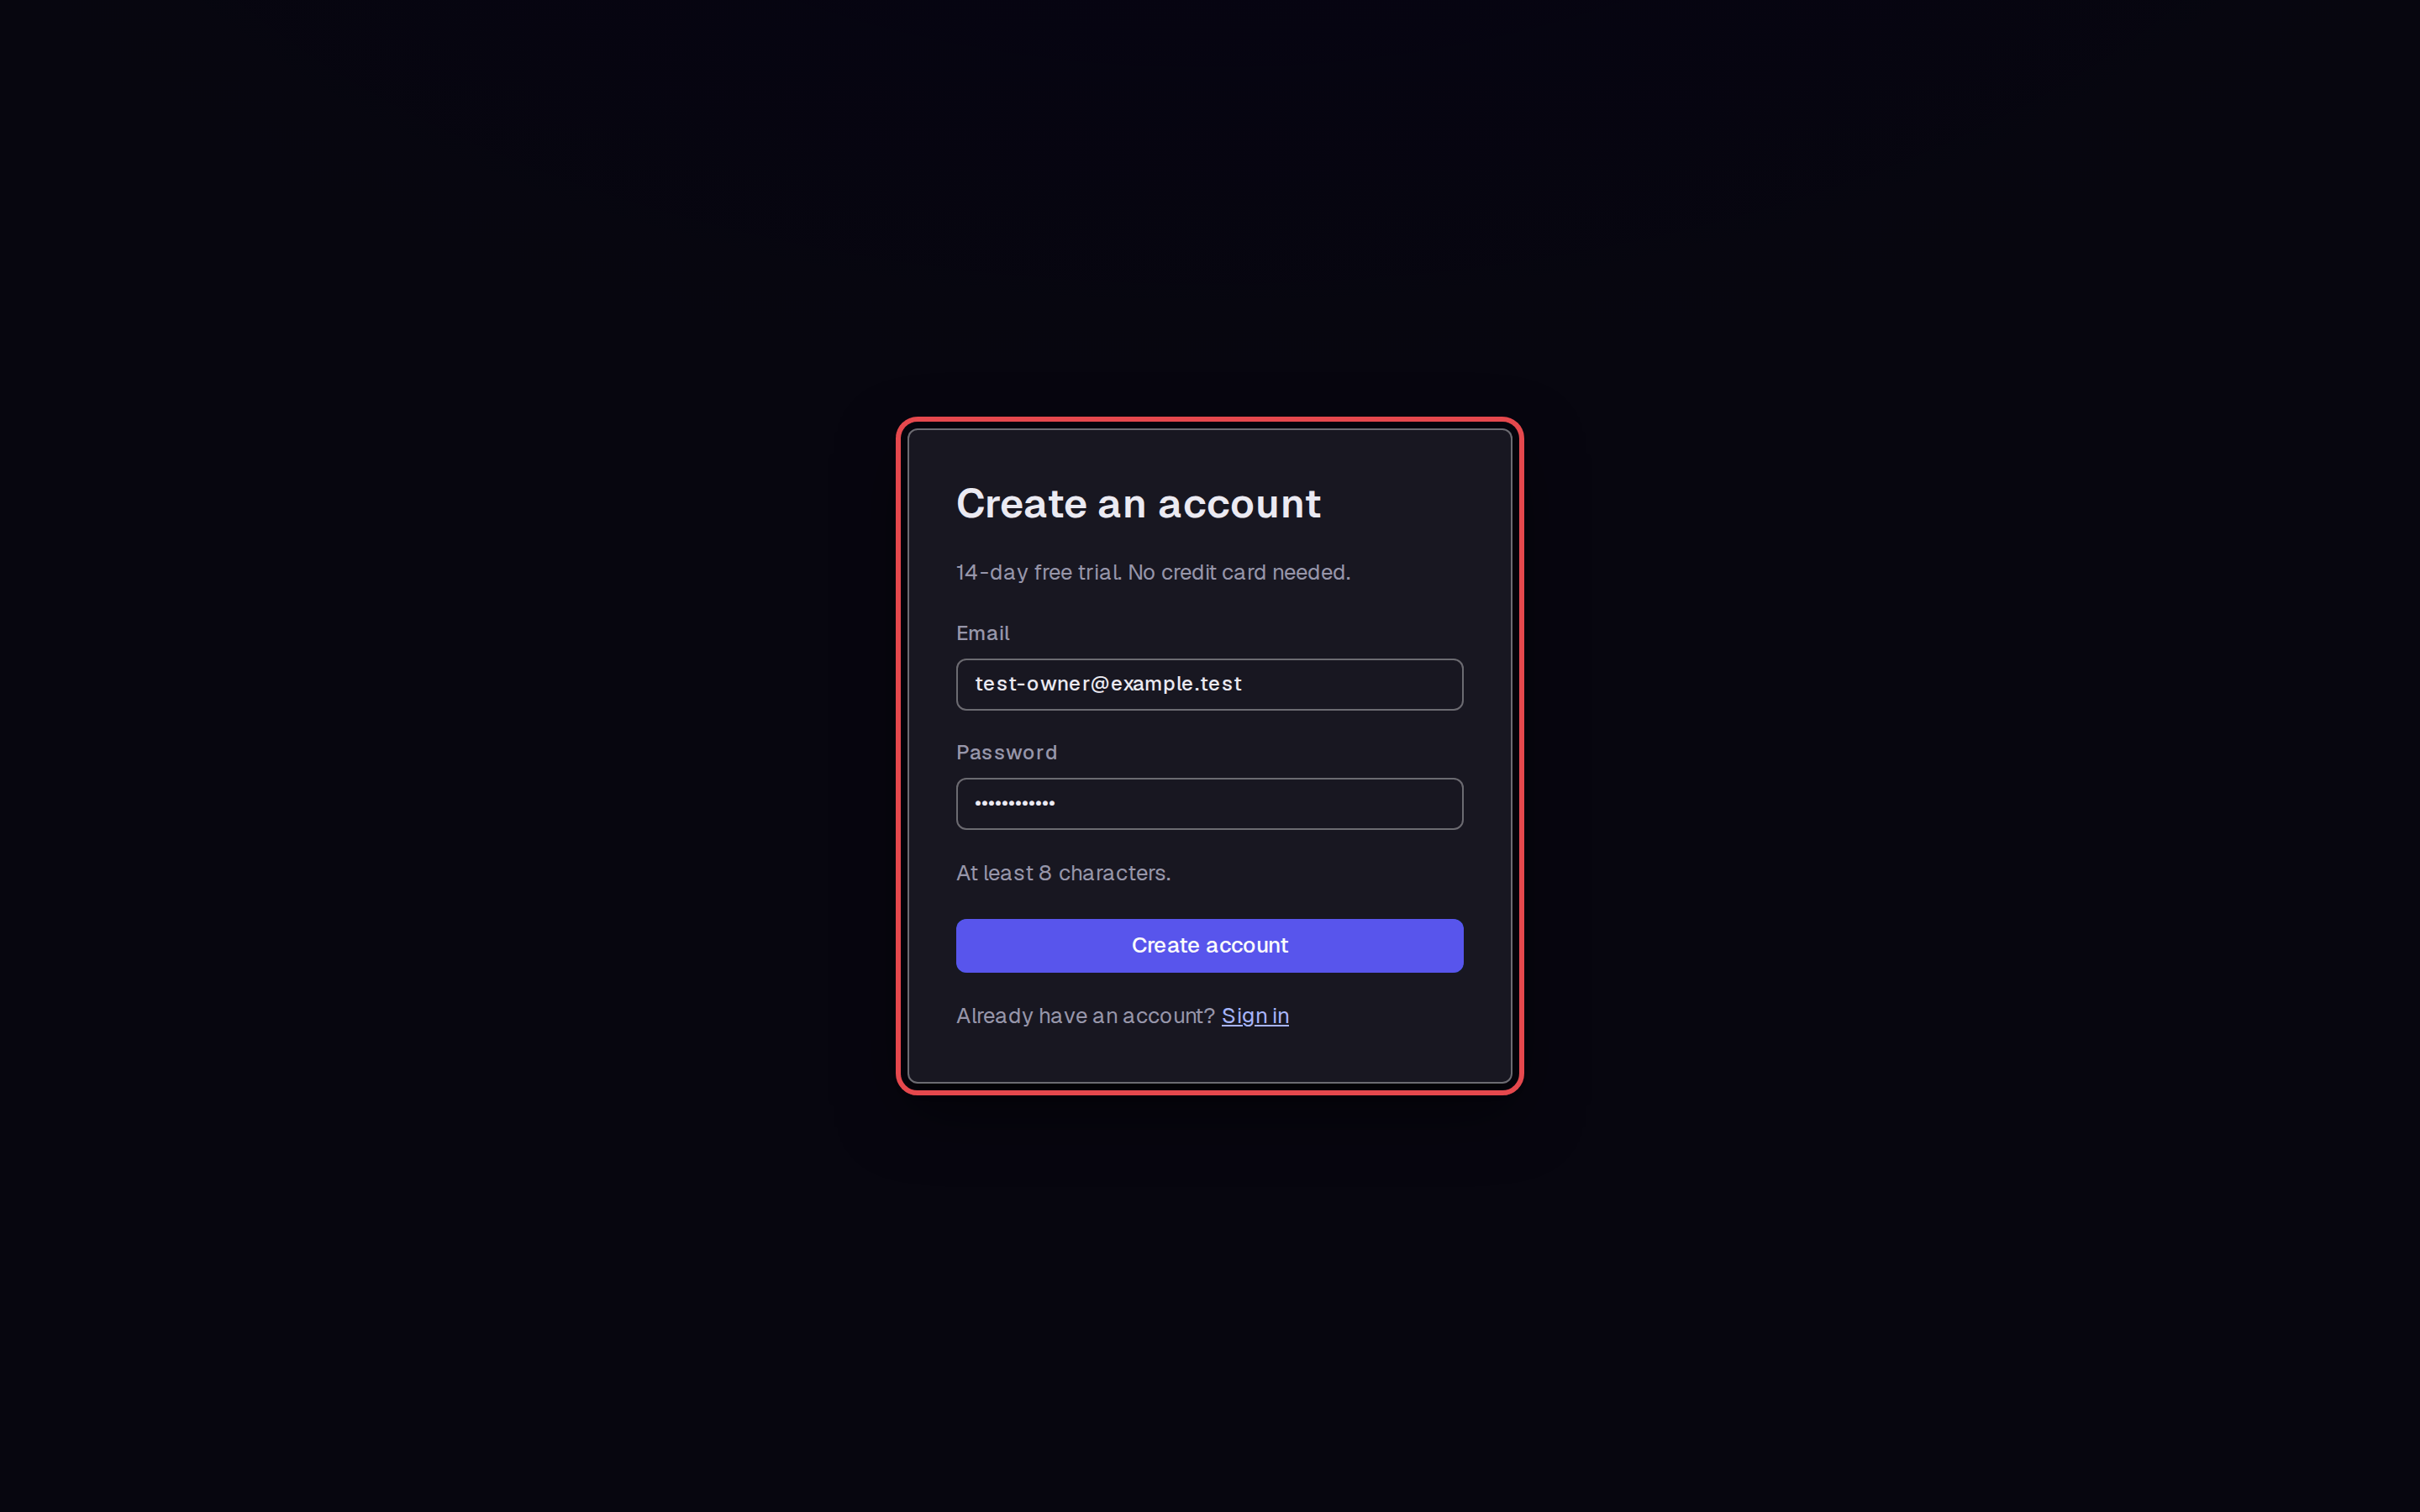
Step 1 — Create your account
Enter your Email and Password, then click Create account. The page requires at least eight characters for the password.
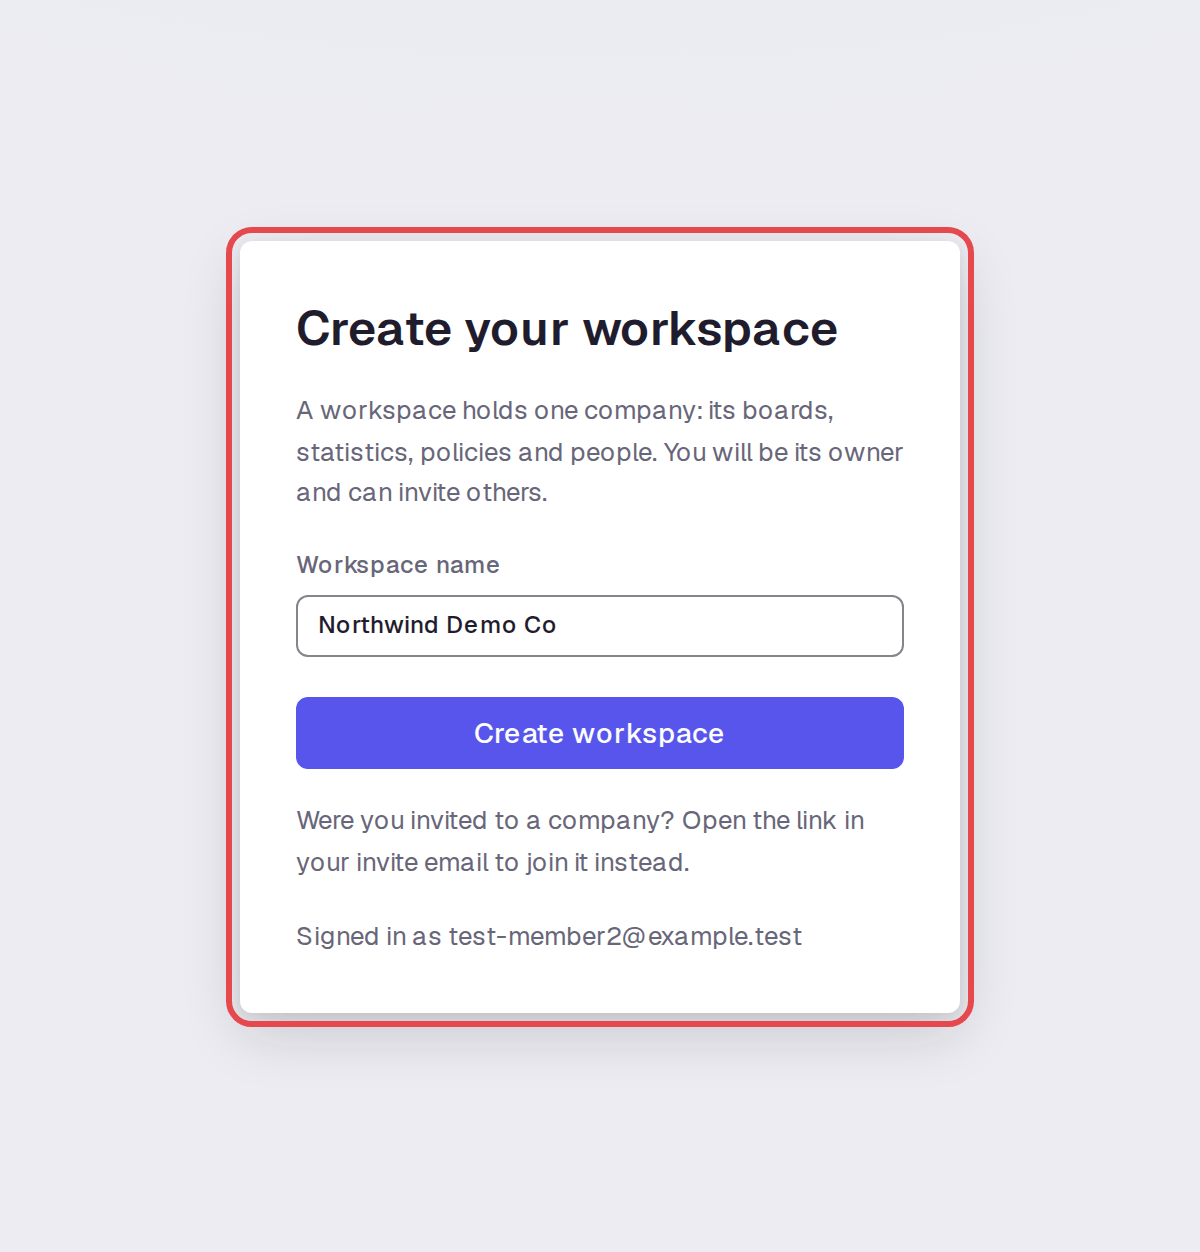
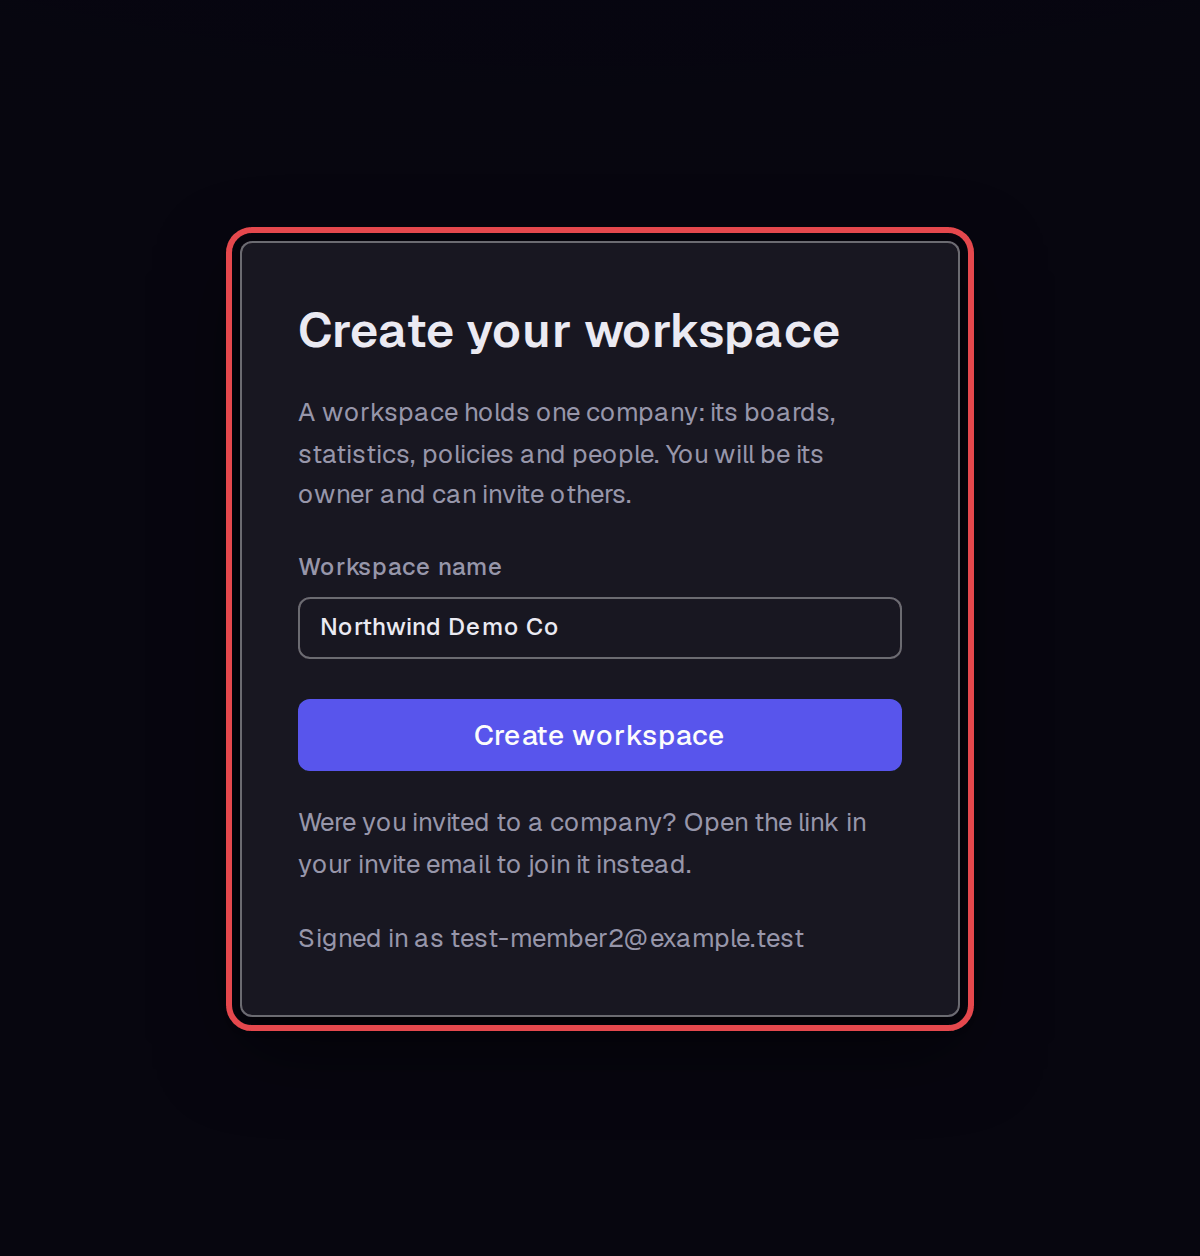
Step 2 — Name your workspace
Enter a Workspace name. We used Northwind Demo Co. Click Create workspace; the new workspace opens with no boards.
Step 3 — Open Settings
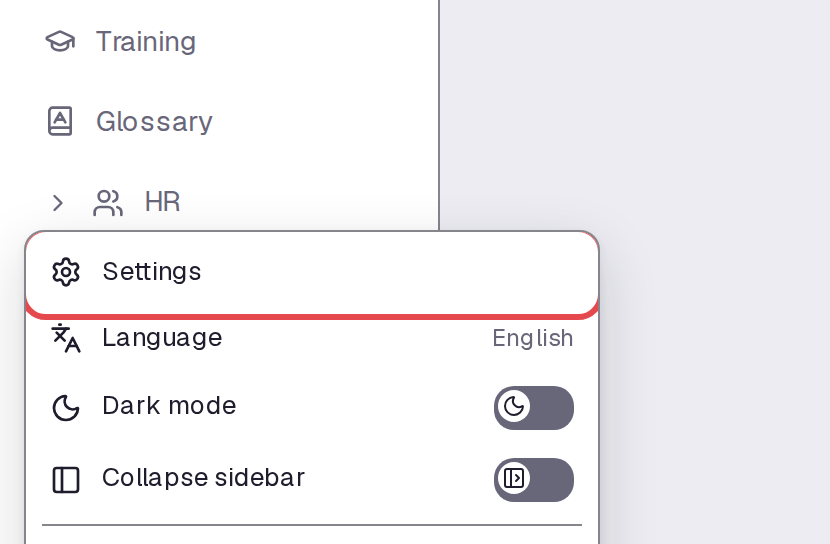
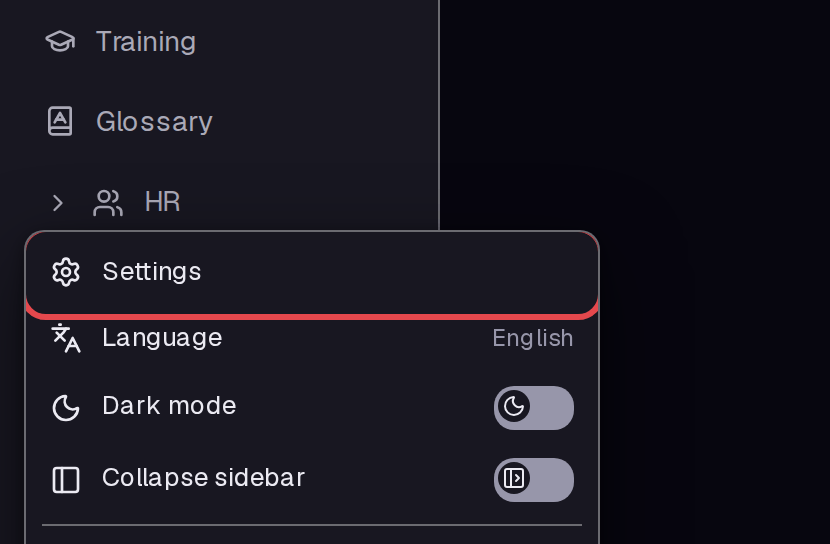
Click your account button at the bottom of the sidebar. Click Settings in the menu. The app opens My profile.
Step 4 — Enter your profile details
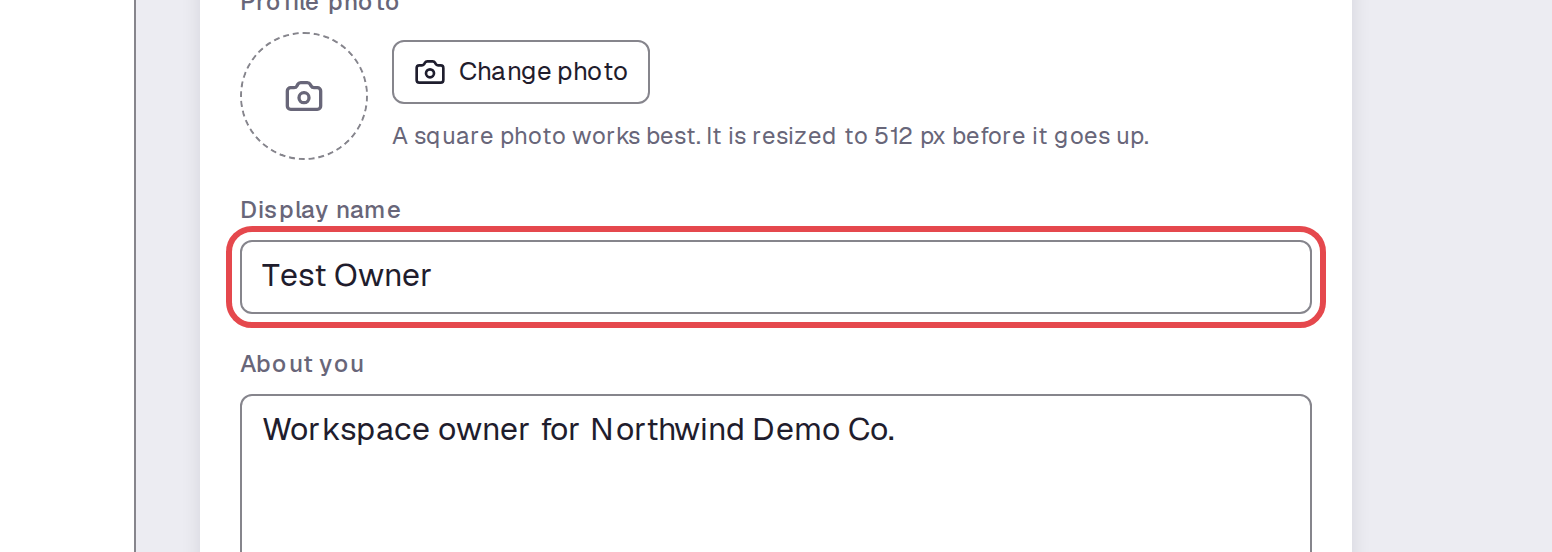
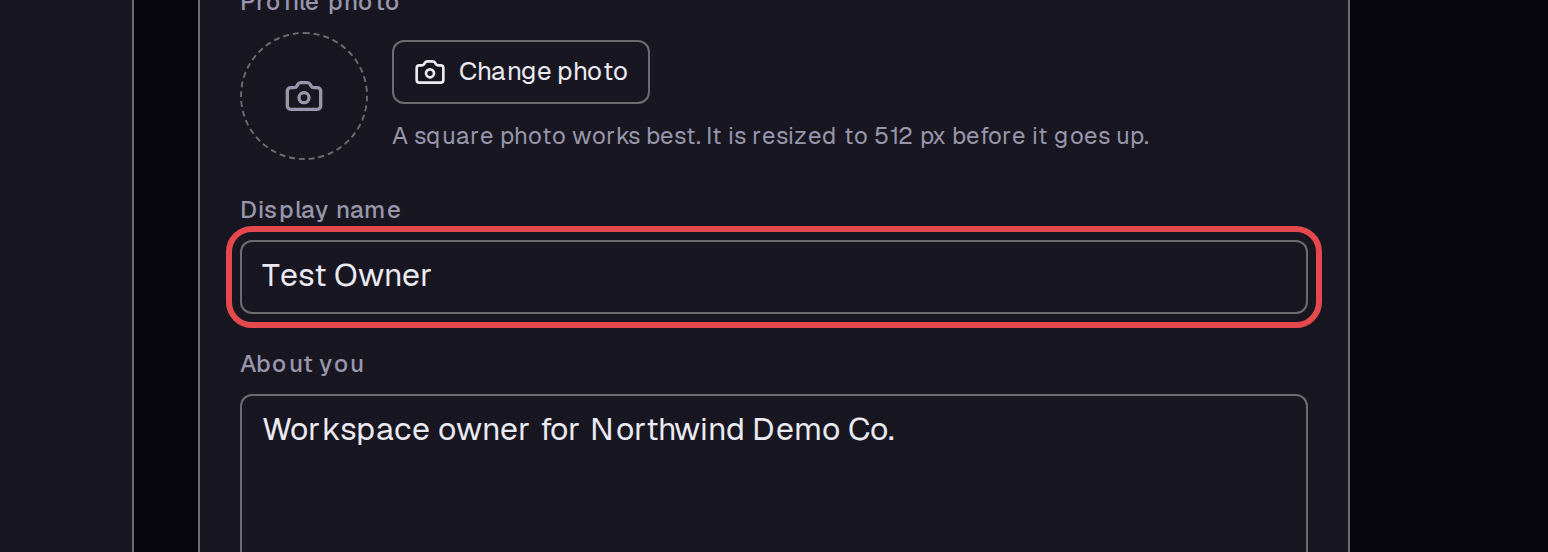
Enter your Display name. Add a short description in About you if needed. We used Test Owner for this example.
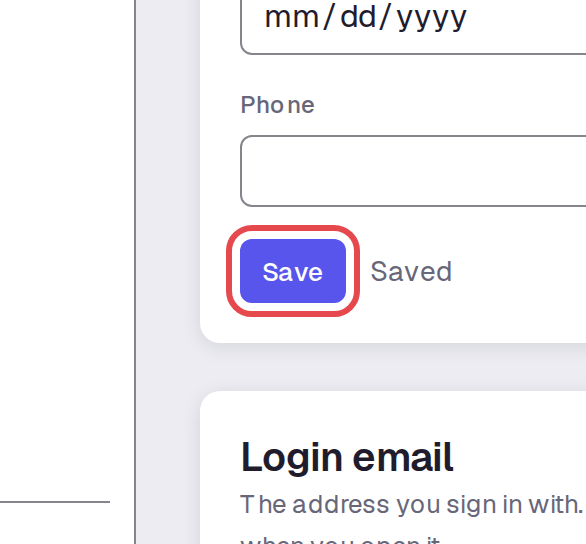
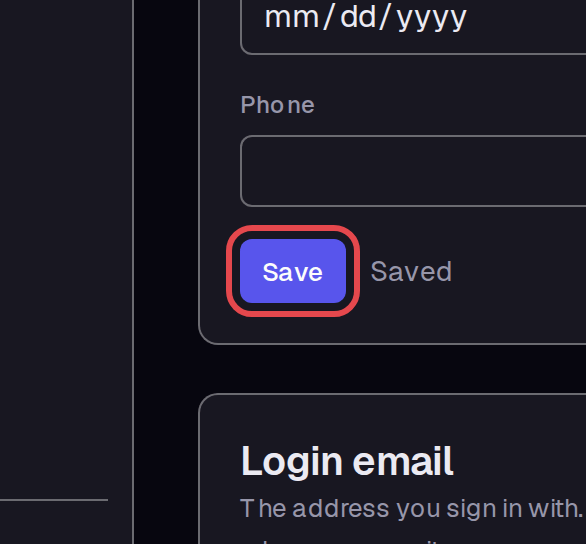
Step 5 — Save your profile
Click Save below the profile fields. Your display name now appears with your account in the sidebar.
Step 6 — Check the workspace name
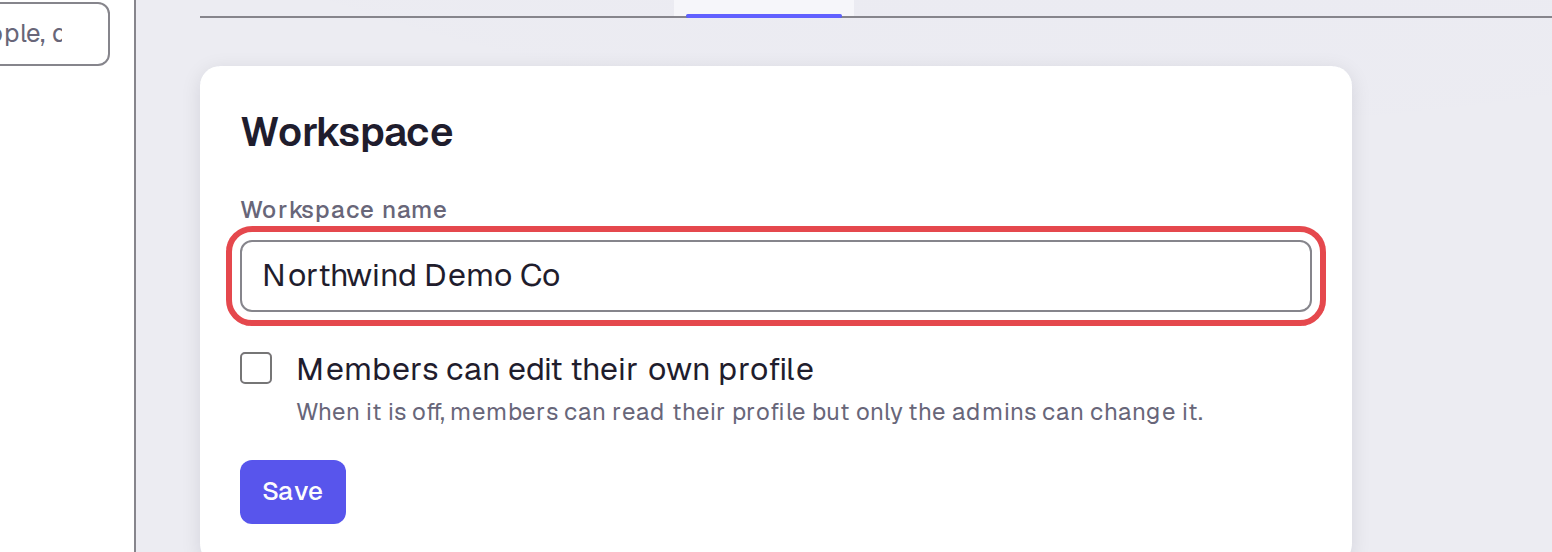
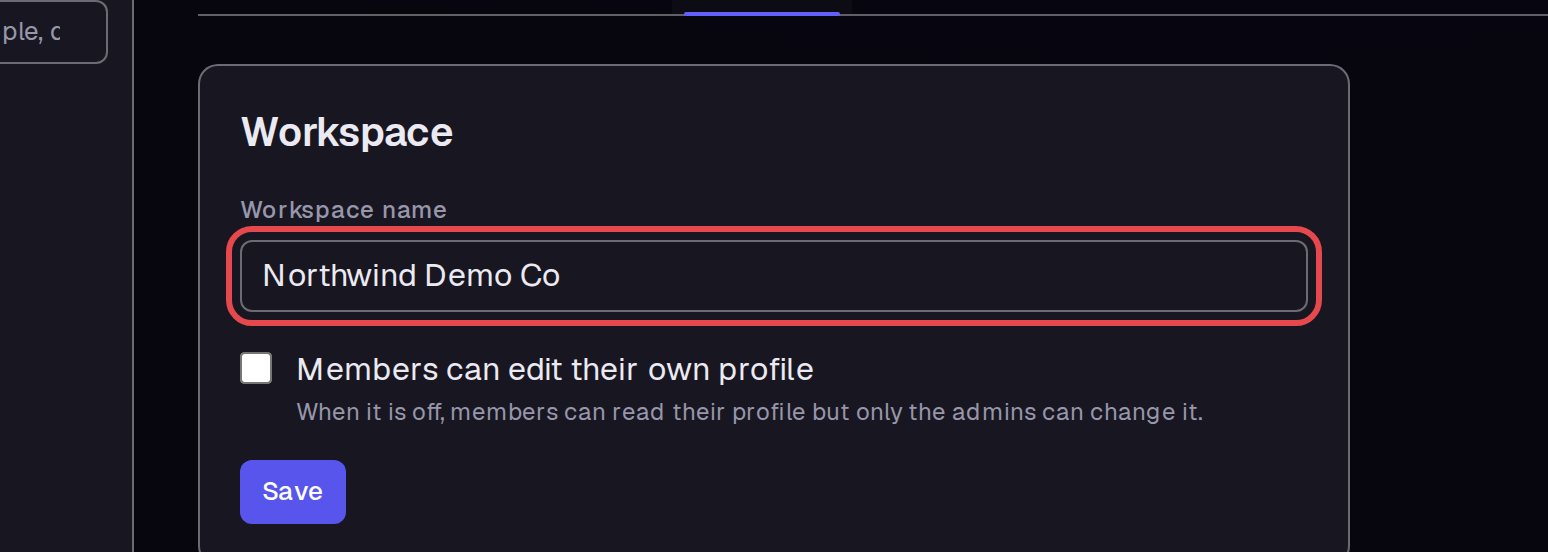
Click Workspace in Settings. Check the Workspace name field. It contains the name entered during setup.
Step 7 — Choose who can edit profiles
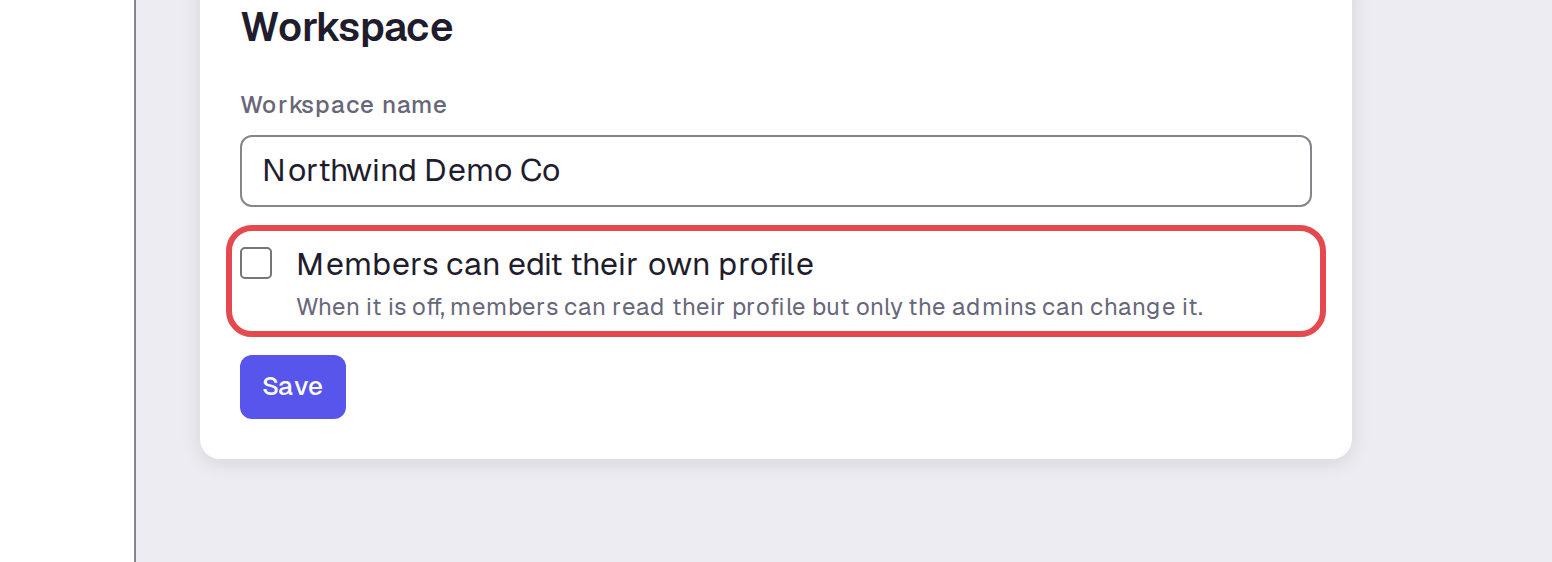
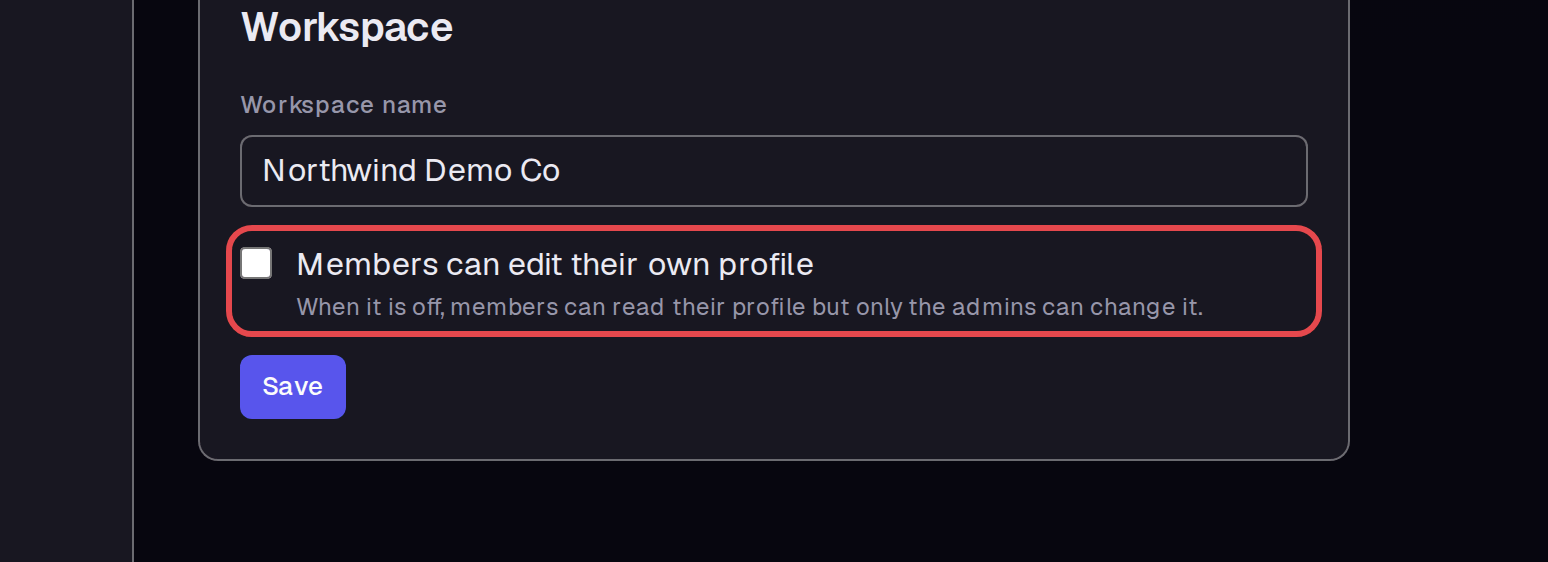
Clear Members can edit their own profile if admins must manage profile details. We cleared it in this example. The page says members can still read their profiles.
Step 8 — Save workspace settings
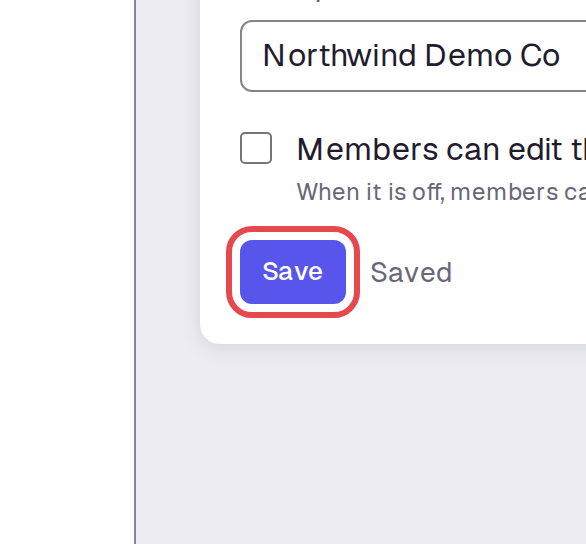
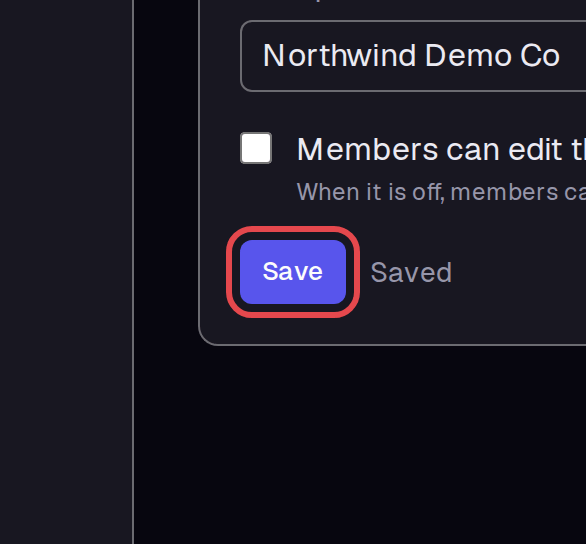
Click Save. We reloaded this page and checked that the permission stayed off.
Step 9 — Check the current plan
Click Billing in Settings. Read Current plan.
New workspaces need an active subscription when payments open. Until then, you can use your workspace for free. To try the app before you buy, try the free sandbox.
Your first payment comes with a 7-day full refund. See the refund policy for how to ask by email.
Step 10 — View monthly prices
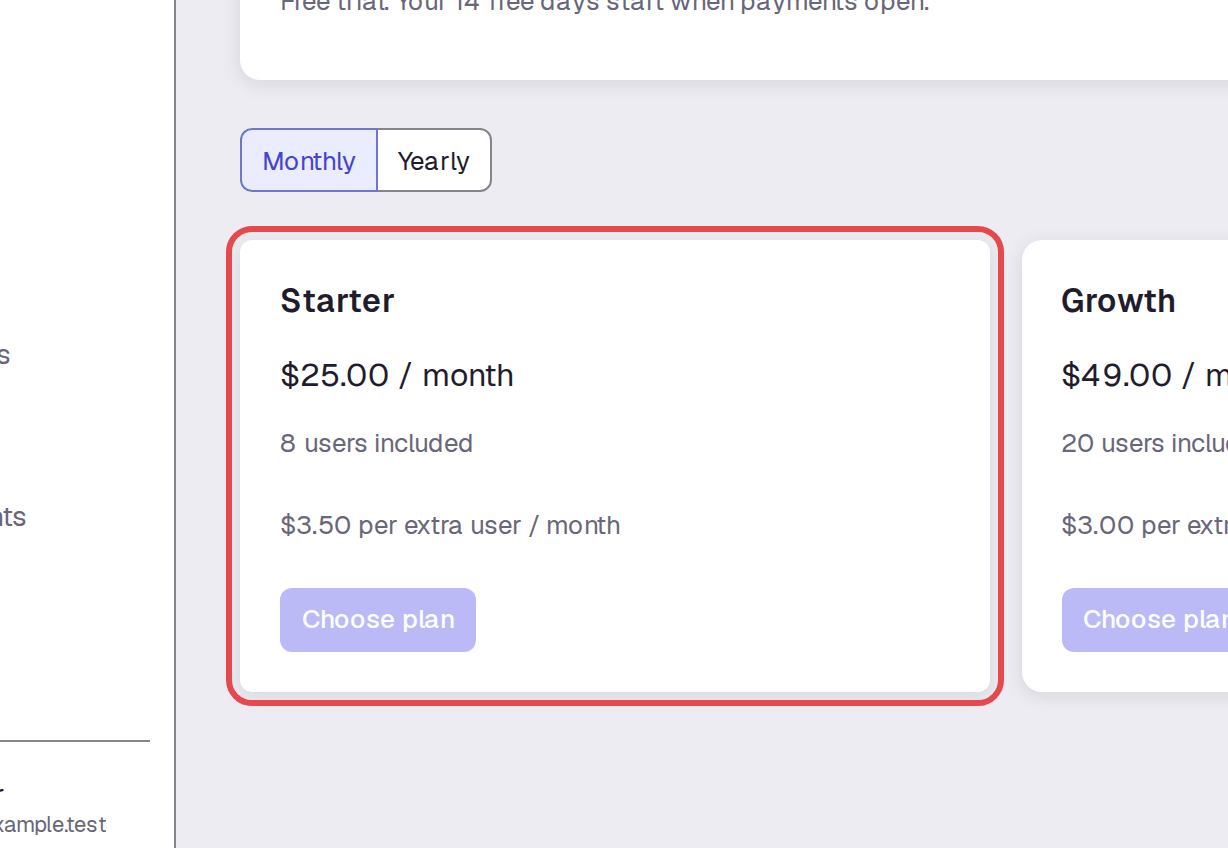
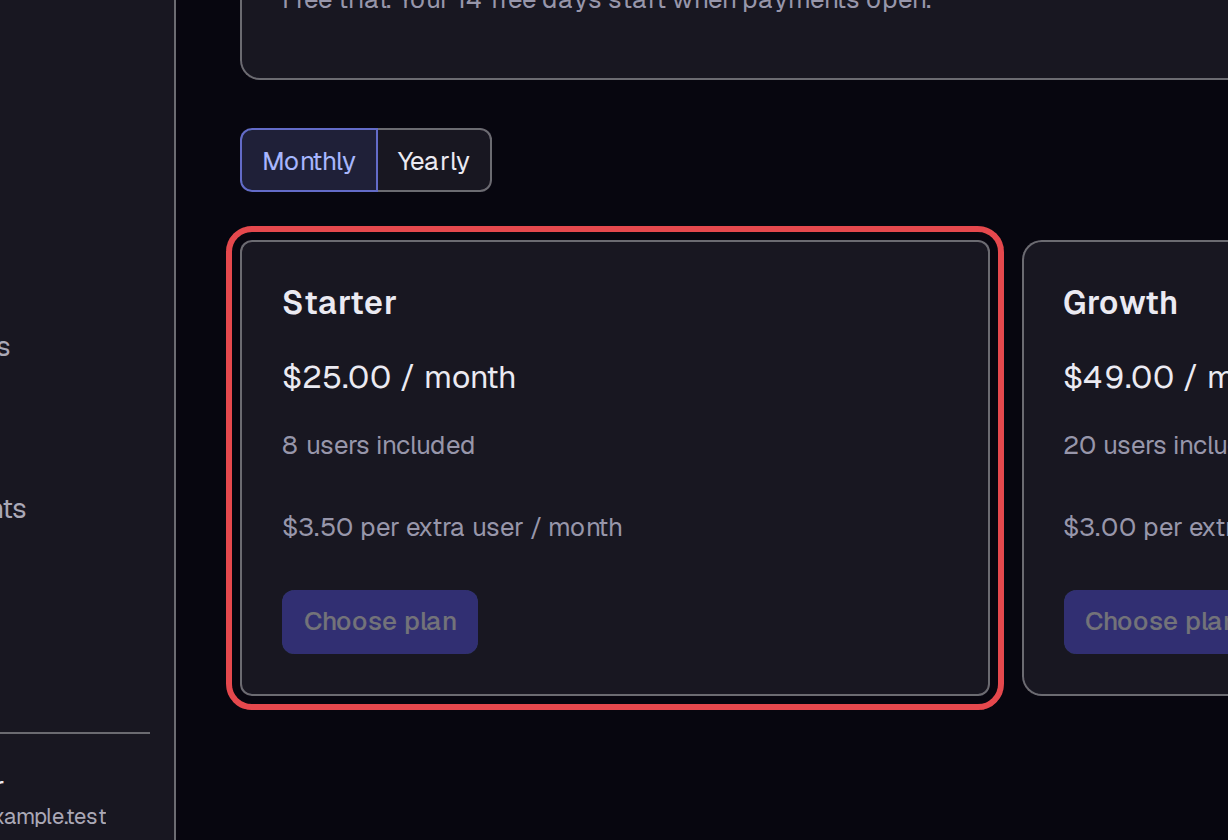
Click Monthly. Review each plan's price, included users, and price per extra user.
Step 11 — View yearly prices
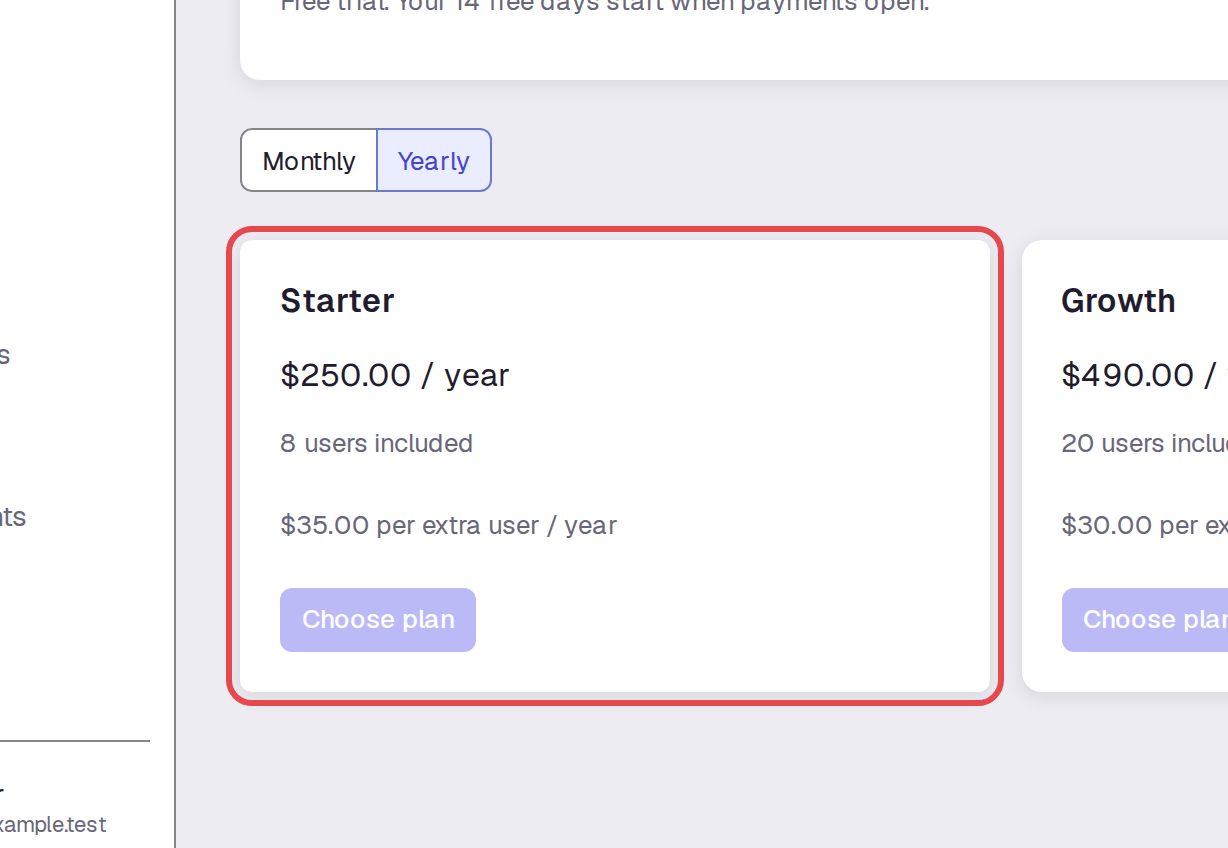
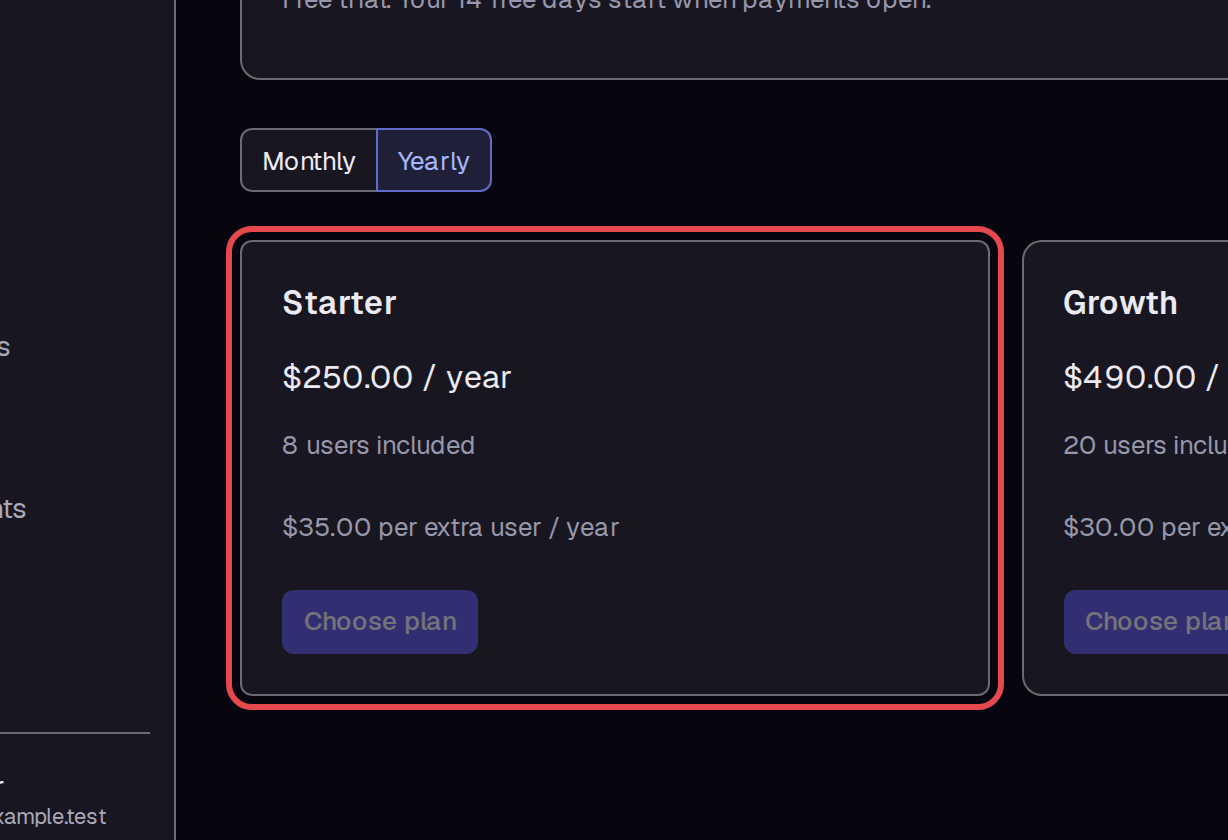
Click Yearly to see the yearly prices. This changes the prices shown on the page. It does not activate a paid plan.
Tips
- Your display name is set in My profile, after account creation.
- Turning off Members can edit their own profile shows members a message that profile editing is locked.