How to make a checklist and manage tasks
about 10 minutes
A checklist gives your team a short list of actions to follow. Use tasks to track work that needs an owner, and use a project to group related tasks.
Step 1 — Open checklists
Click Checklists in the left menu. The page shows a new checklist form and the existing checklists.
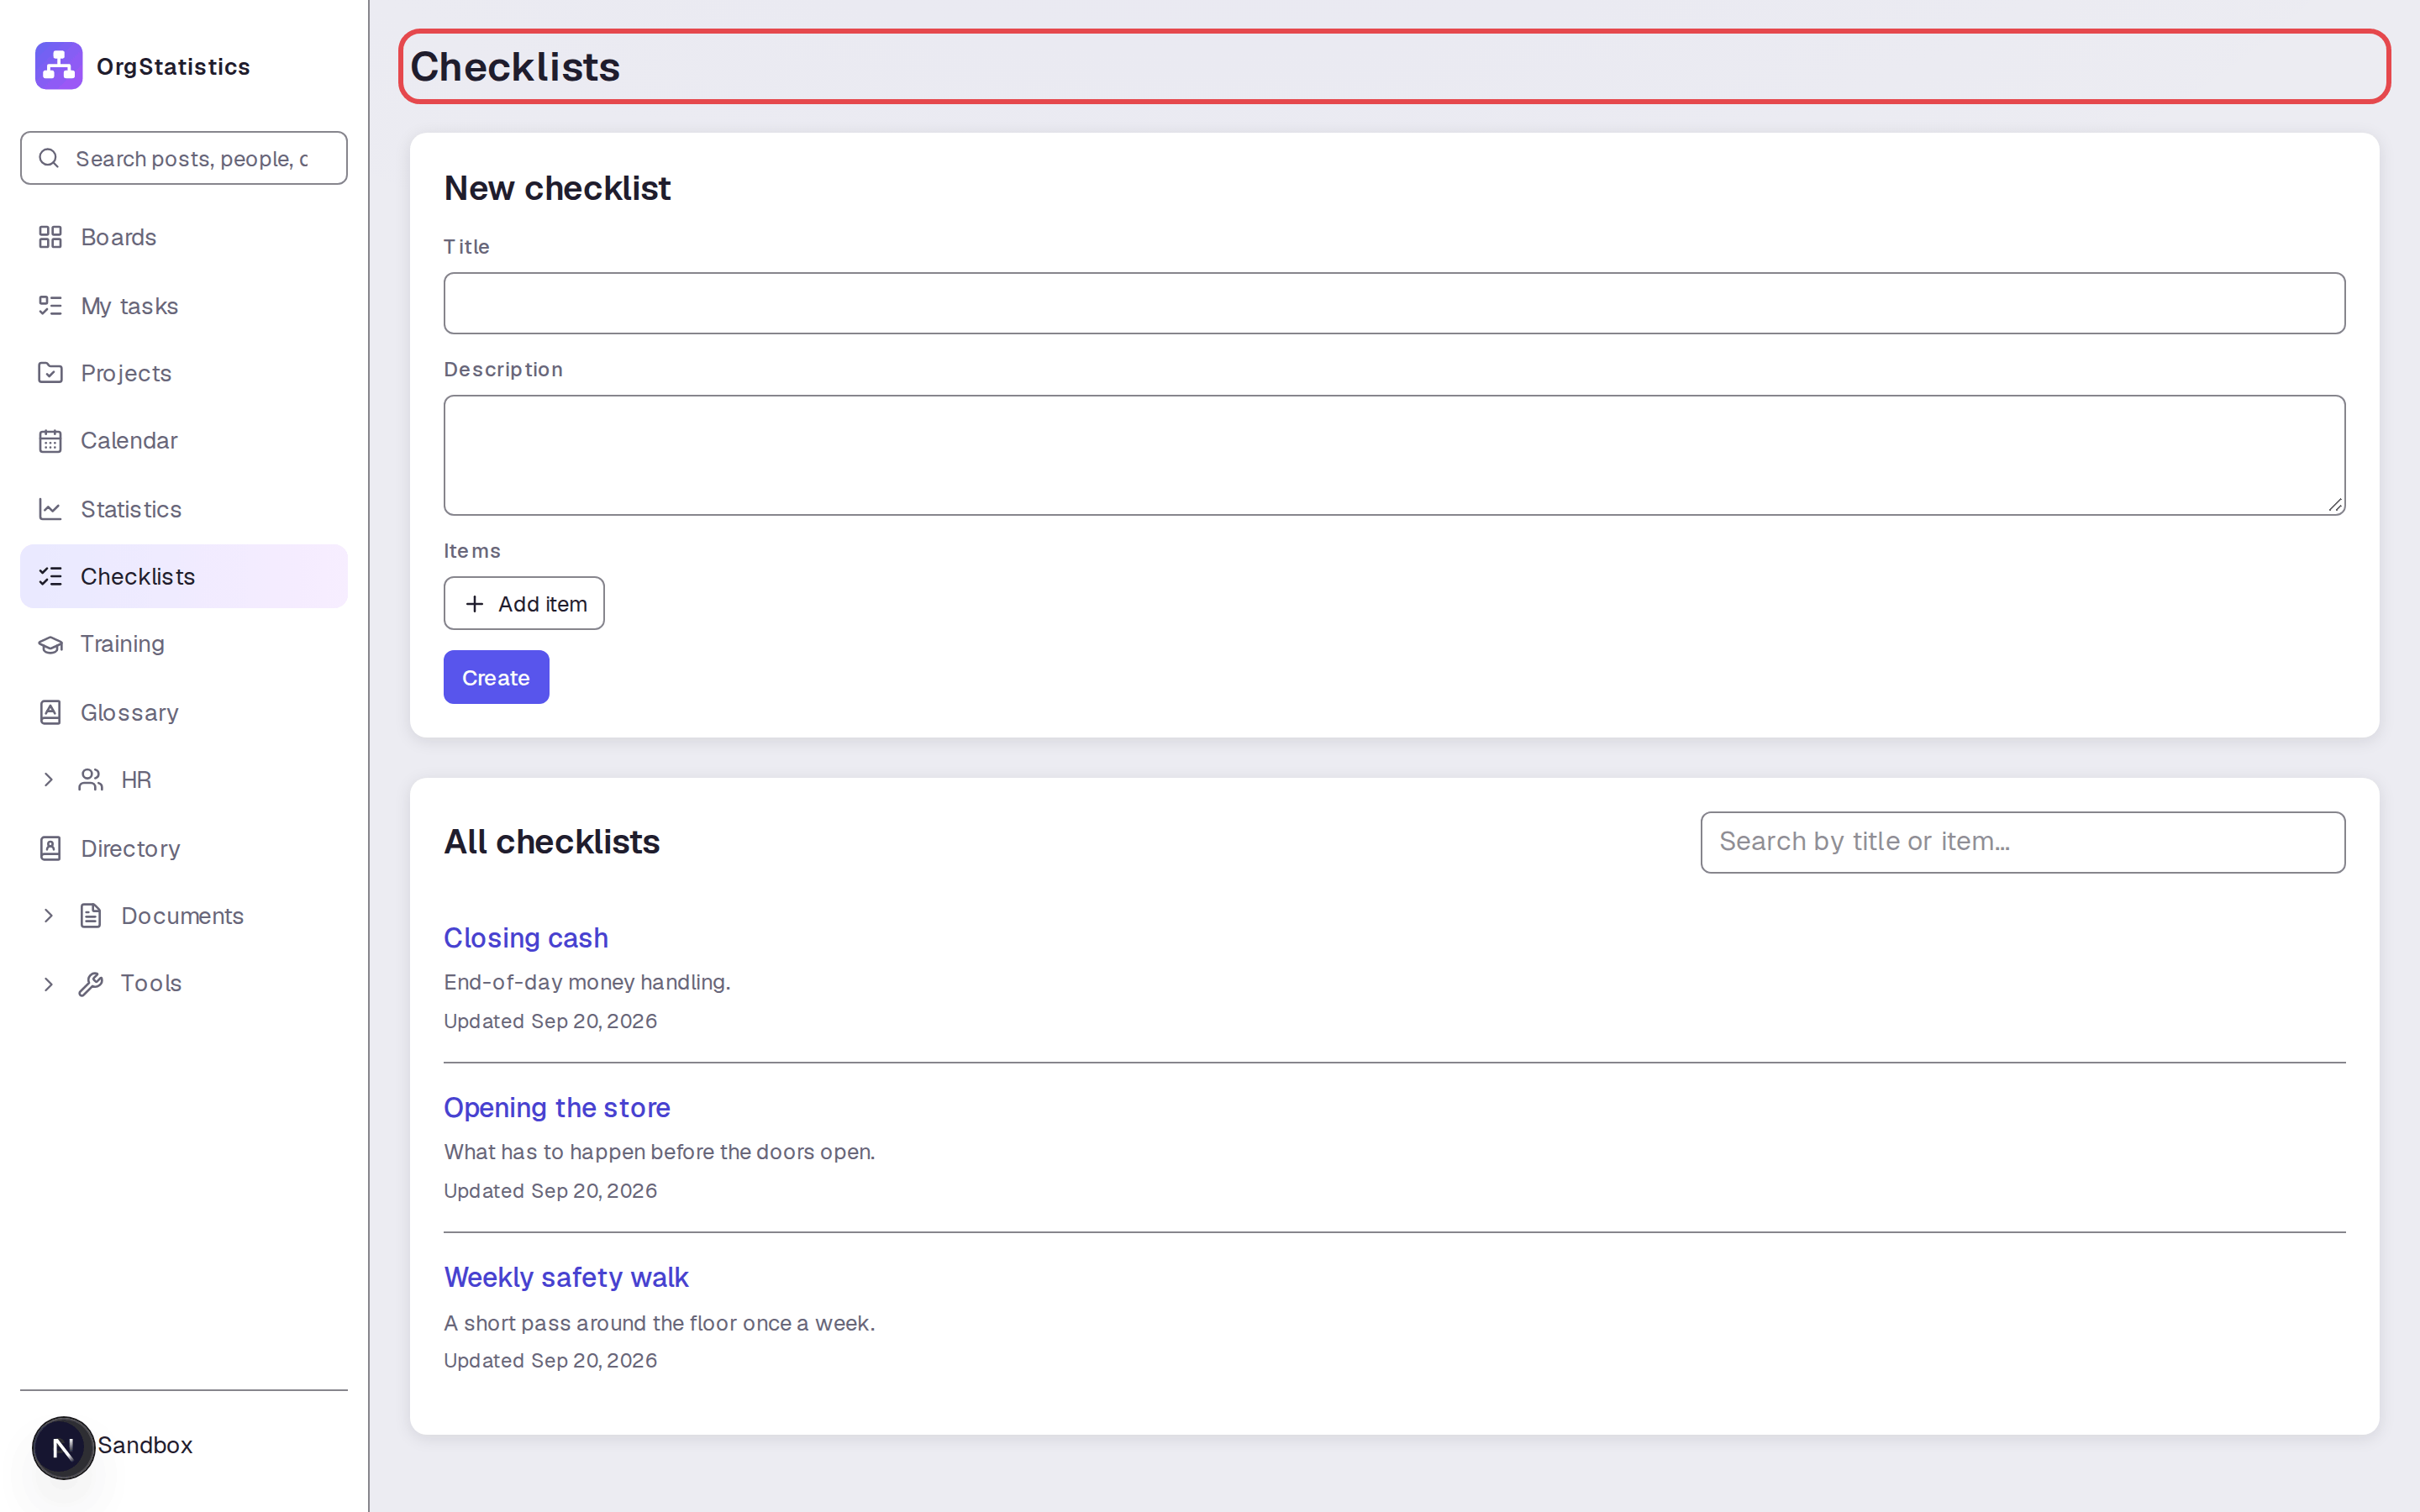
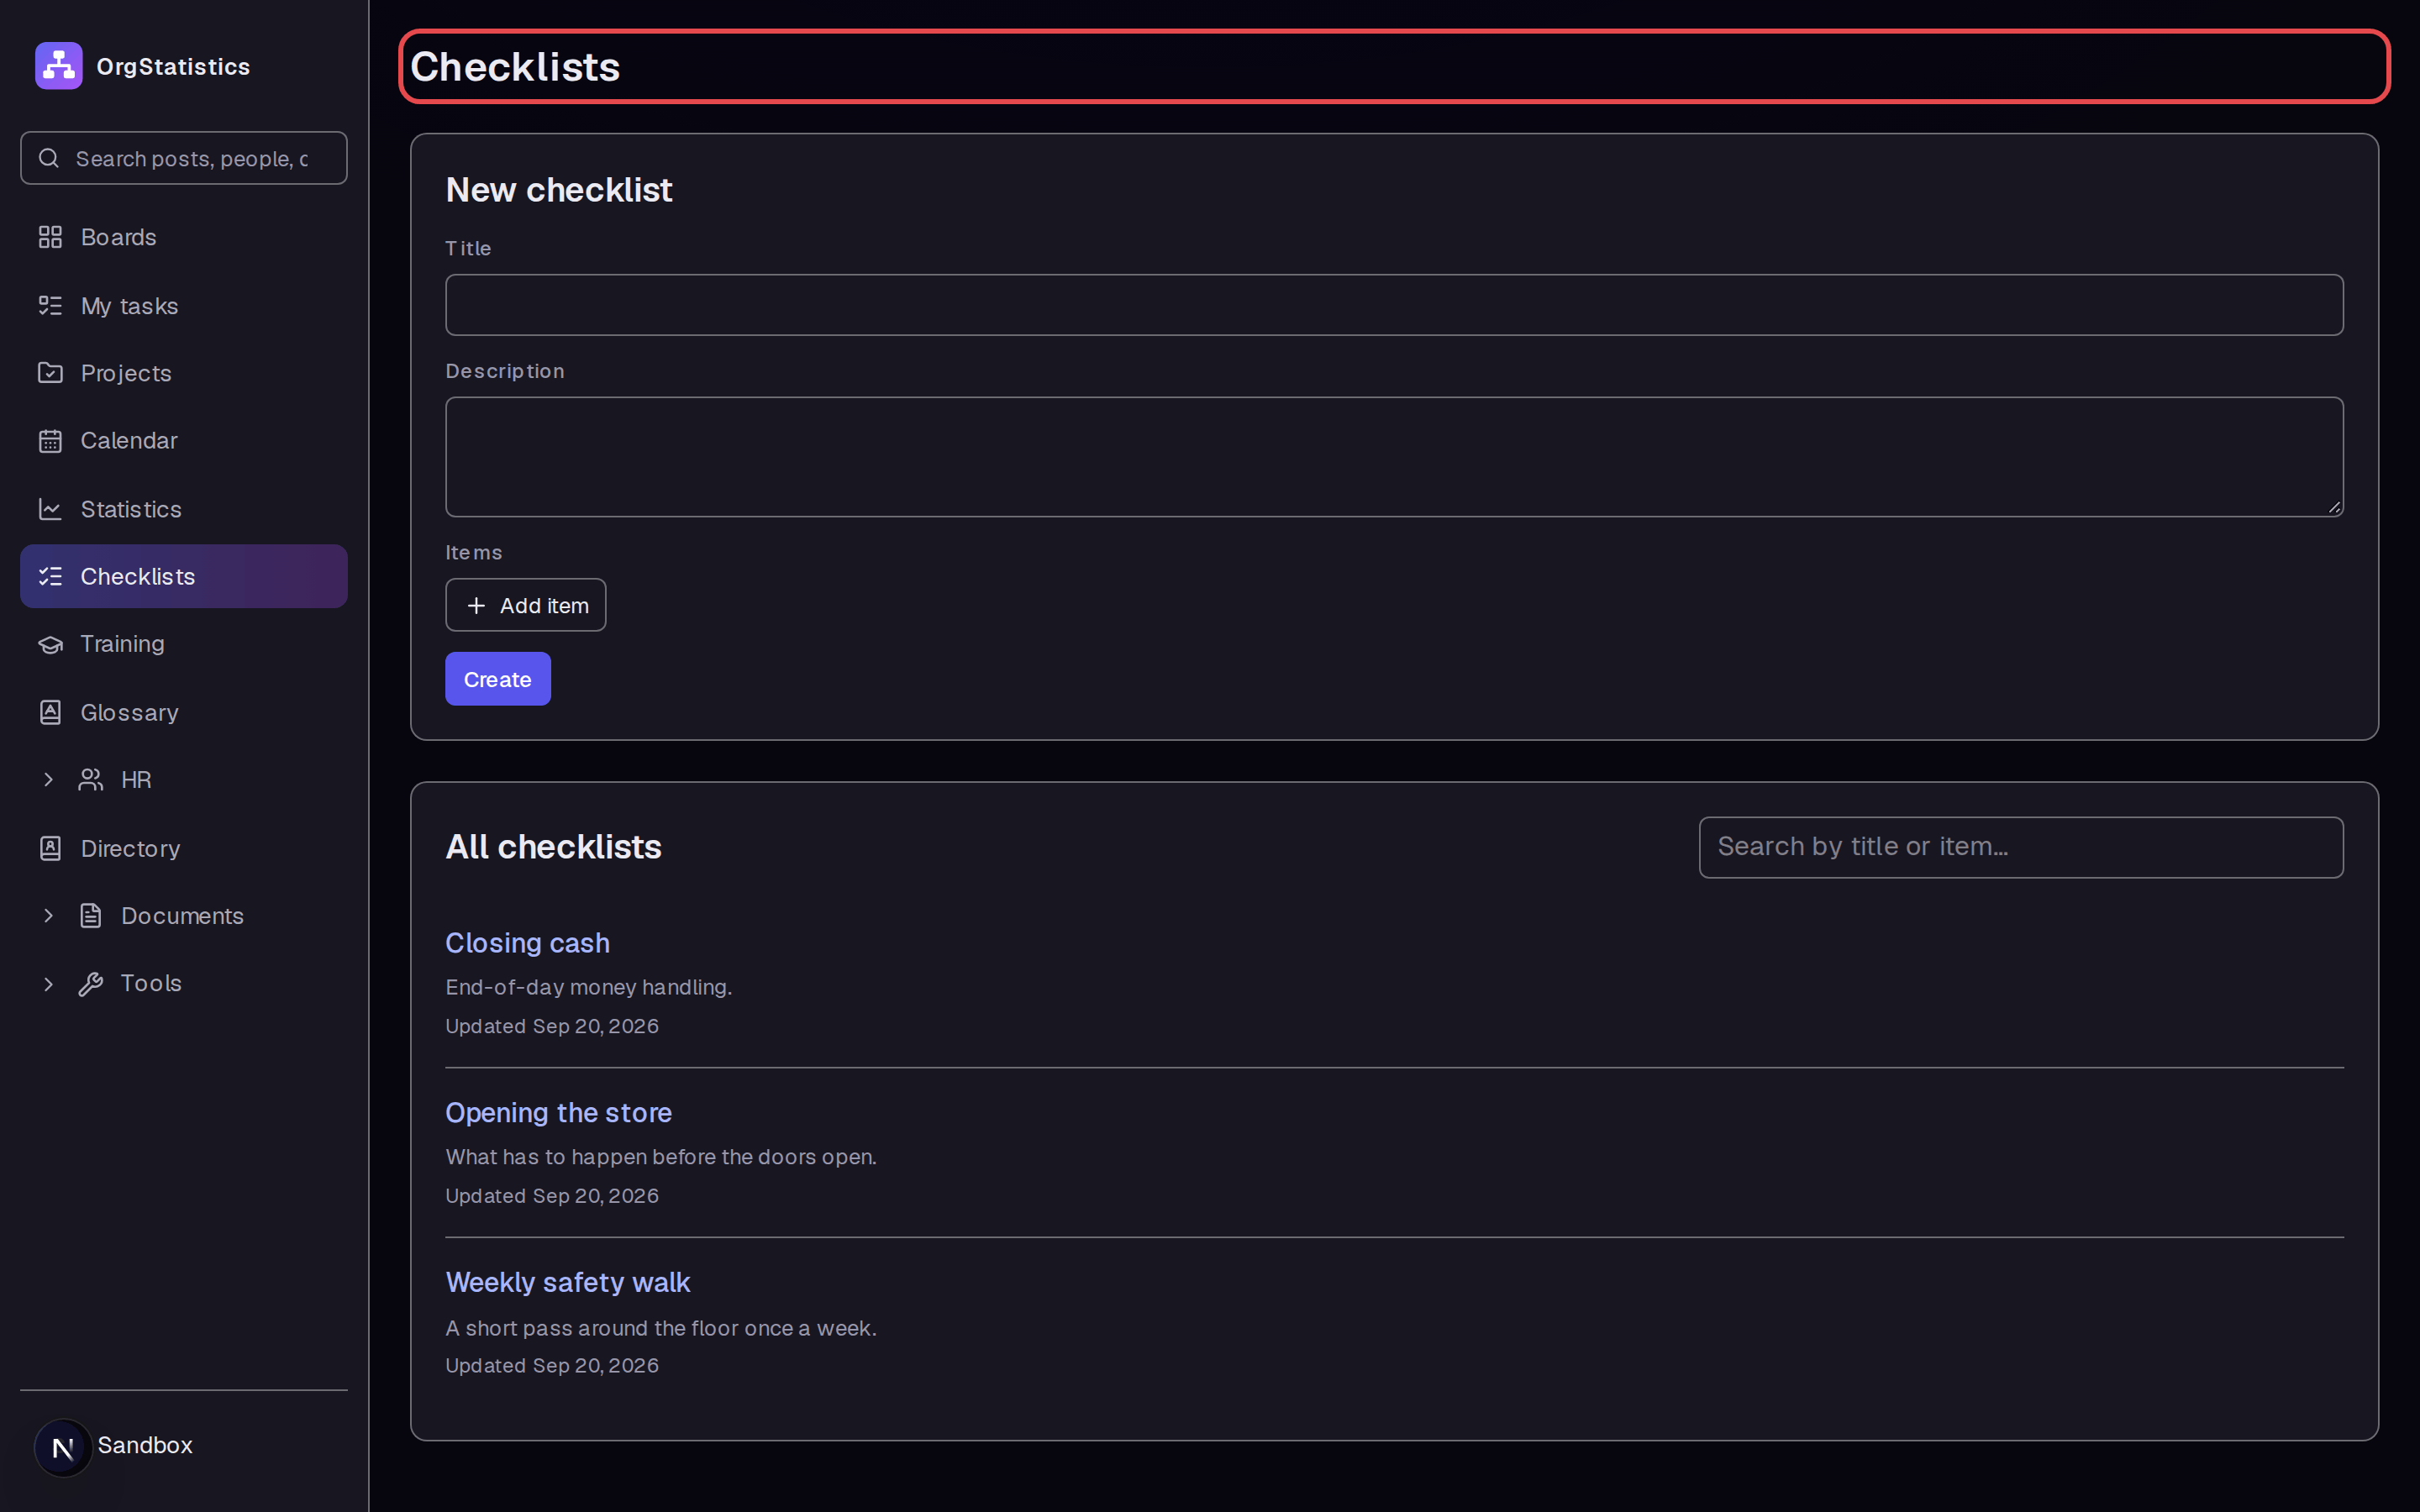
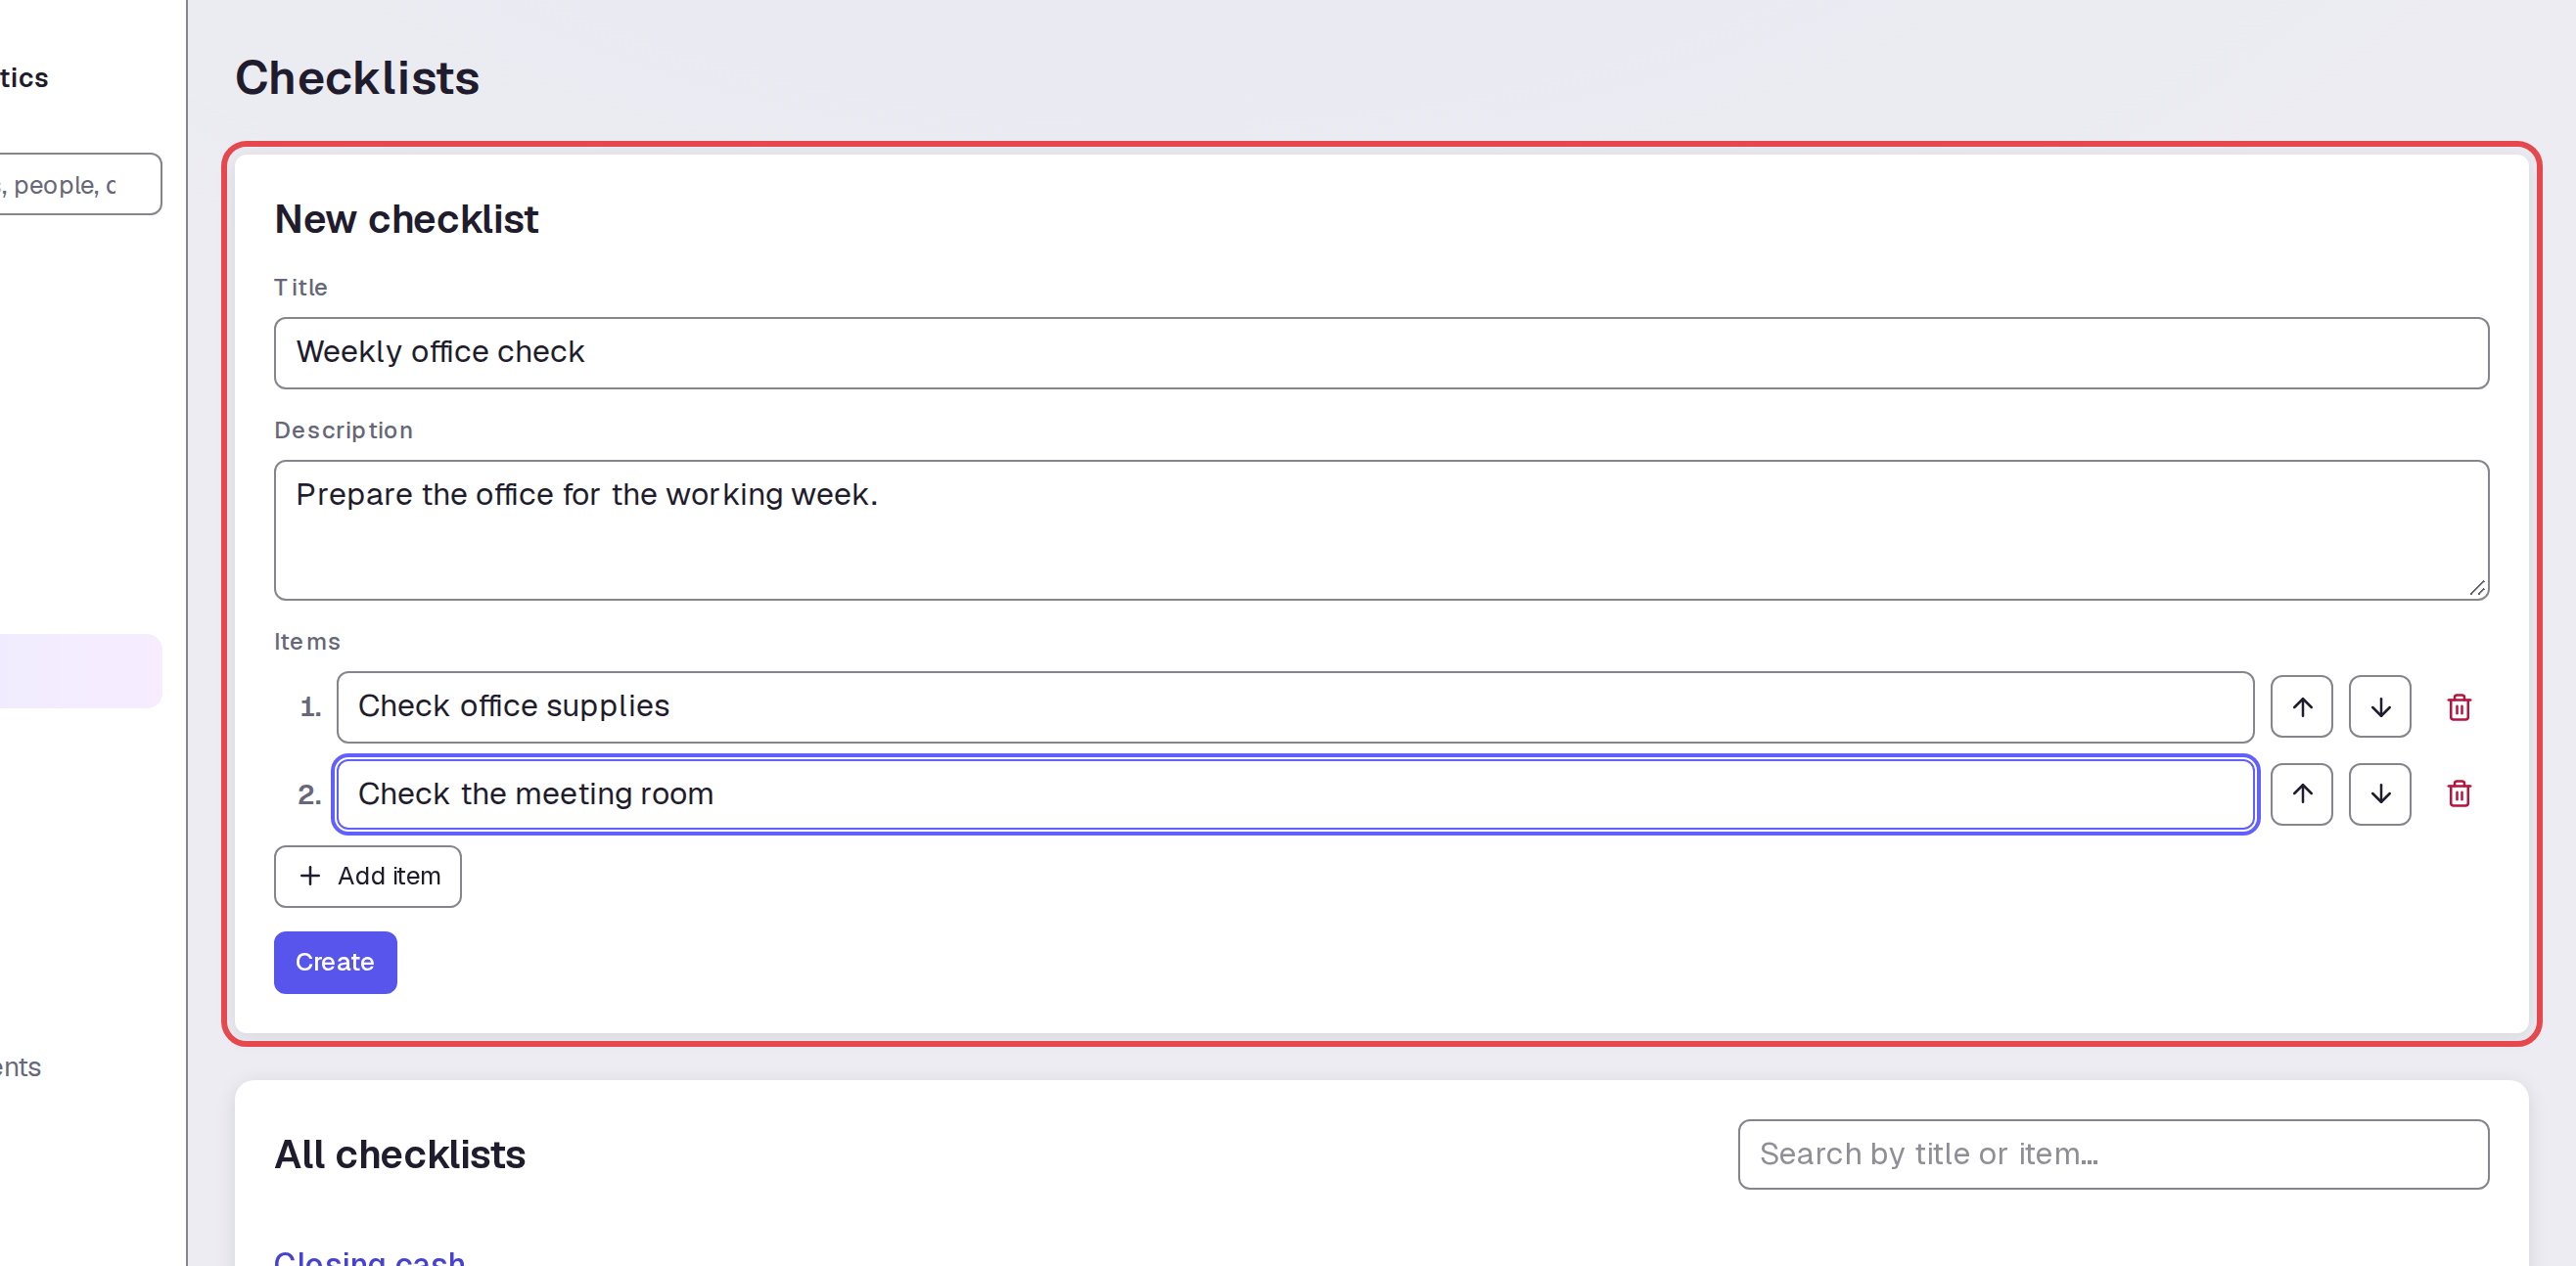
Step 2 — Create your checklist
Complete Title and Description as shown. Use Add item to add “Check office supplies” and “Check the meeting room.” Click Create.
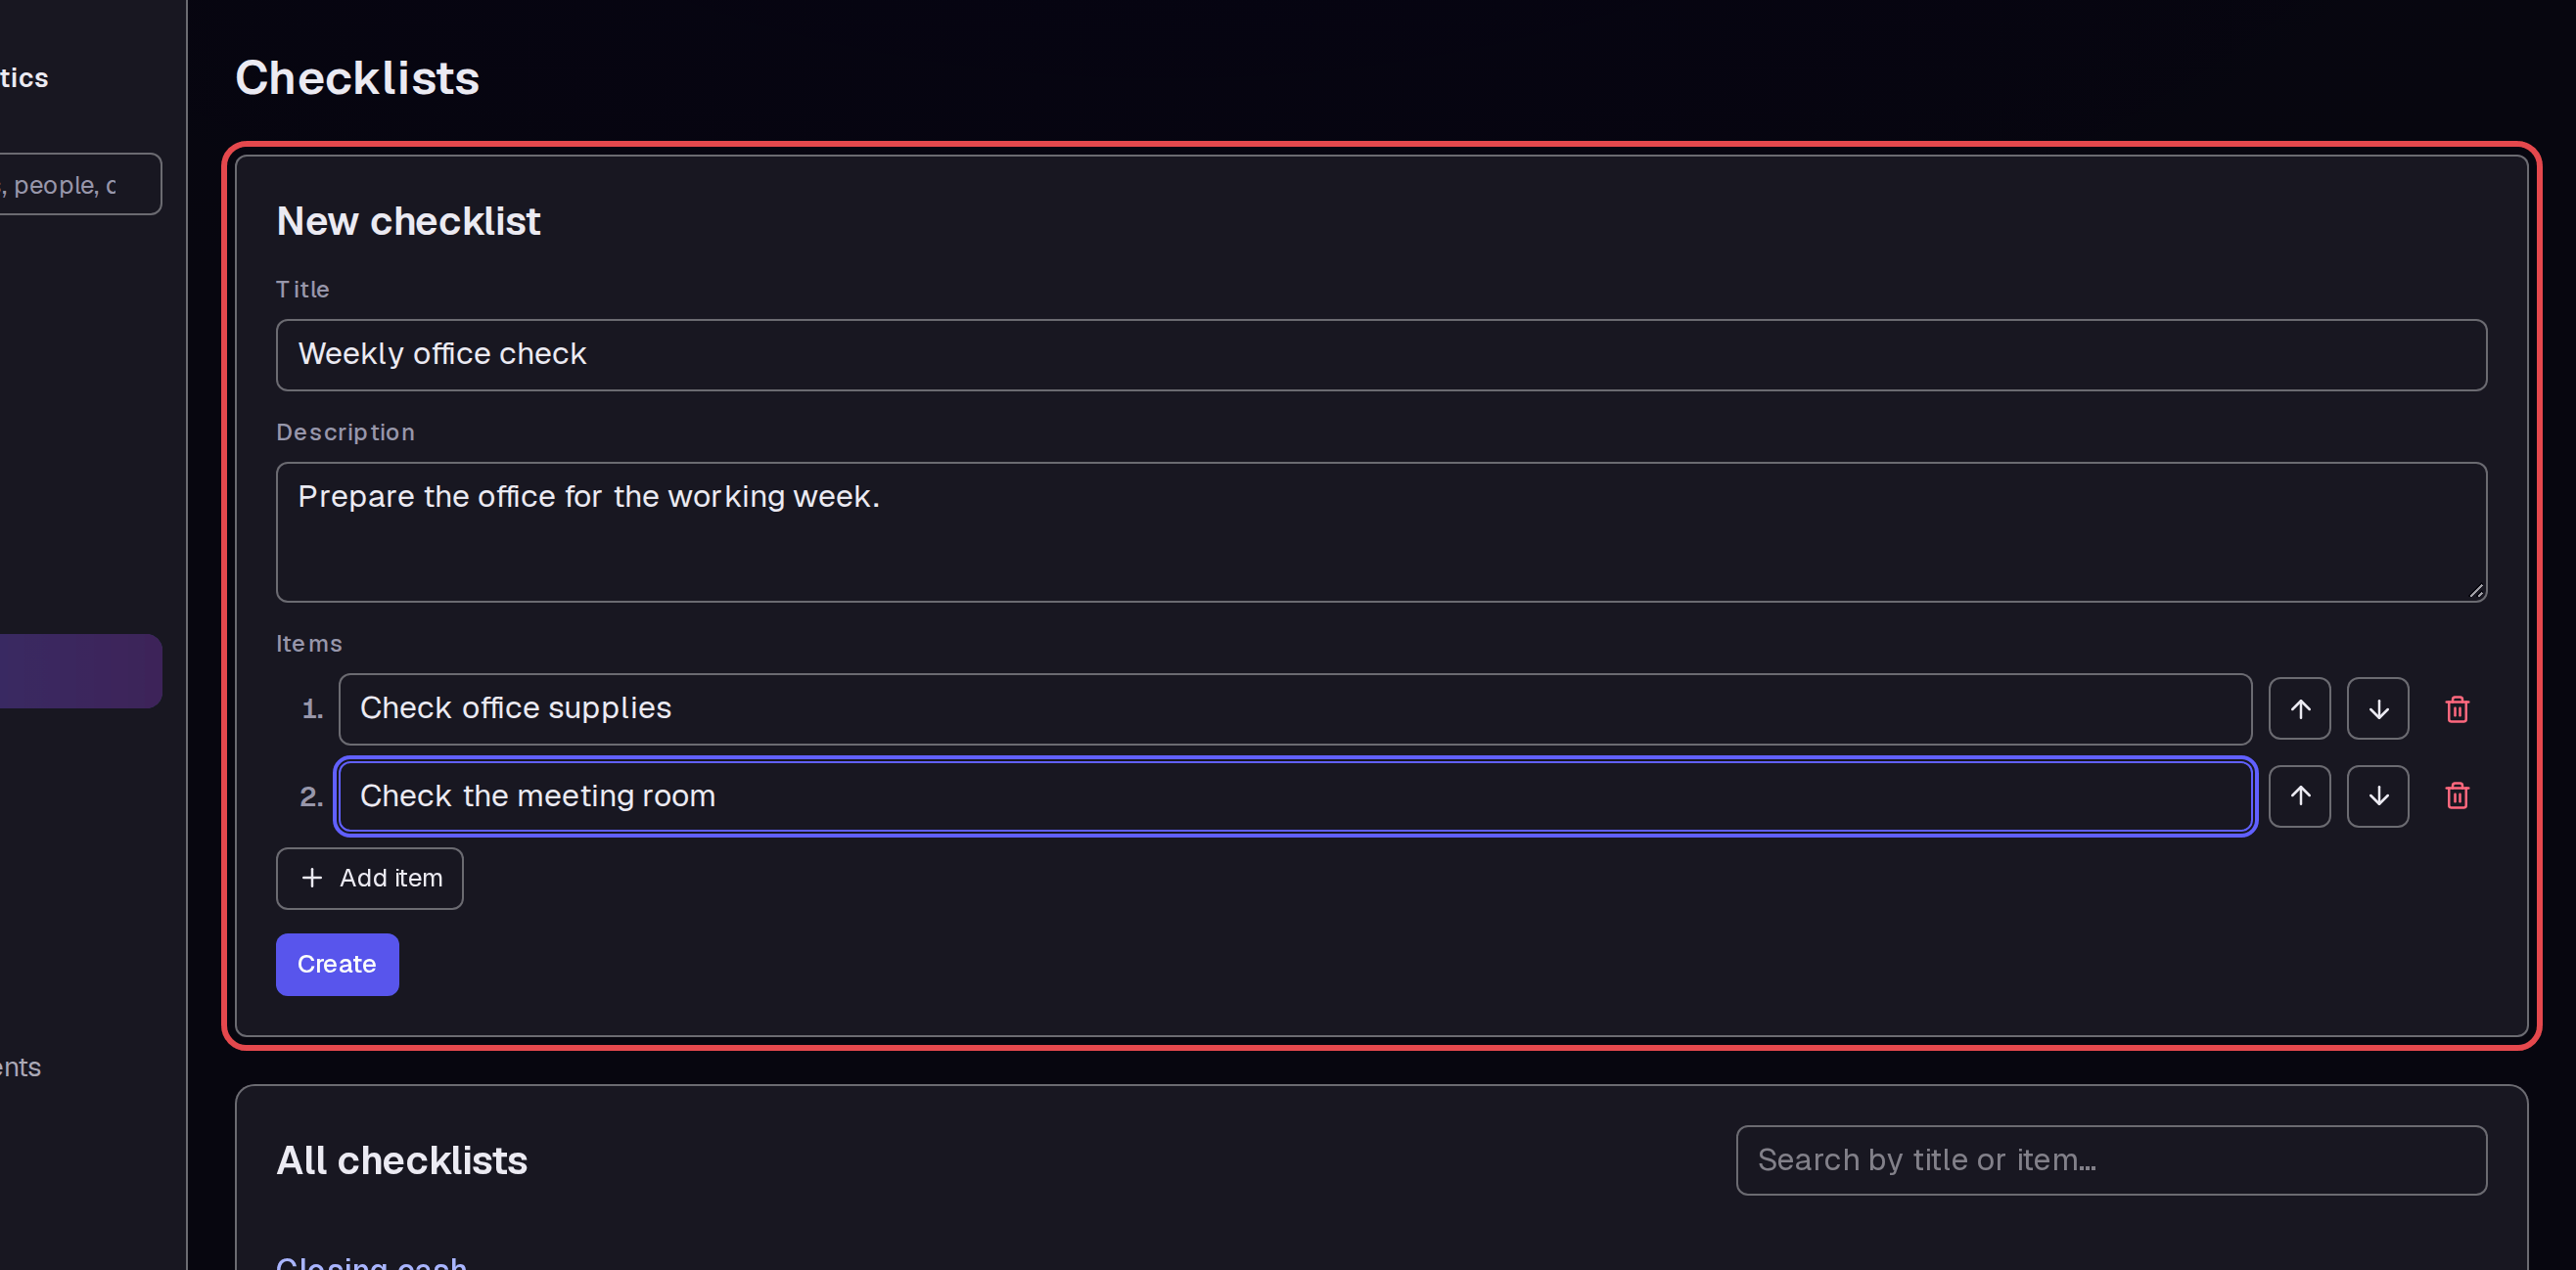
Step 3 — Tick an item
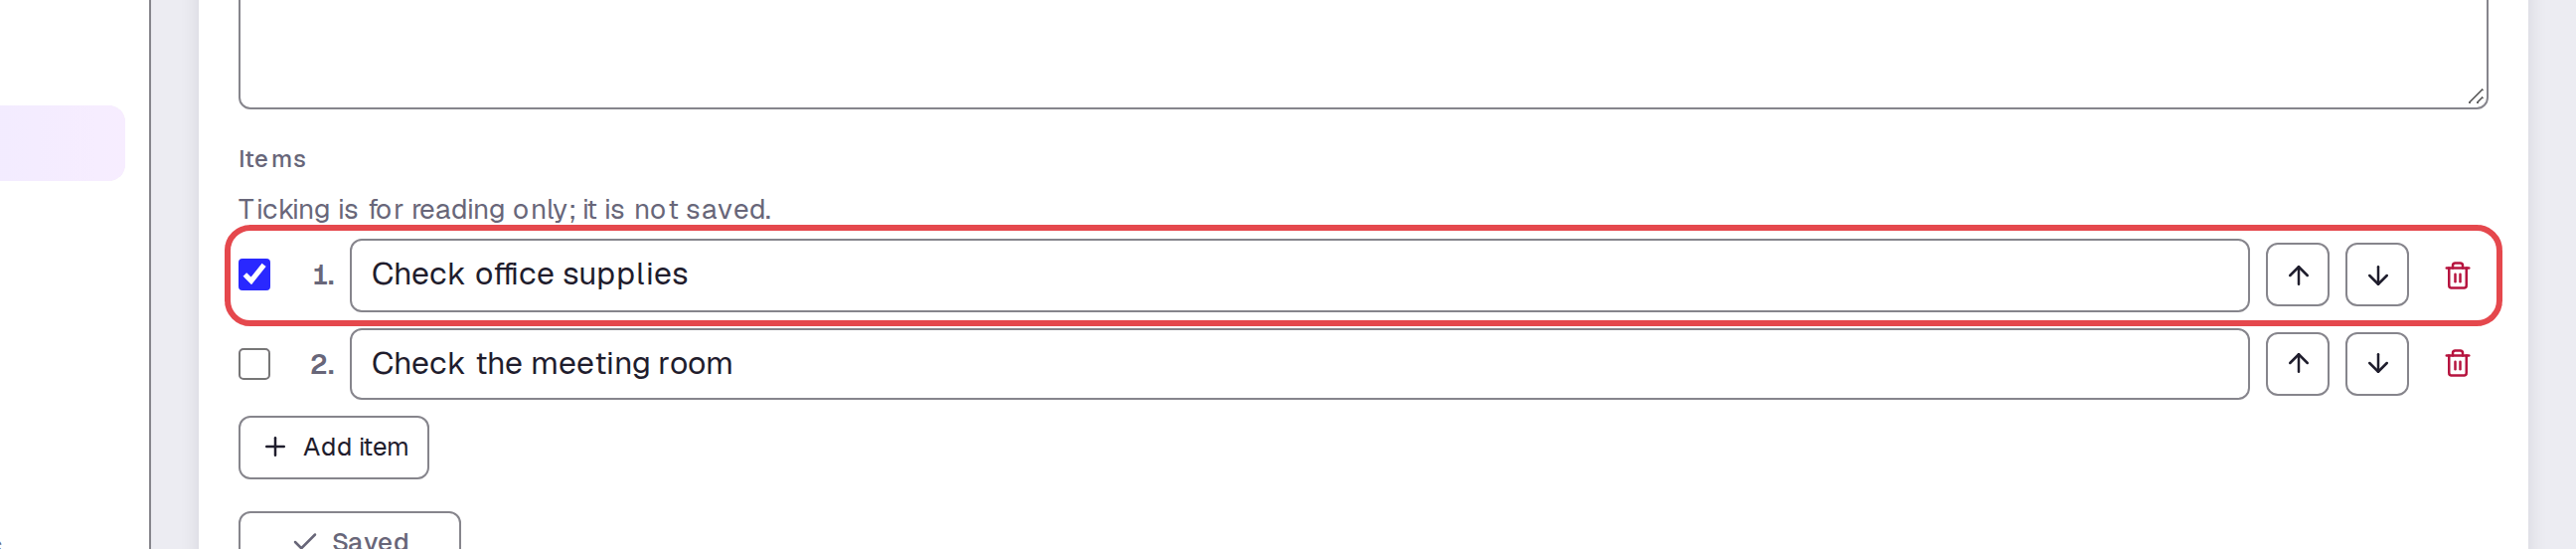
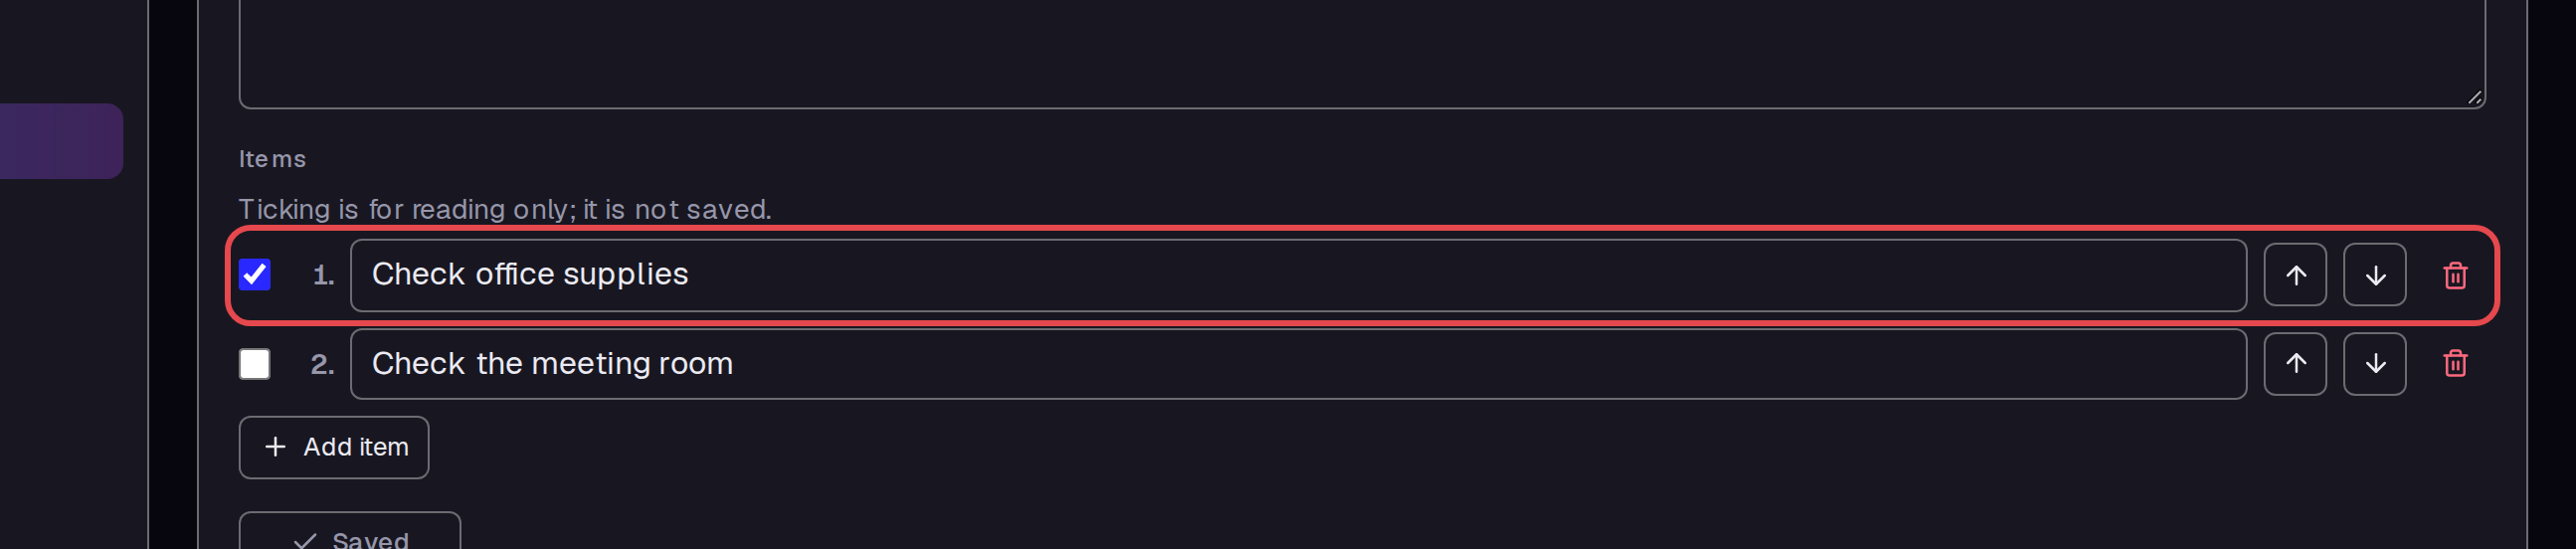
Open Weekly office check from the checklist list. Click the box beside “Check office supplies.” These ticks are only for reading; the app does not save them.
Step 4 — Add a personal task
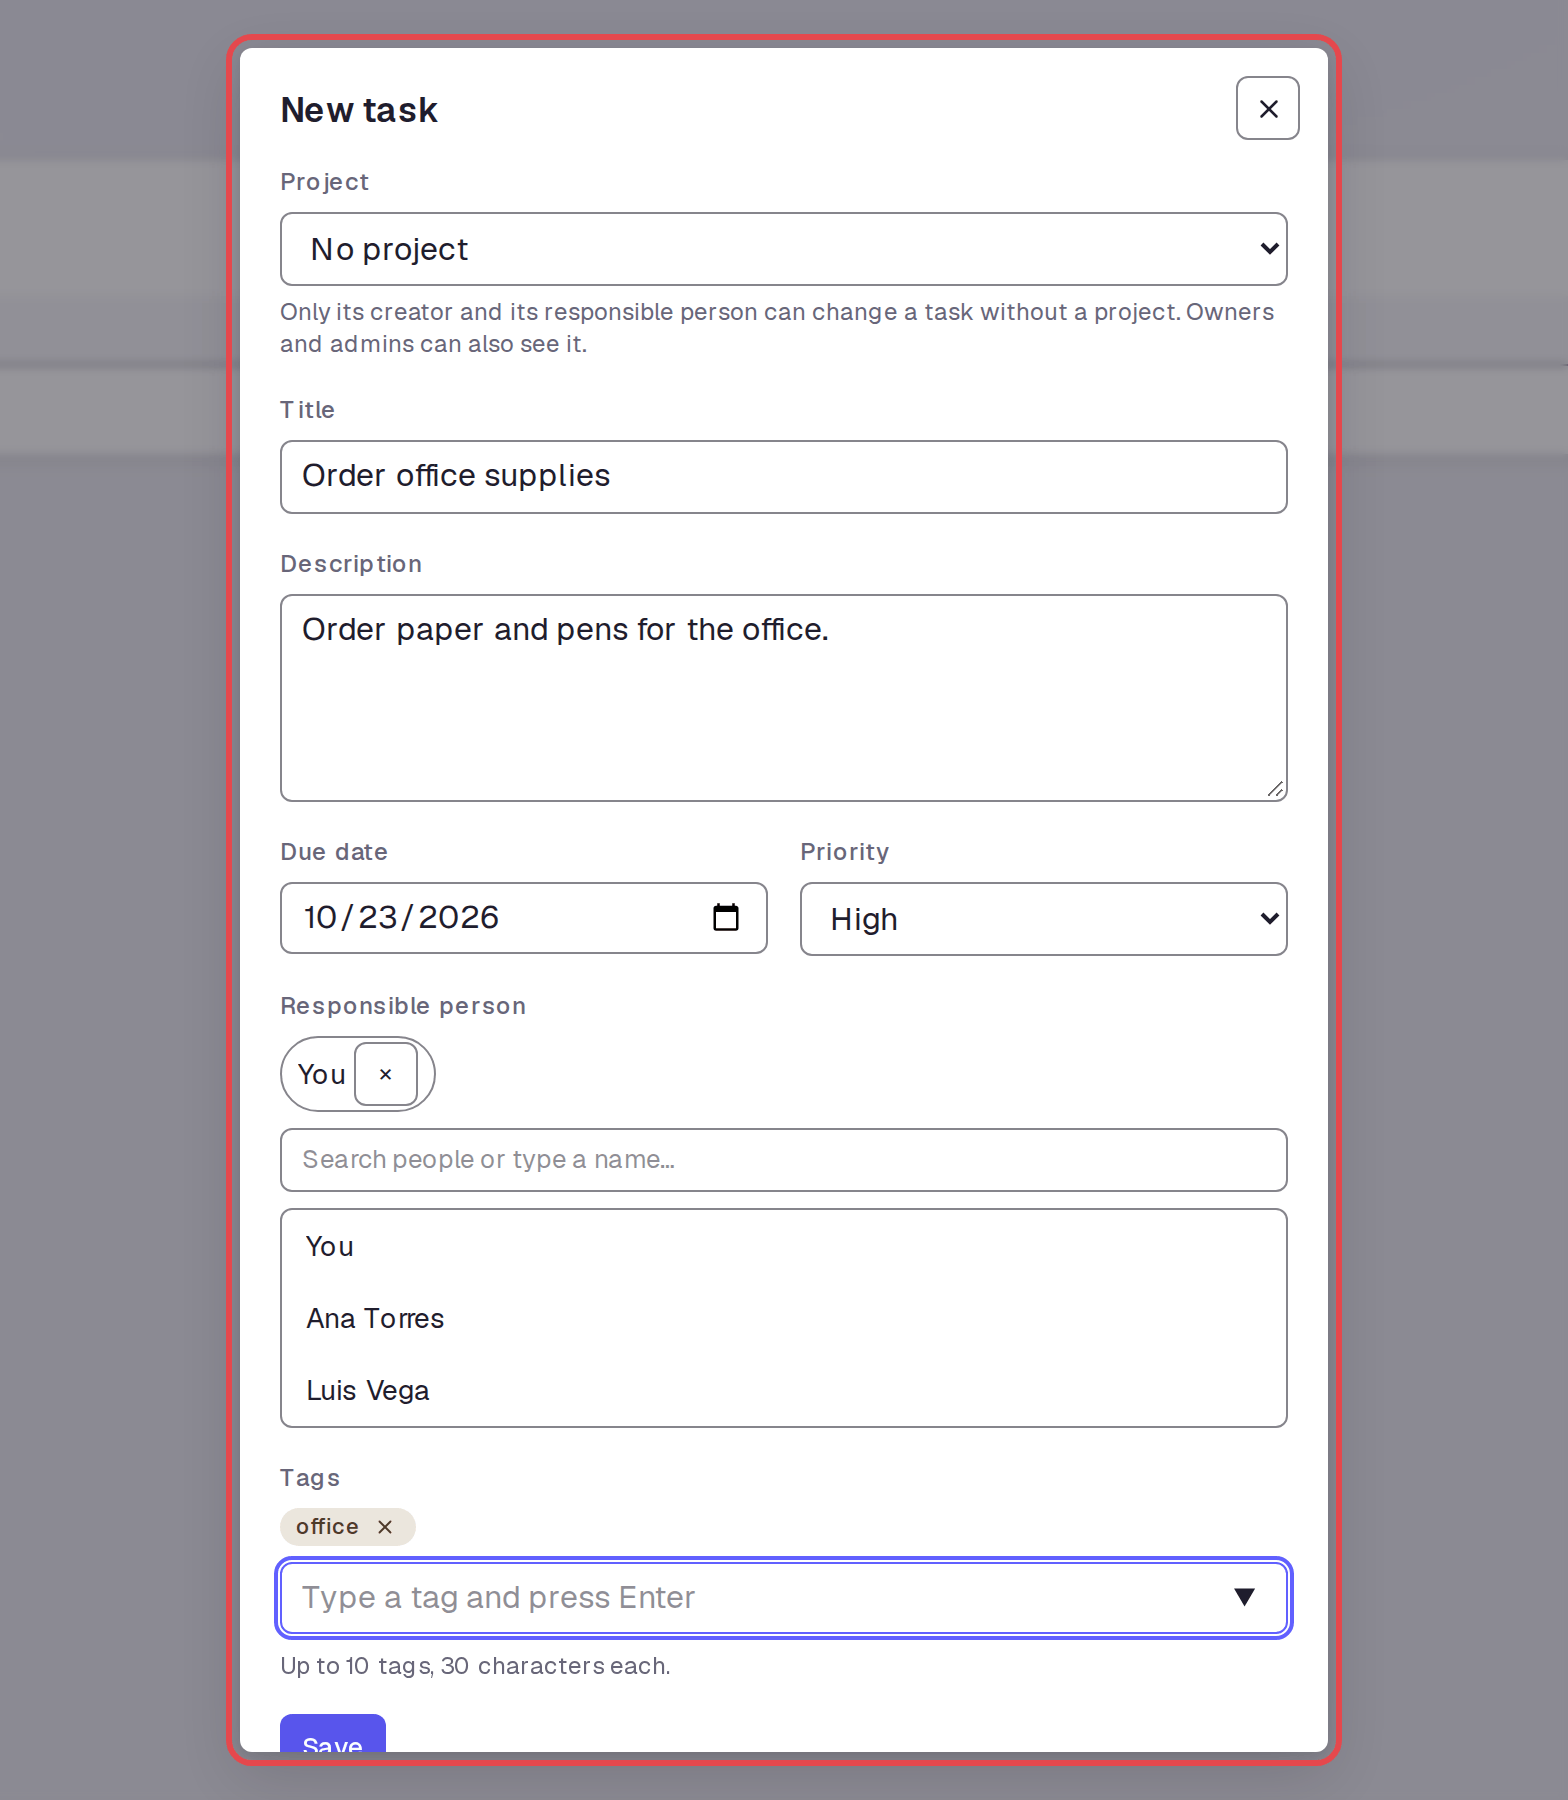
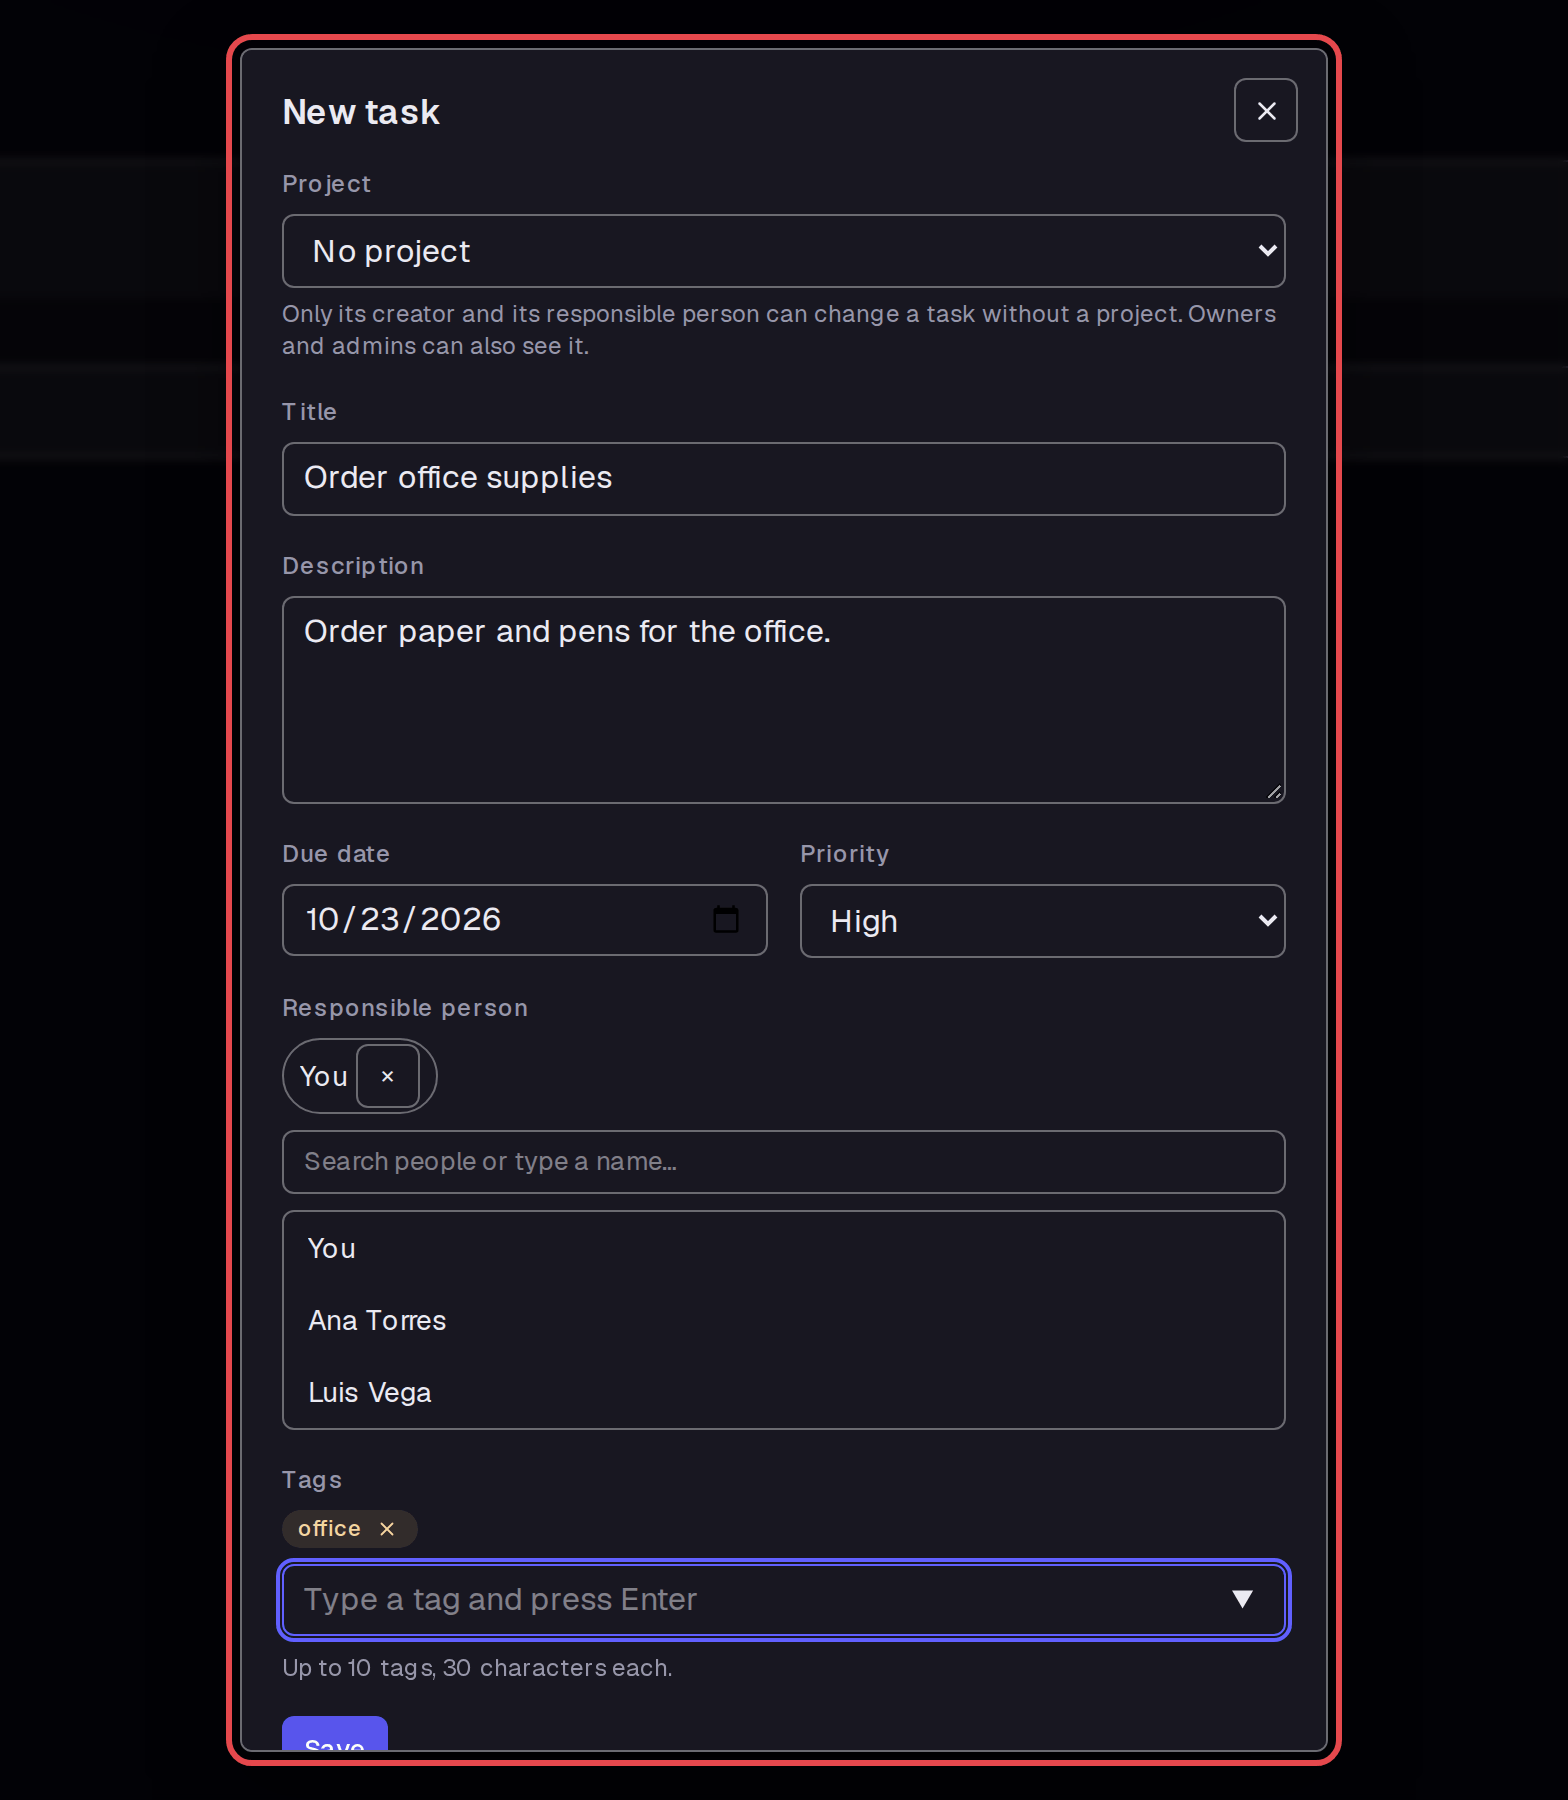
In My tasks, click Add new task. Complete the form as shown, with Project set to No project and Responsible person set to You. Click Save.
Step 5 — Find your task
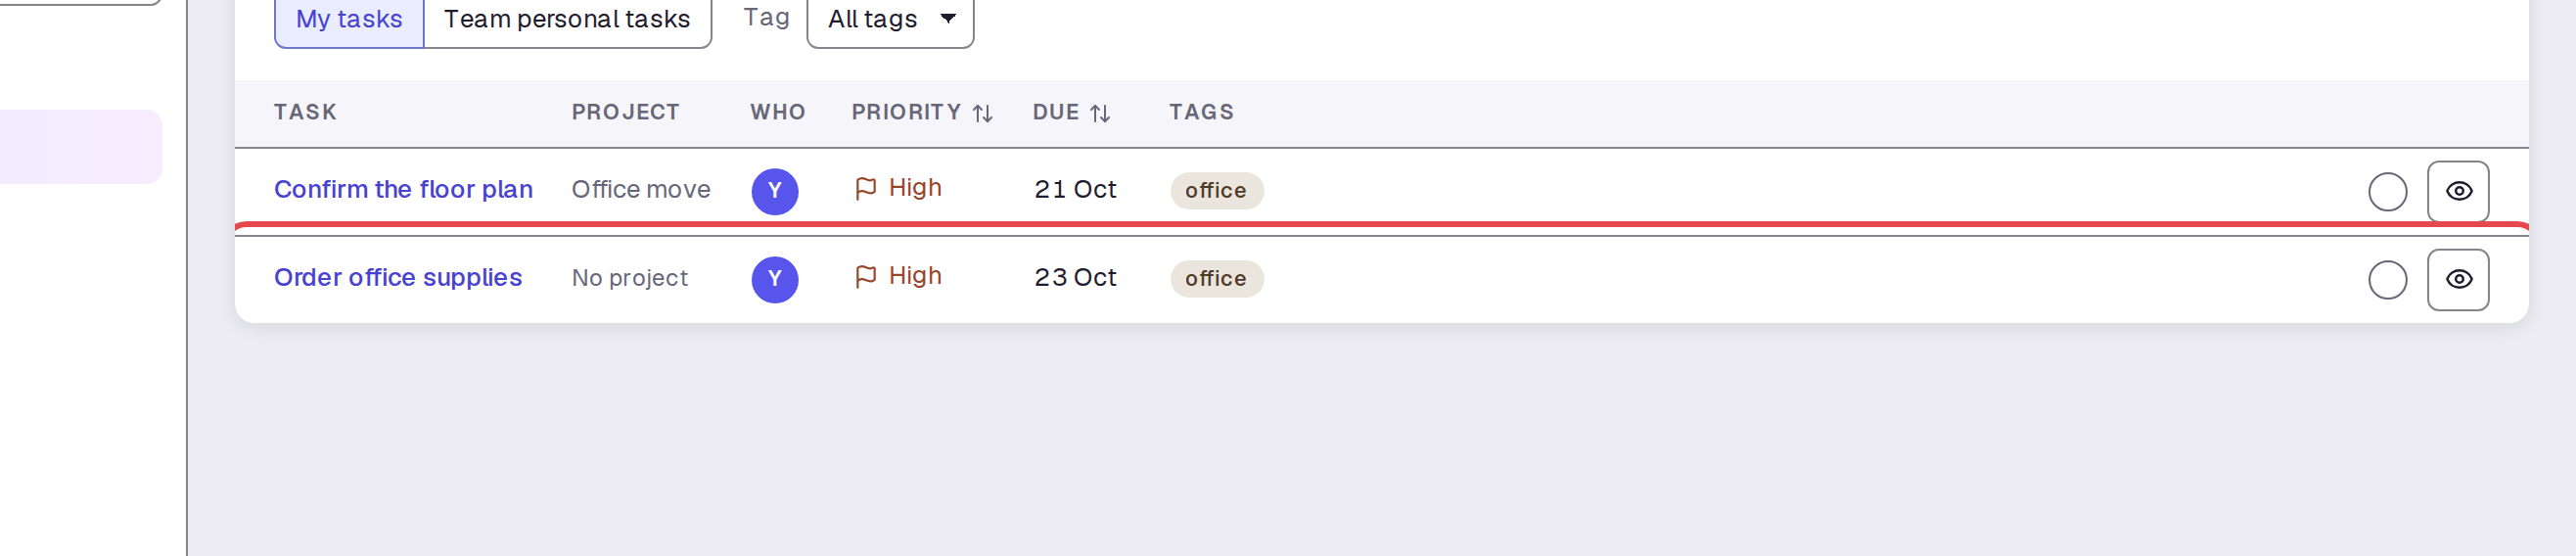
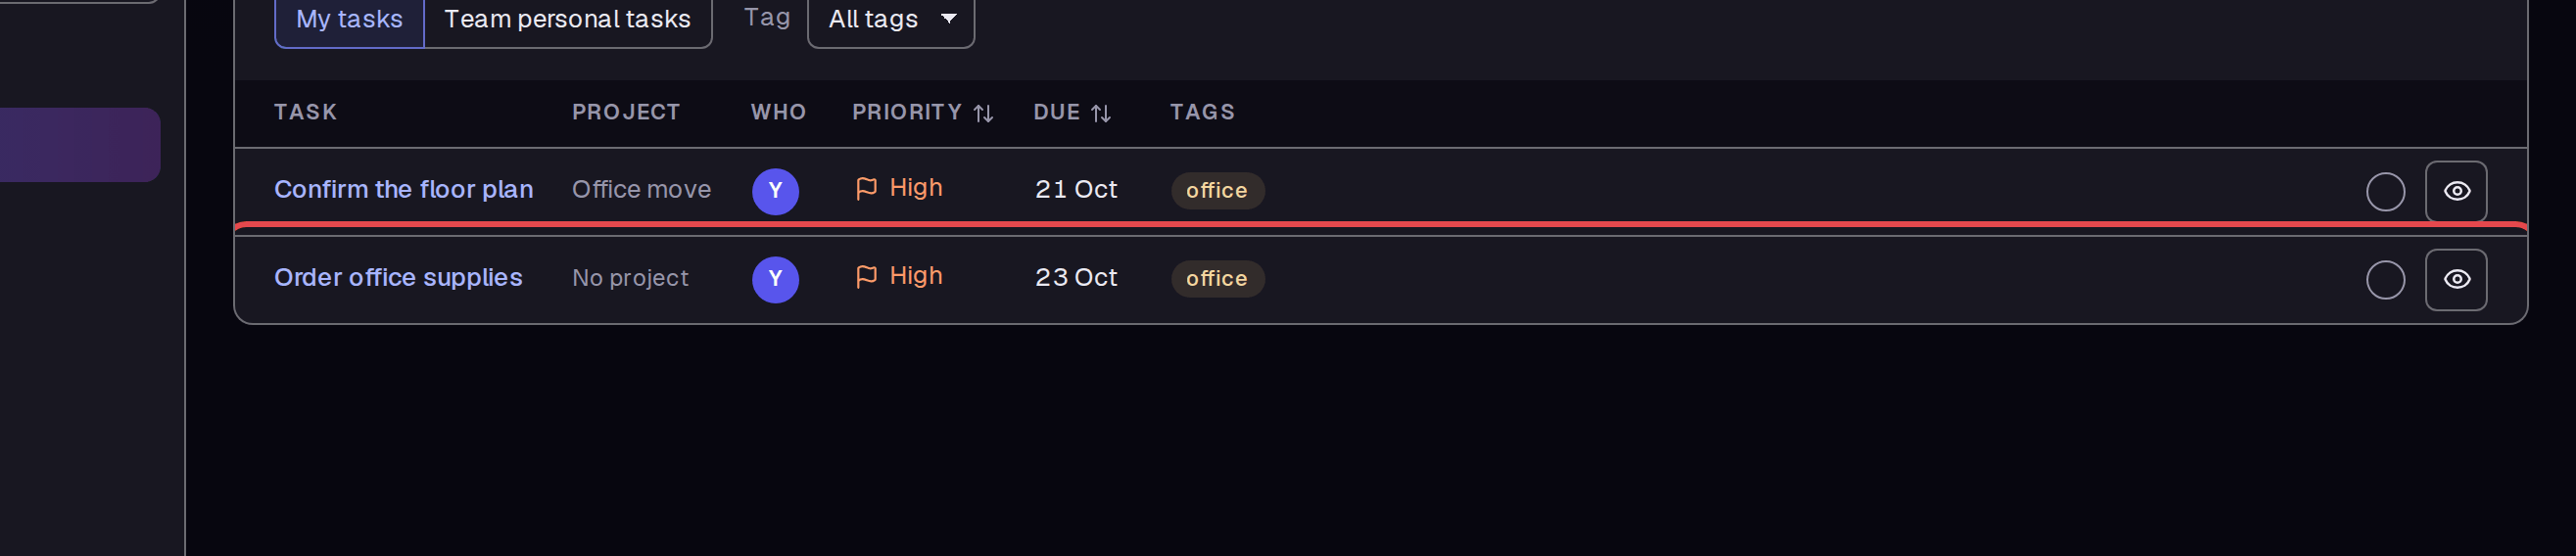
Find “Order office supplies” in My tasks. Its row shows No project, the priority, and the due date.
Step 6 — Complete the task
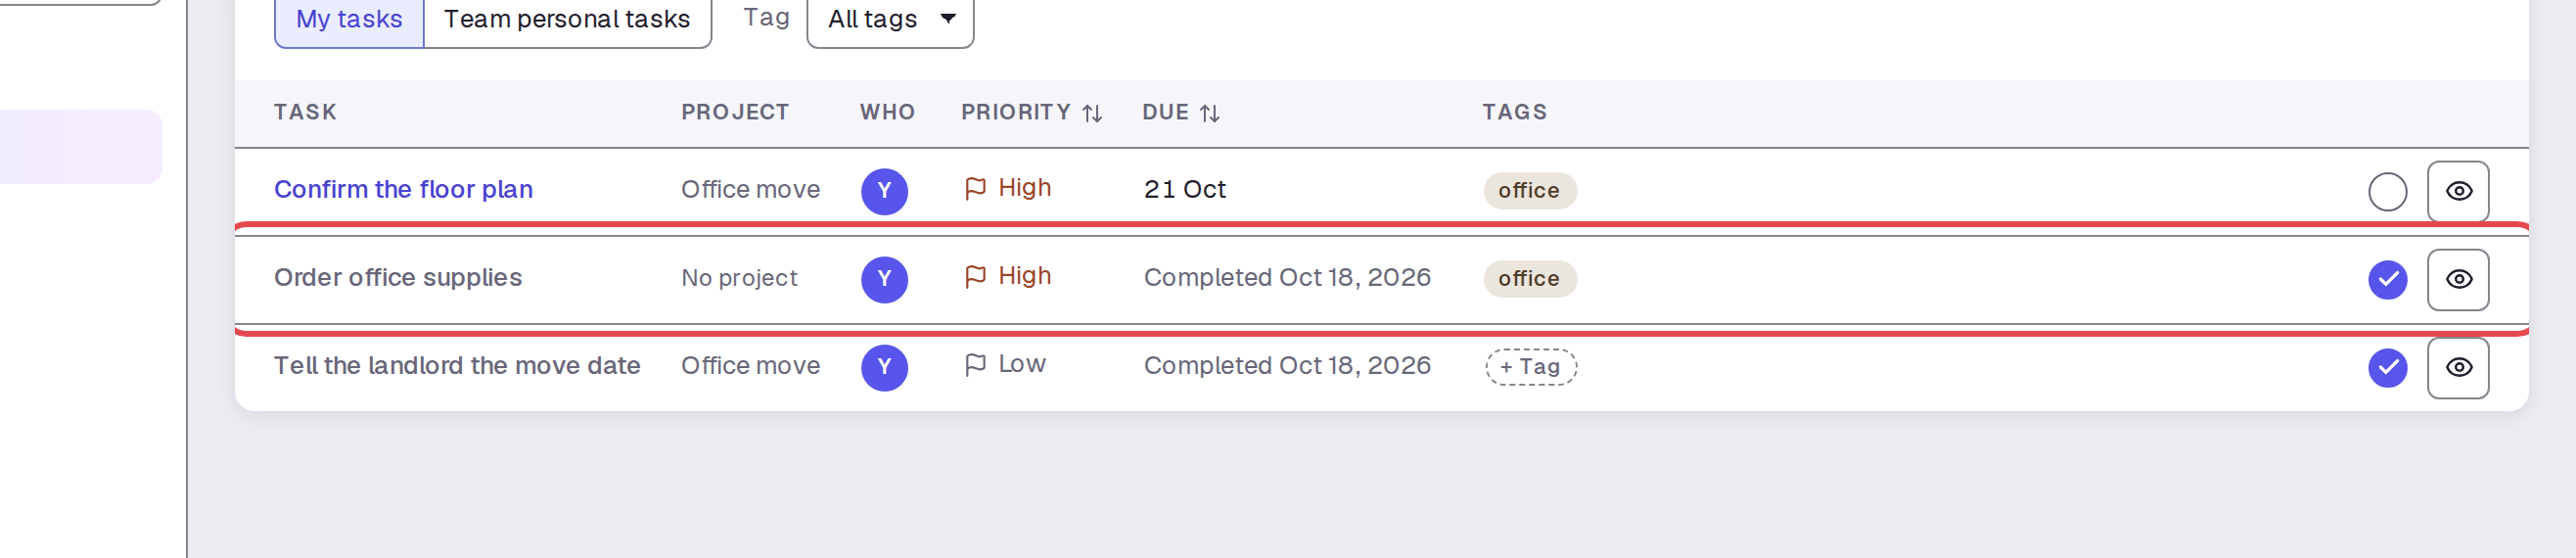
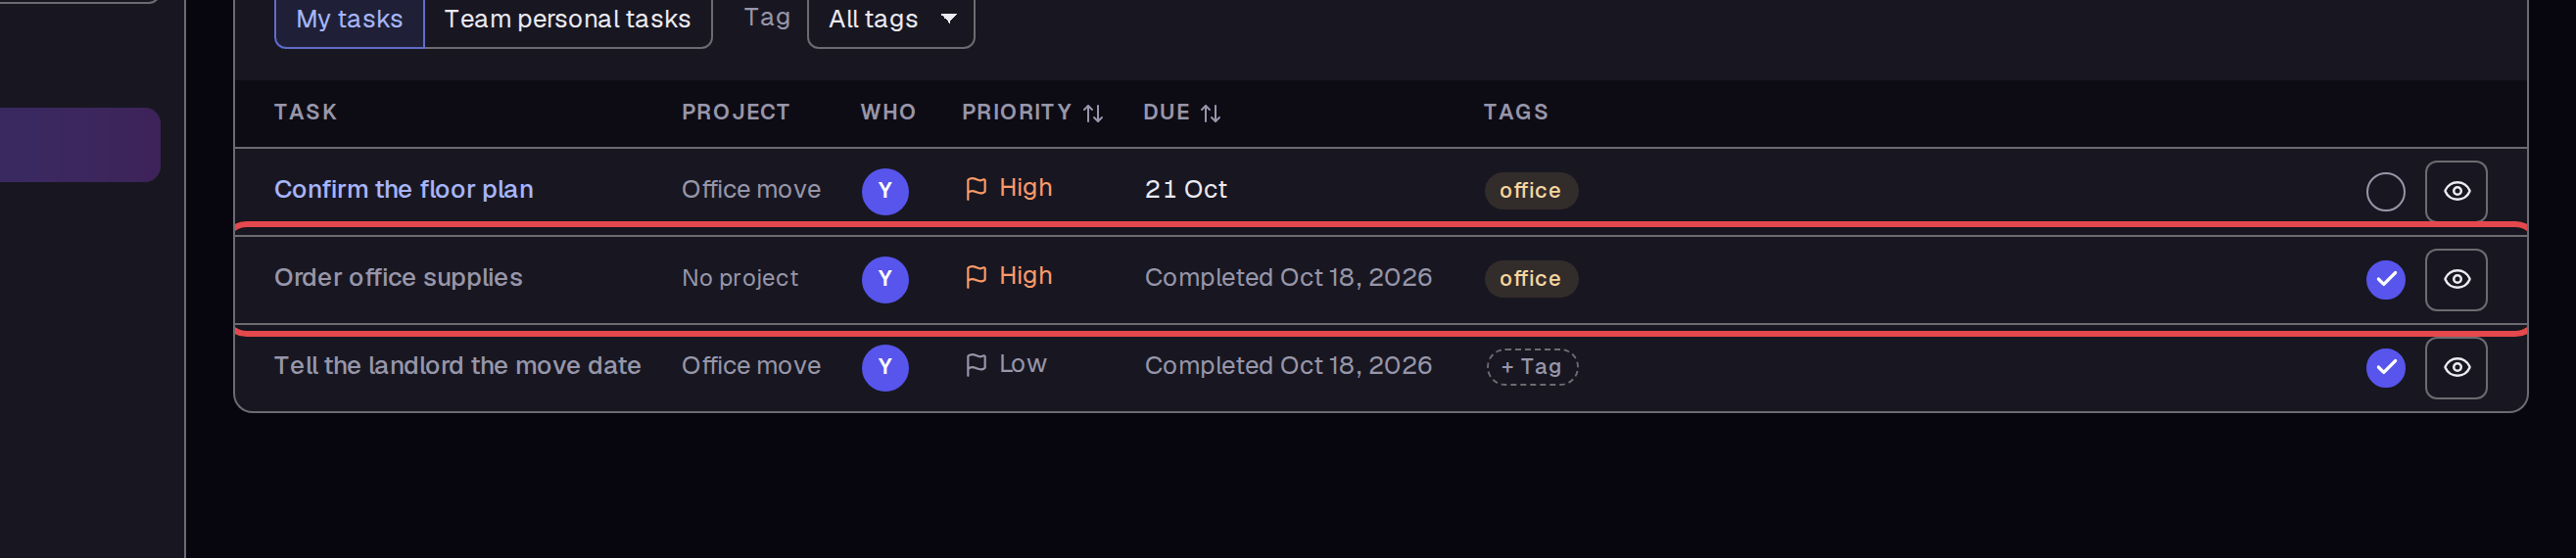
When the work is done, click the circle in the DONE column. Click Show completed to show the completed task again. Its circle now contains a check mark.
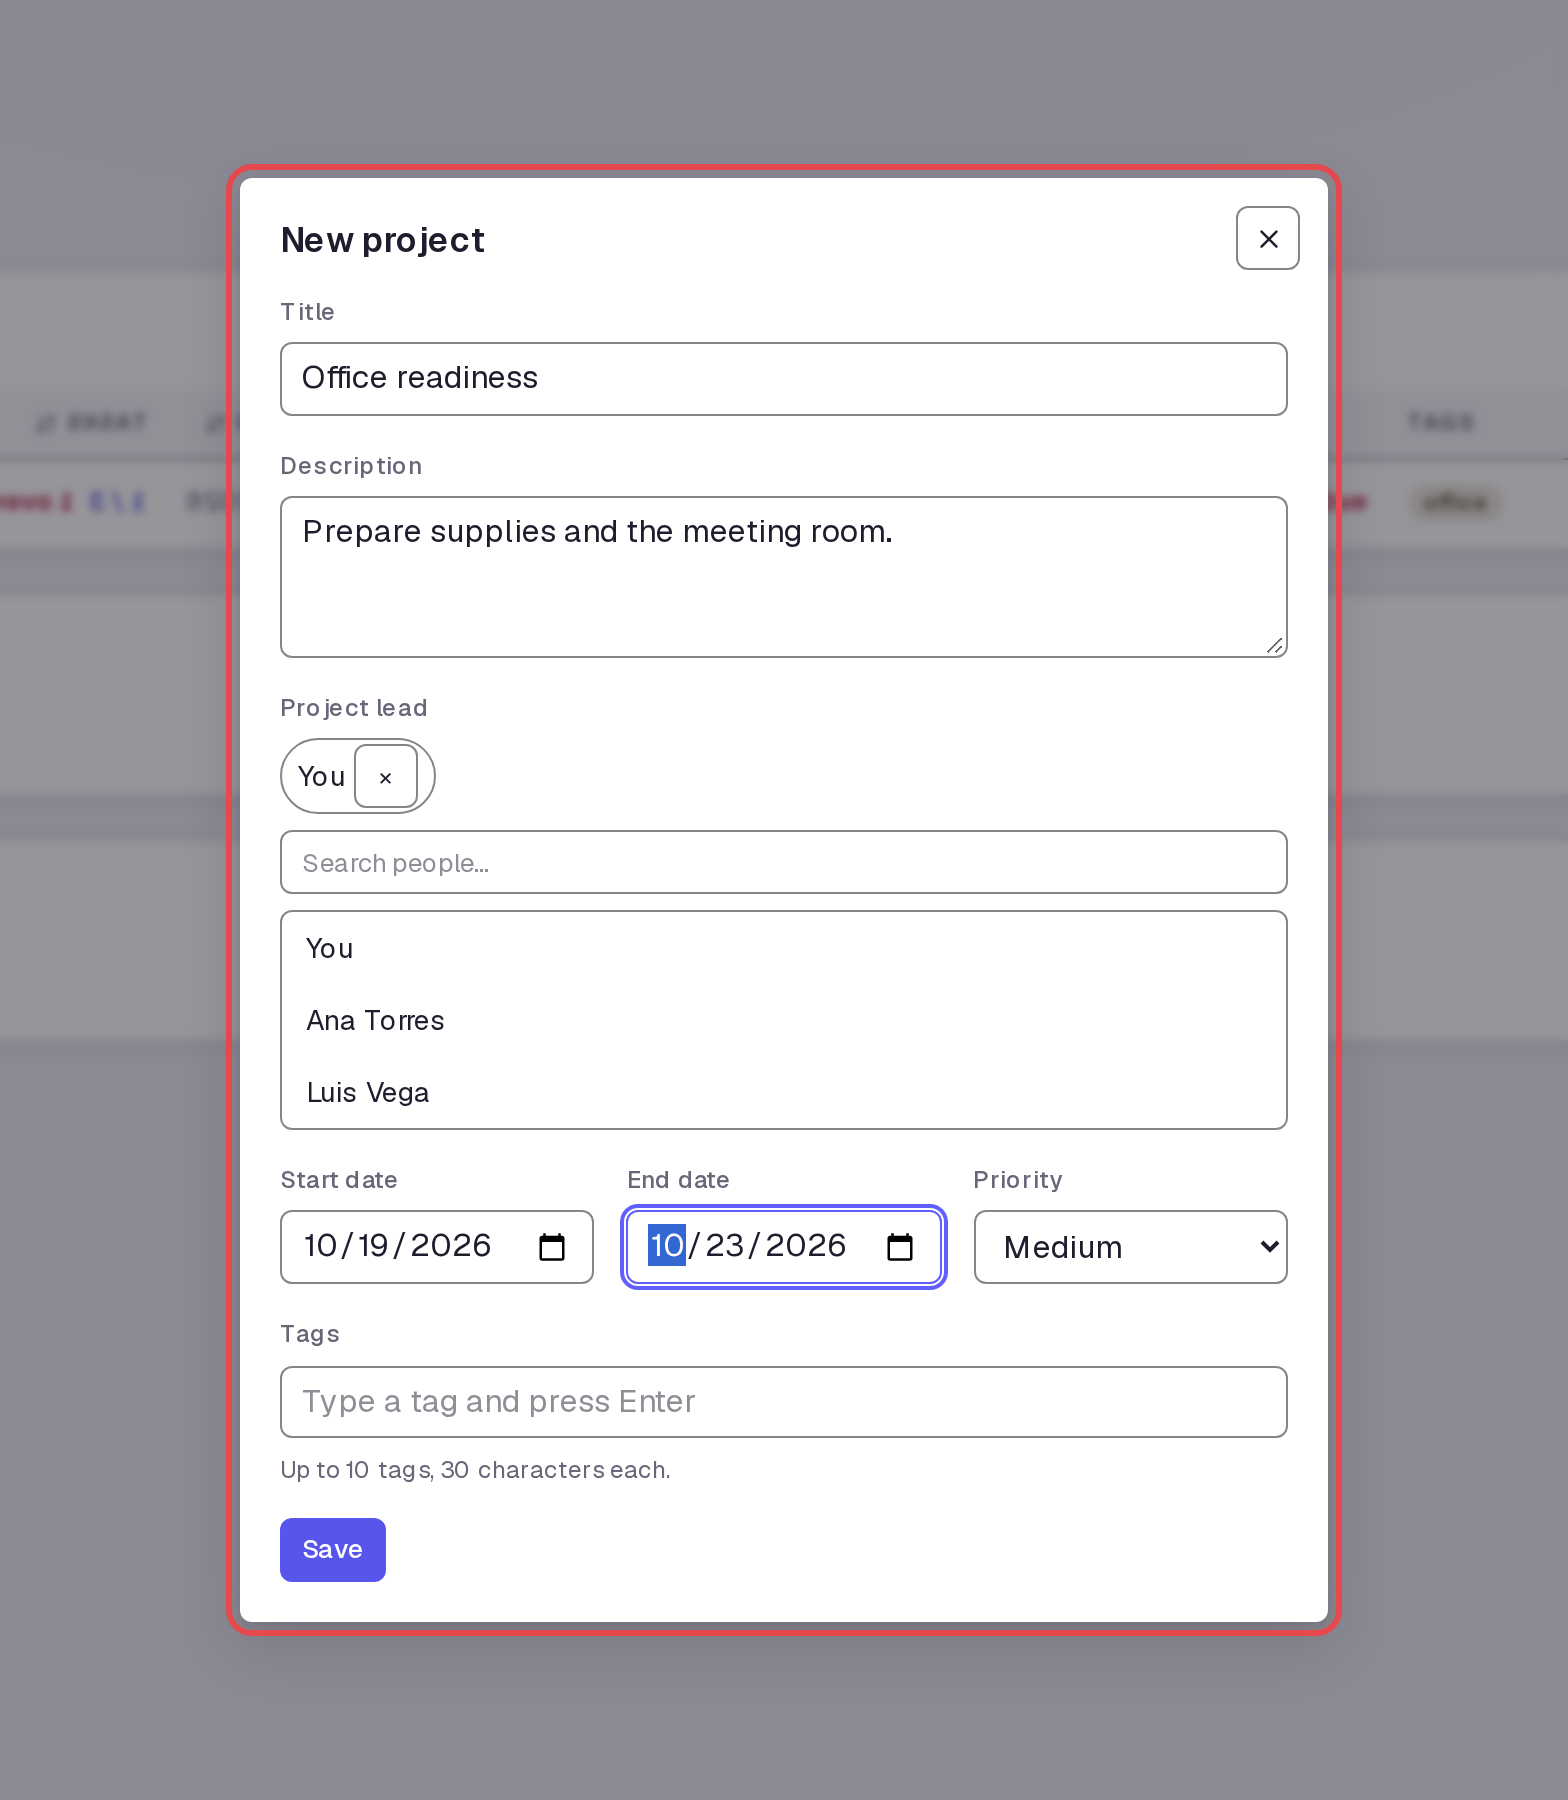
Step 7 — Create a project
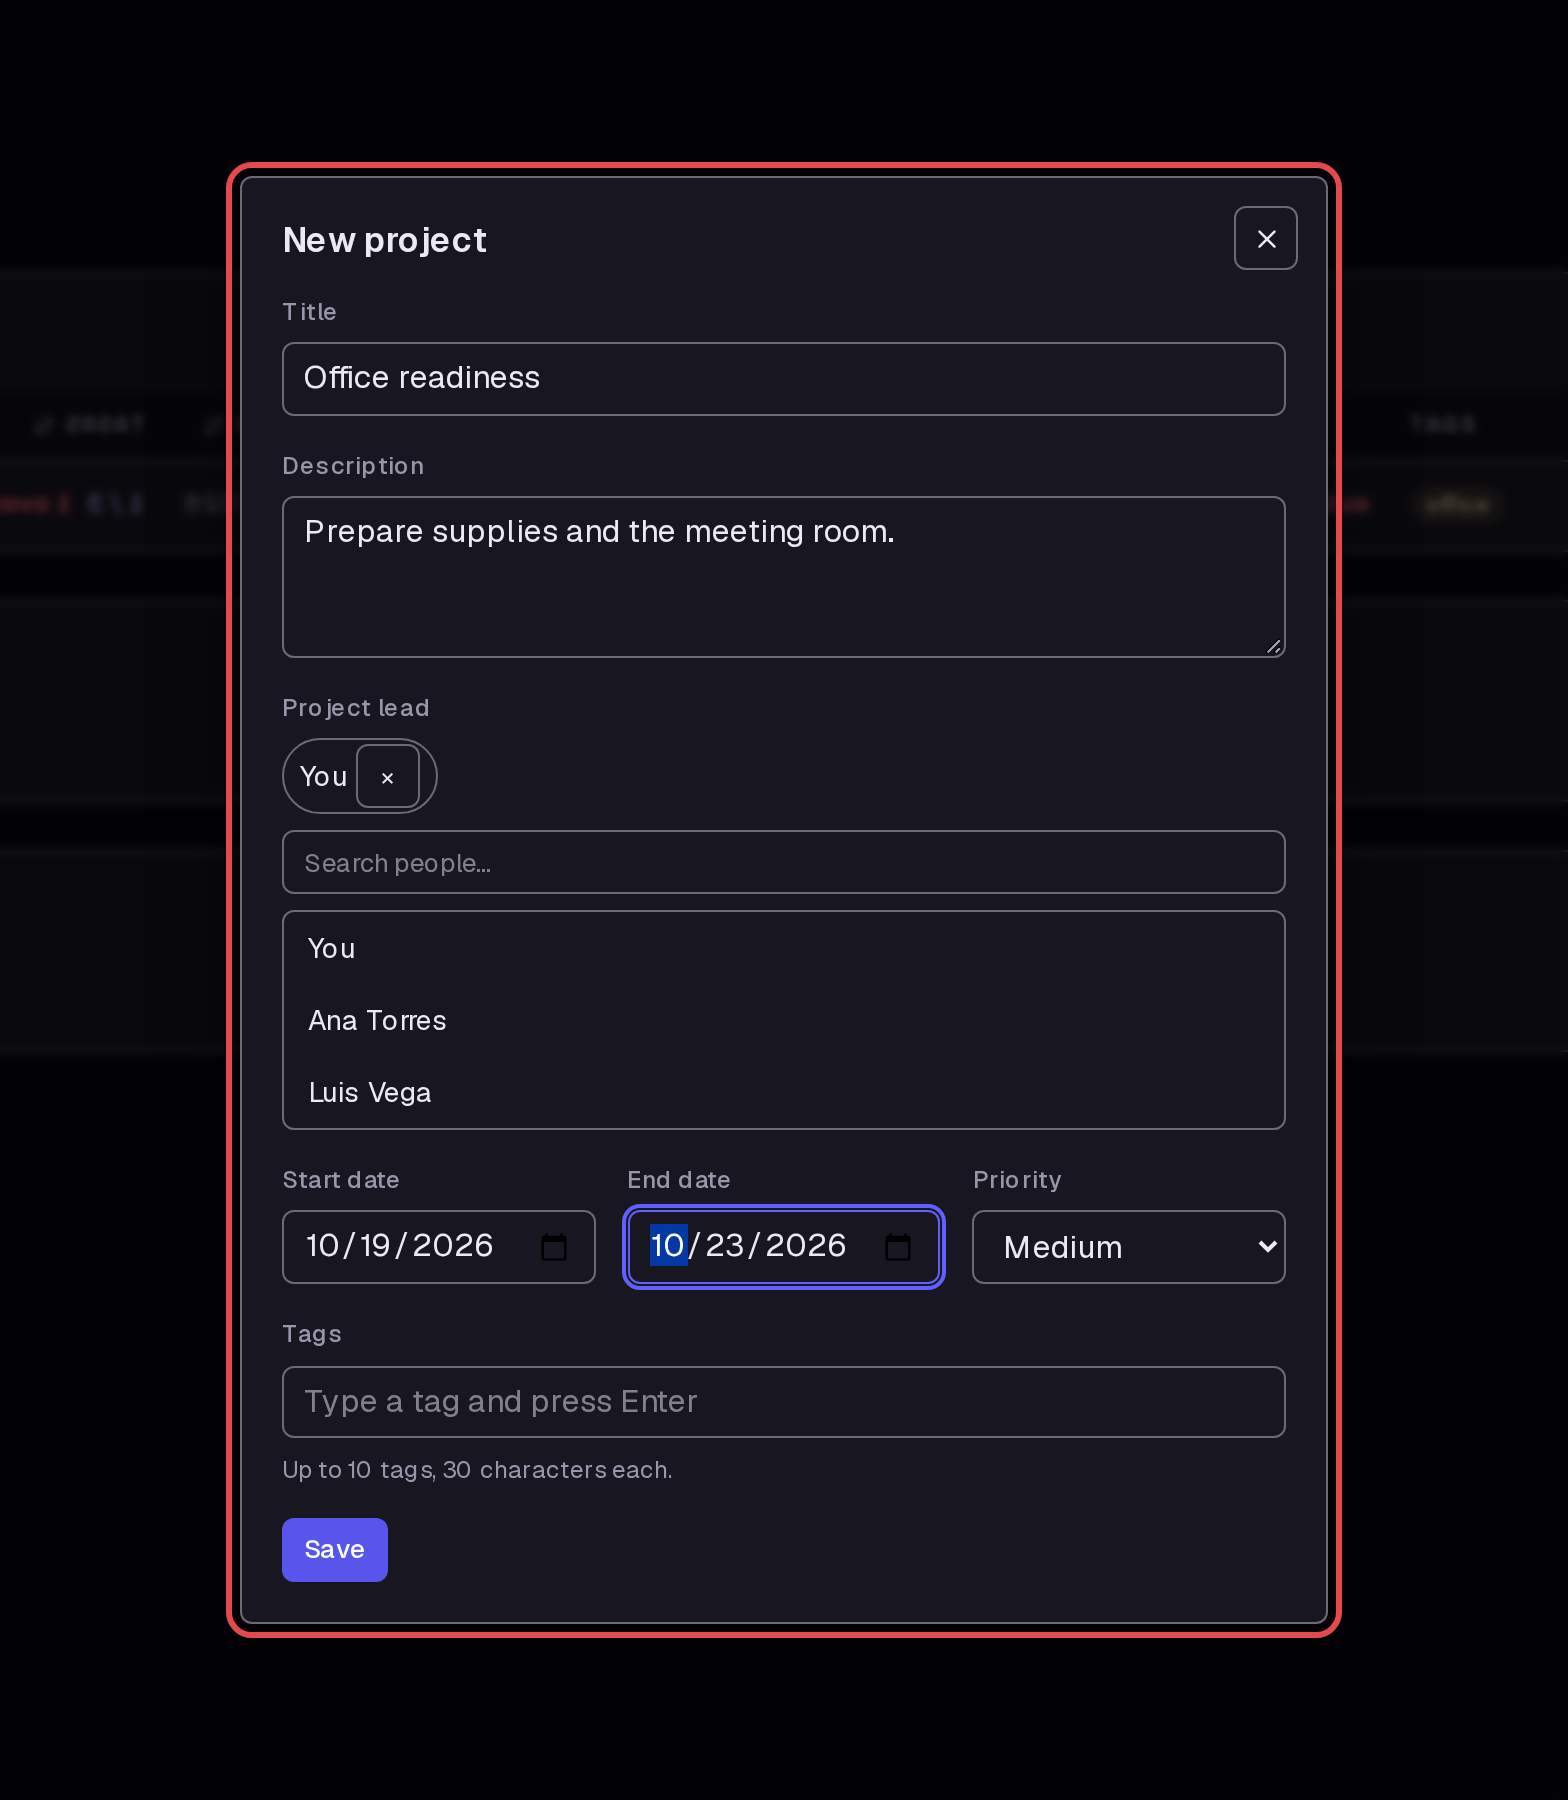
Open New project from Projects. Complete Title, Description, Start date, and End date as shown. Click Save to open the project.
Step 8 — Add a task to the project
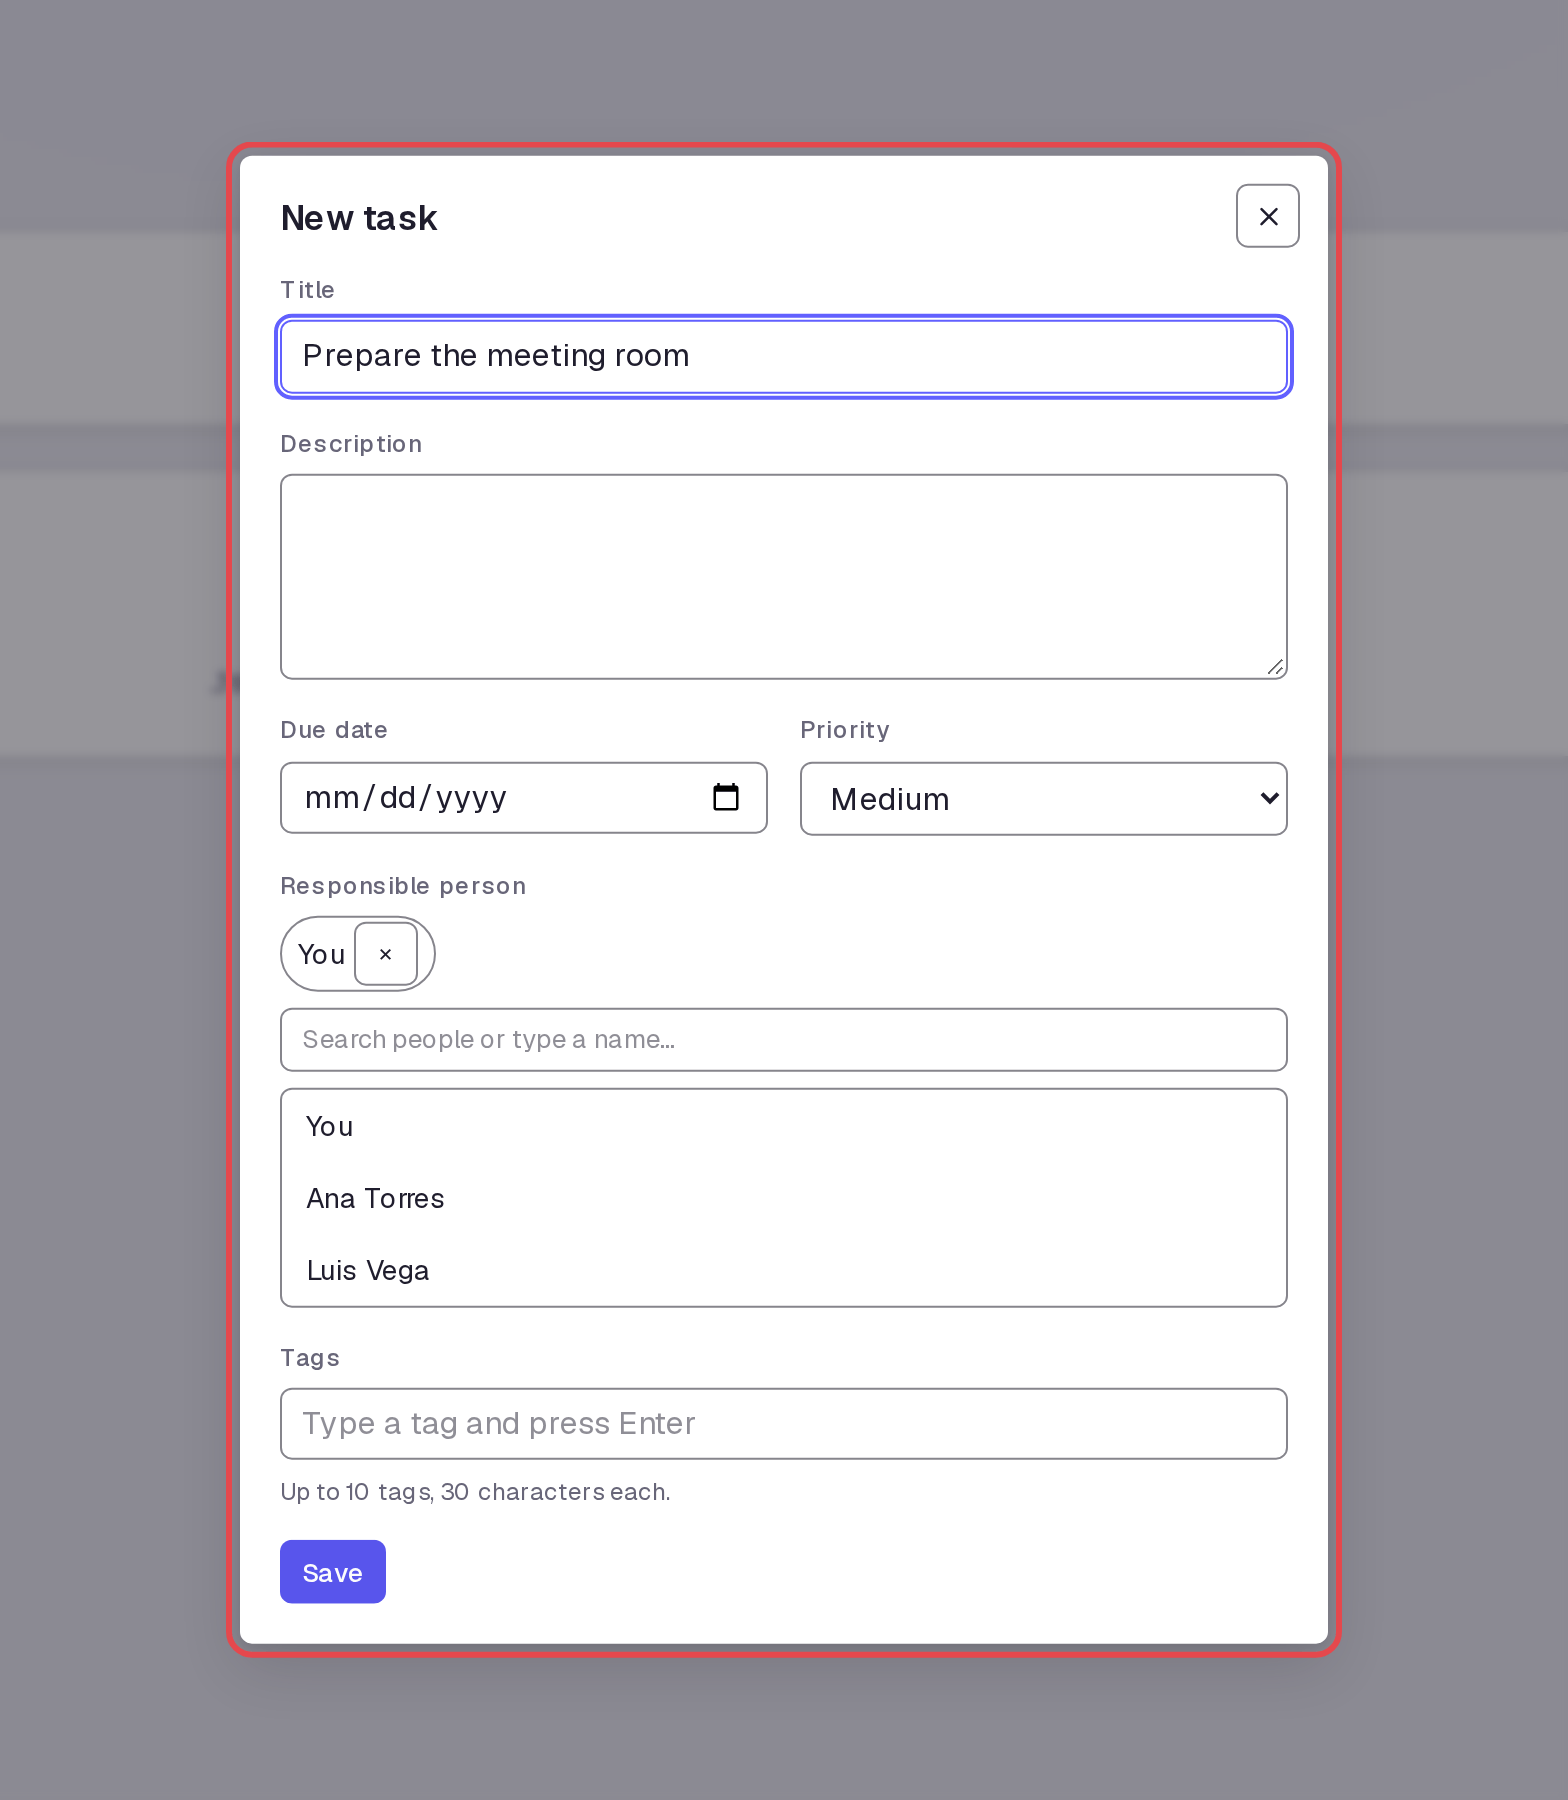
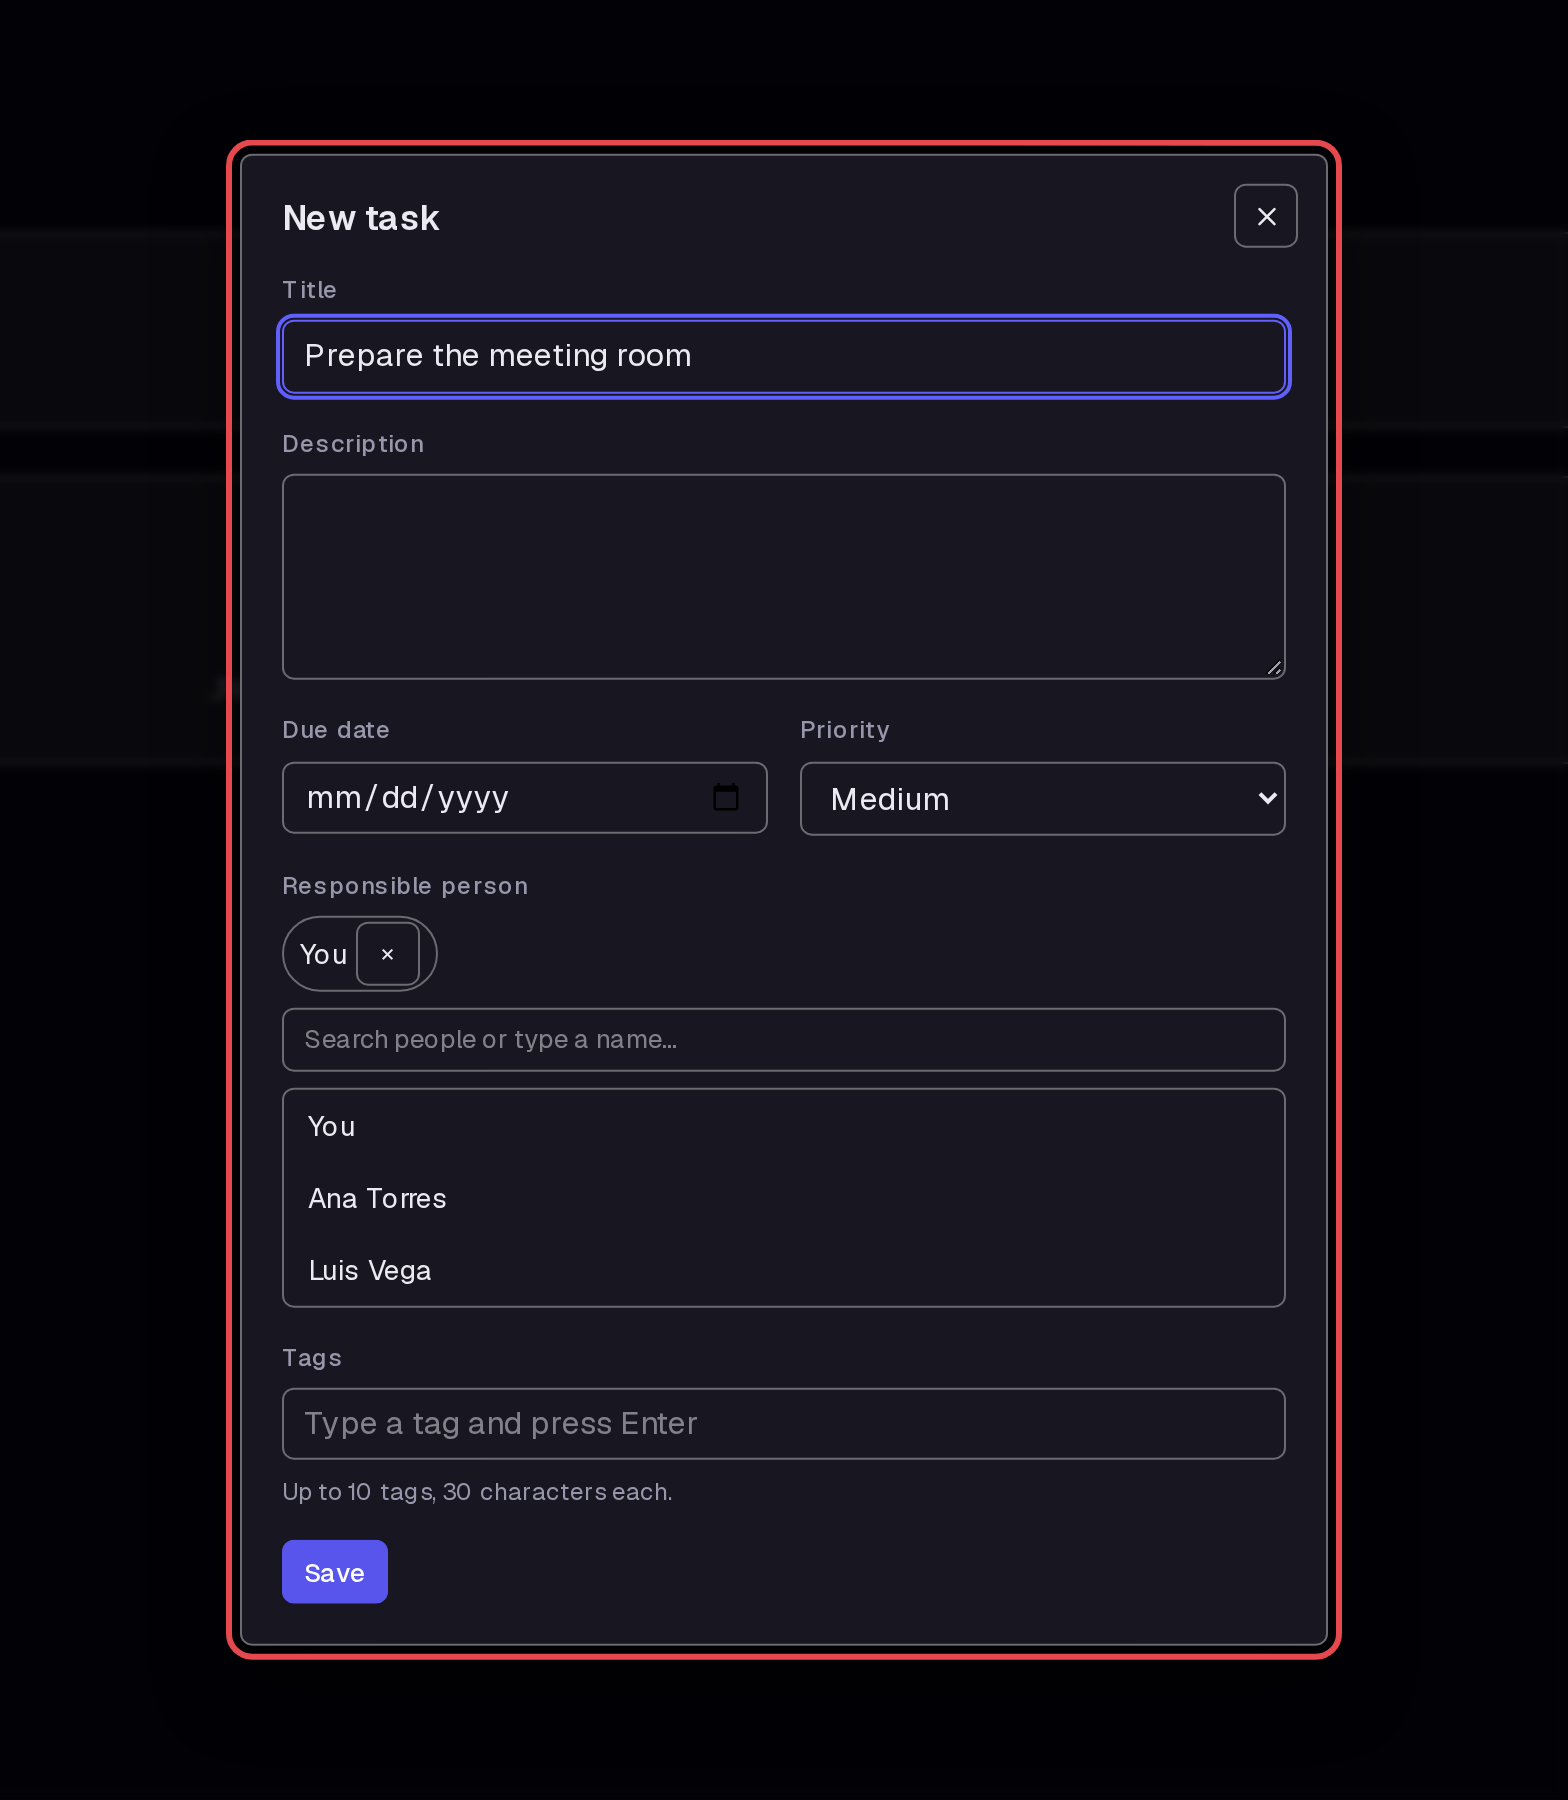
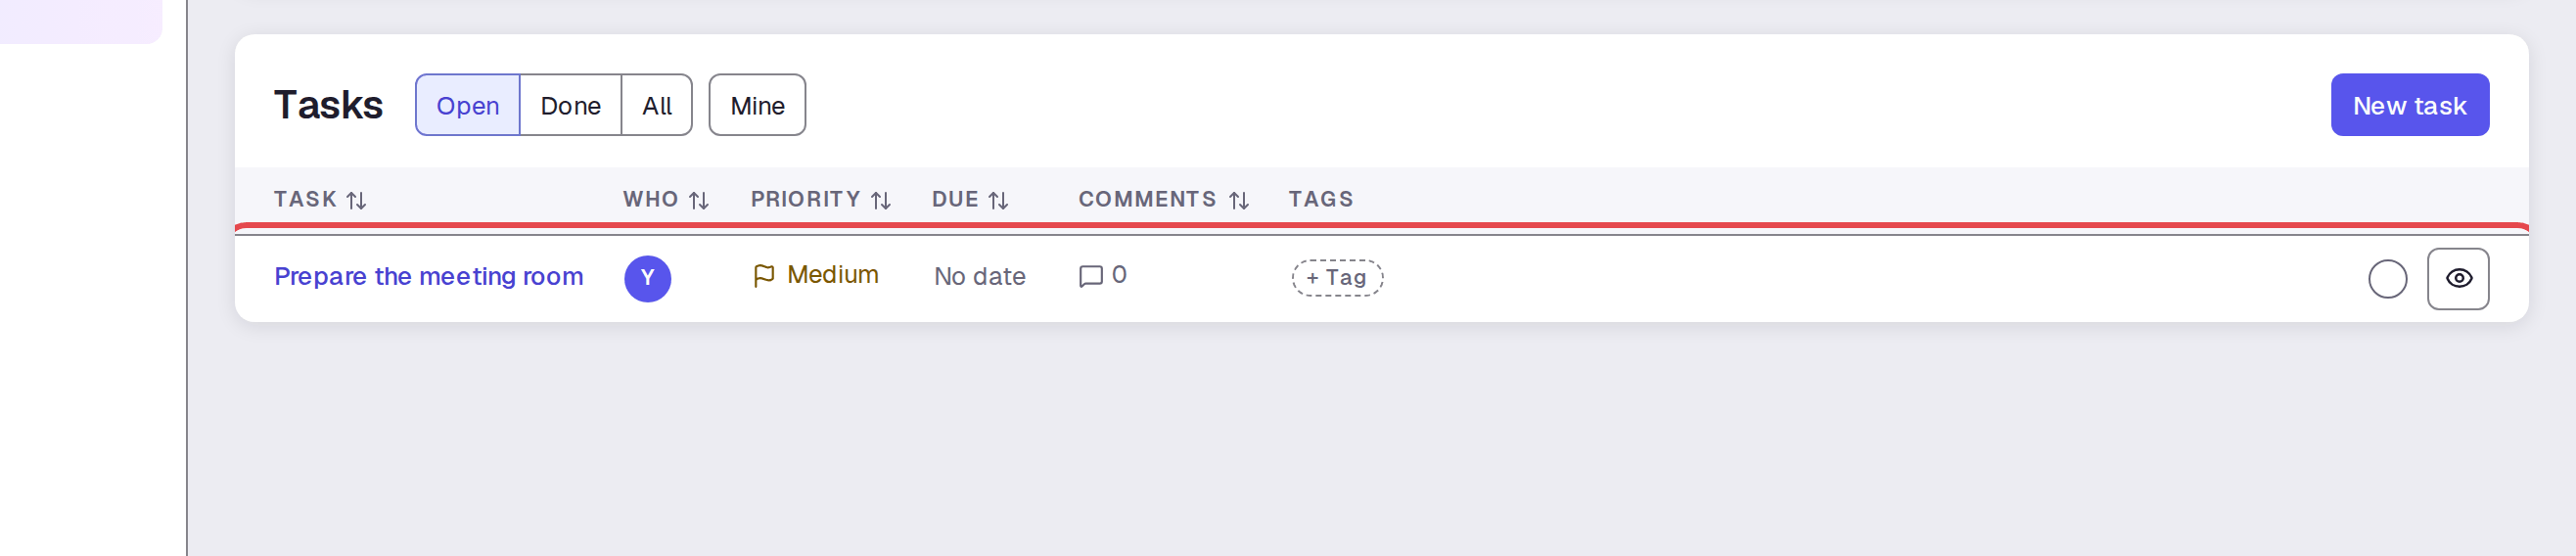
In the project, click New task. Enter “Prepare the meeting room” in Title. Click Save.
Step 9 — Review the project task
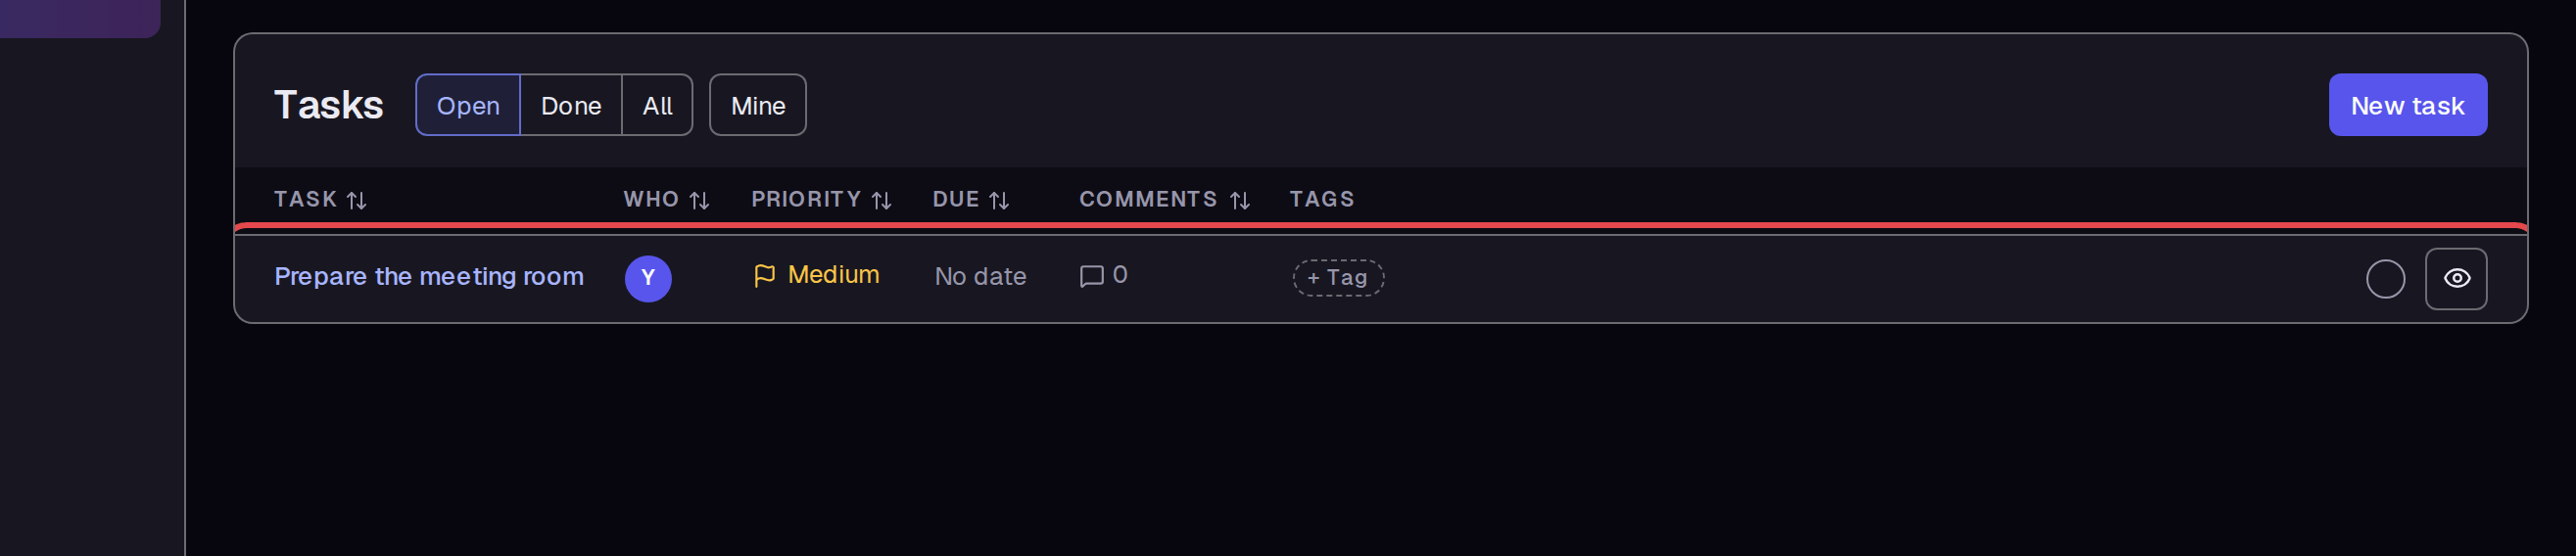
Find “Prepare the meeting room” under Tasks in the project. The row shows the person responsible, priority, and completion circle.
Tips
- Checklist ticks clear when you leave the checklist and return.
- To add a task tag, enter it in Tags and press Enter.
- Show completed brings completed tasks back into the task table.
- New task inside a project adds the task to that project.
What next
Use your checklist in a training course, or draw a flowchart for the work process.