How to invite and manage members
about 8 minutes
Invite people so they can work in the same workspace. A role controls their access. This example follows one test member from invitation to removal.
Before you start
Use the workspace owner account for member management. Open the invitation as the recipient in a separate browser session so the owner's session stays available.
Step 1 — Open Members
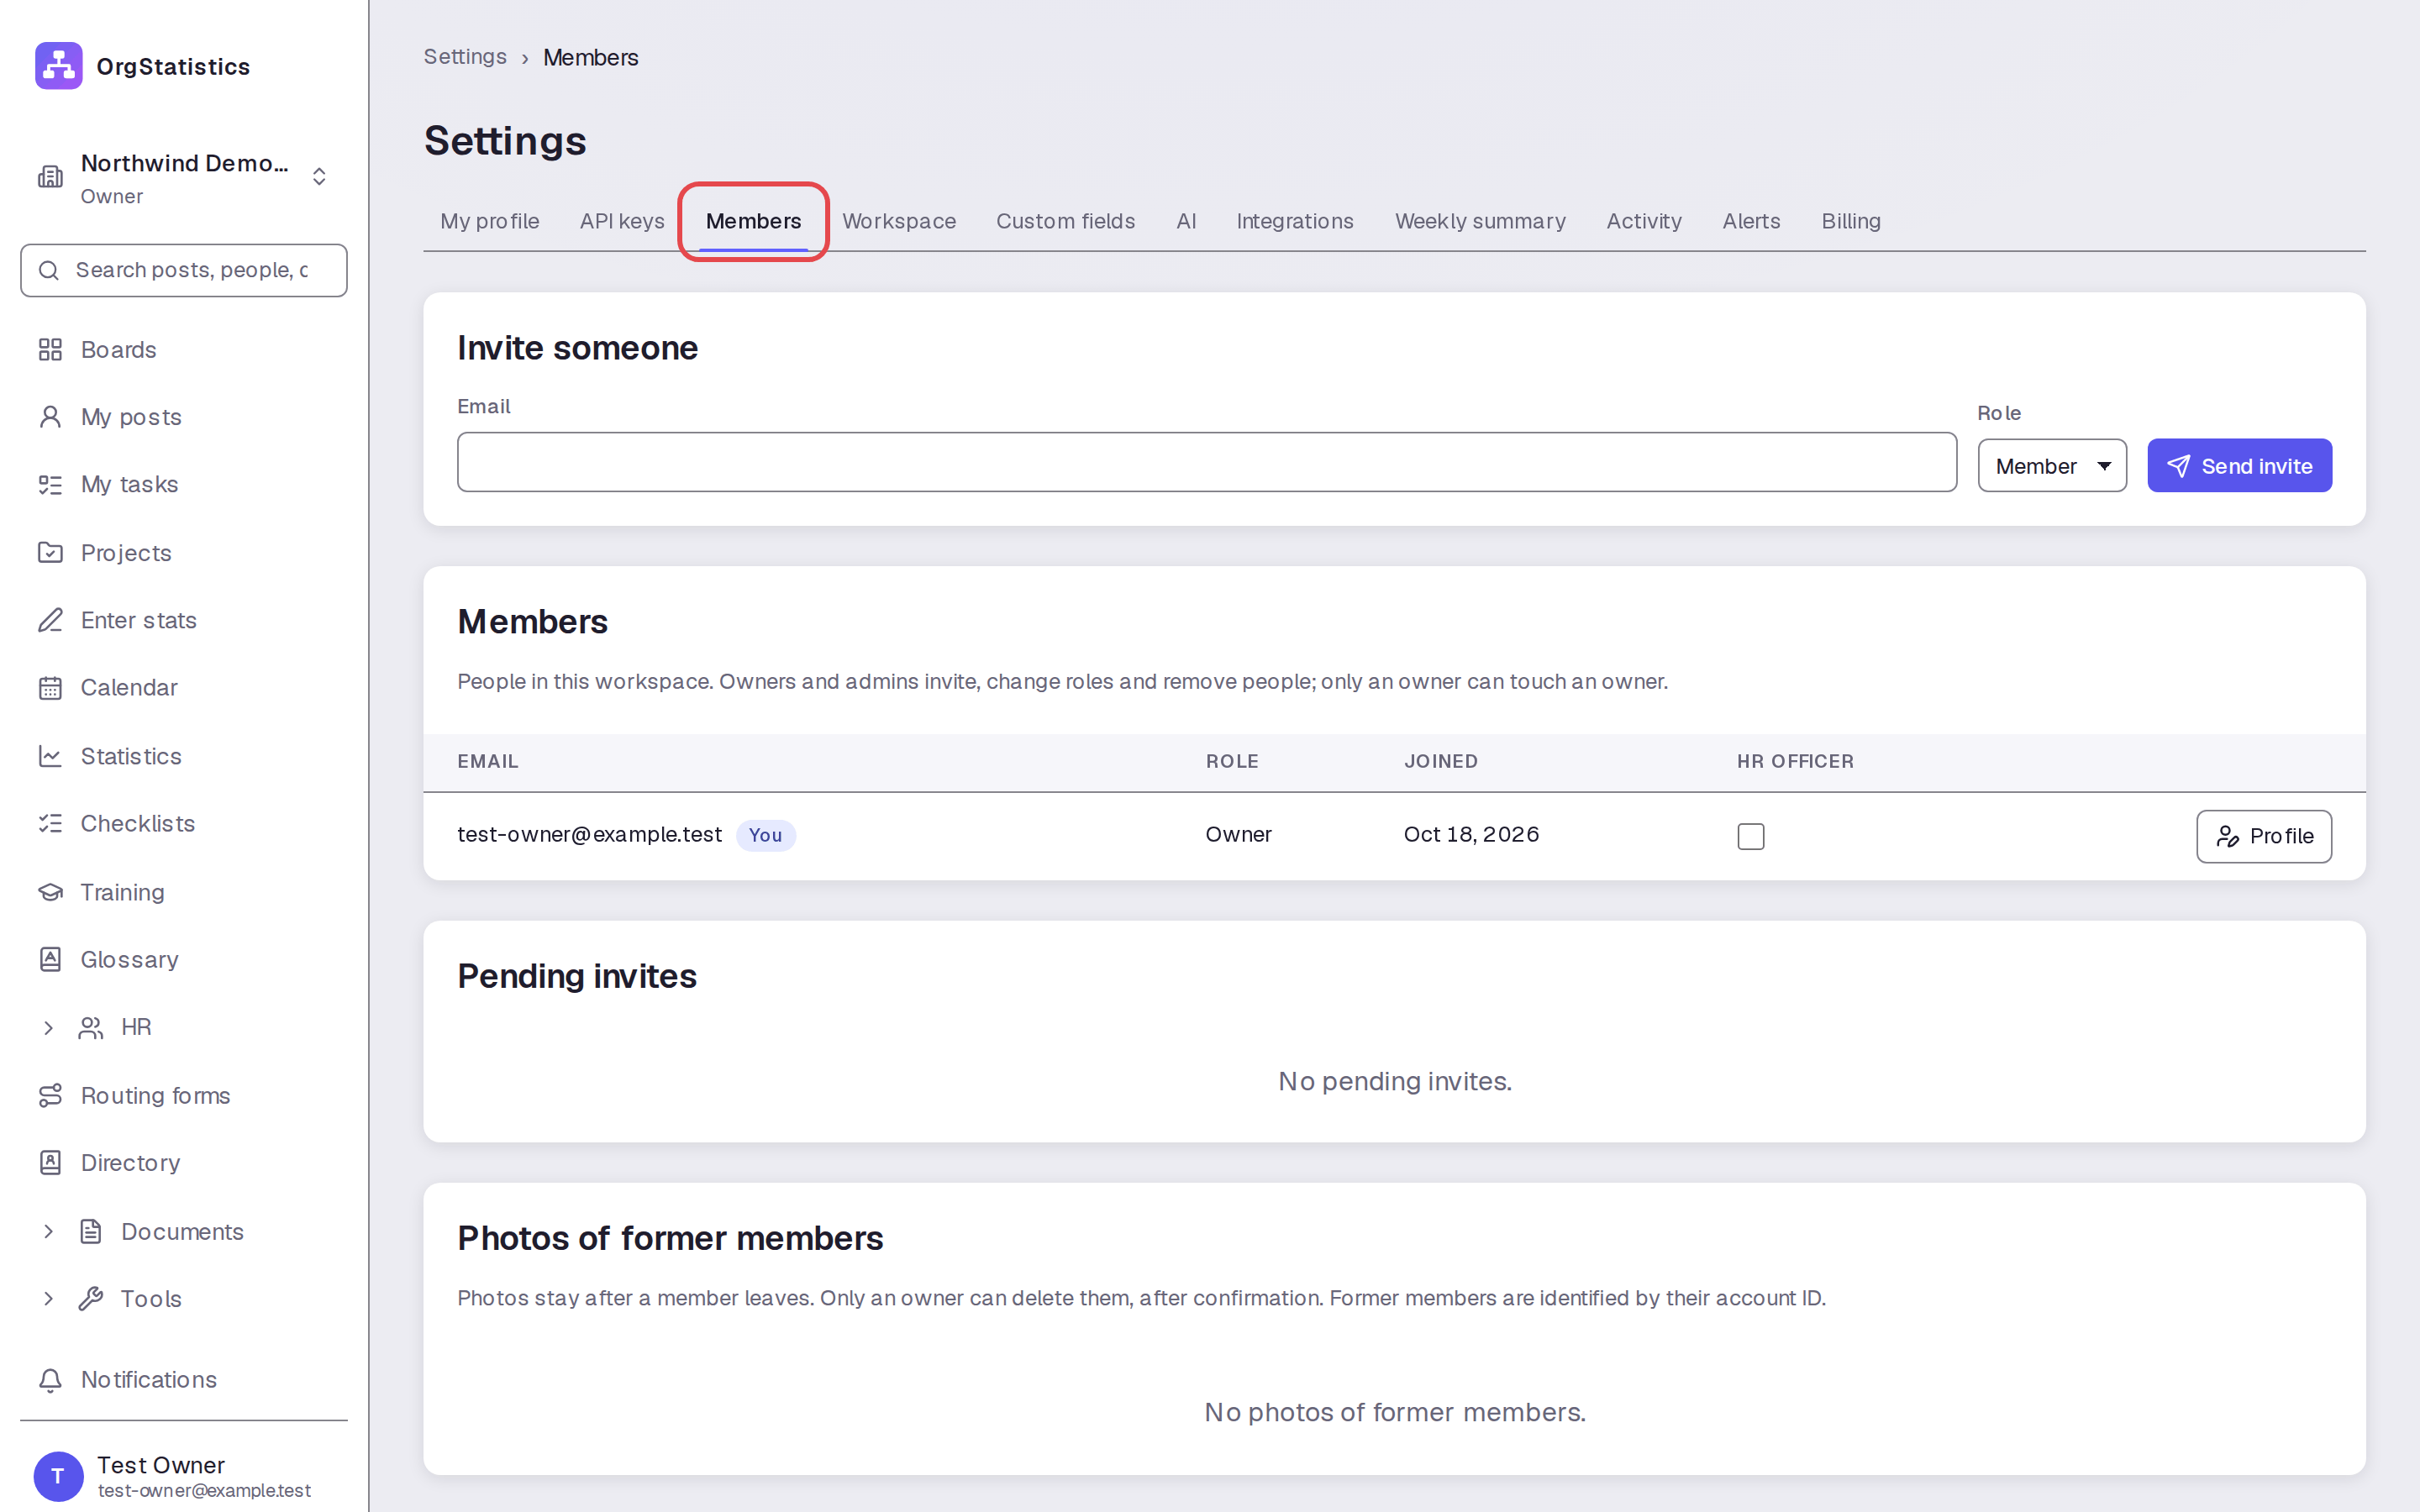
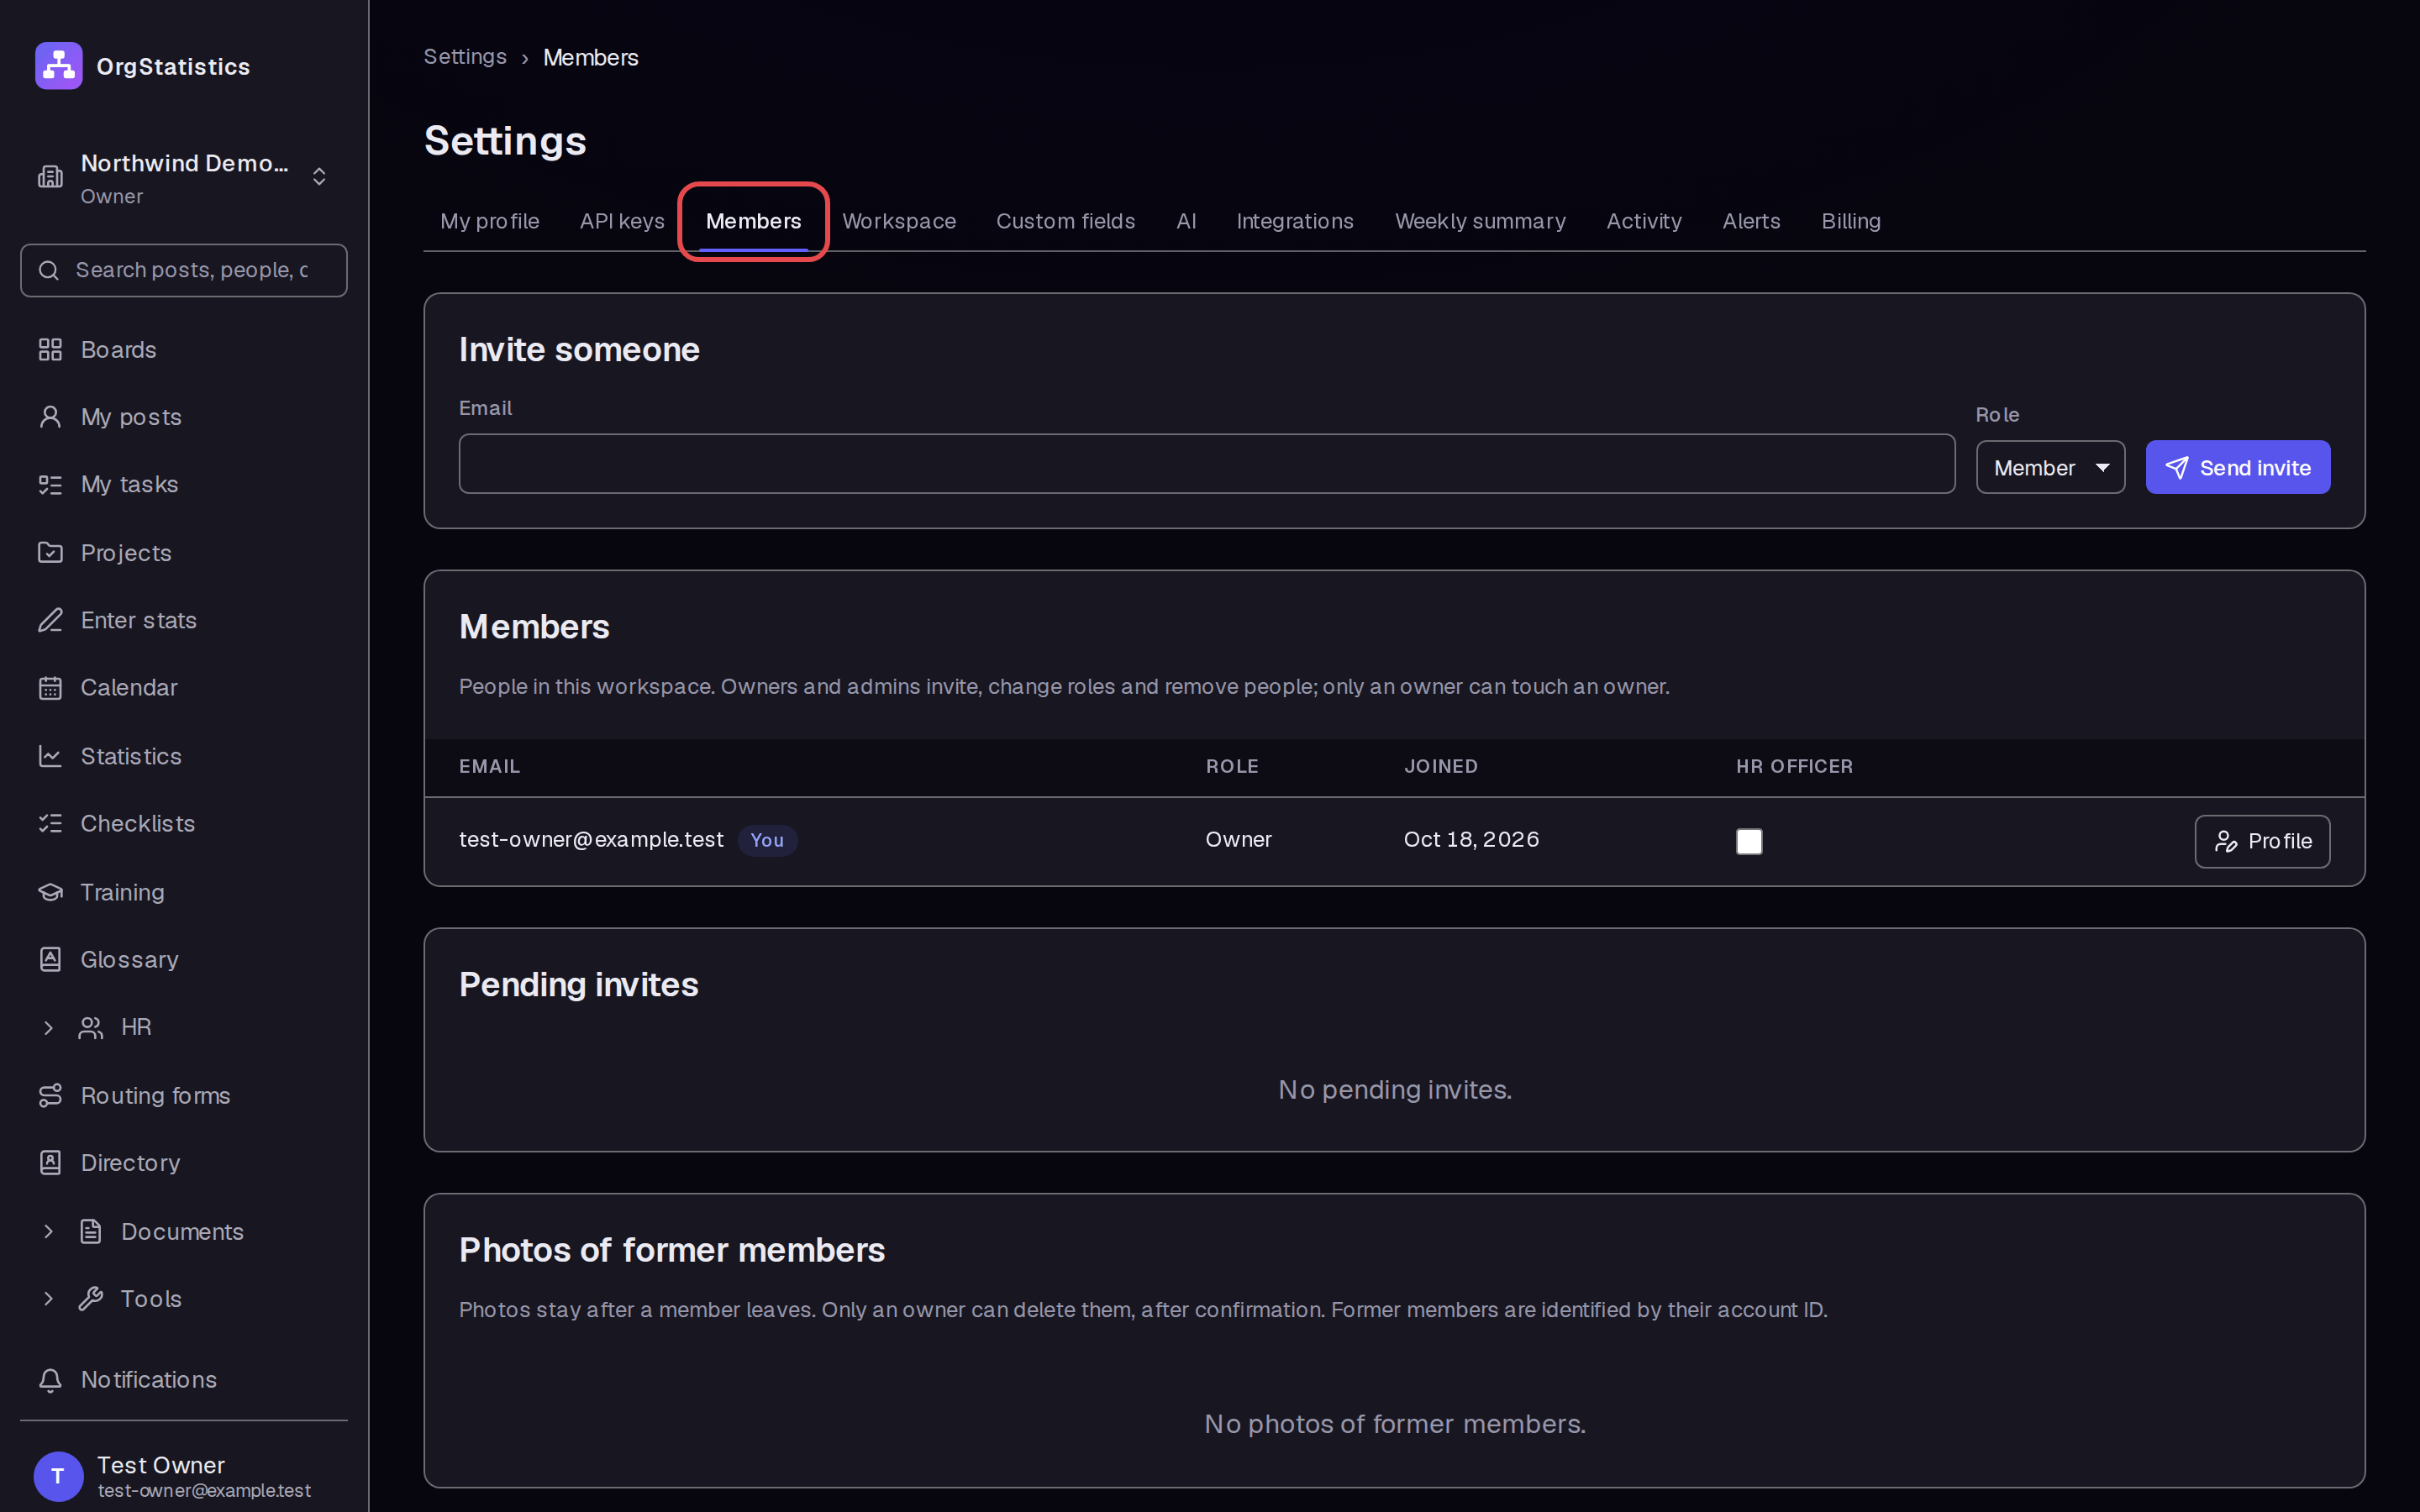
Open your account menu and click Settings. Click Members.
Step 2 — Enter the invite email
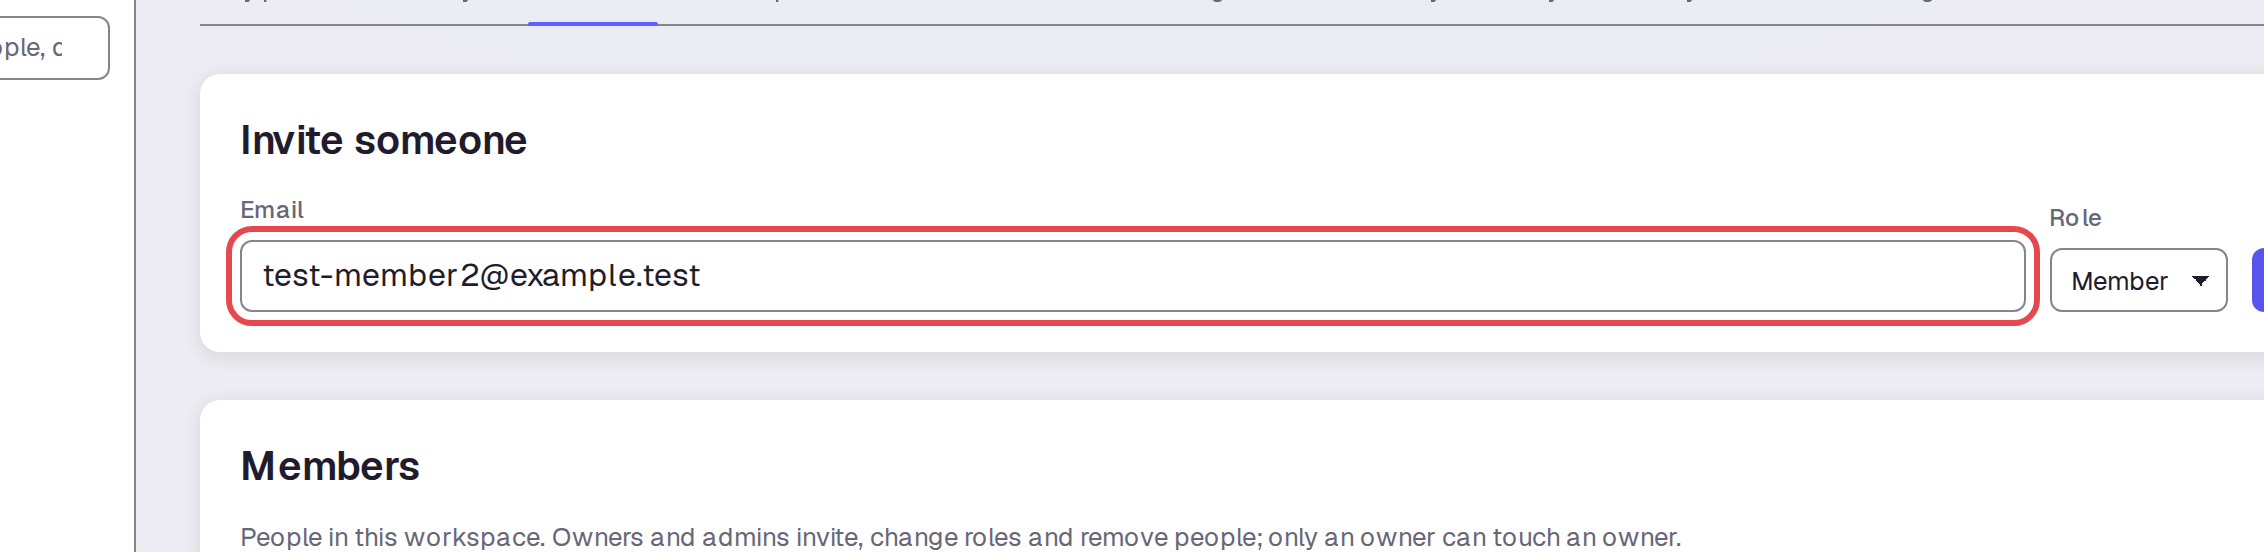
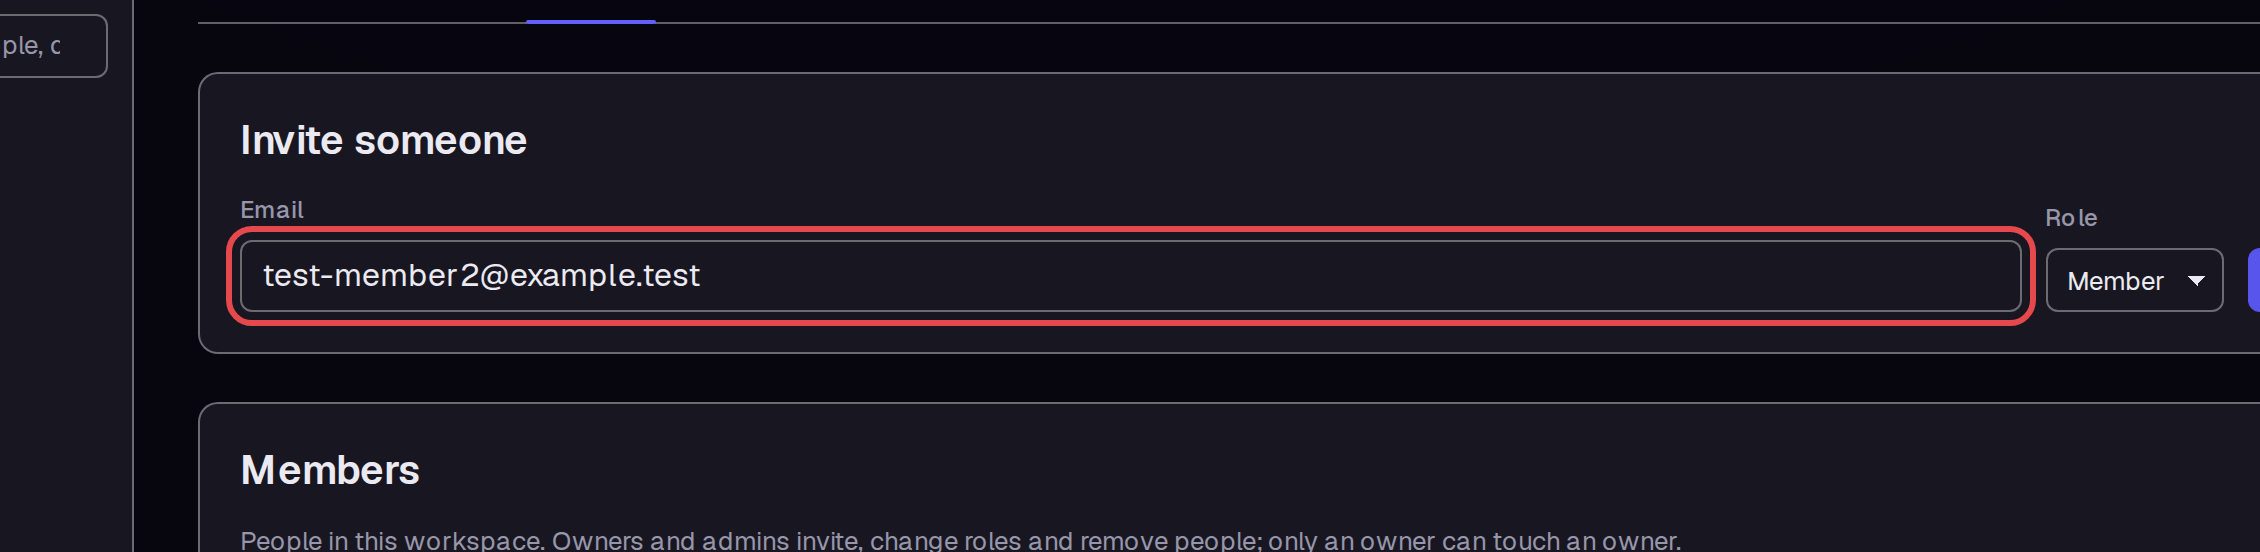
Under Invite someone, enter the person's Email. We used test-member2@example.test.
Step 3 — Choose the invite role
Choose Member from Role for this example. The invite form also offers Admin.
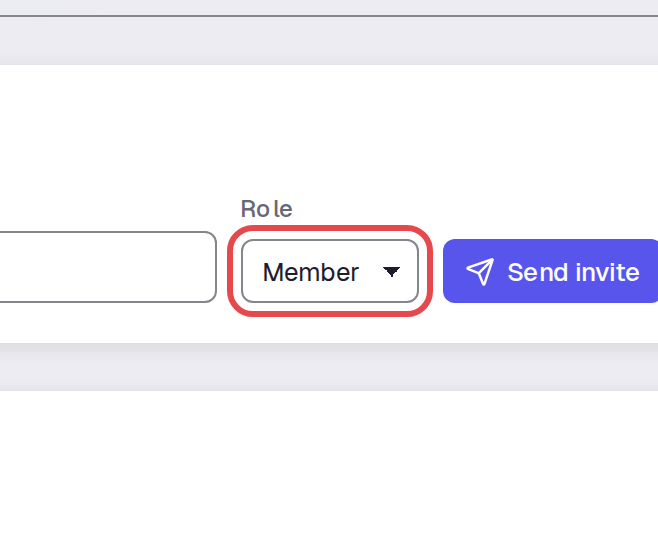
Step 4 — Send the invite
Click Send invite. Check the message that the invite was emailed. The person also appears under Pending invites until they join.
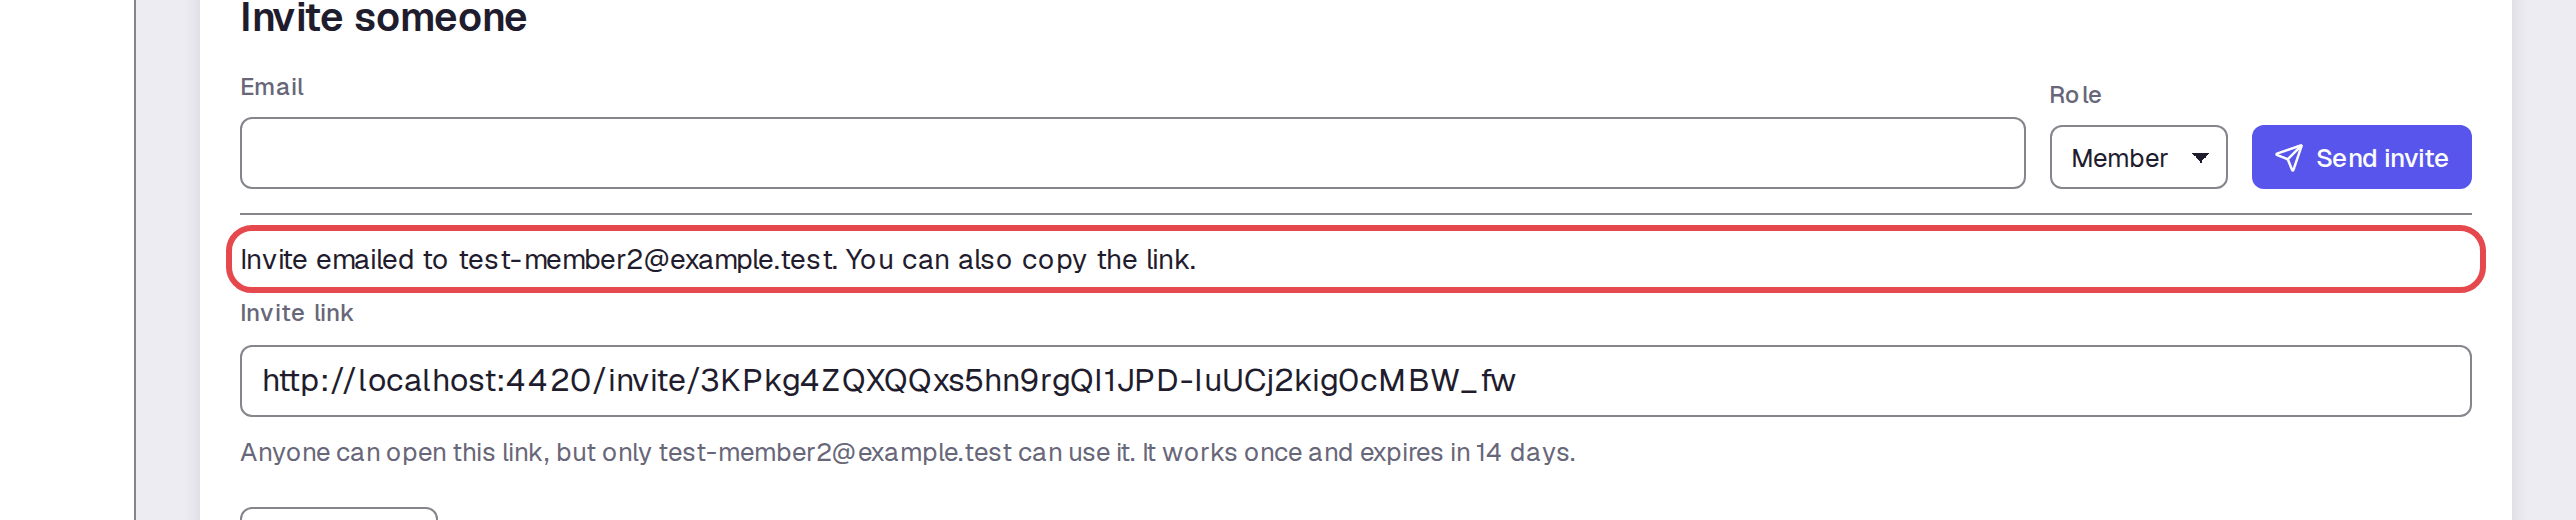
Step 5 — Open the invitation email
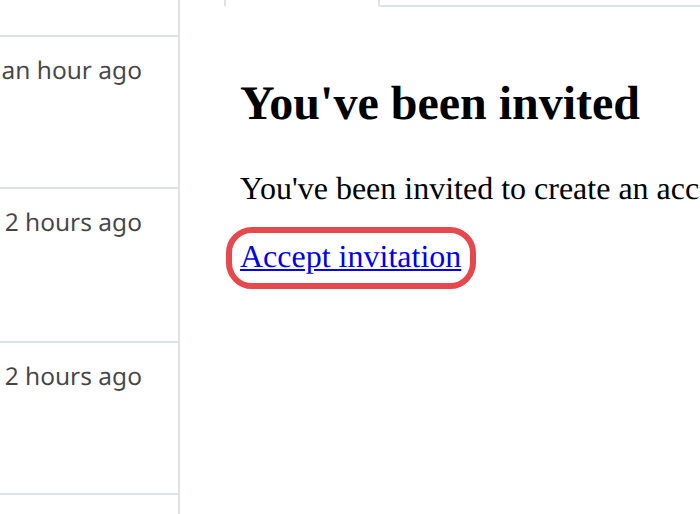
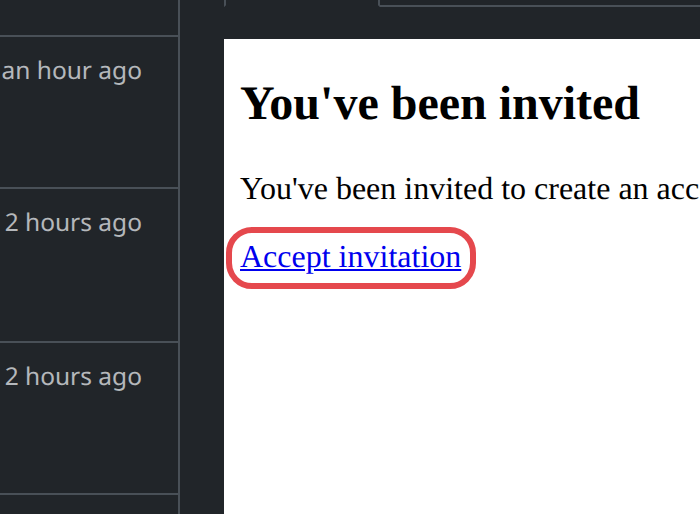
As the recipient, open the invite email titled You've been invited. Click Accept invitation.
Step 6 — Continue as the invited person
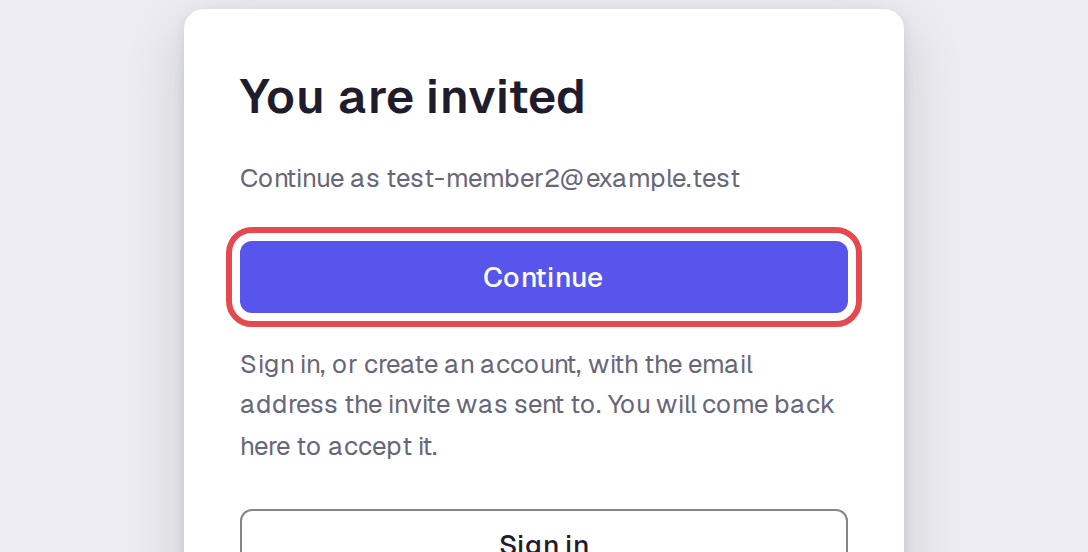
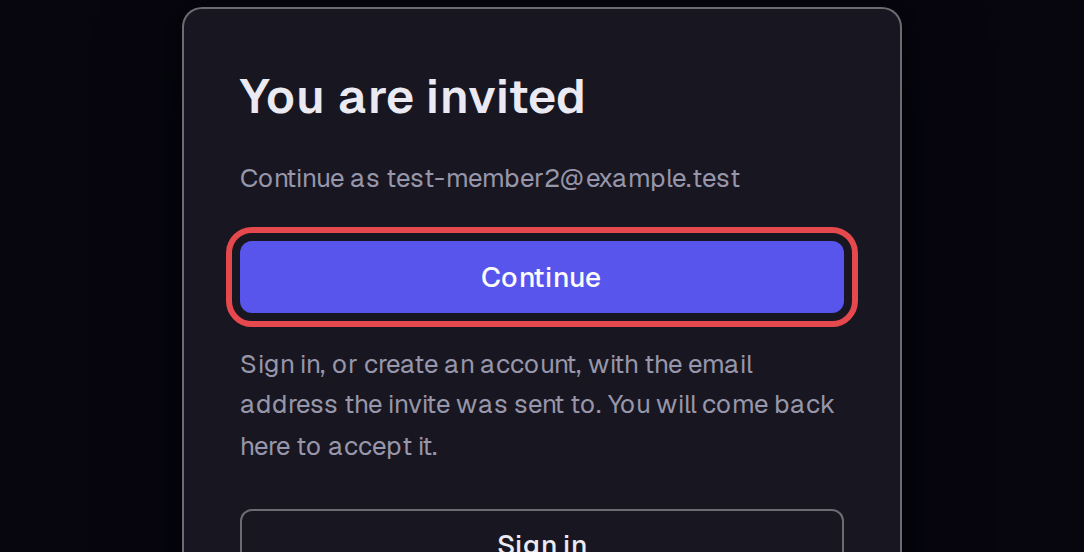
Check the address after Continue as. Click Continue.
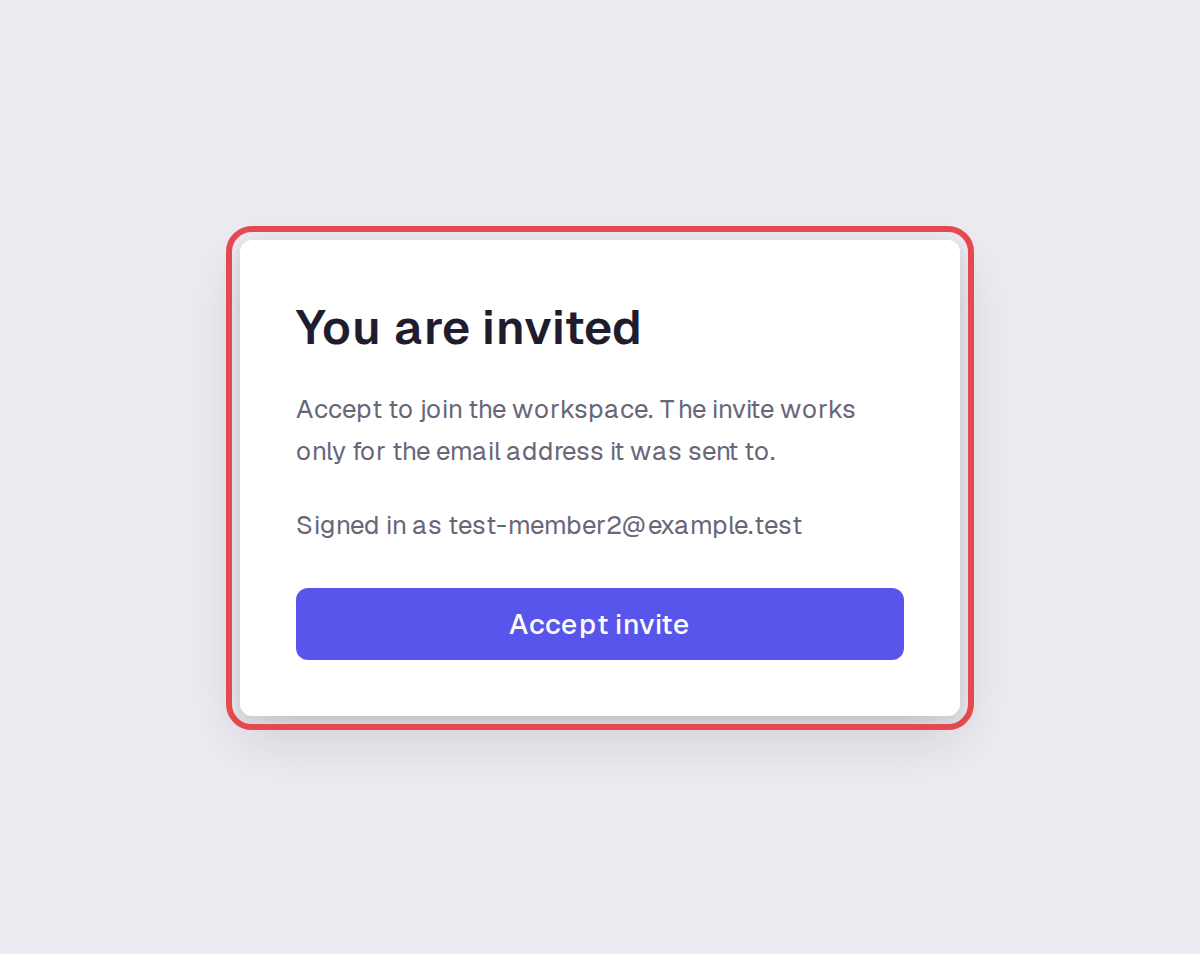
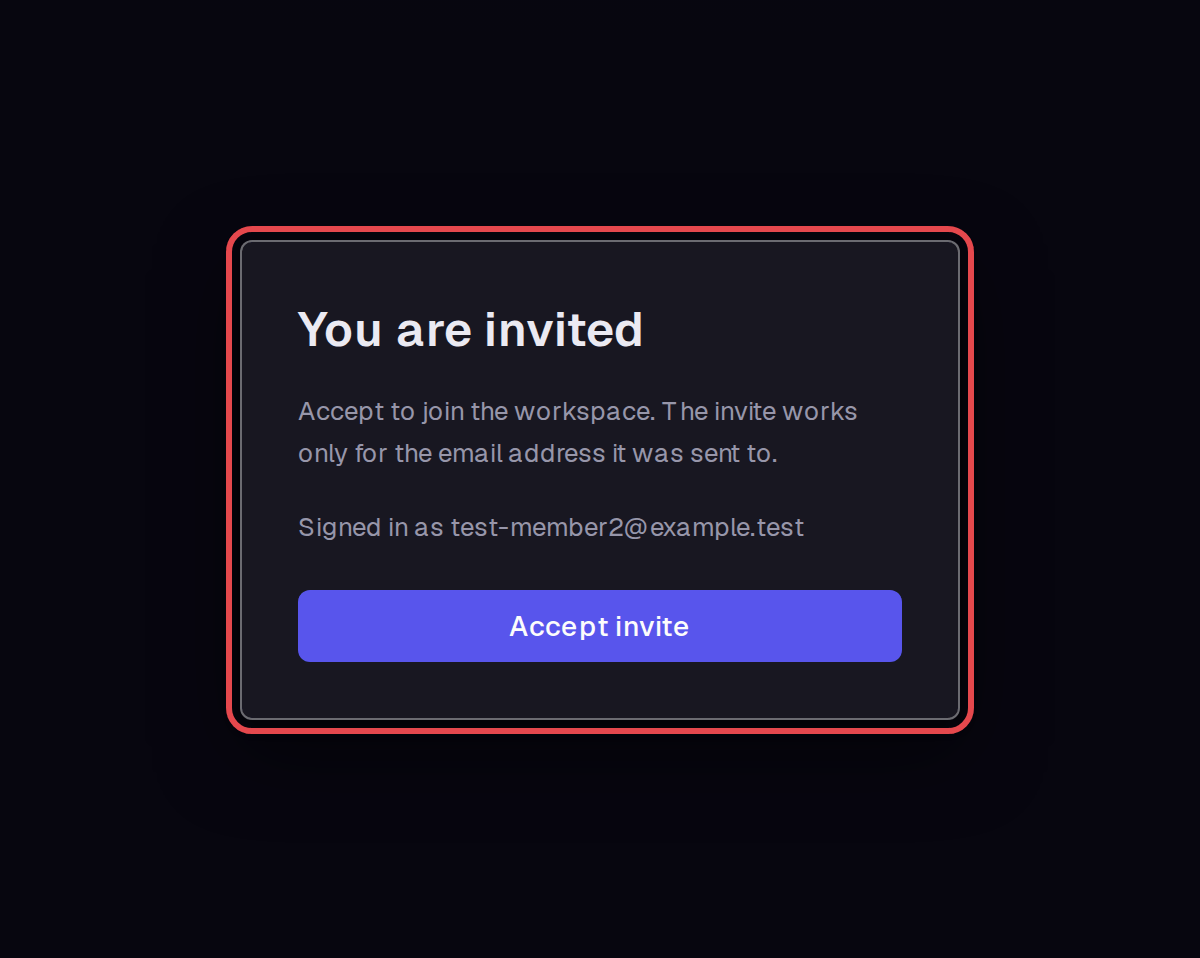
Step 7 — Join the workspace
Check that Signed in as shows the invited email. Click Accept invite. The workspace opens with Member below its name.
Step 8 — Choose a new role
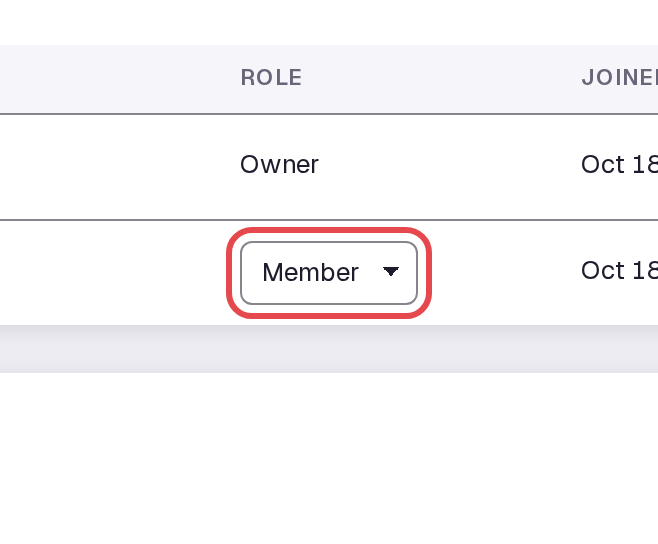
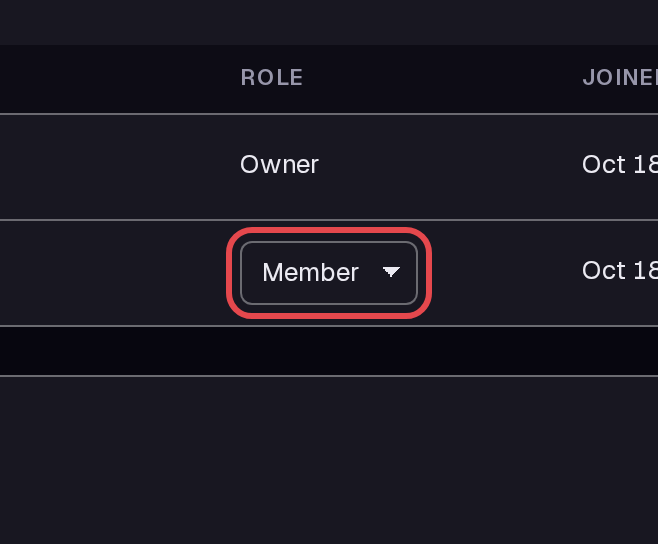
Return to the owner's session and reload Members. In the member's row, open the role list and choose Admin.
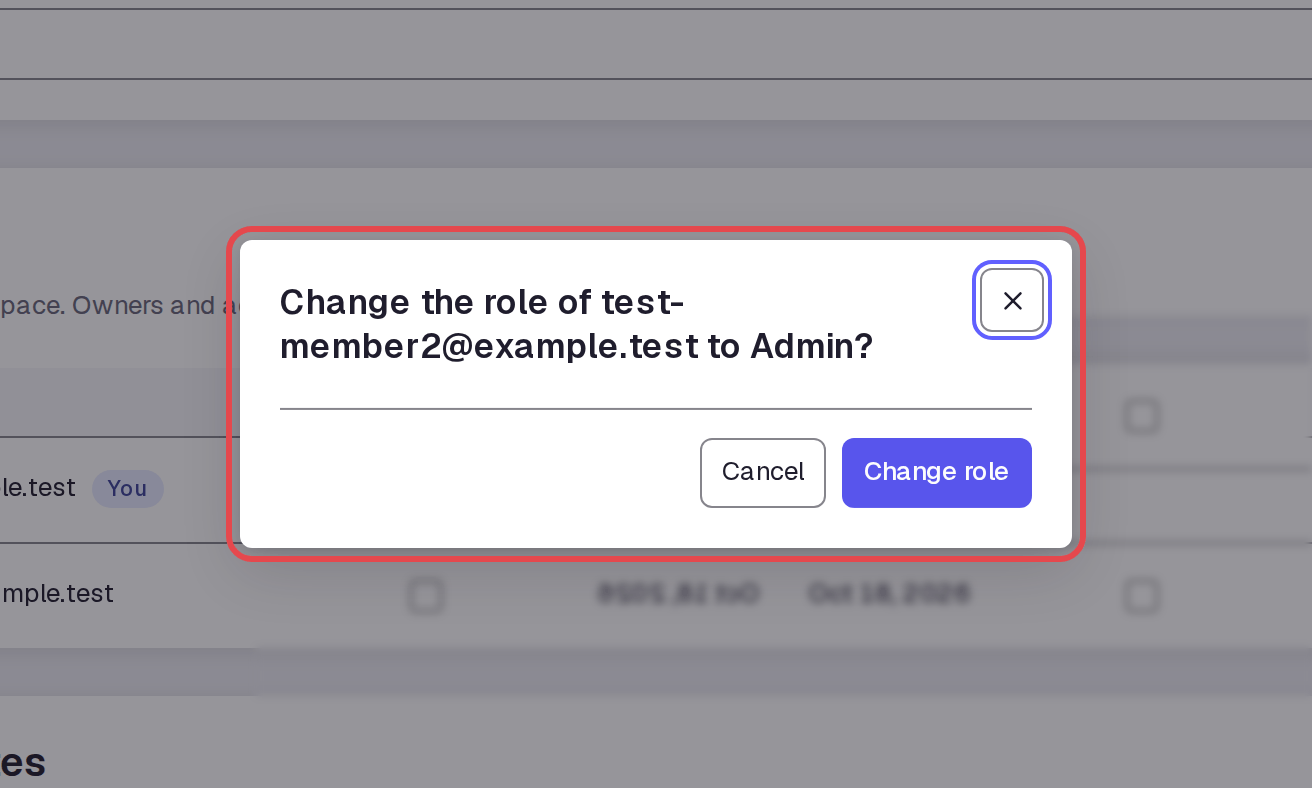
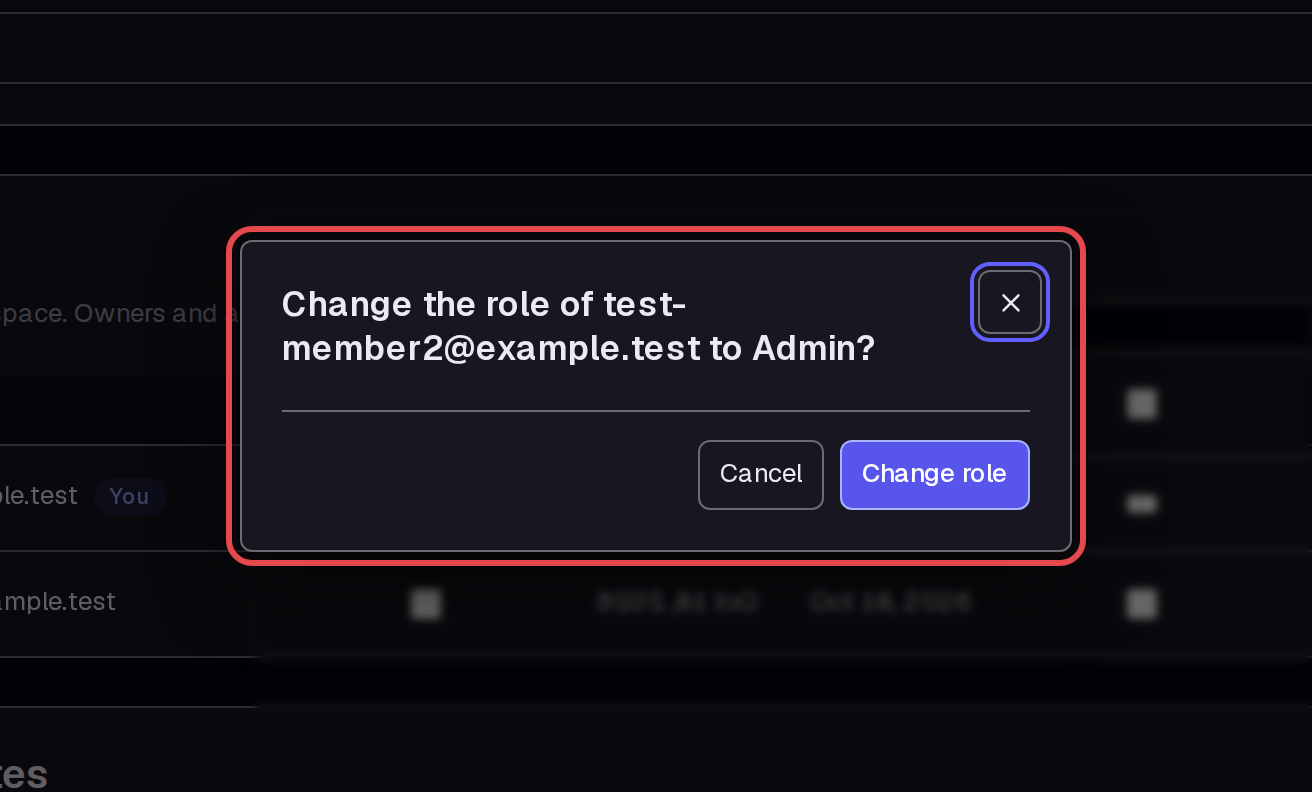
Step 9 — Confirm the role change
Check the email and new role in the confirmation. Click Change role.
Step 10 — Check the saved role
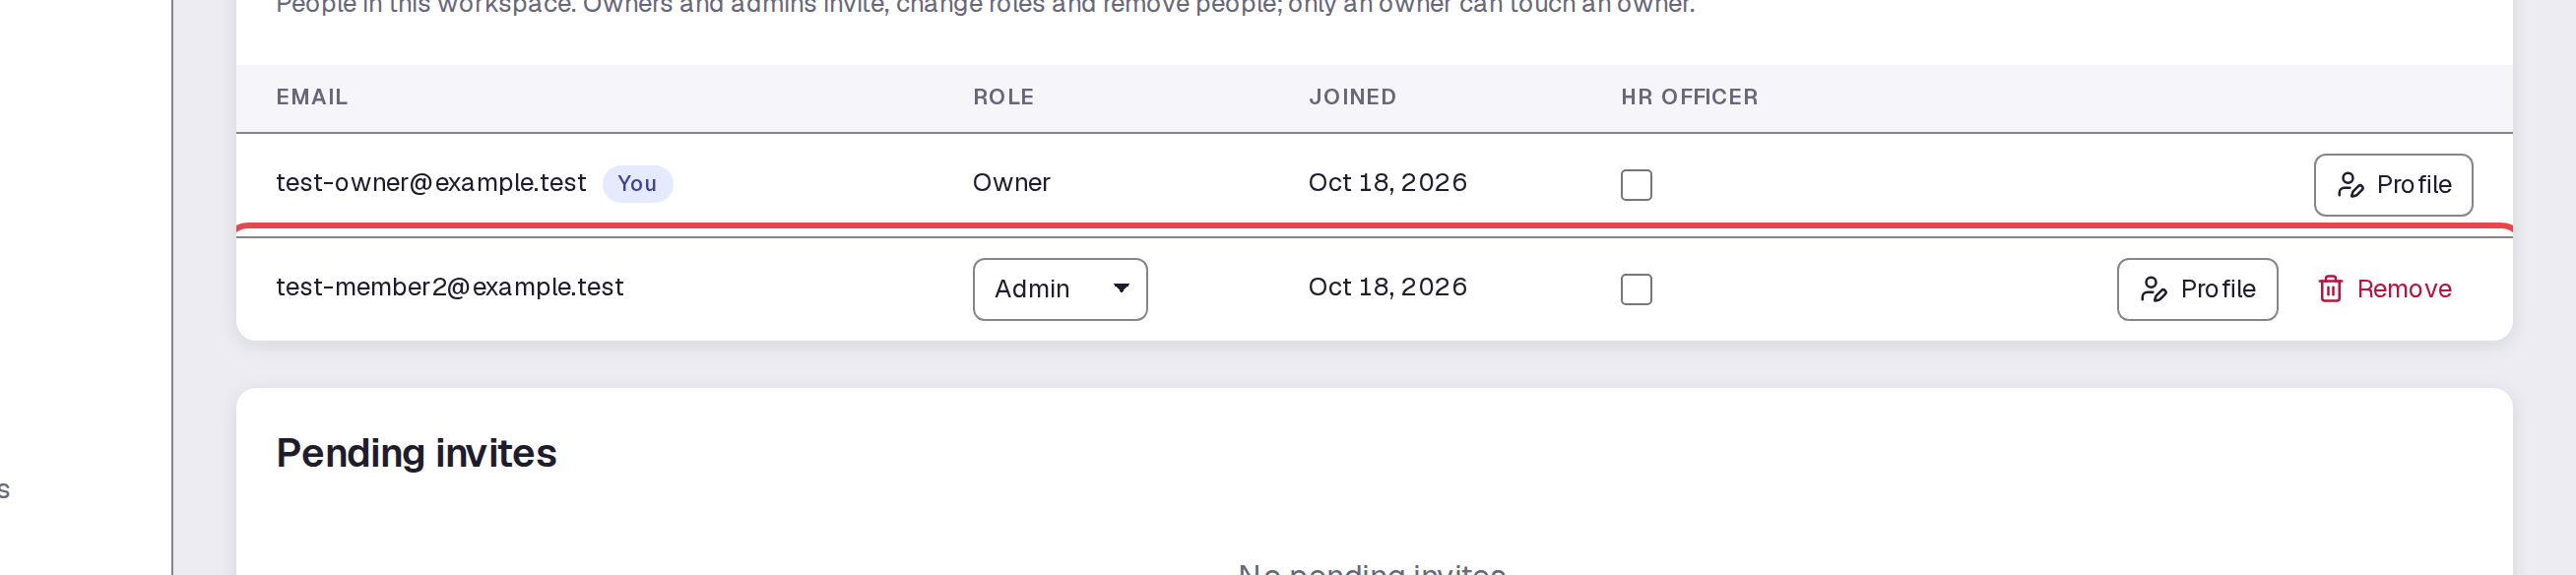
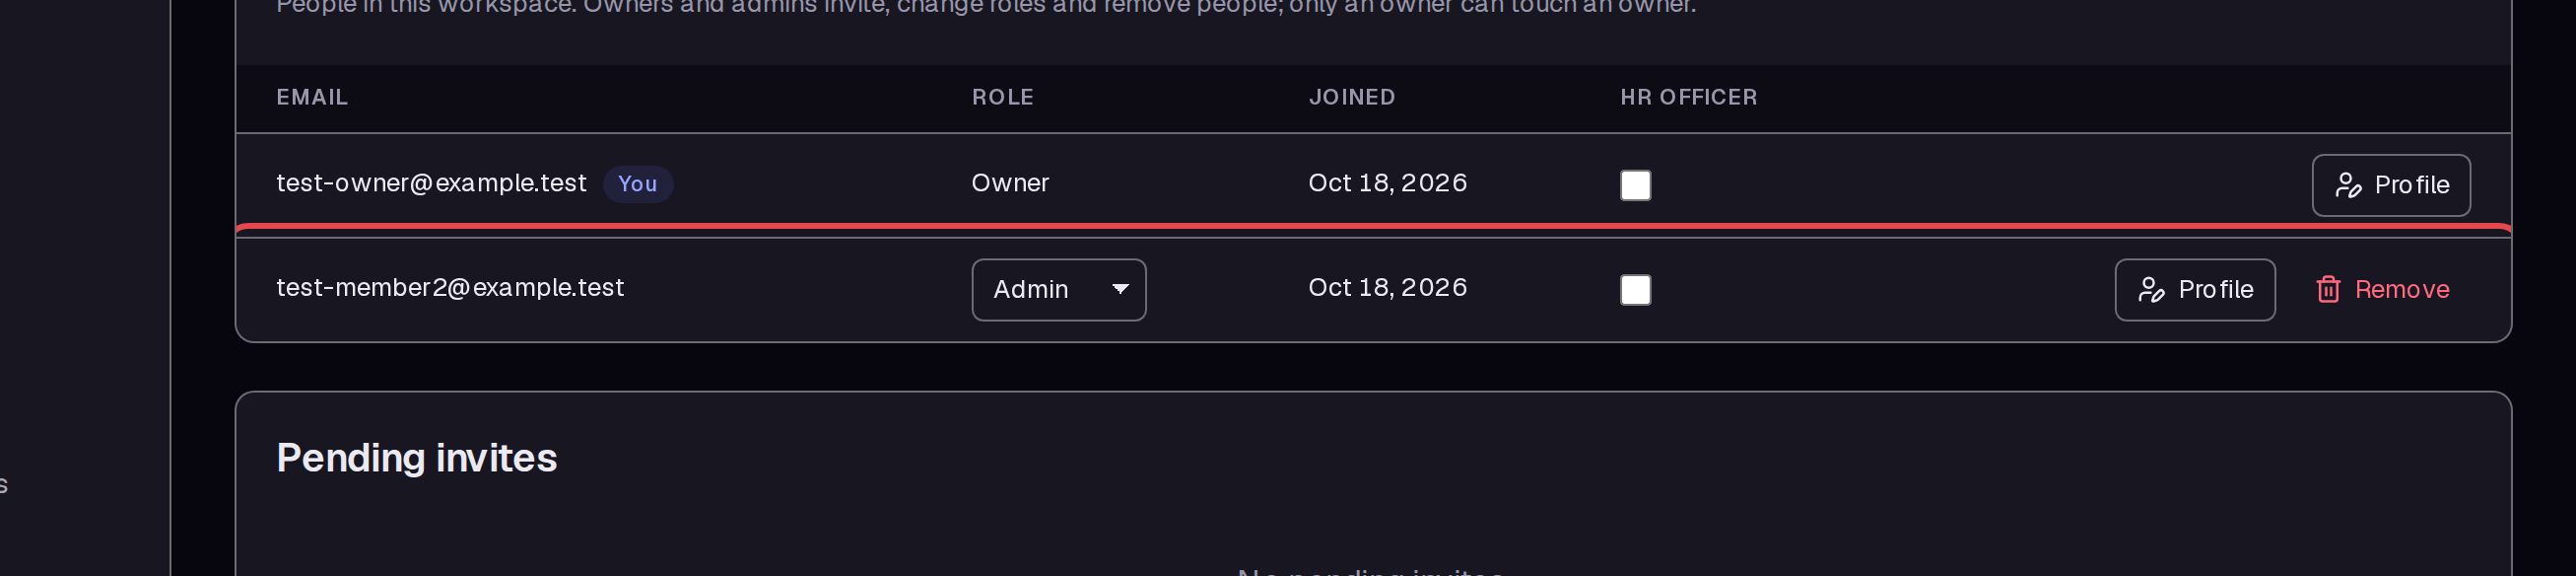
Reload Members. Check that the person's role is Admin. We also saw Admin in that person's workspace sidebar.
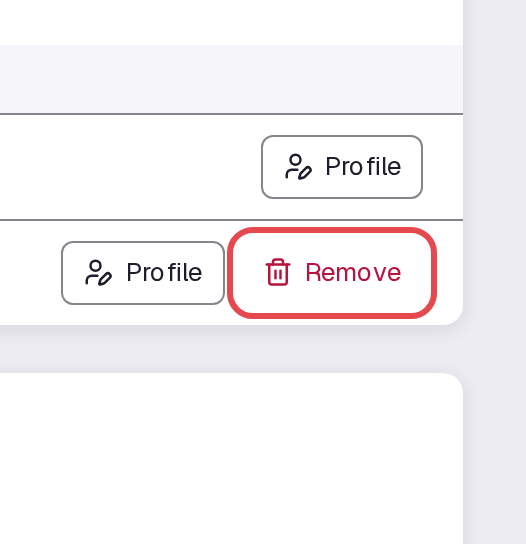
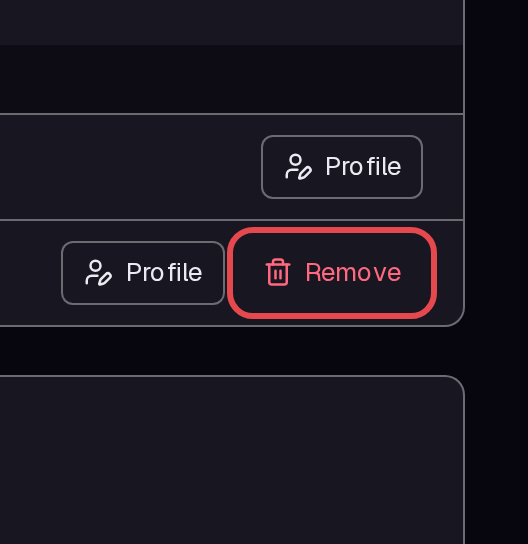
Step 11 — Start removal
To end this person's access, click Remove in their row.
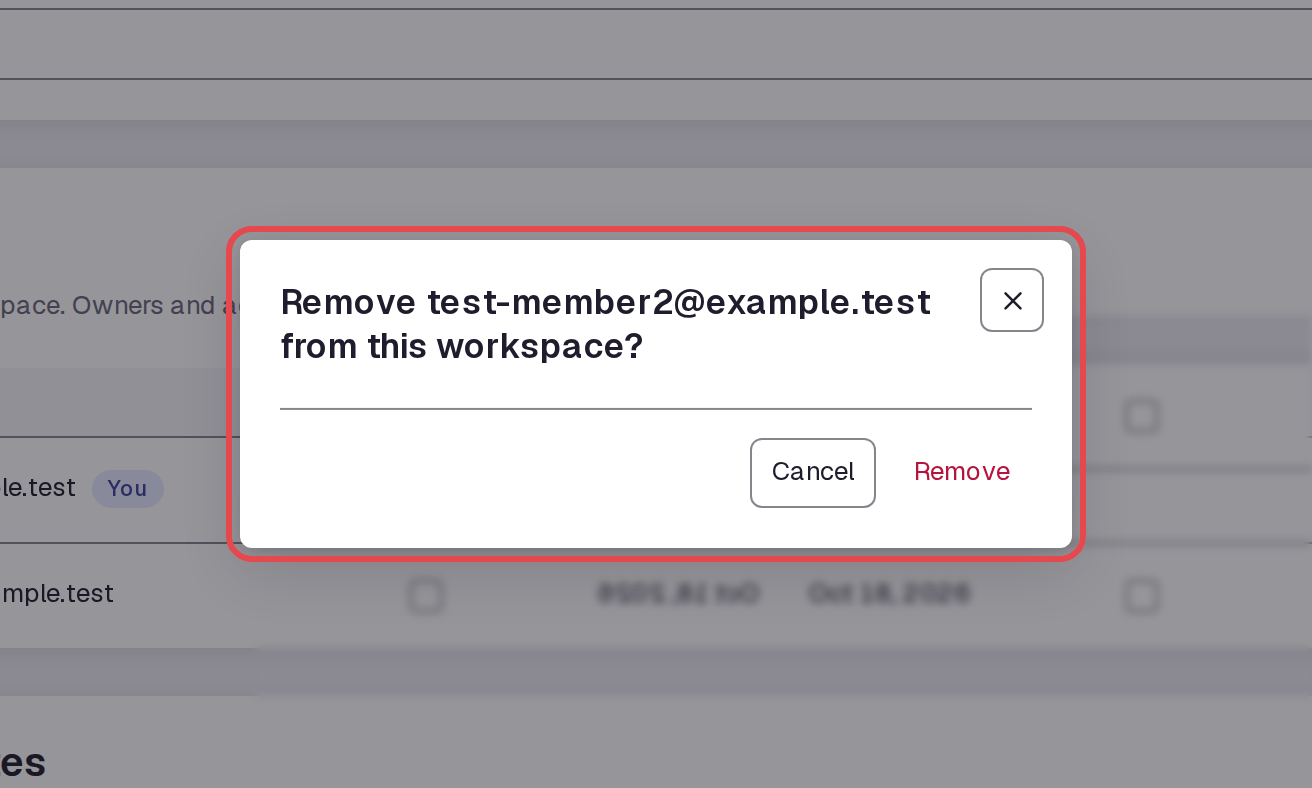
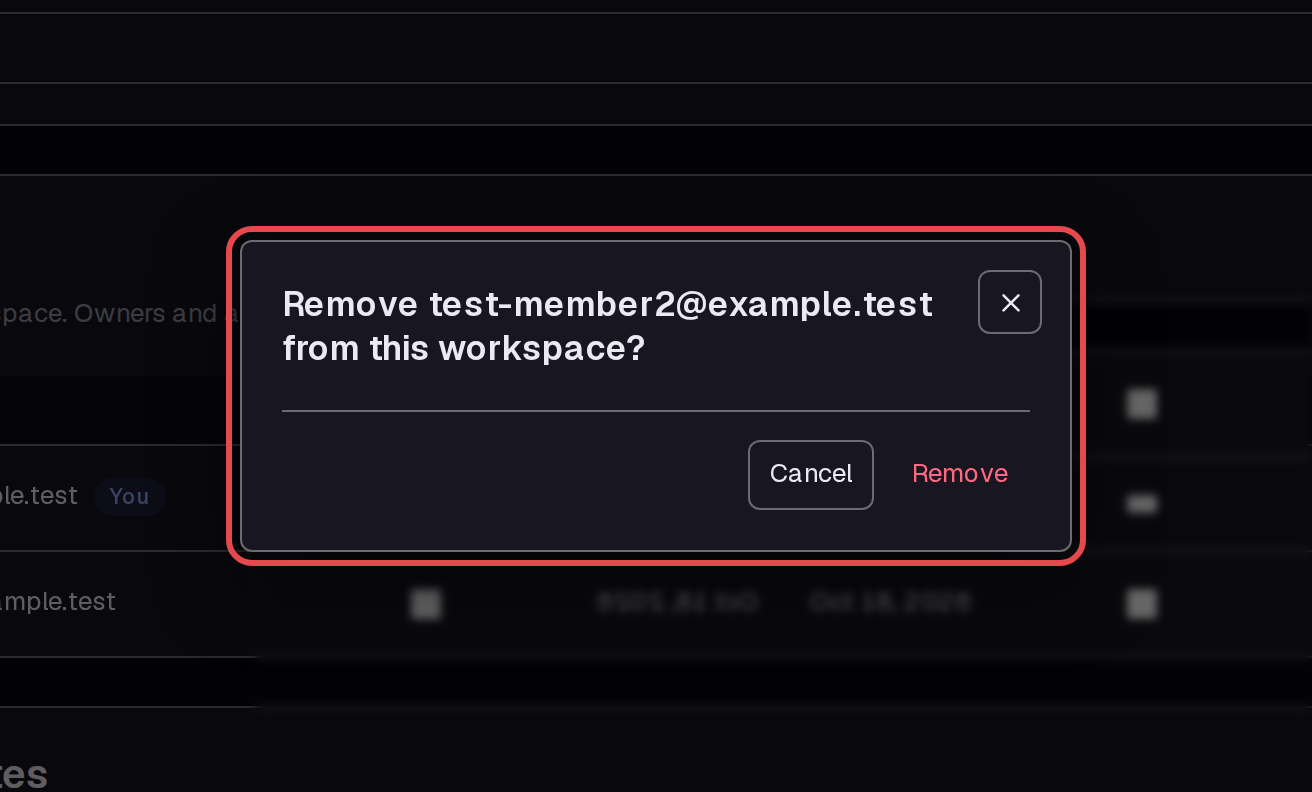
Step 12 — Confirm removal
Check the email in the confirmation and click Remove. The removed account no longer opens this workspace; in our test it returned to Create your workspace.
Tips
- The invite page says links work once and expire in 14 days.
- New link and Revoke appear beside pending invitations.
- Only an owner can change another owner, according to the Members page.
- An invited person can set a first password under Password in My profile. Current password is not needed for this first password.