How to build a training course and add glossary words
about 10 minutes
A training course puts learning material in a clear order. A glossary gives staff a place to look up words used at work.
Before you start
Create “Weekly office check” with the two items in the checklist guide. This guide uses that checklist as course material.
Step 1 — Open training
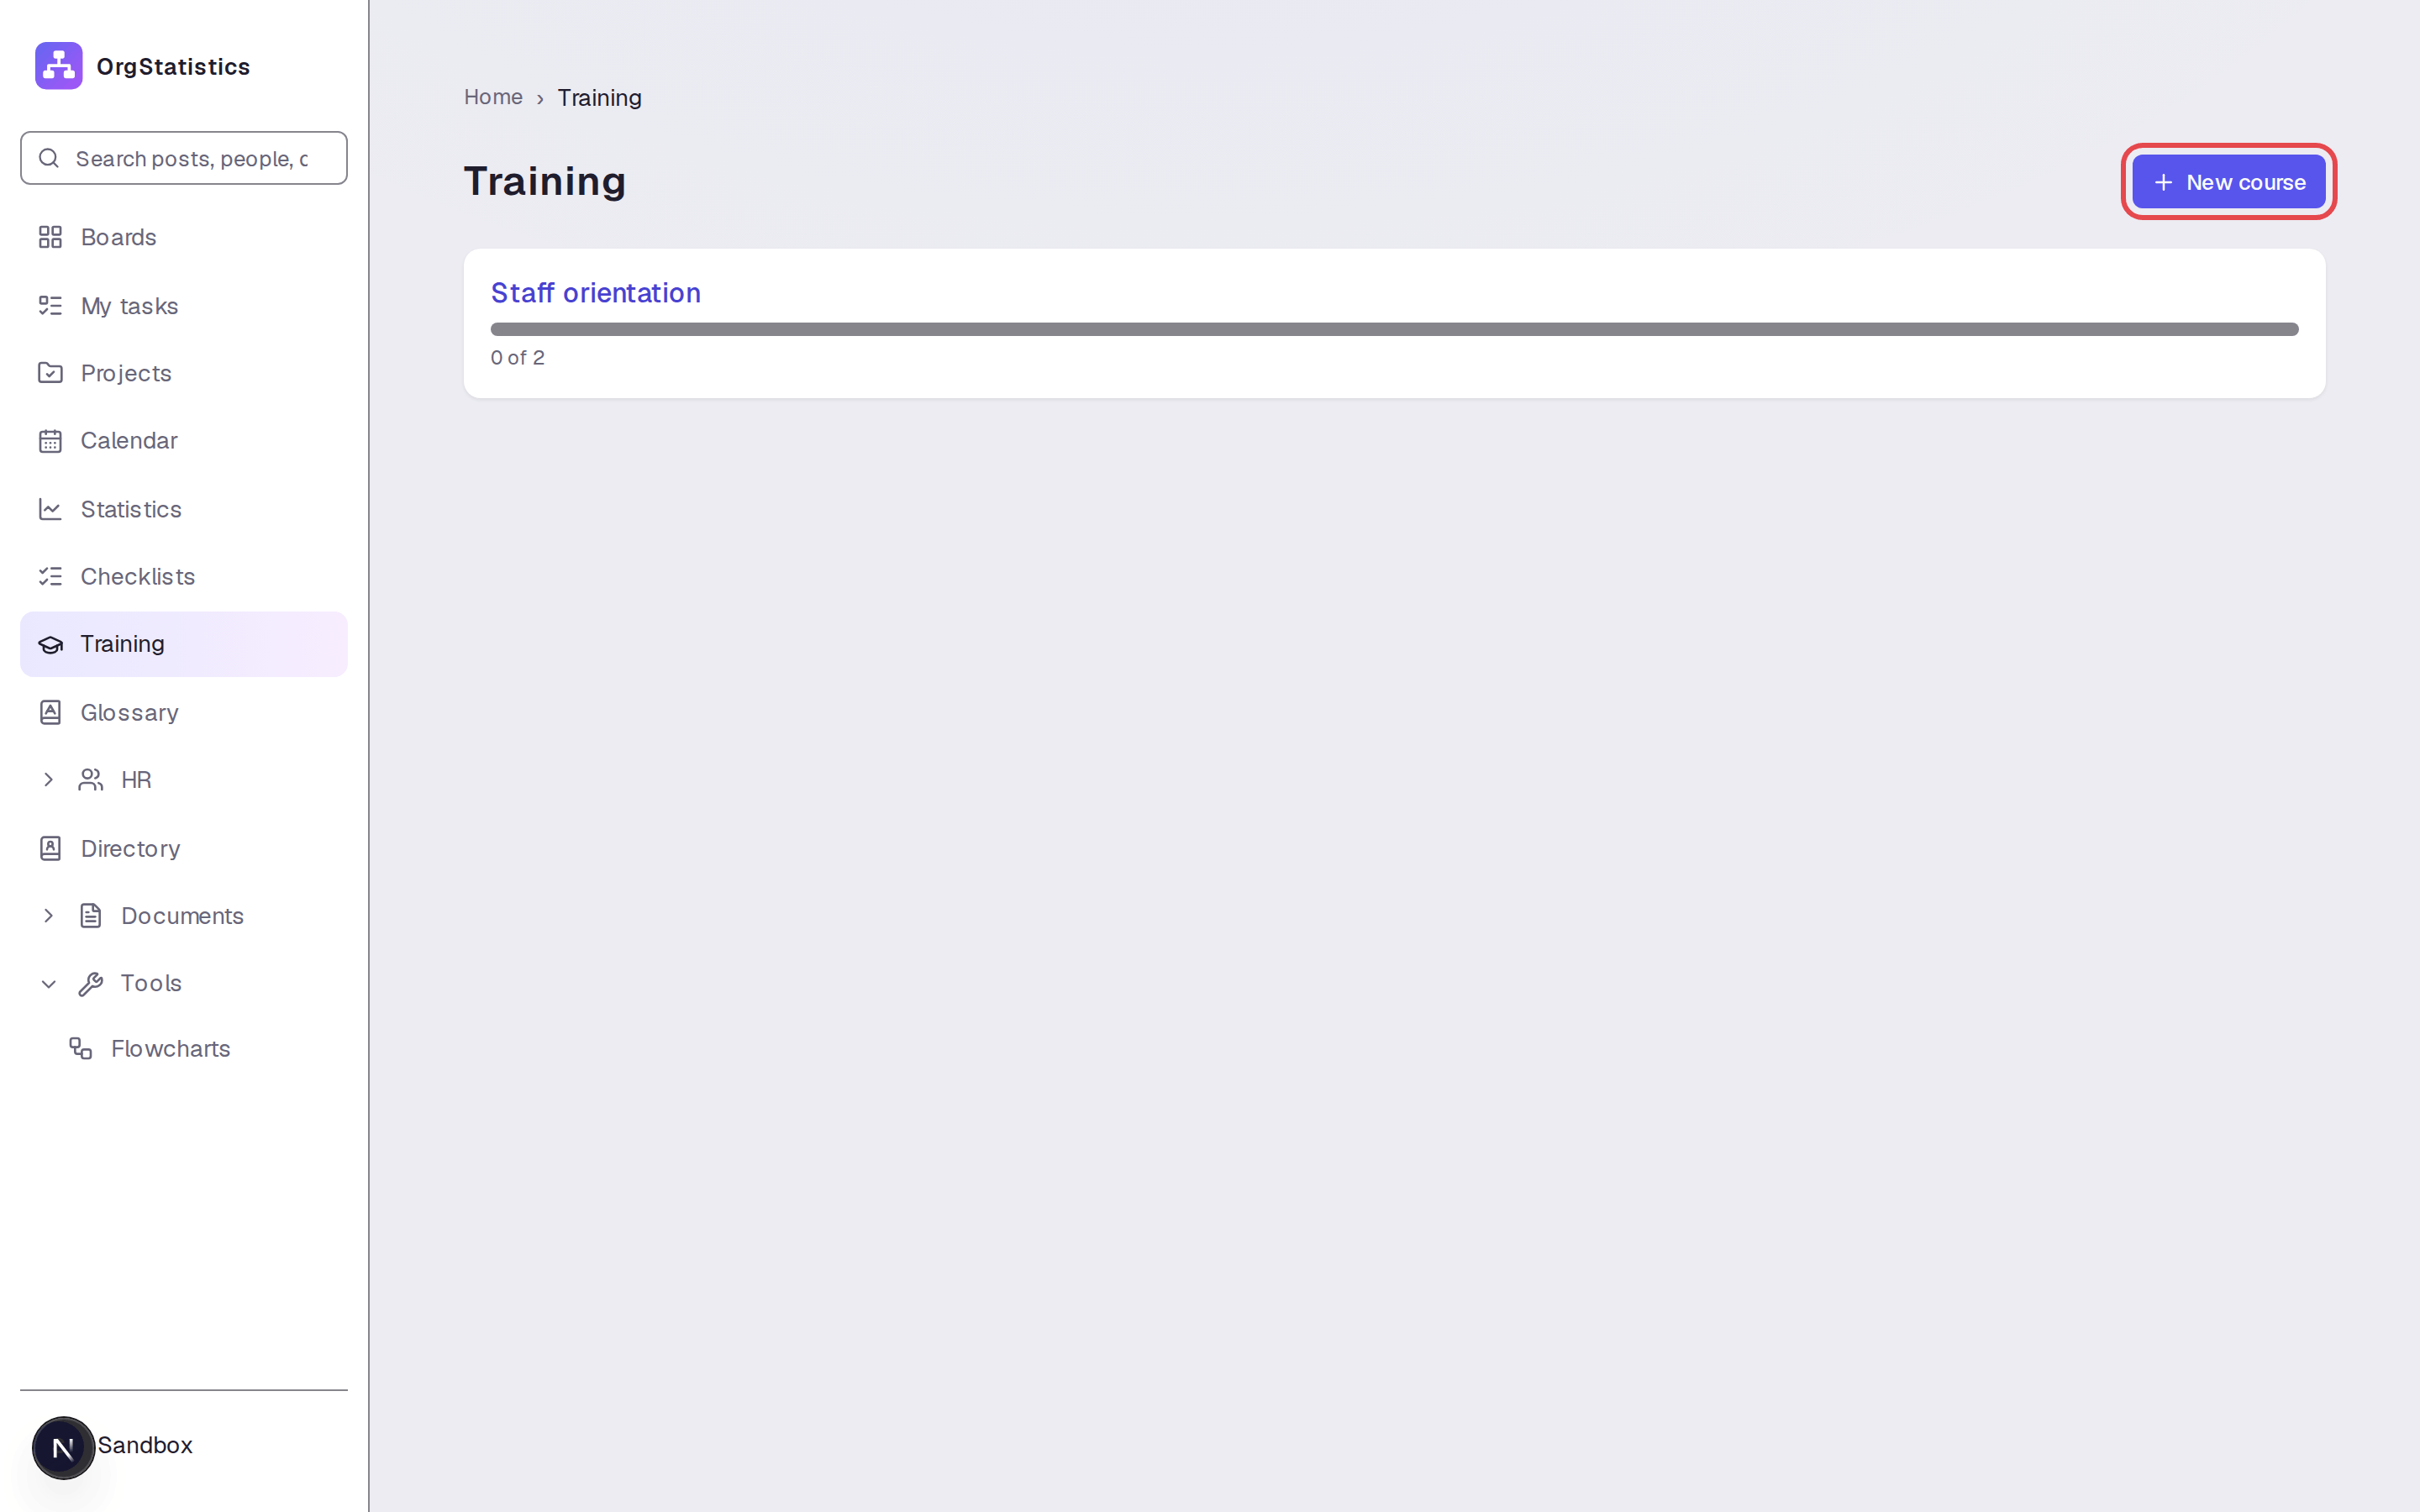
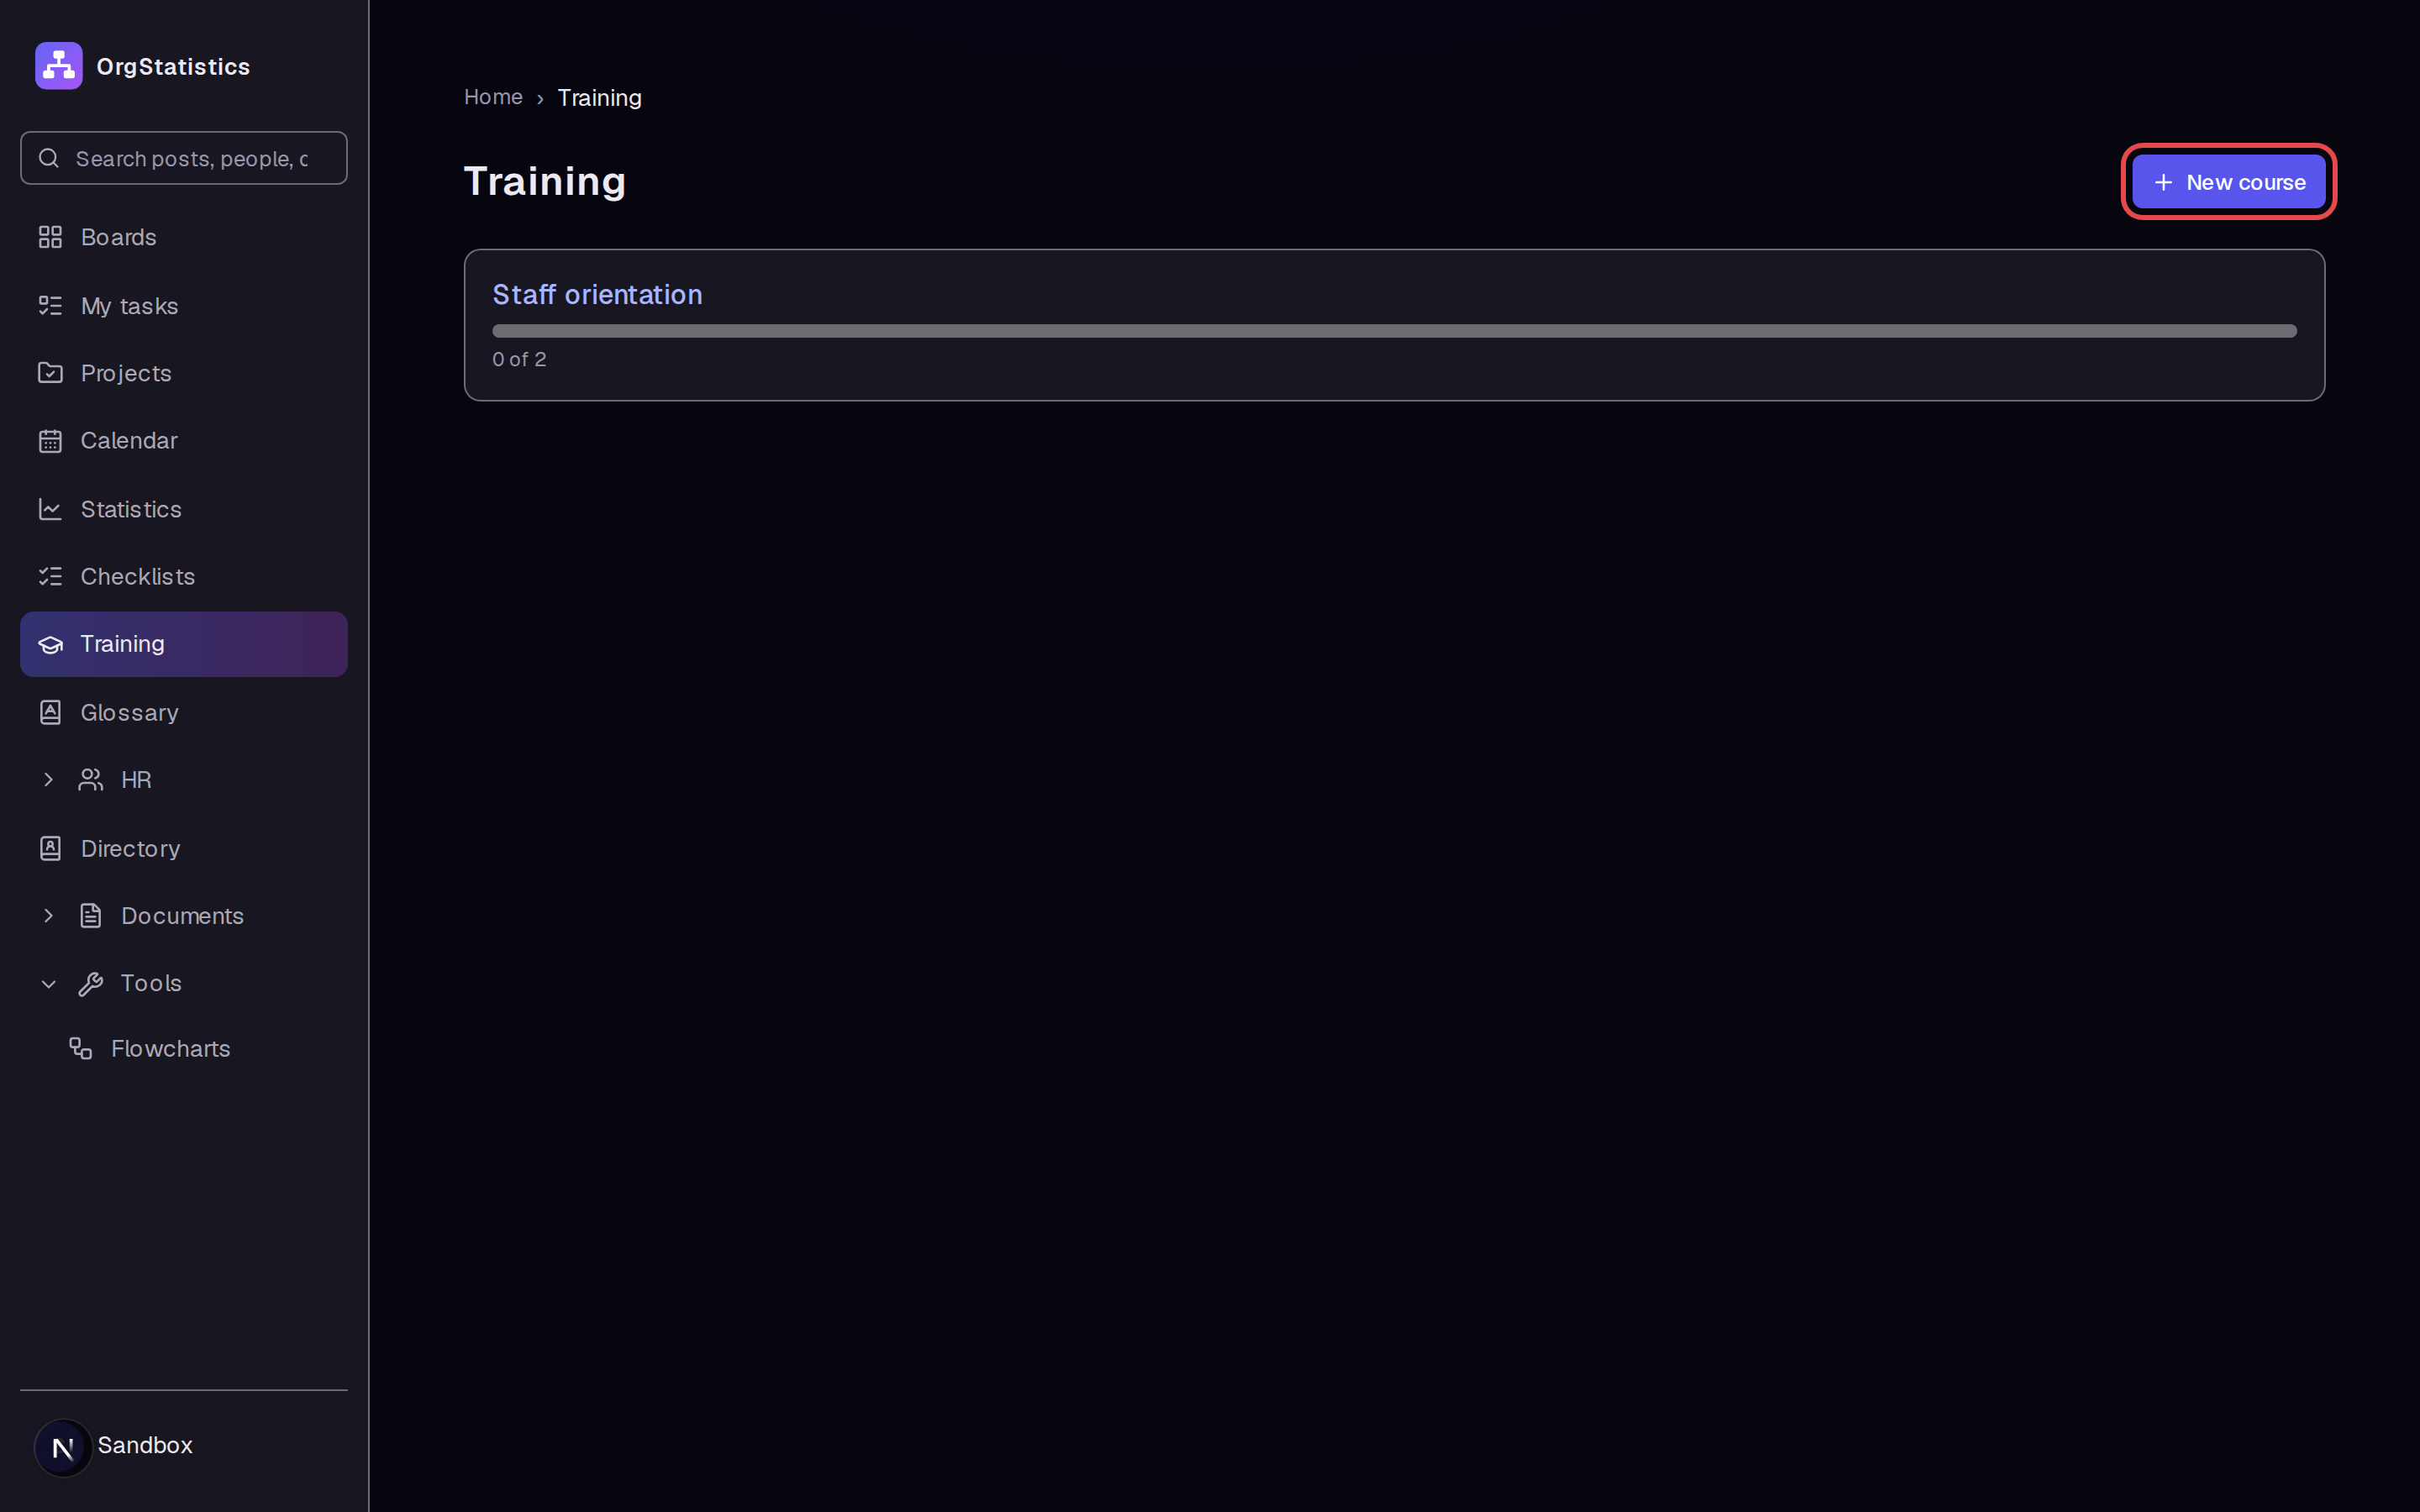
Click Training in the left menu. Click New course to show the new course form.
Step 2 — Create the course
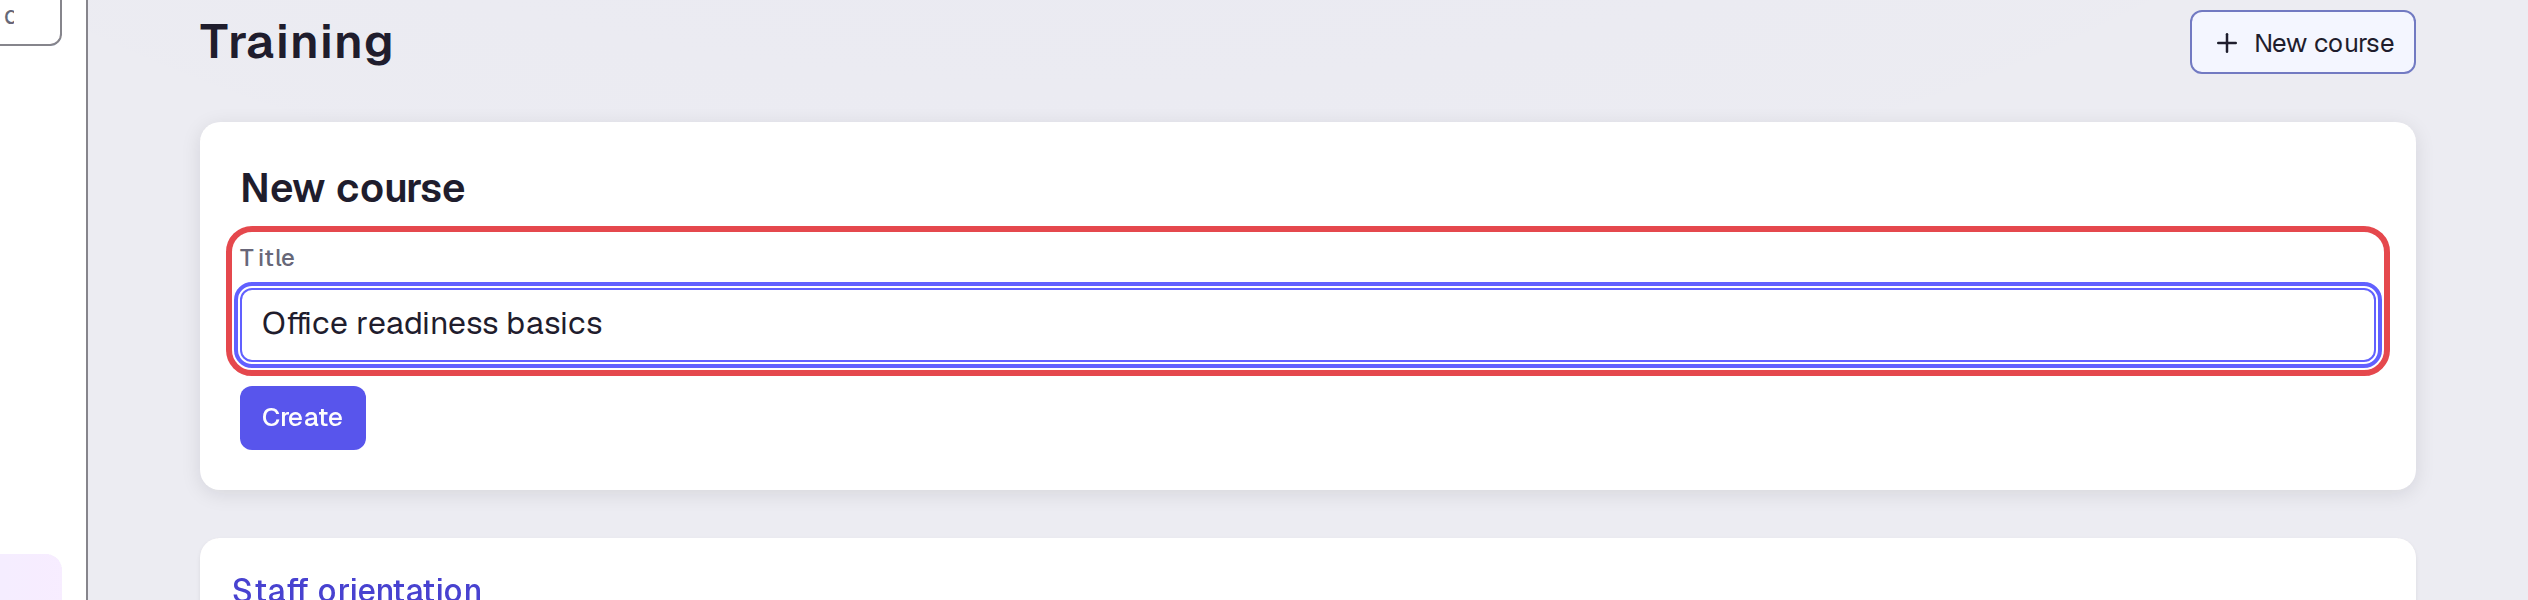
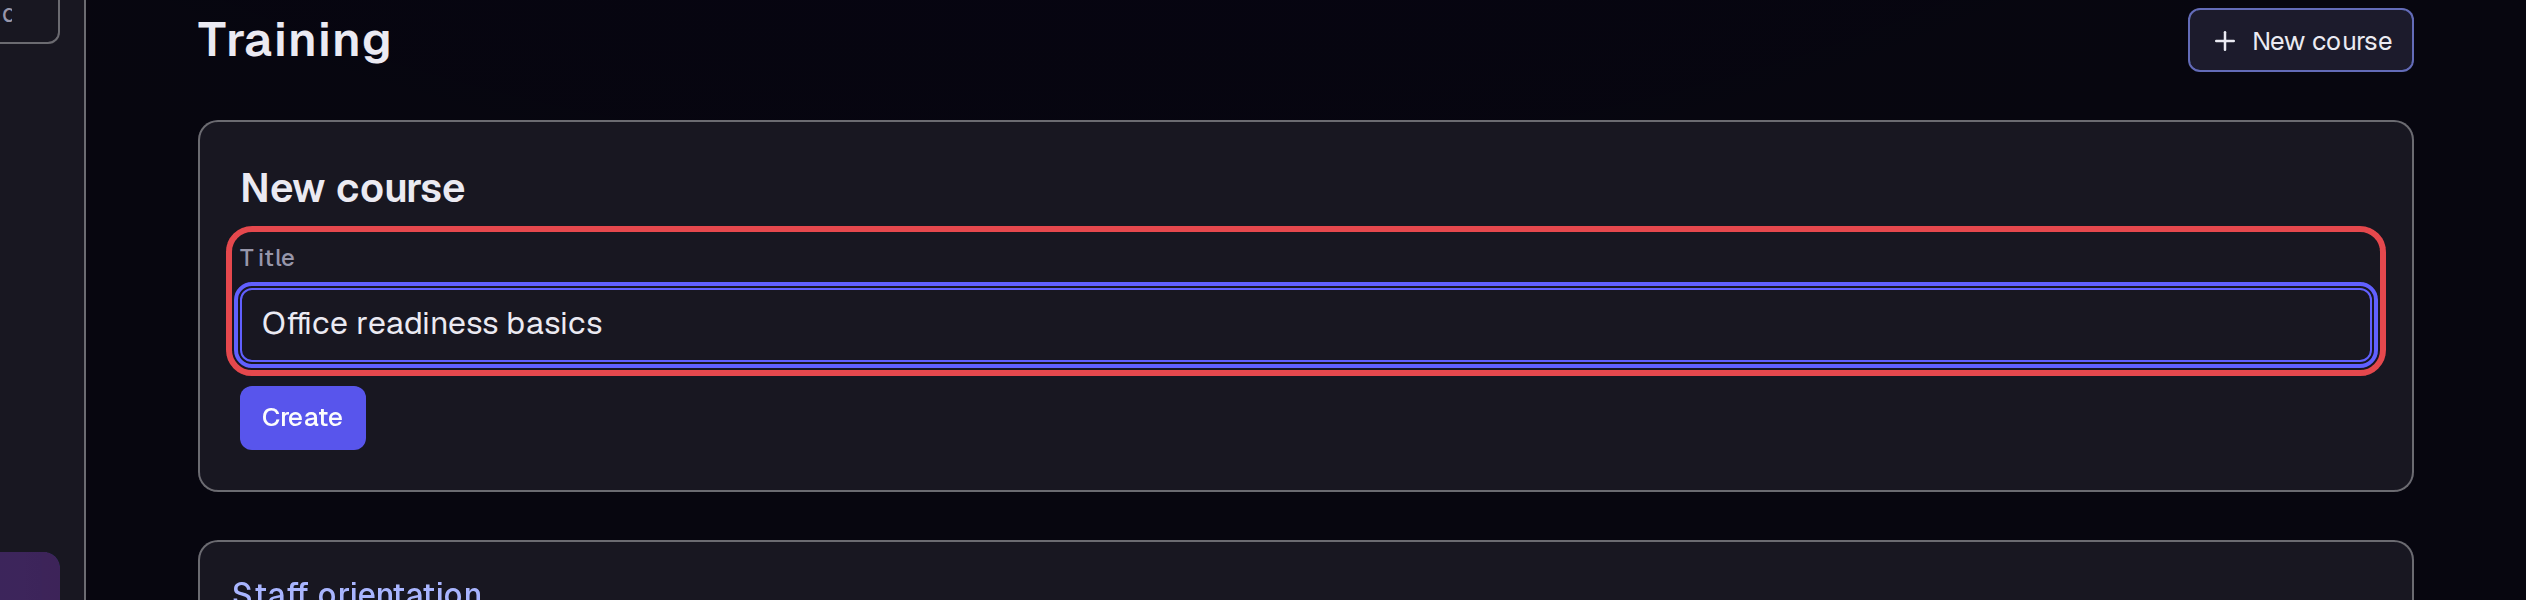
Enter “Office readiness basics” in Title. Click Create. The new course opens.
Step 3 — Add a section
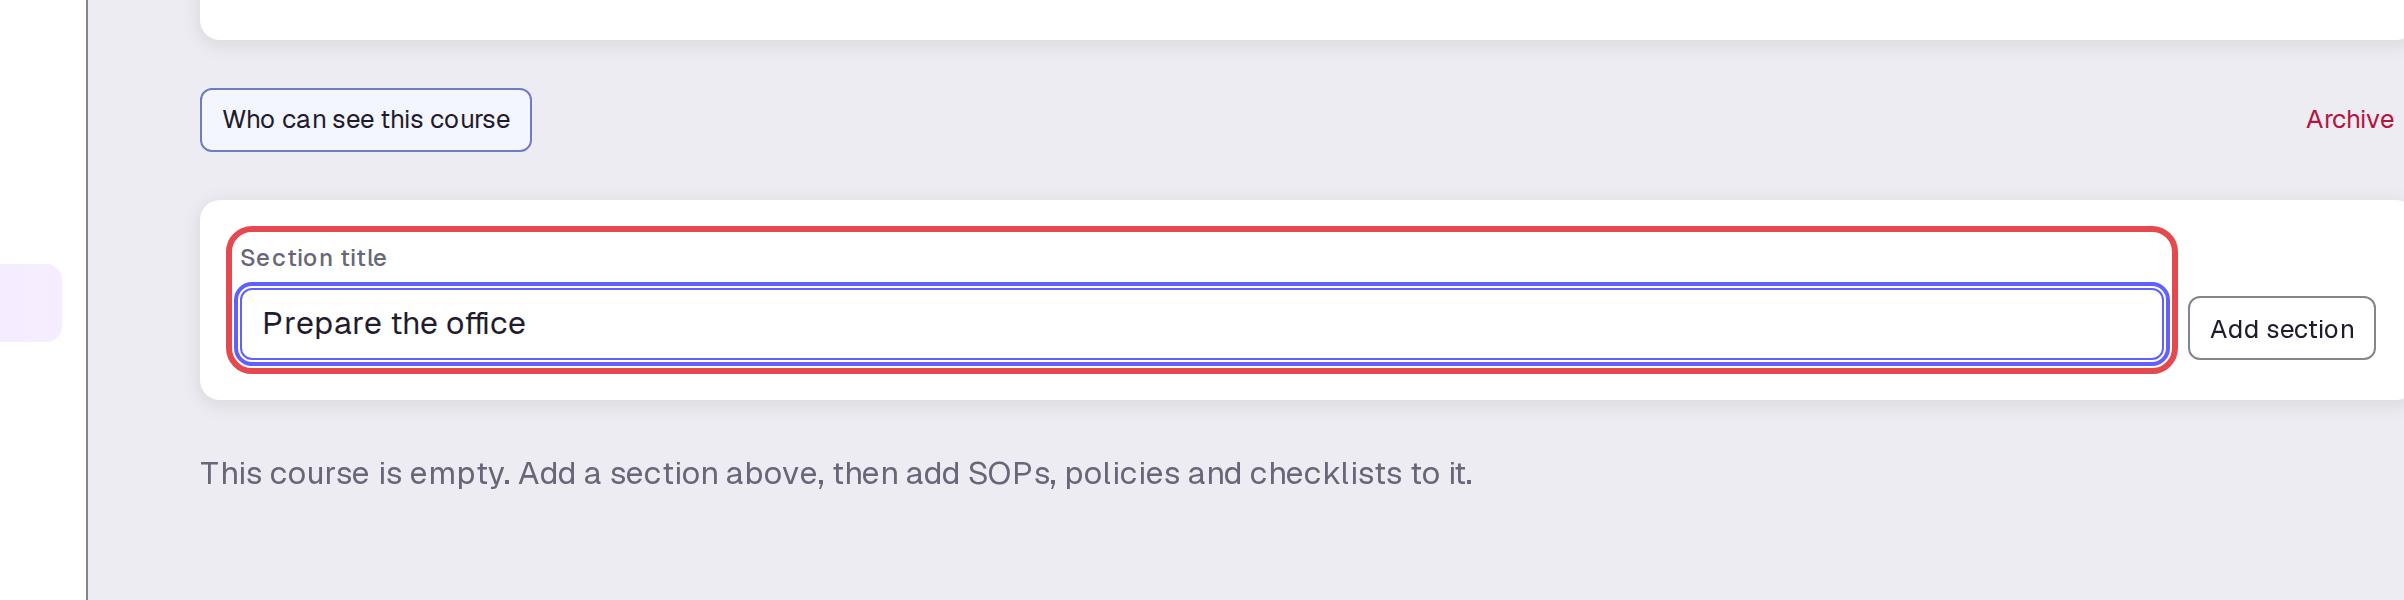
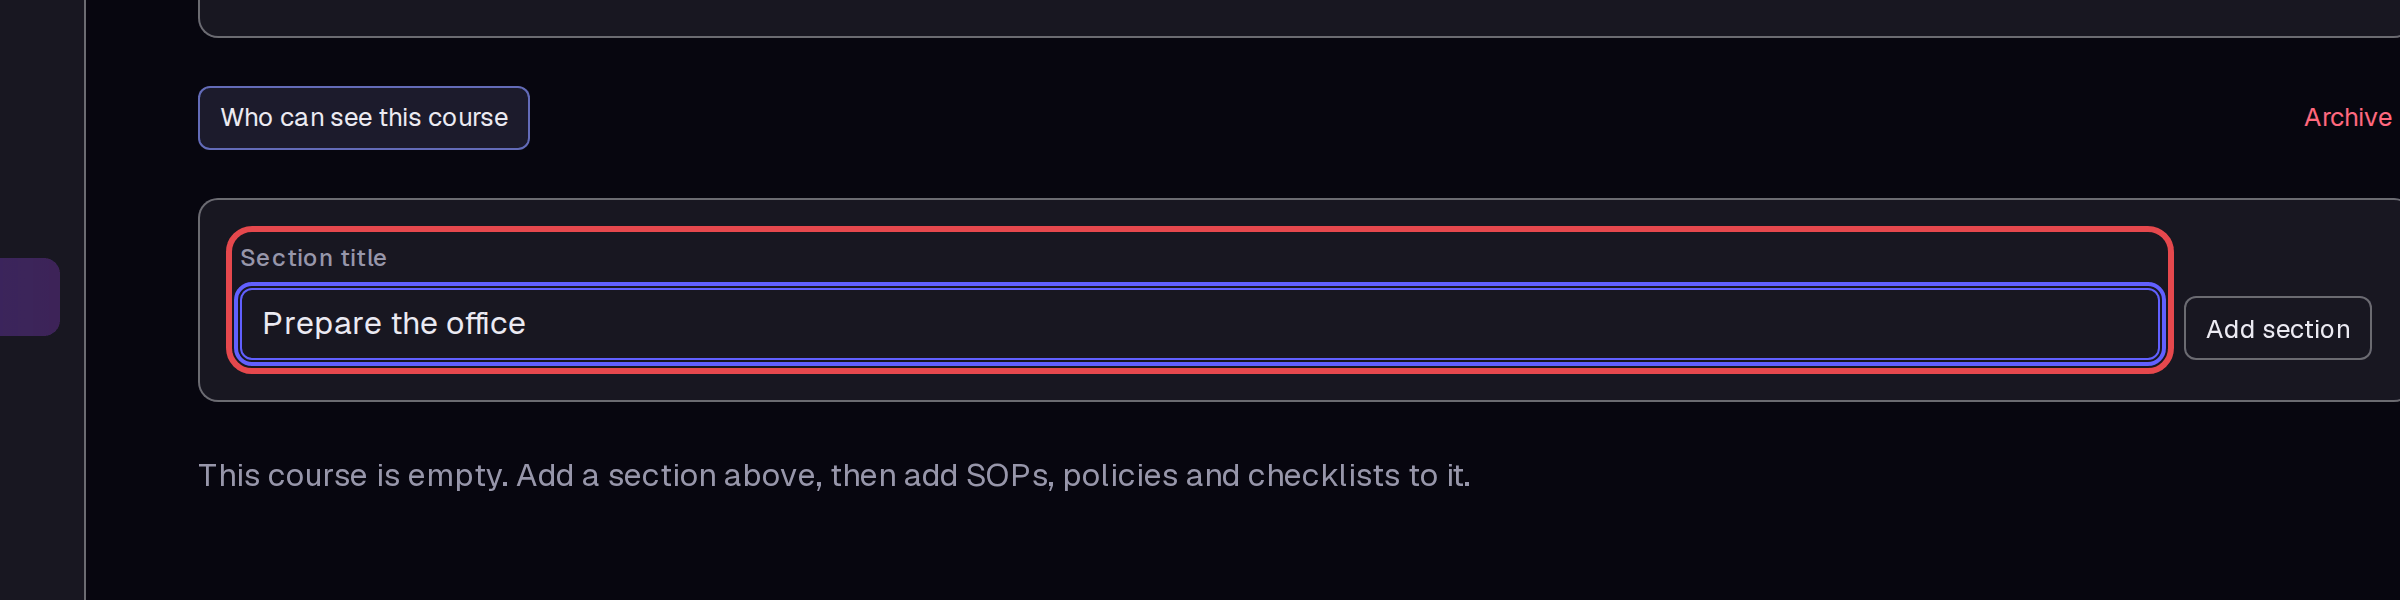
Enter “Prepare the office” in Section title. Click Add section.
Step 4 — Add your checklist
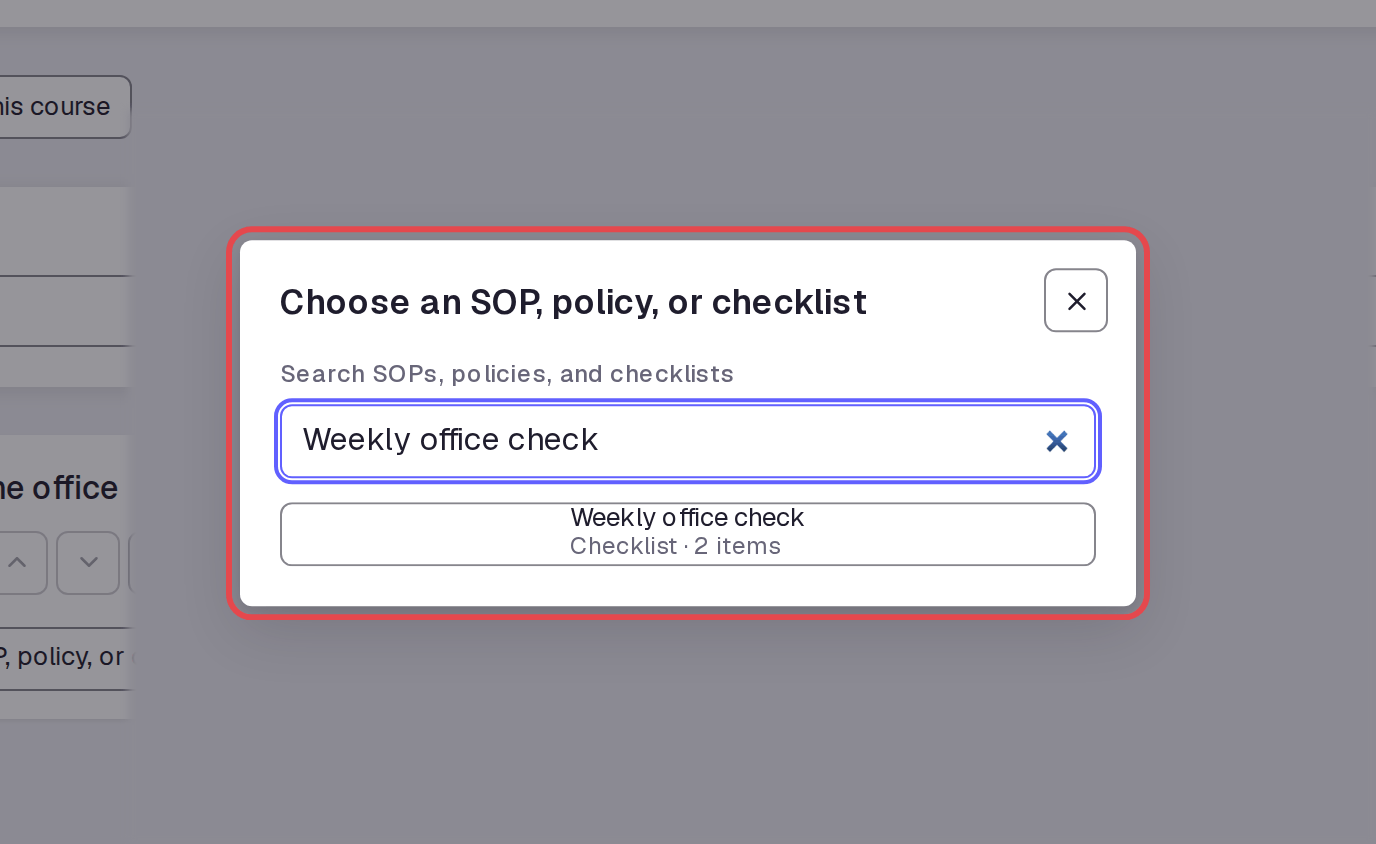
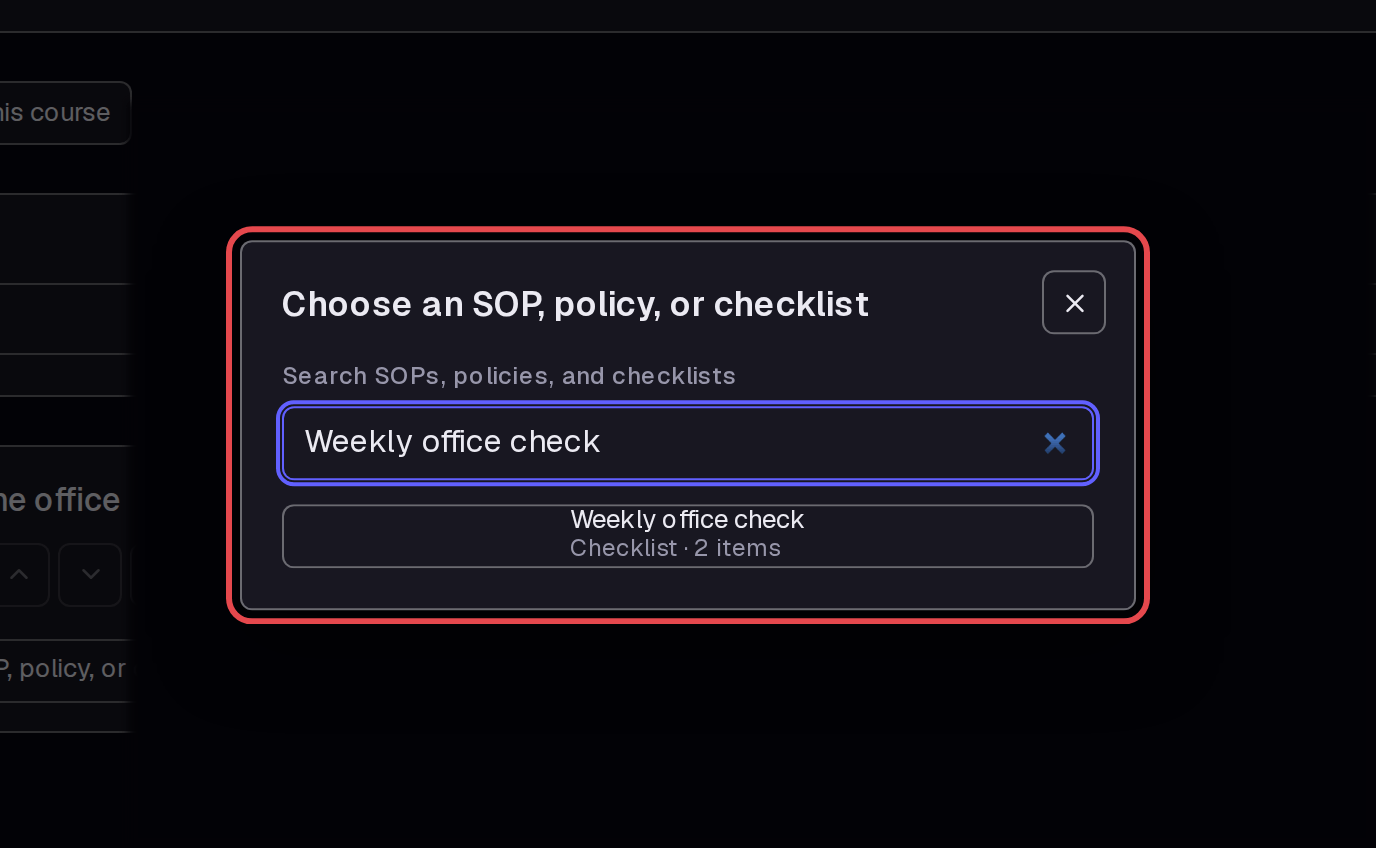
In the section, click Add SOP, policy, or checklist. Enter “Weekly office check” in Search SOPs, policies, and checklists. Click the matching checklist.
Step 5 — Read a course item
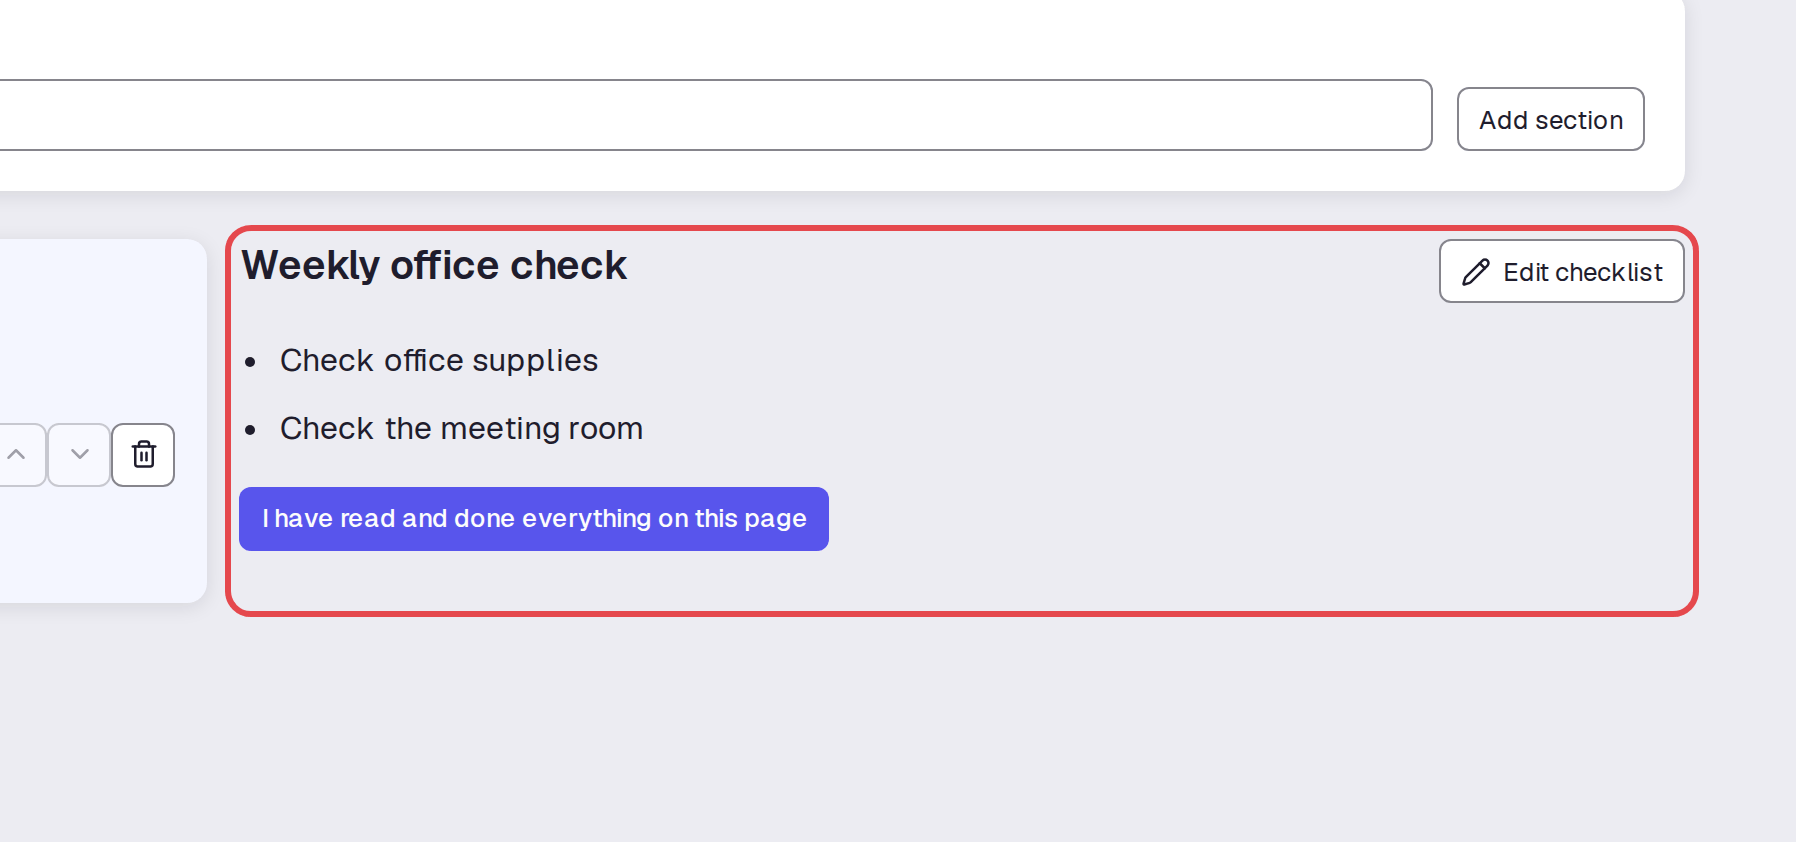
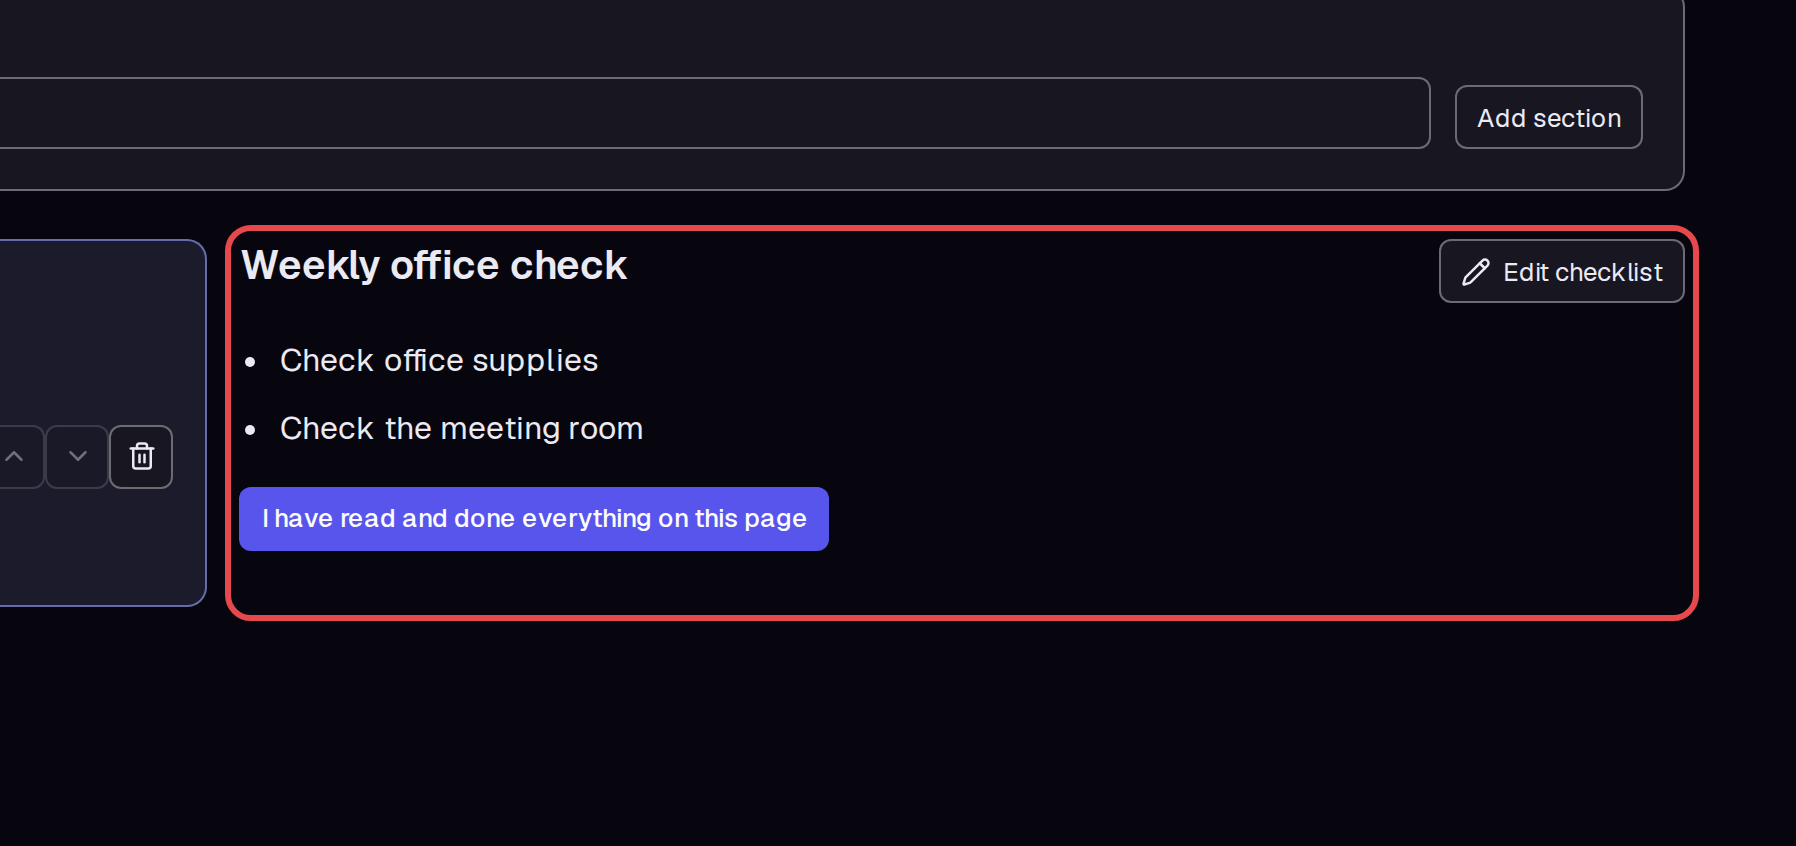
To use the course, select 1.1 Weekly office check in its contents list. Read the two checklist items in the panel on the right. The completion button is below the items.
Step 6 — Record completion
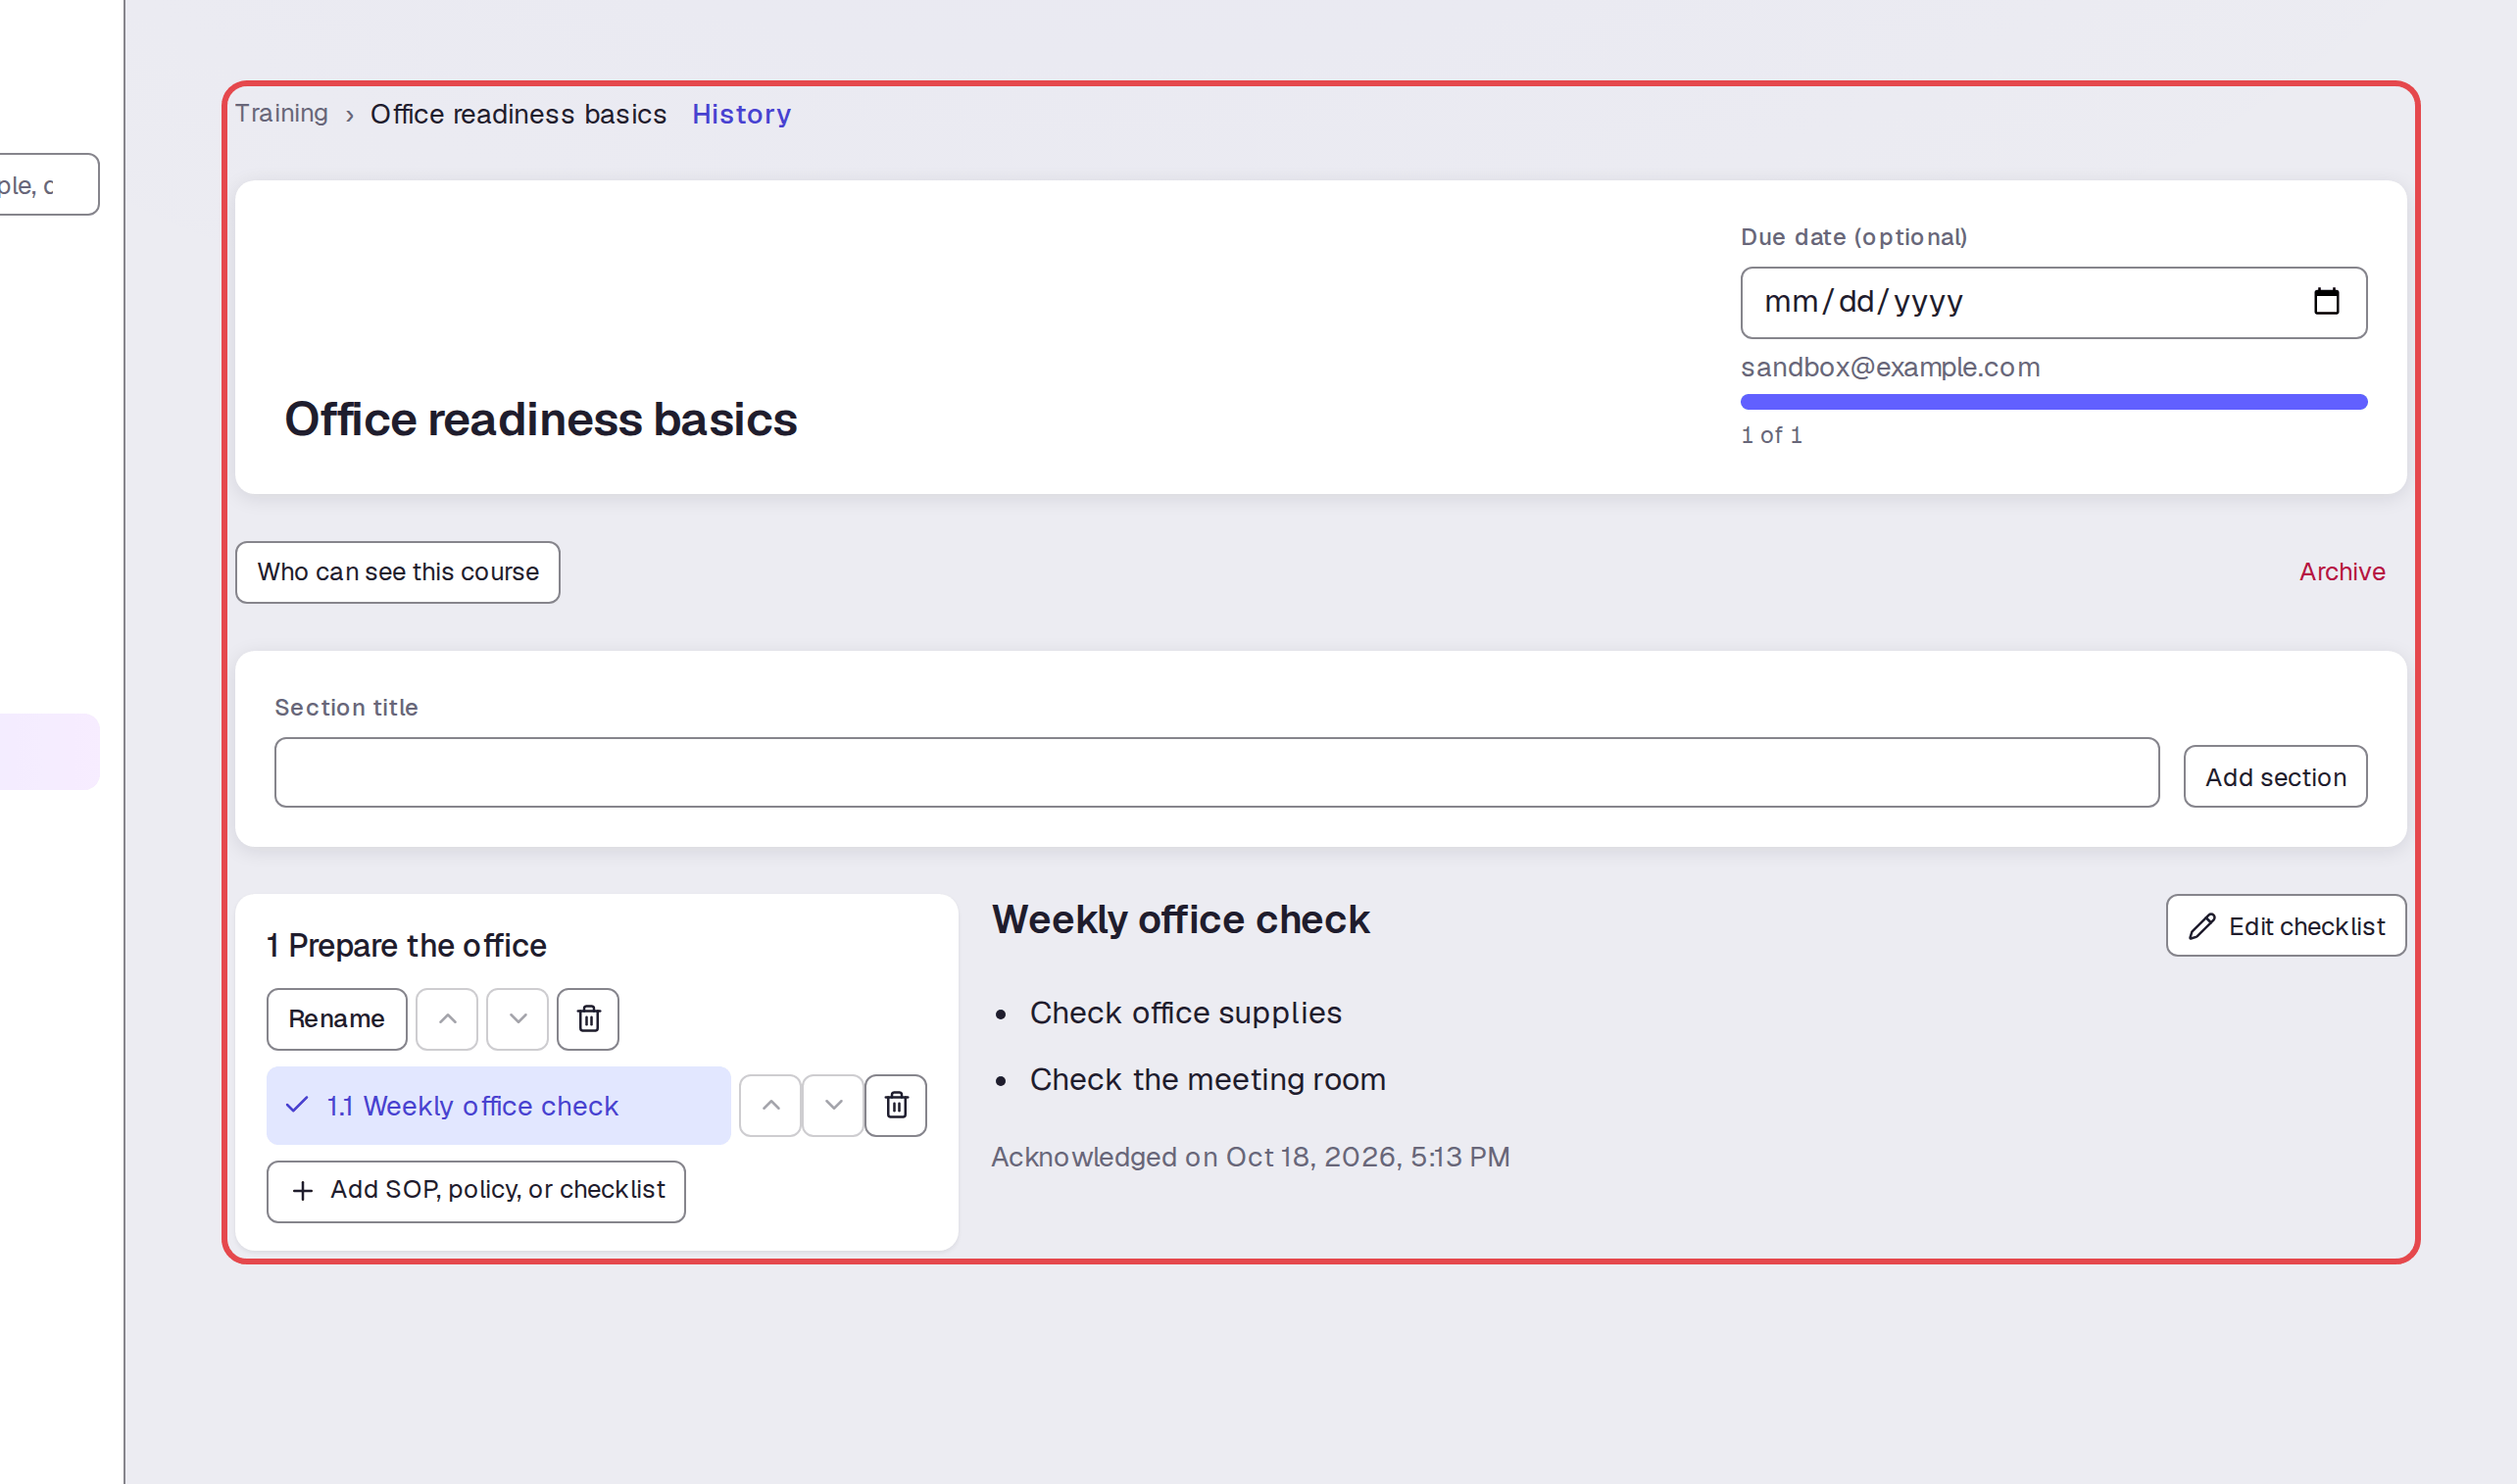
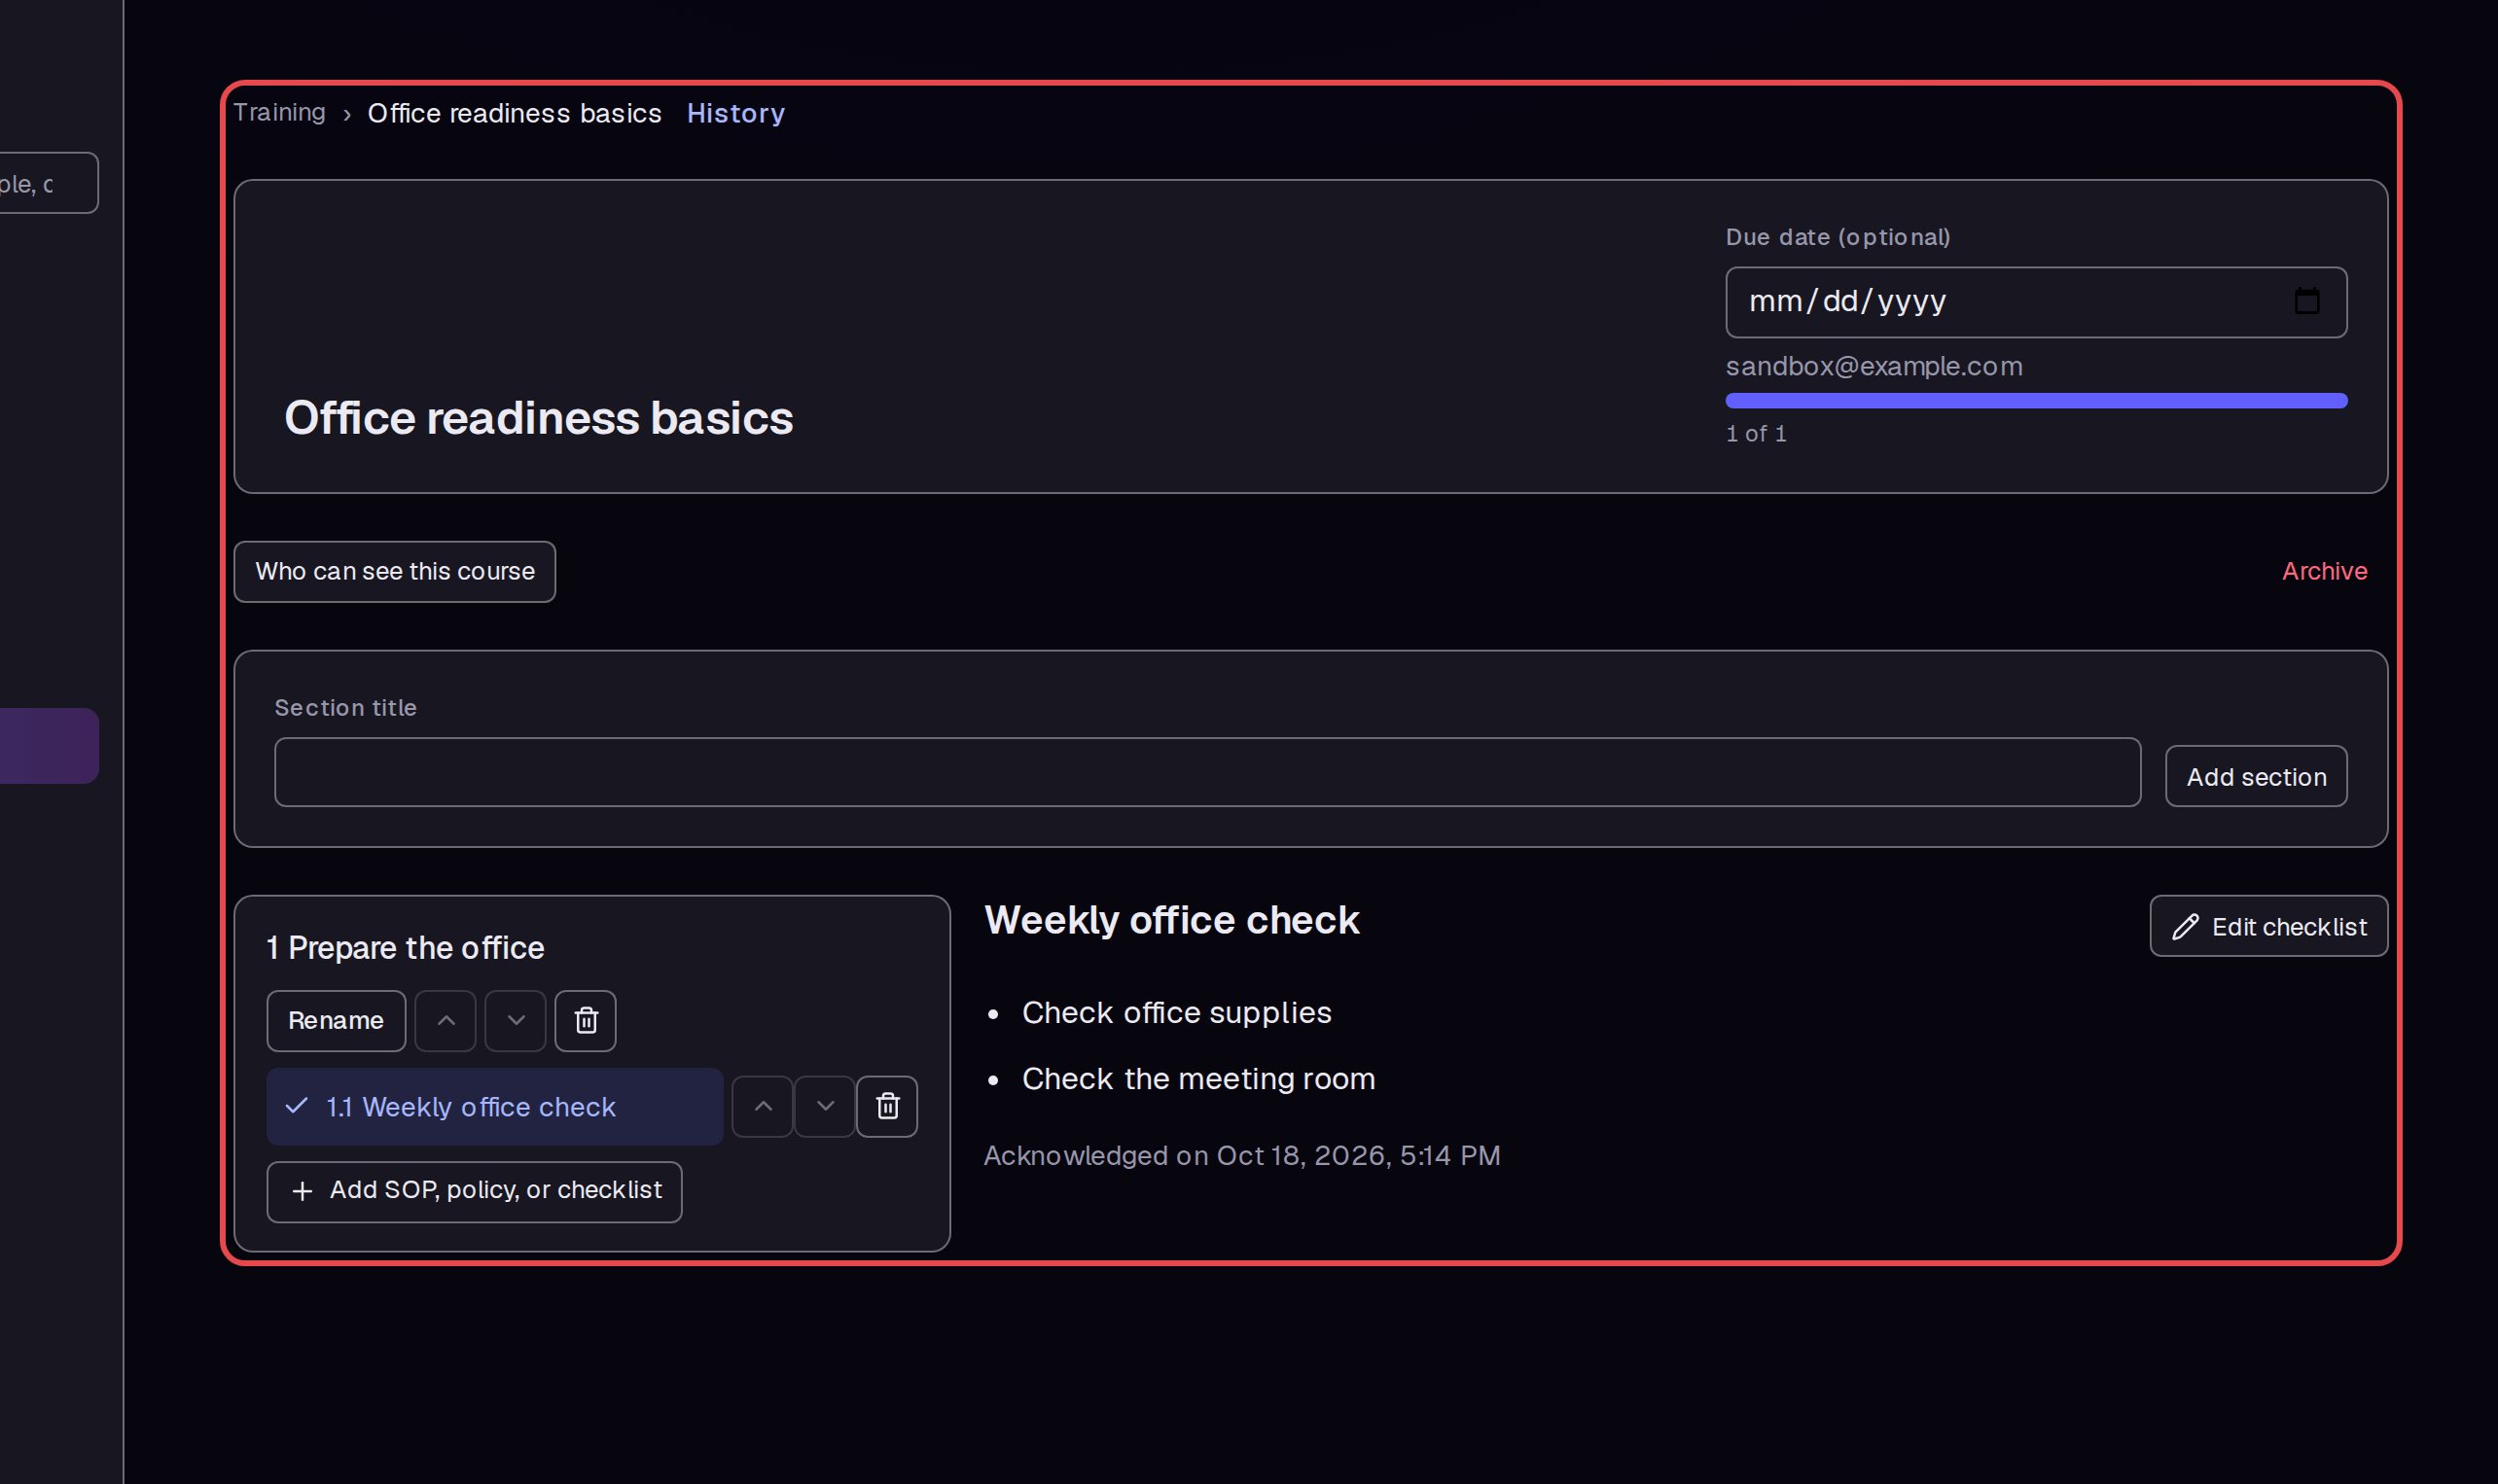
After you finish the item, click I have read and done everything on this page. The page shows Acknowledged on with the date and time, and course progress changes to 1 of 1. This progress also appears when you return to Training.
Step 7 — Create a glossary word
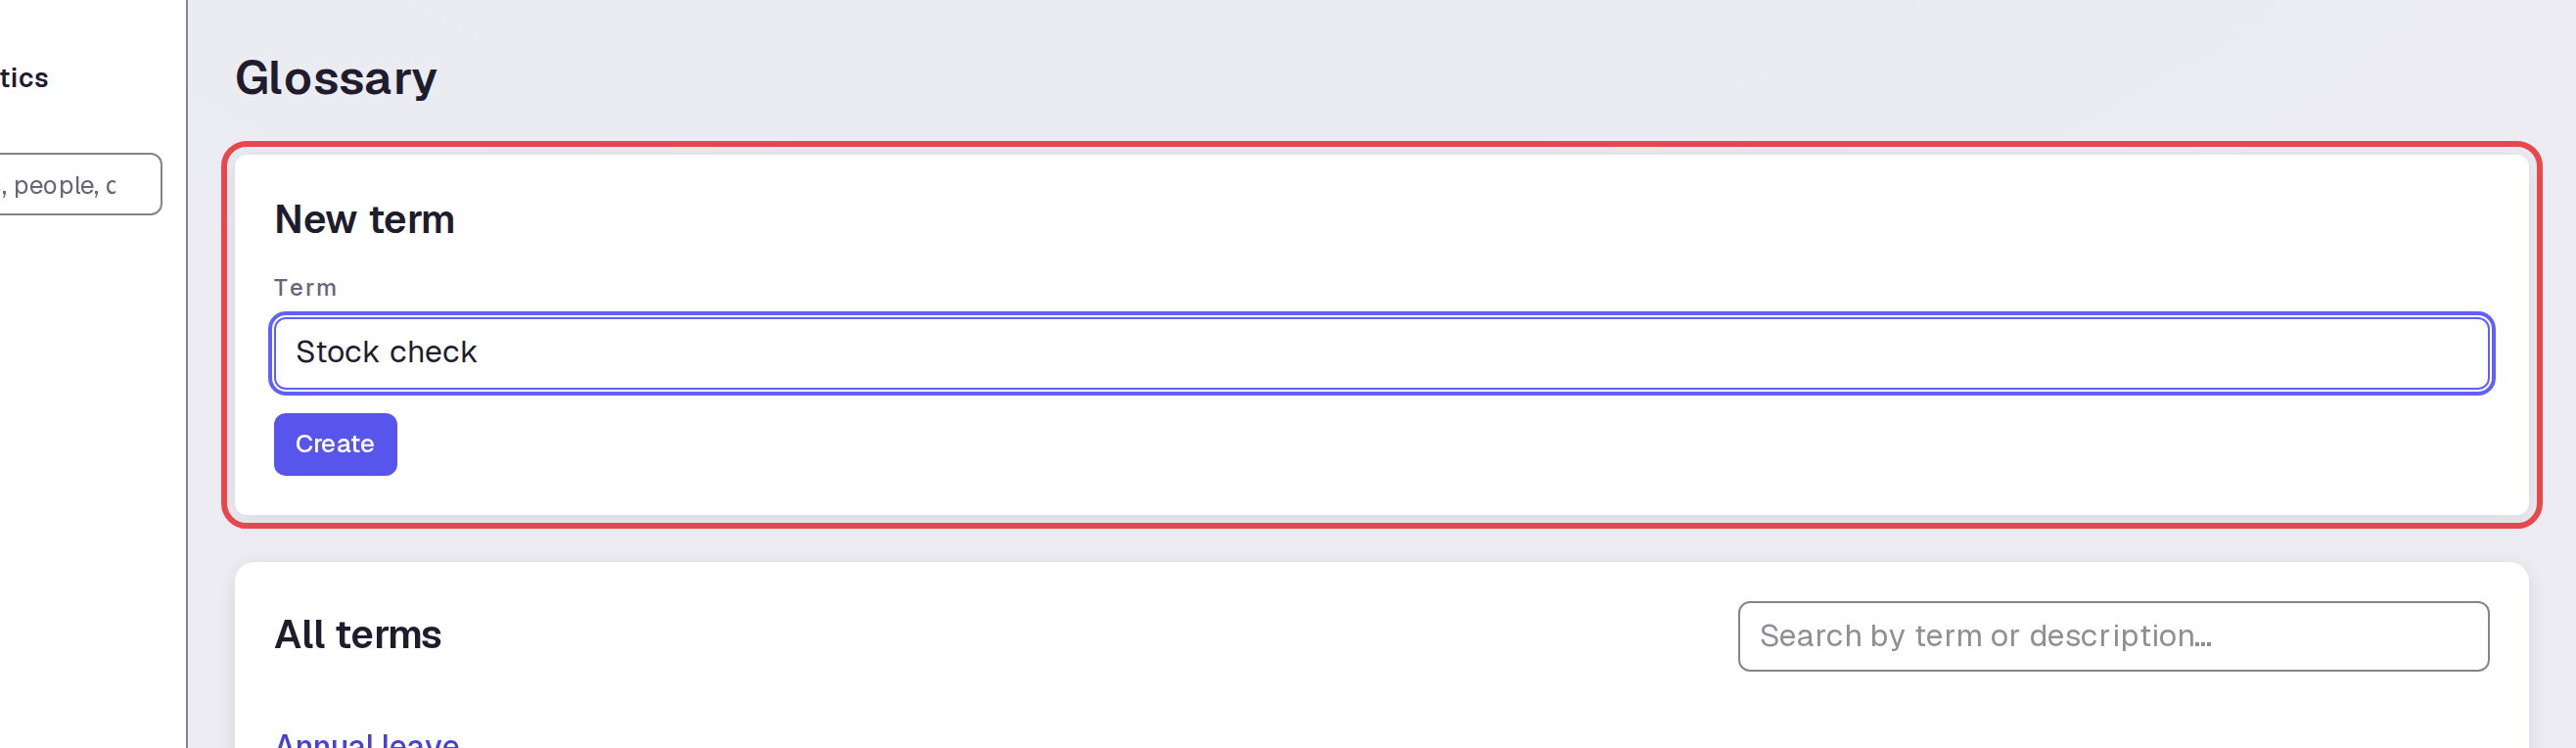
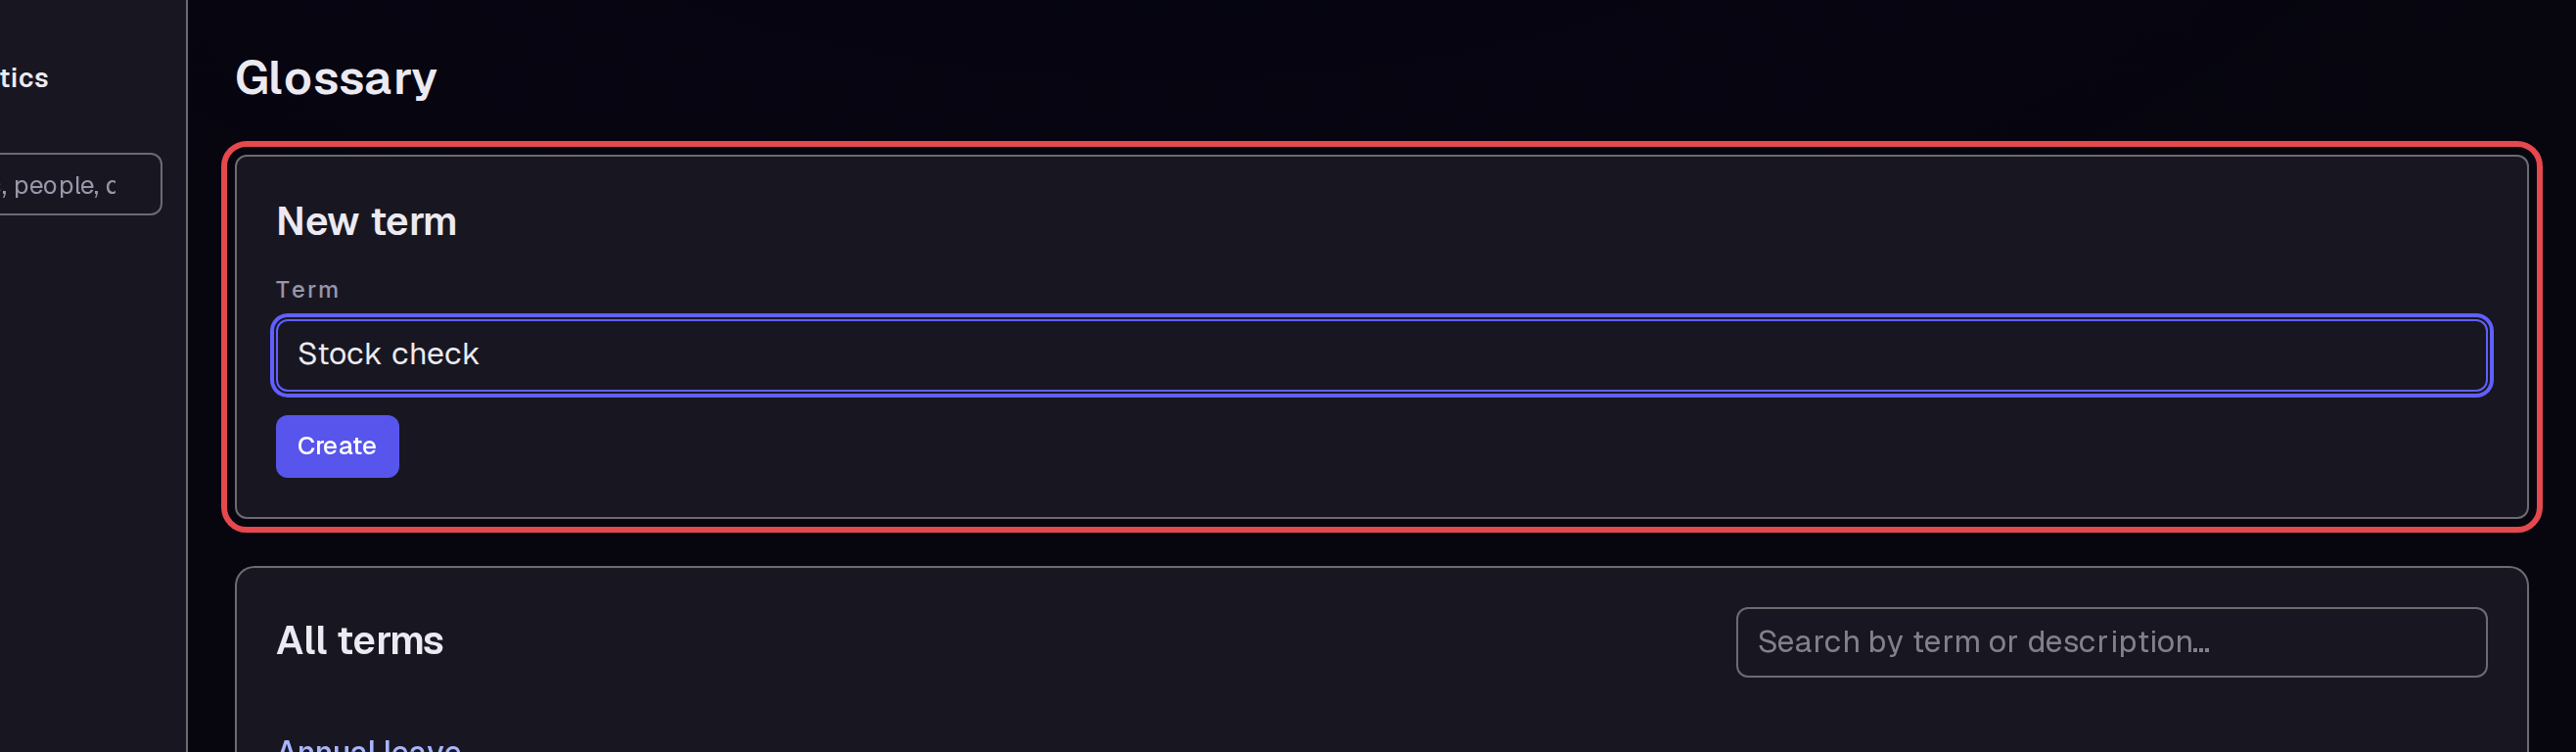
Click Glossary in the left menu. Enter “Stock check” in Term under New term. Click Create to open the word.
Step 8 — Write the definition
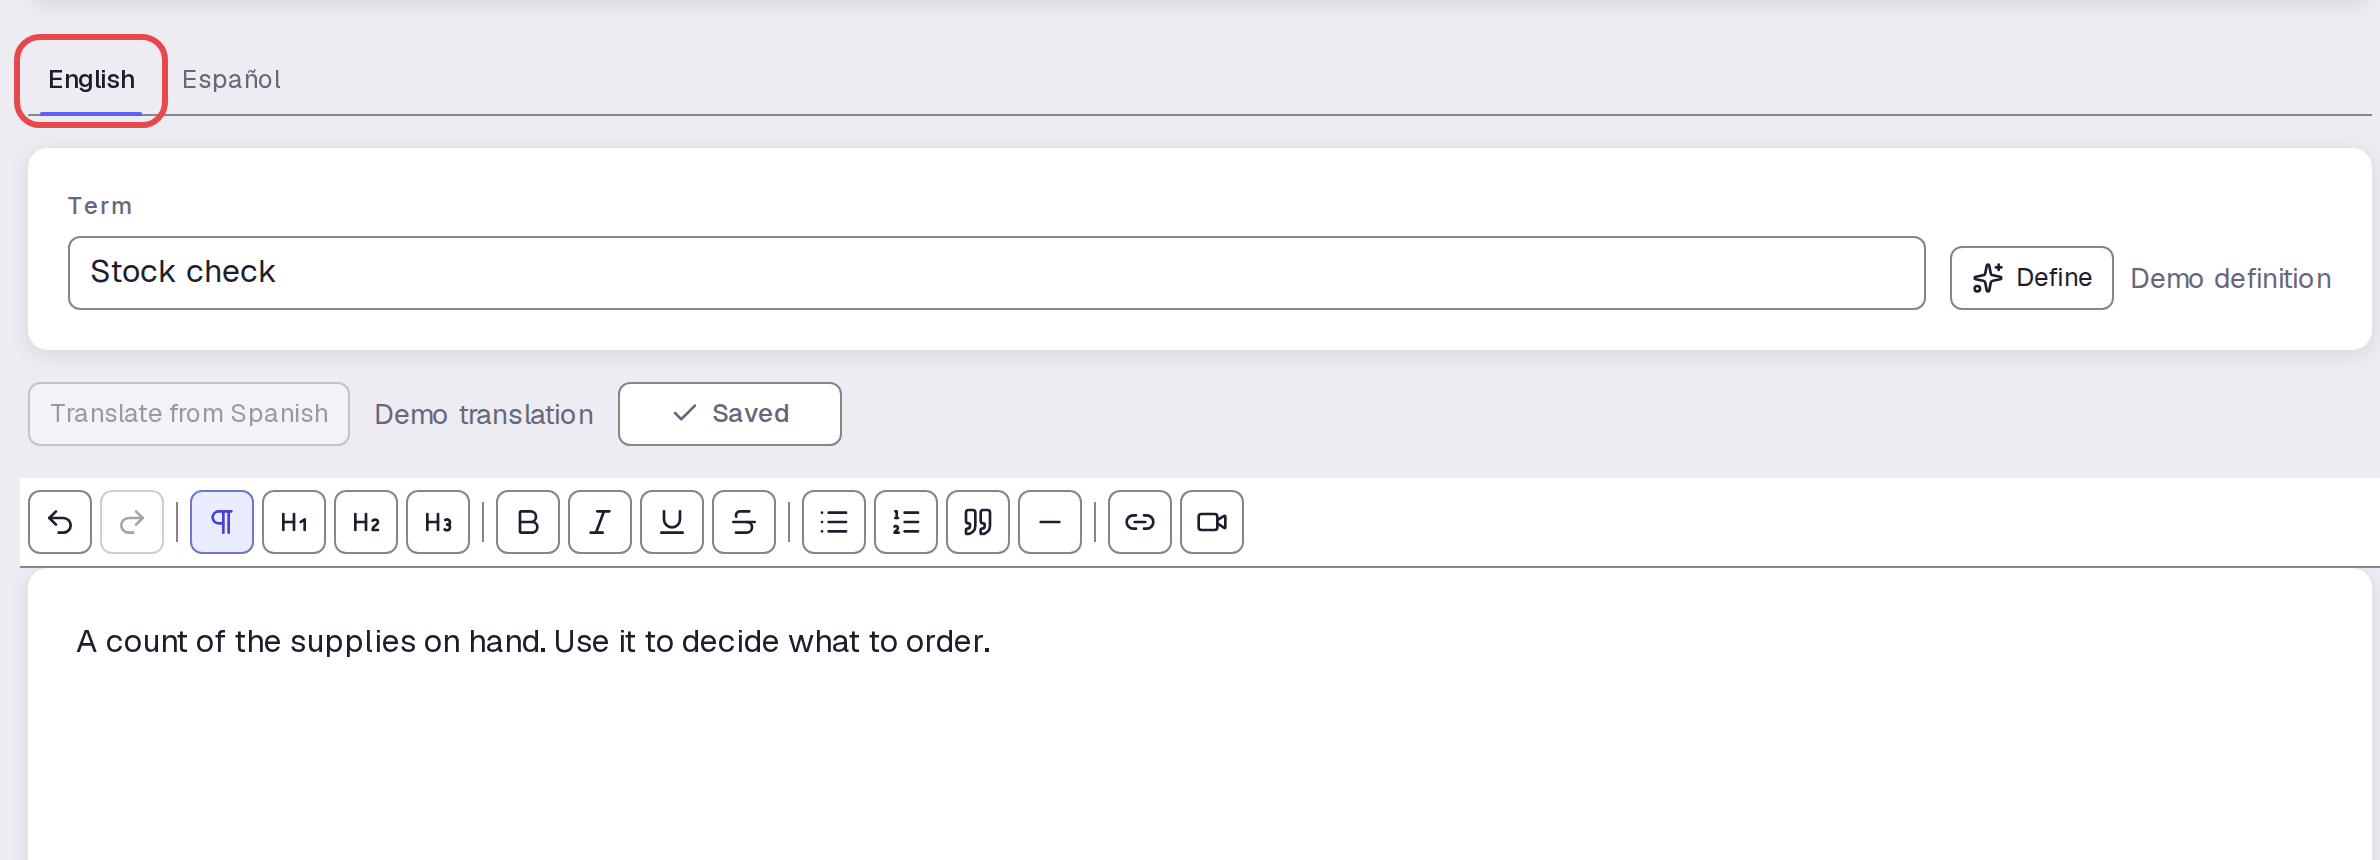
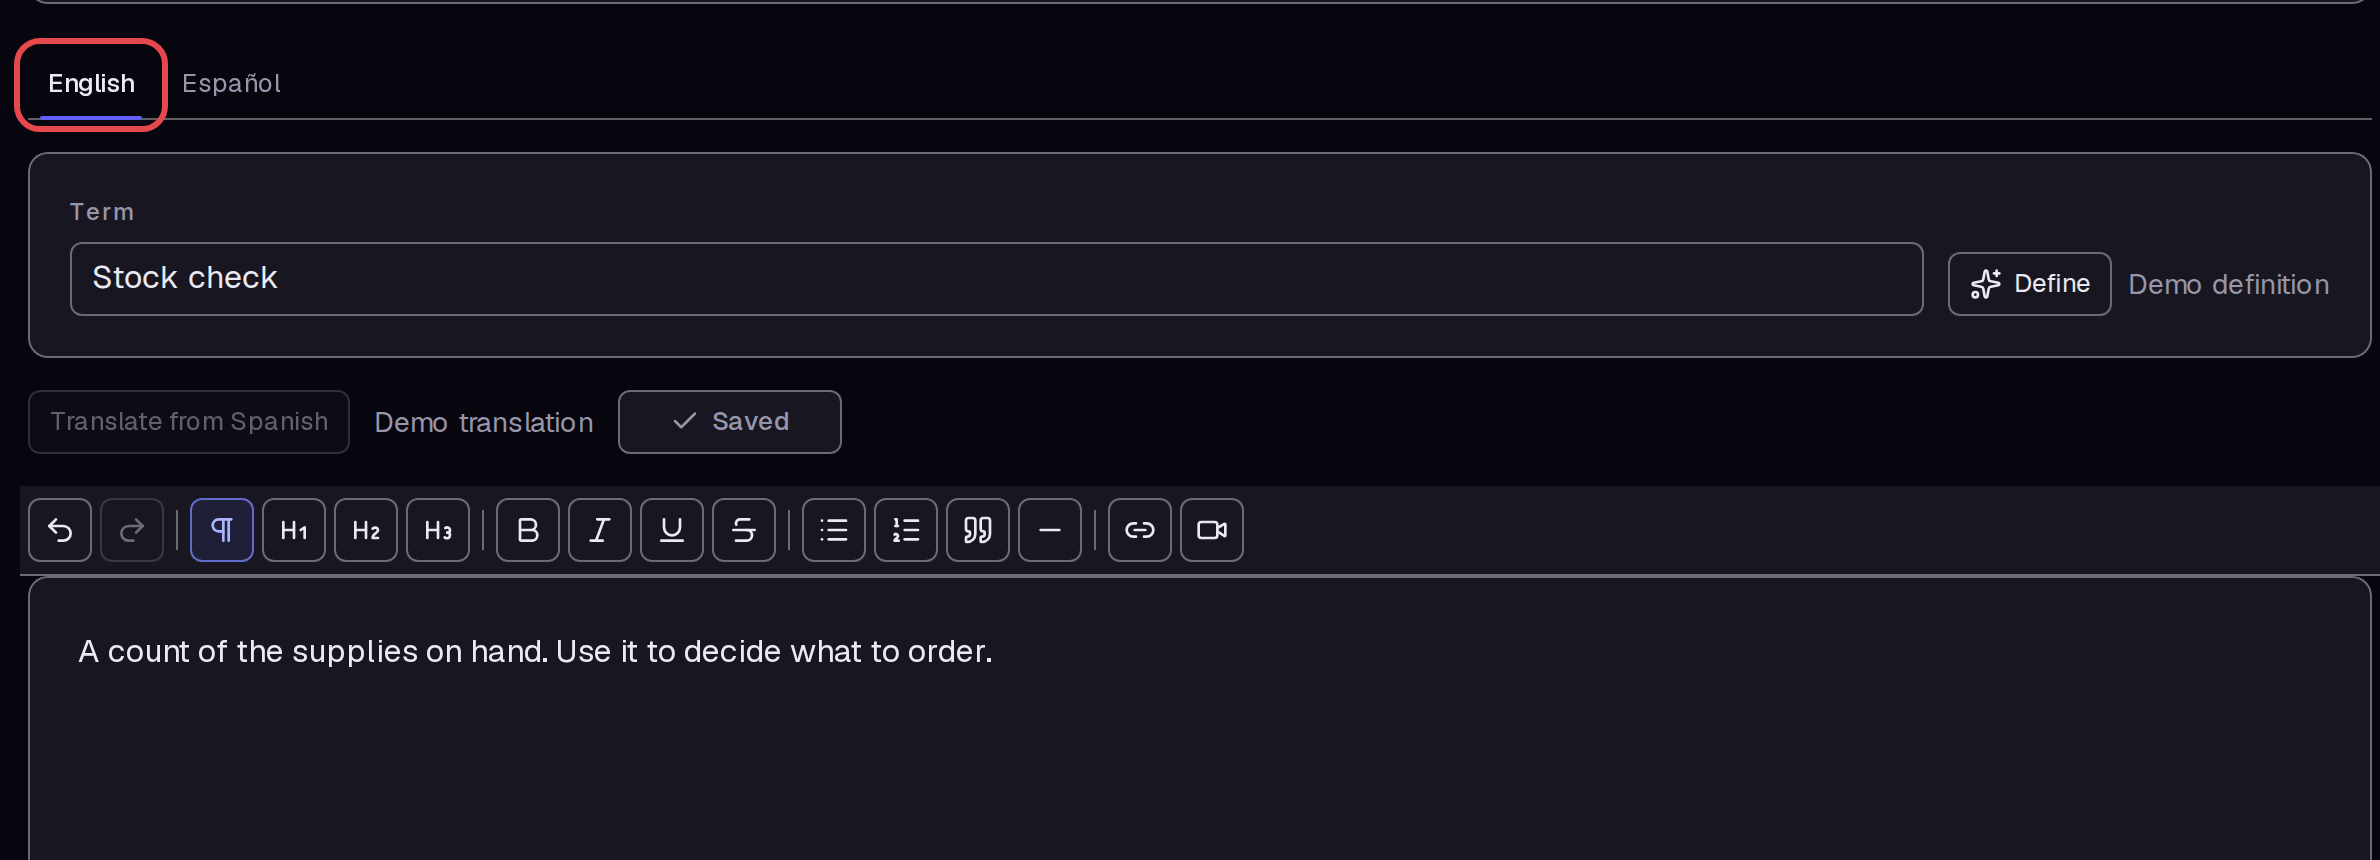
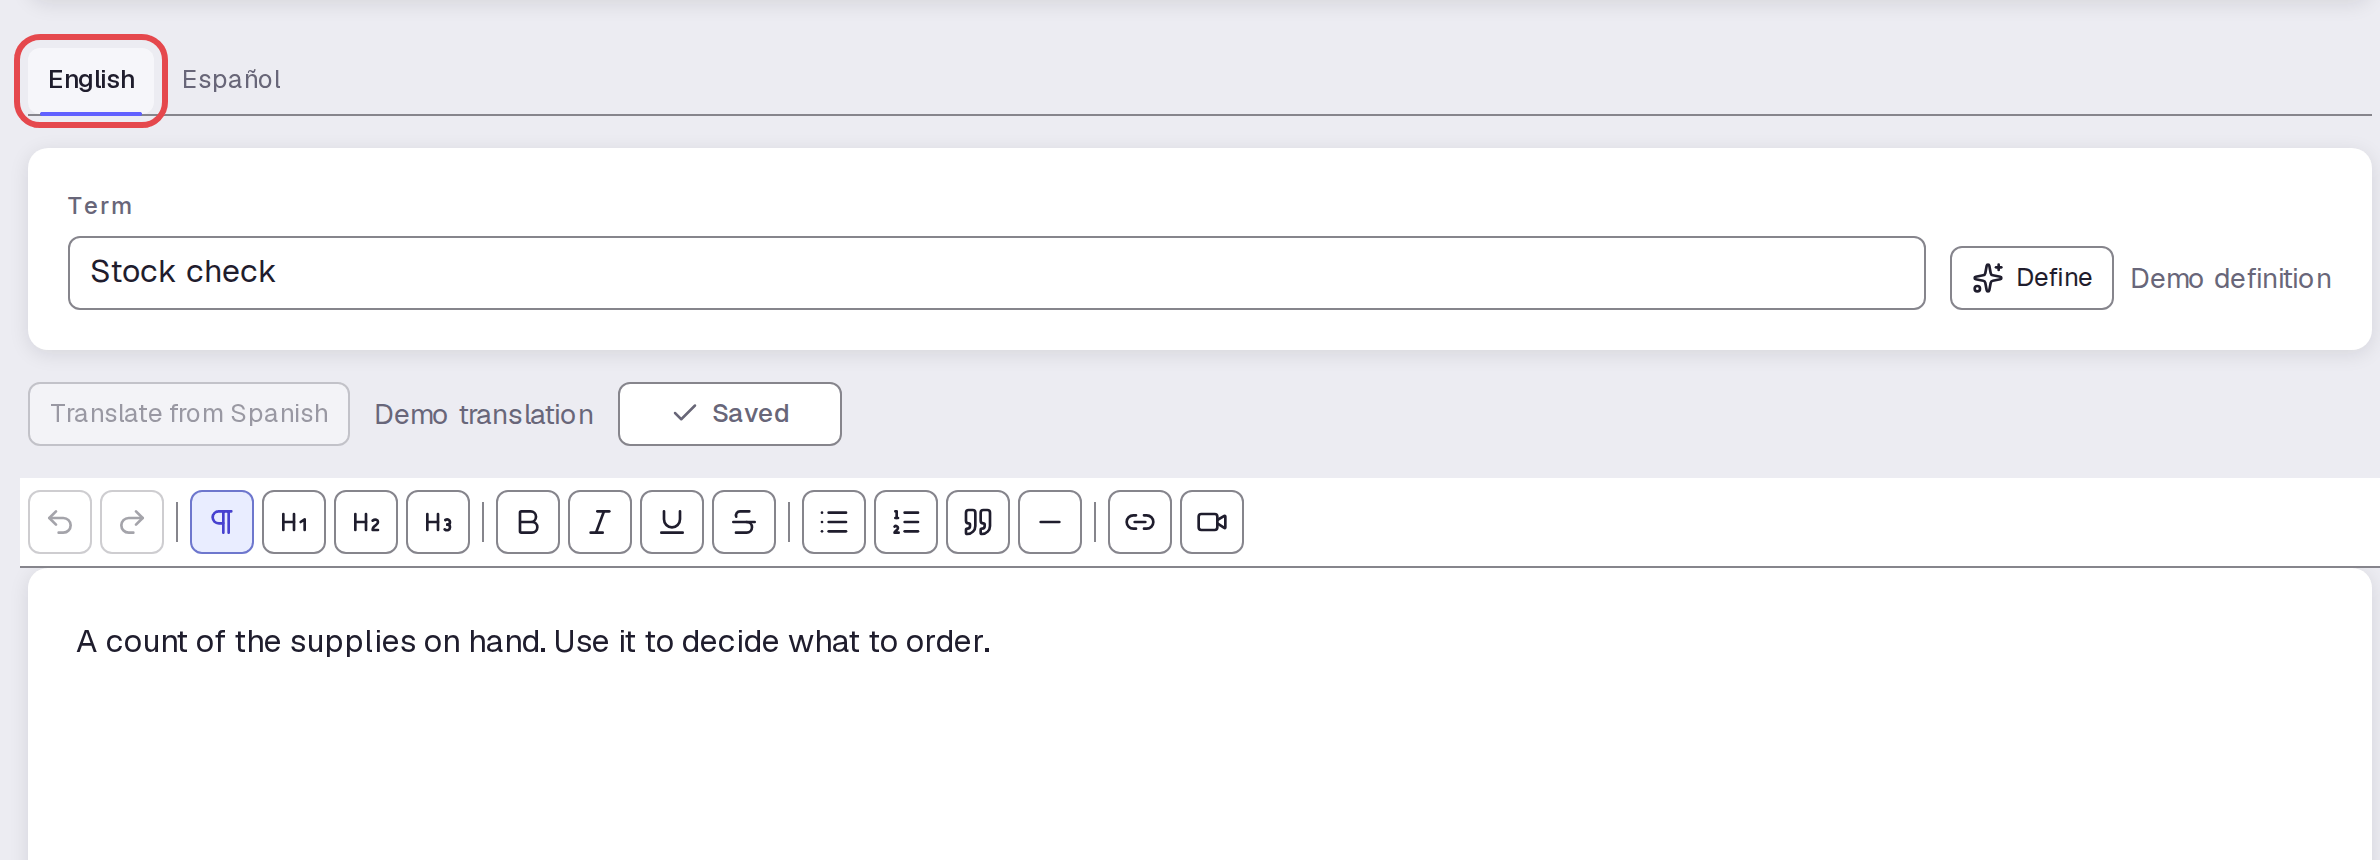
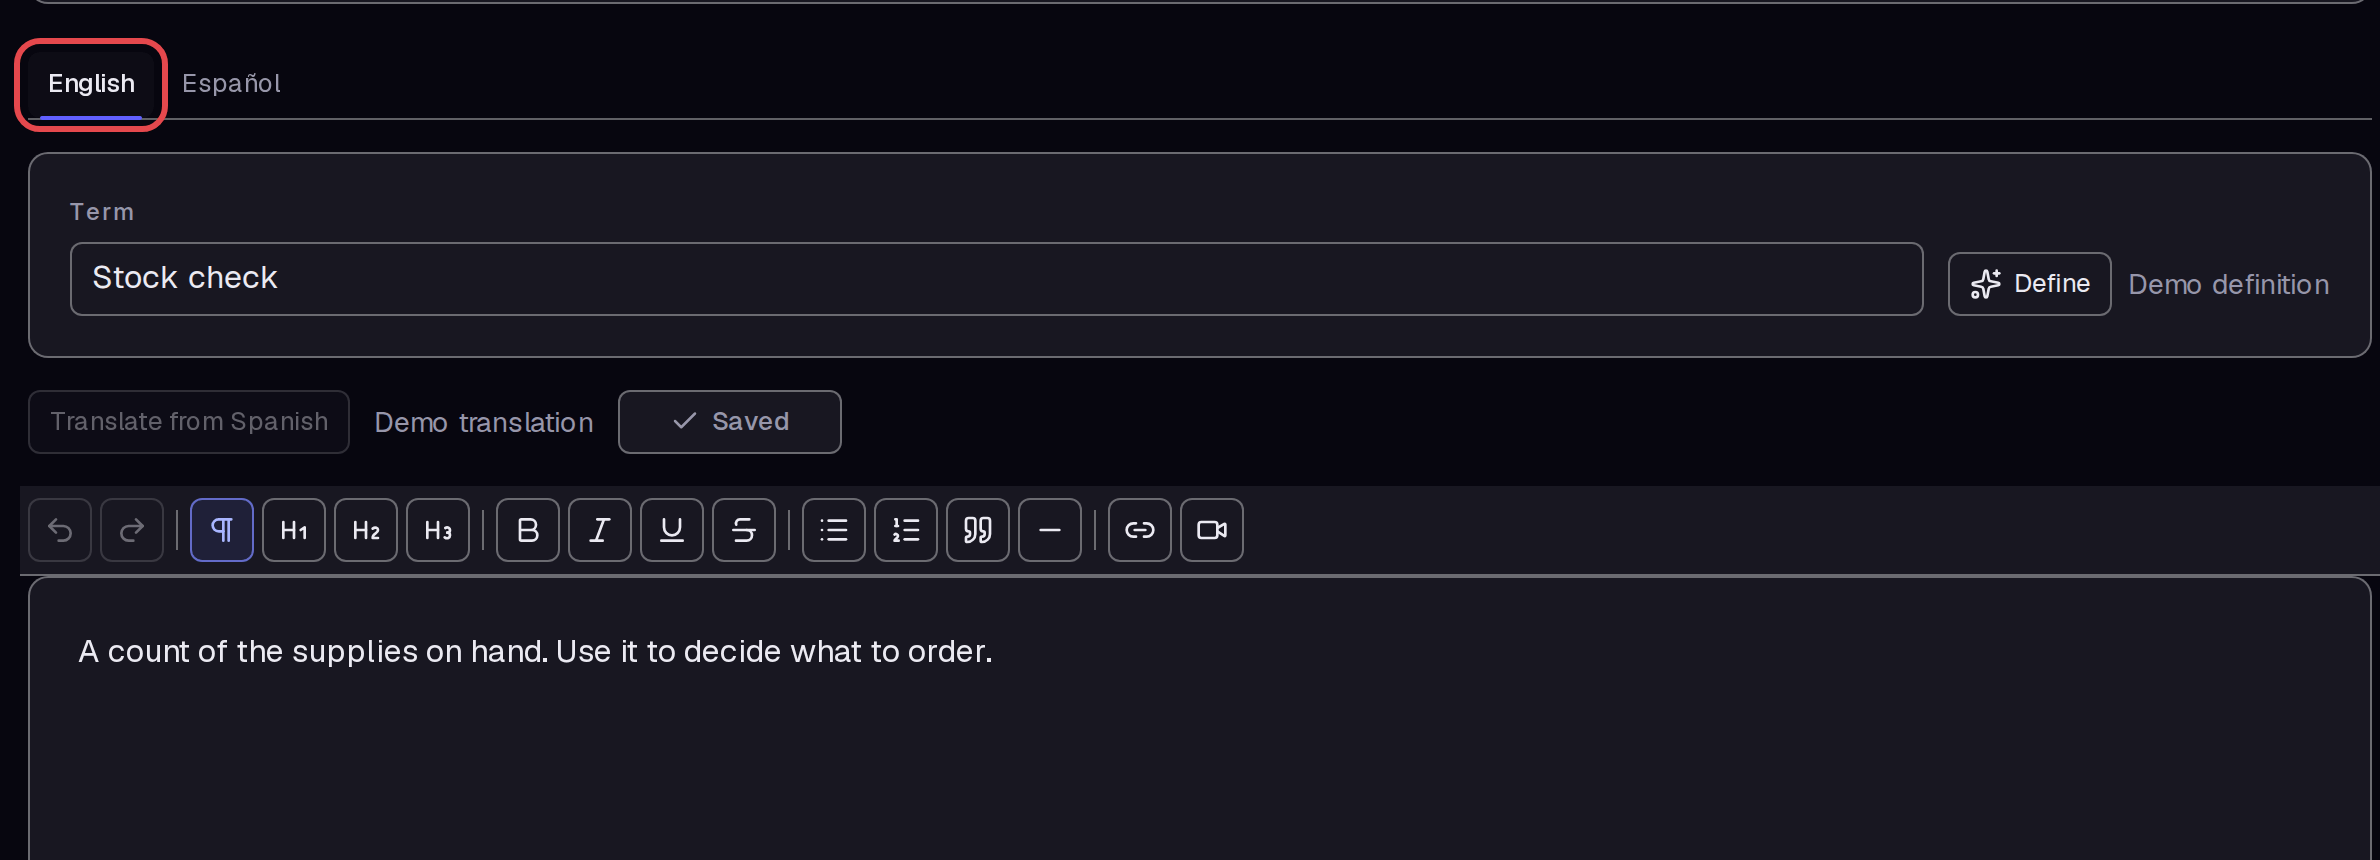
Select English. Enter the definition in the large text area below Term, as shown. Wait until the status shows Saved.
Step 9 — Find the word
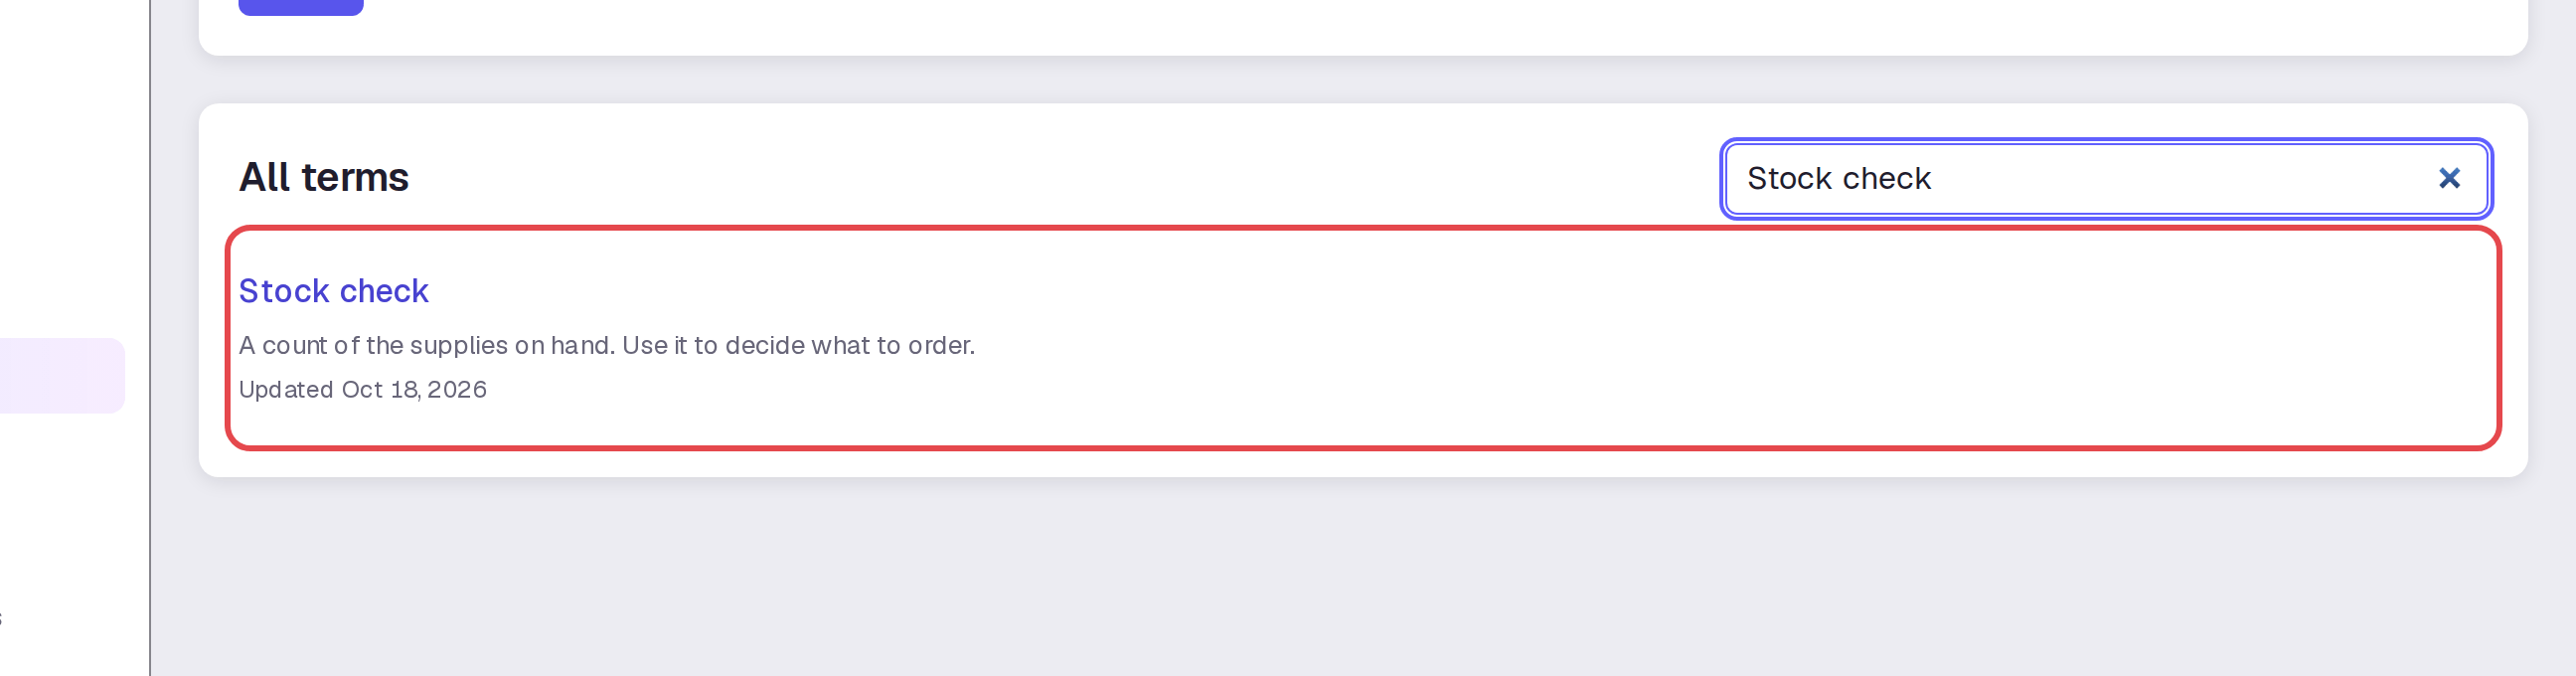
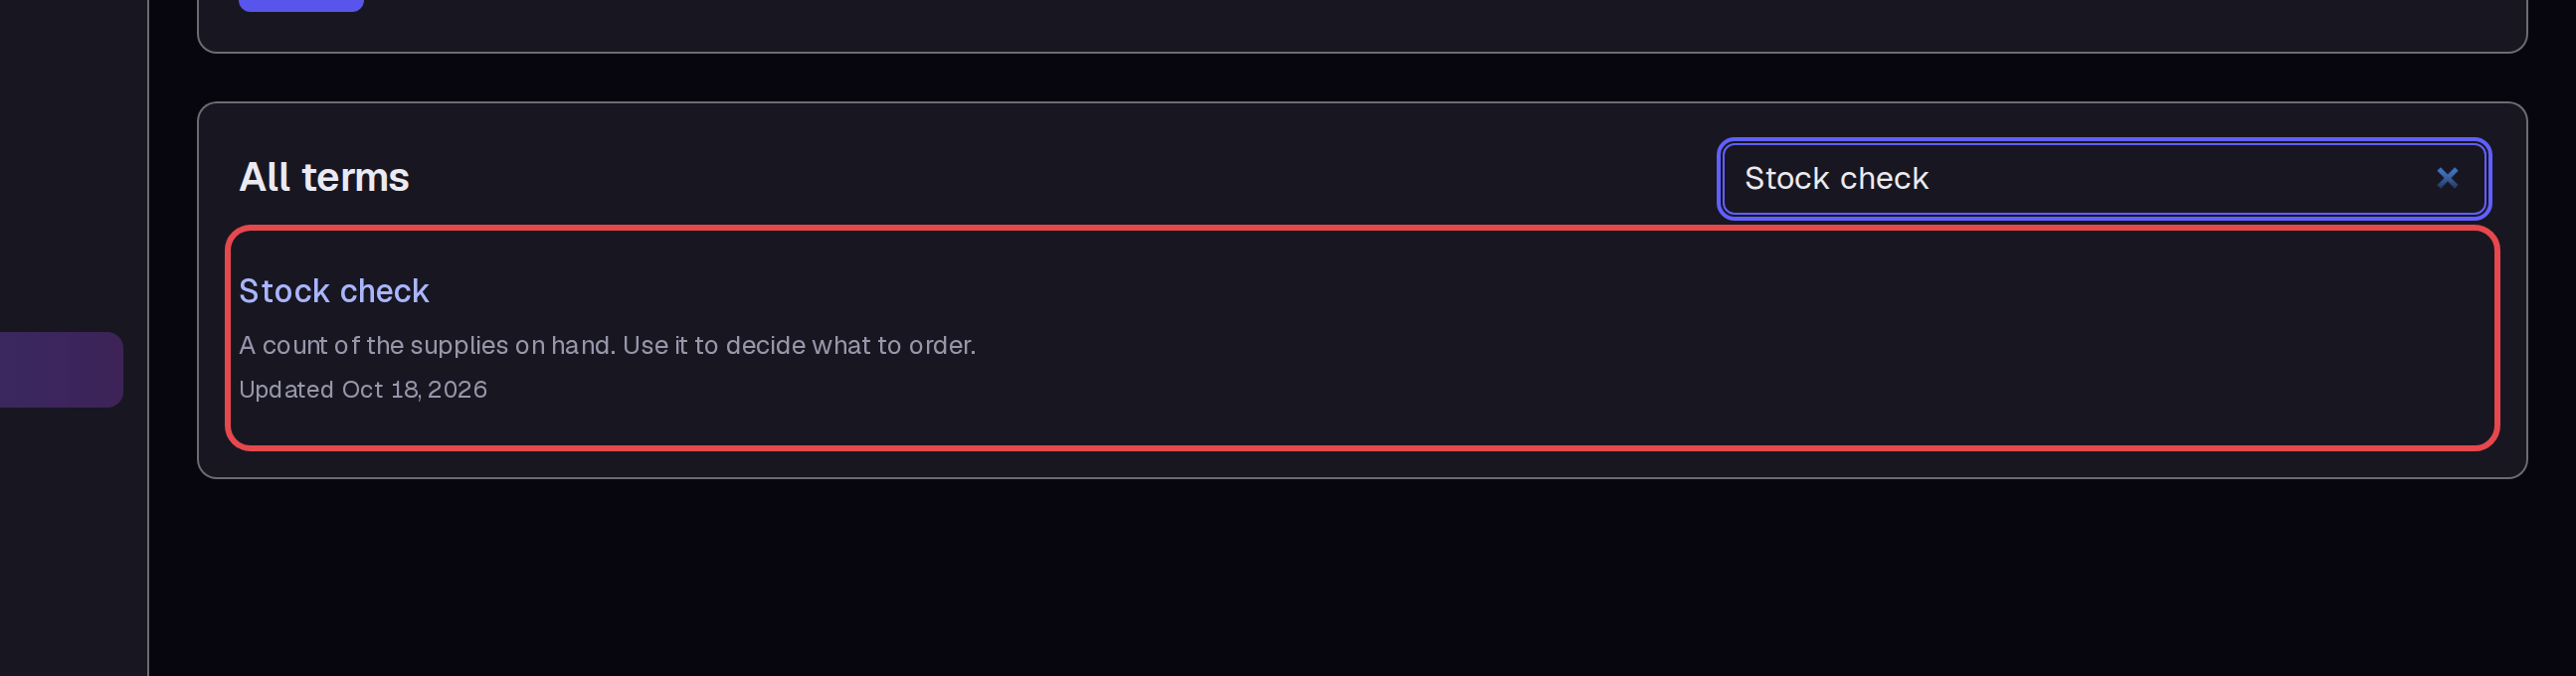
Return to Glossary. Enter “Stock check” in Search glossary. The results show the word and a preview of its definition.
Step 10 — Read the definition
Open Stock check from the search result. Select English to read the English definition. Staff can use this same lookup path when they need to check a word.
Tips
- Add a section before you add a checklist to a course.
- The course list shows your completed item count, such as 1 of 1.
- Use English to edit or read the English definition.
- To add another name for a word, type it under Word Family and press Enter; “Supply count” was added in this example.
What next
Make more course material with checklists and tasks, or draw a flowchart to explain a process.